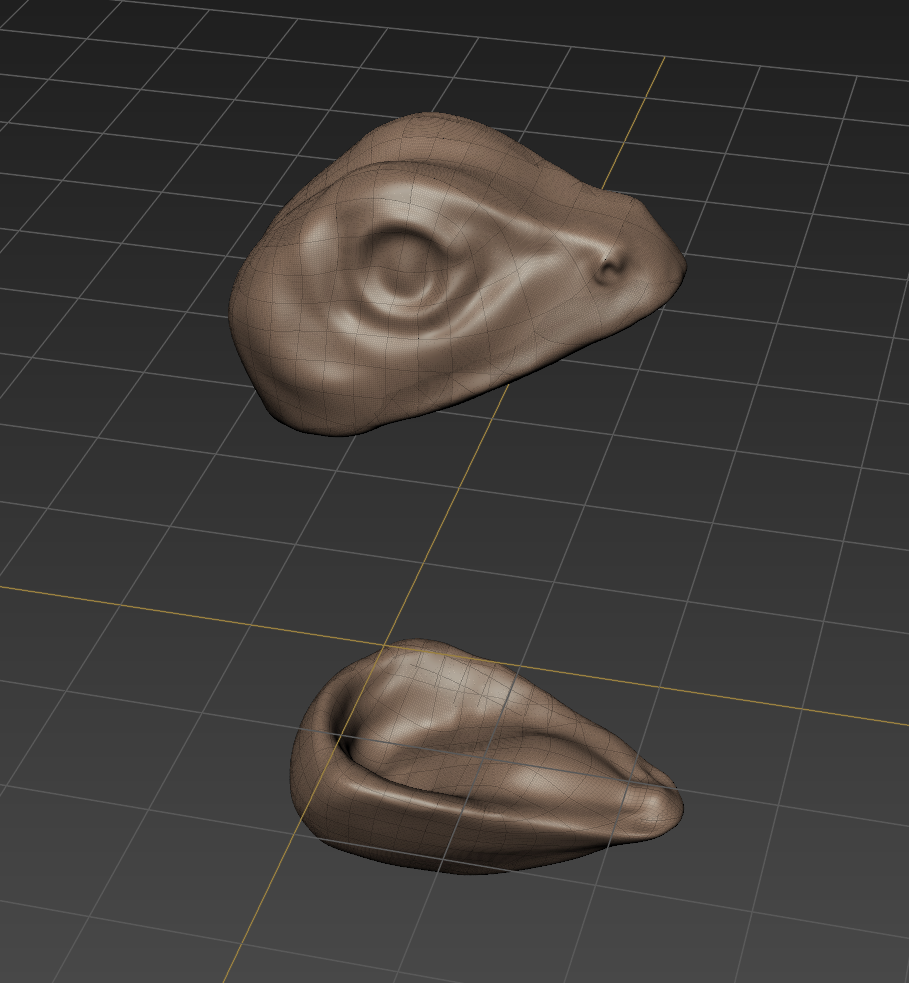
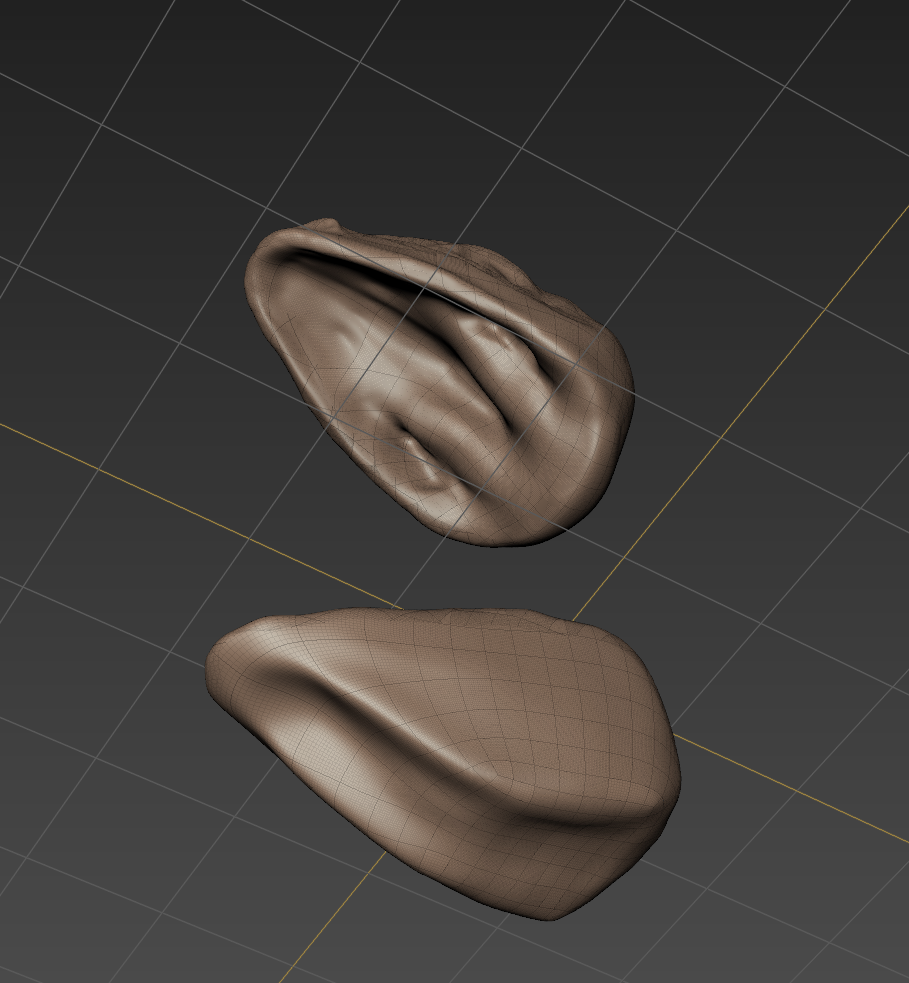
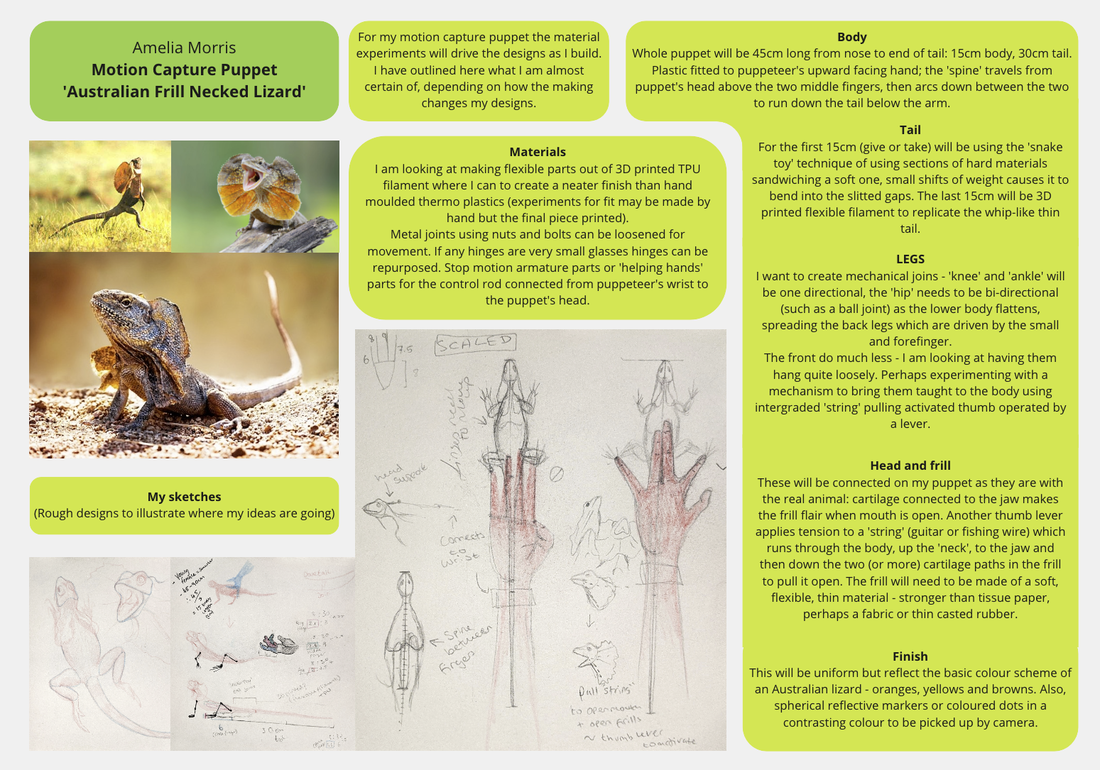
Head Design: Mudbox Modeling
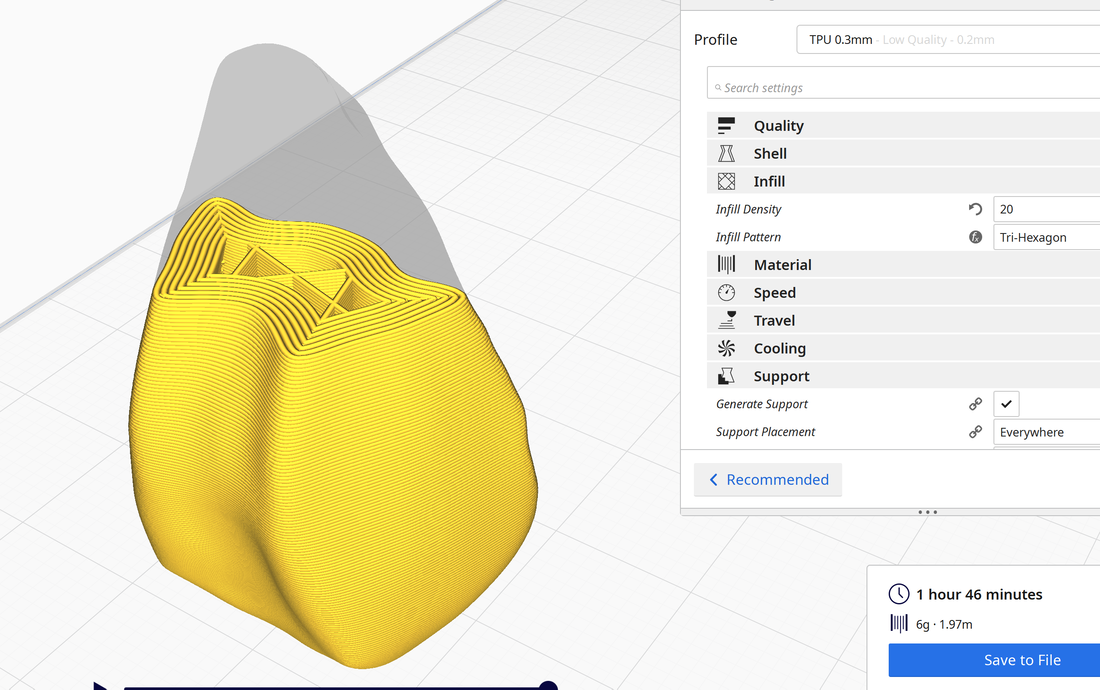
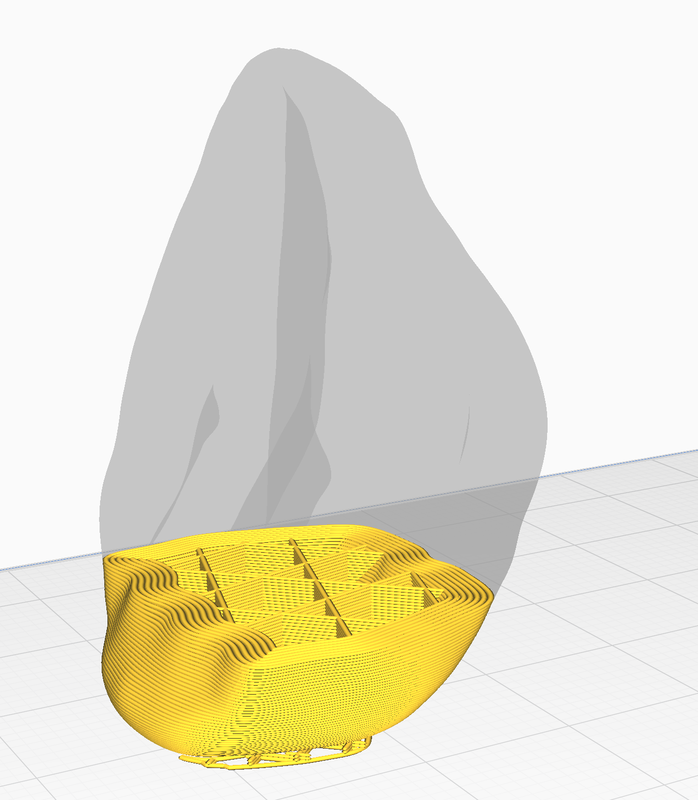
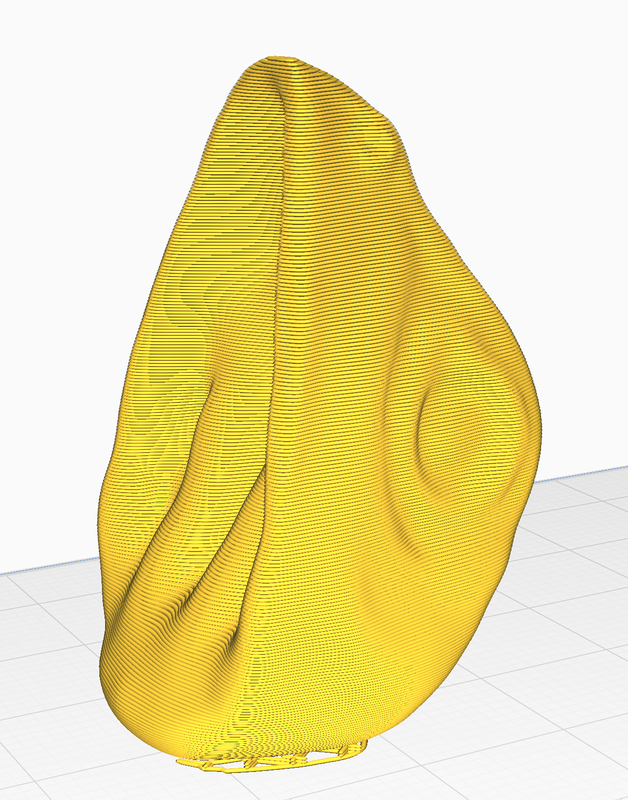
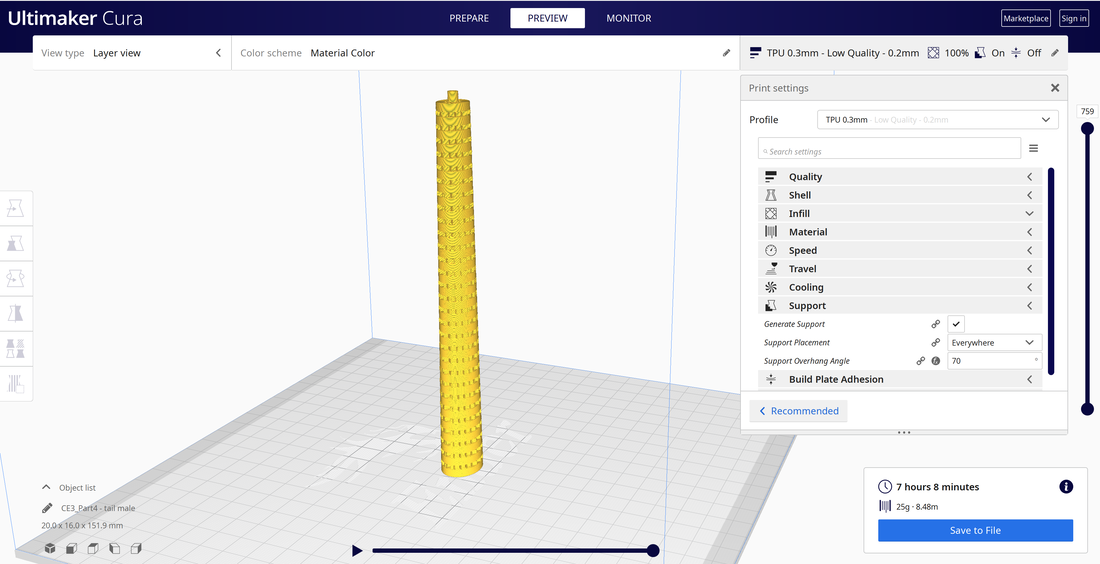
Model in Cura
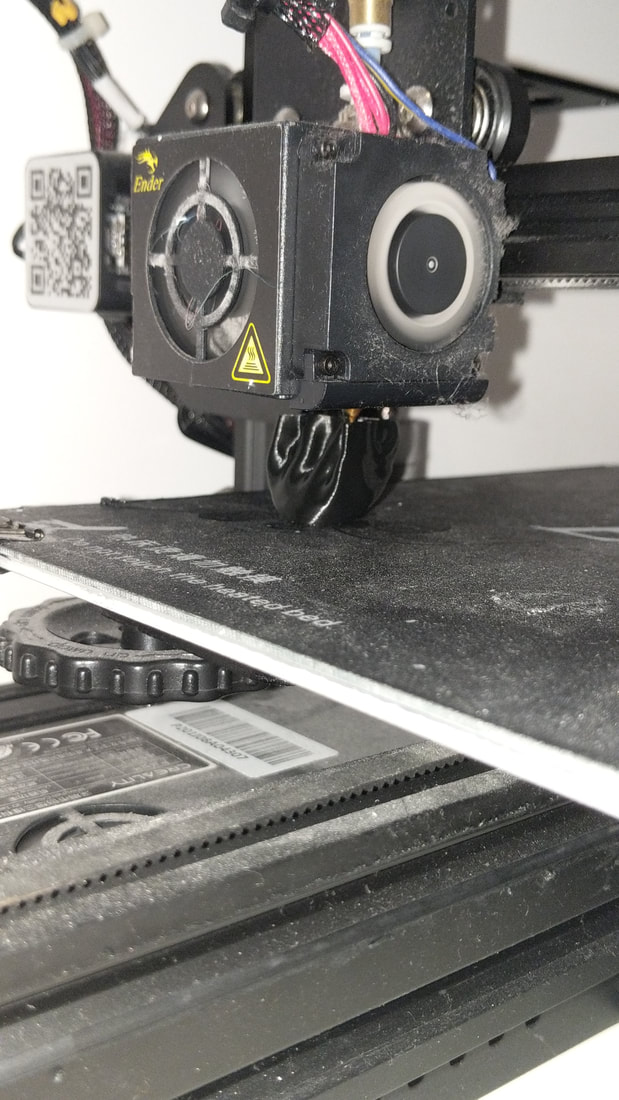
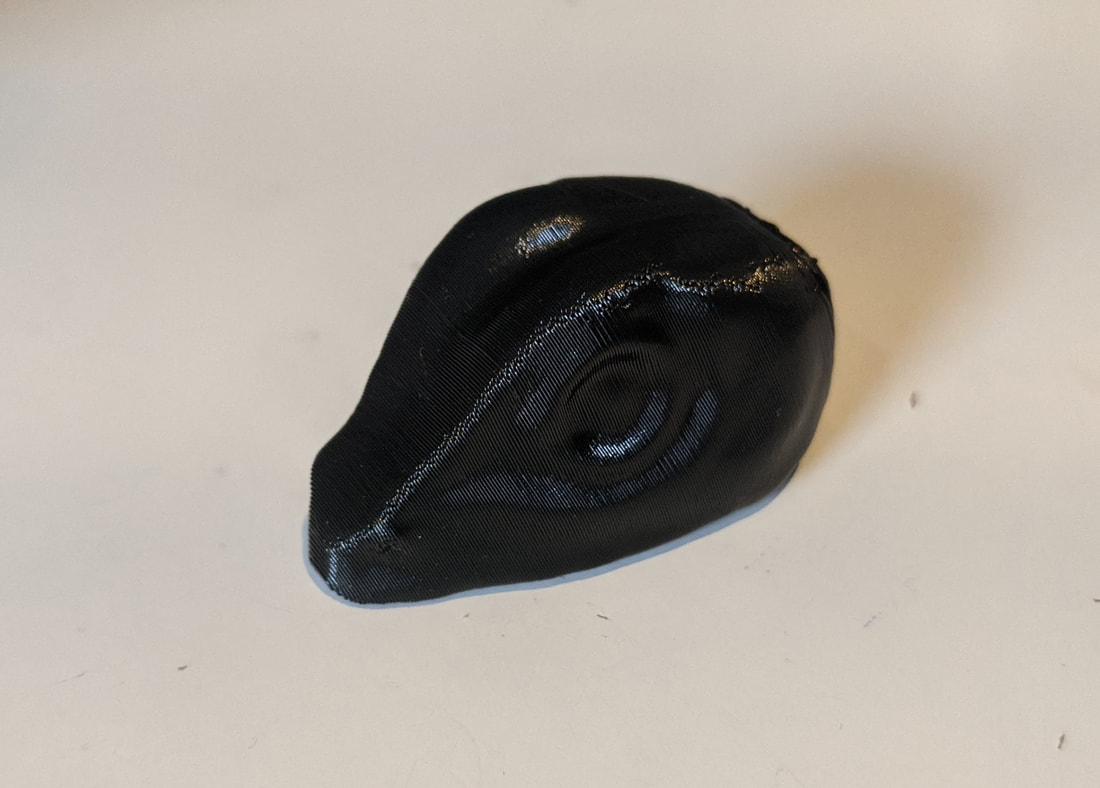
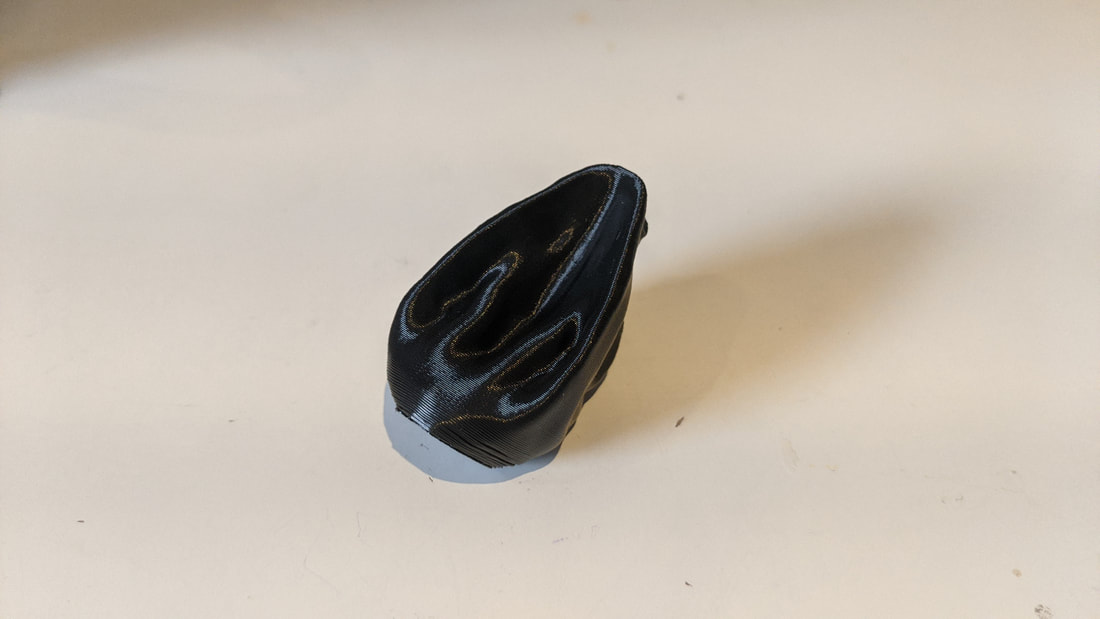
3D printing in the TPU filament in black for test print
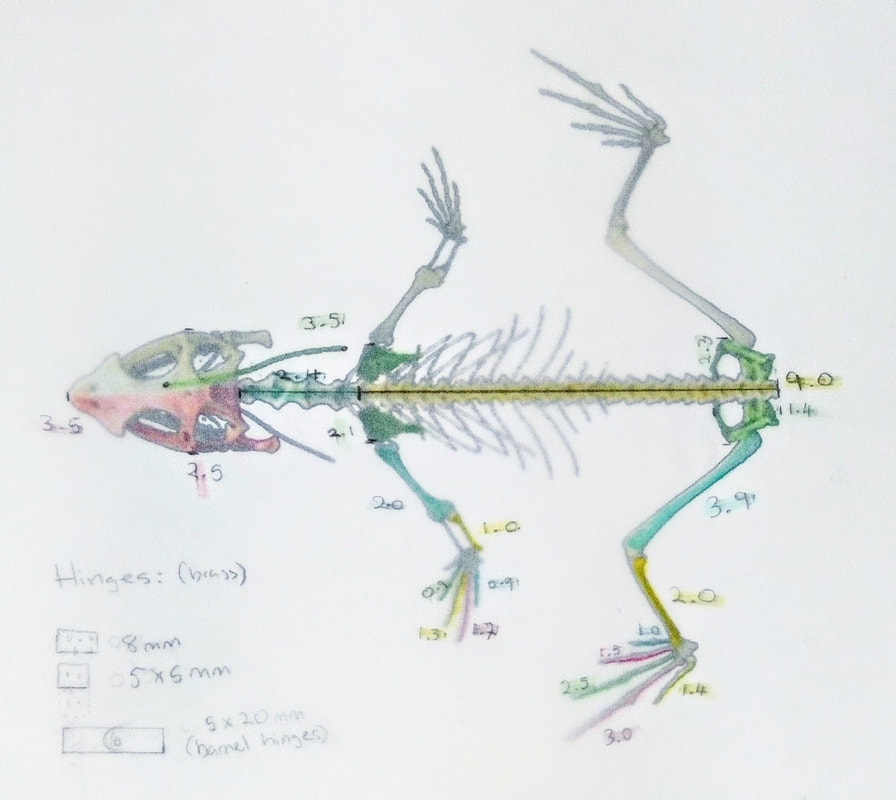
RedesignRedesigning the head to be a more realistic shape: 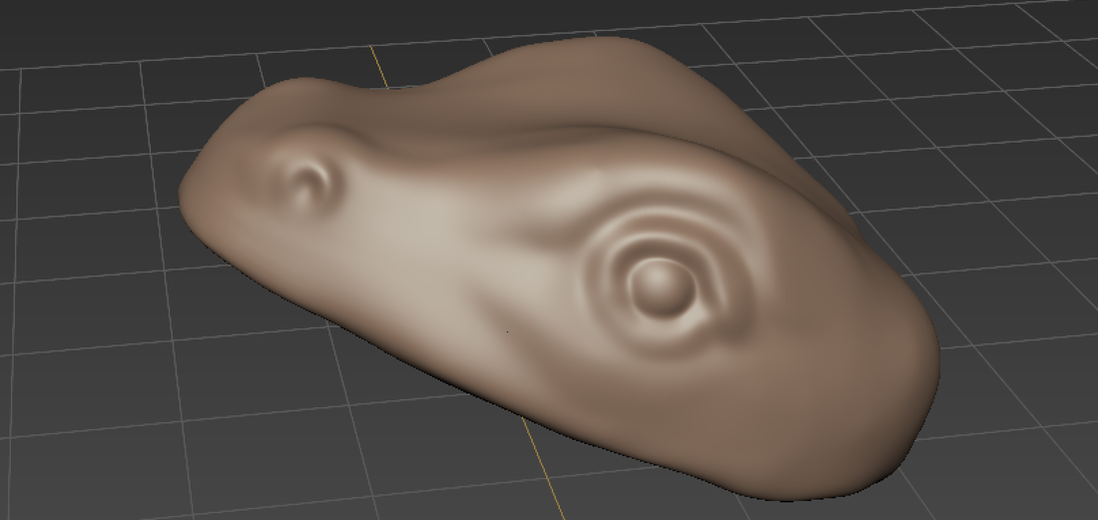 Hip Joint DesignsTo replicate the movement needed for the legs i designed this hip joint. The first design was too stiff for the free movement needed so I altered the one pictured below (a smaller shoulder joint) and designed the two new joints. Technical drawings below depict the new designs. 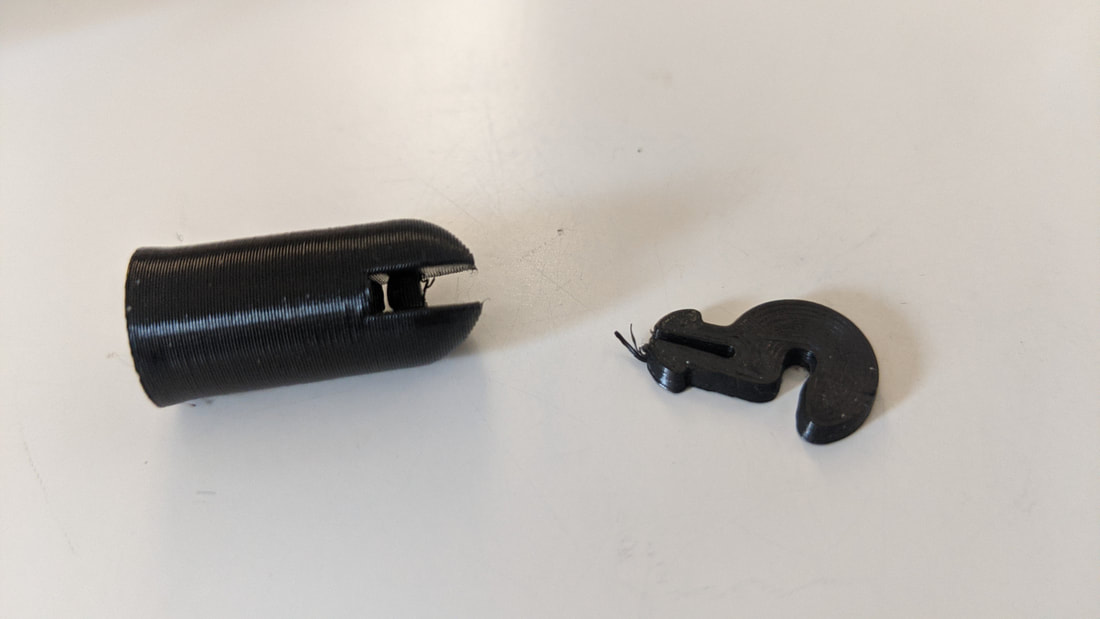 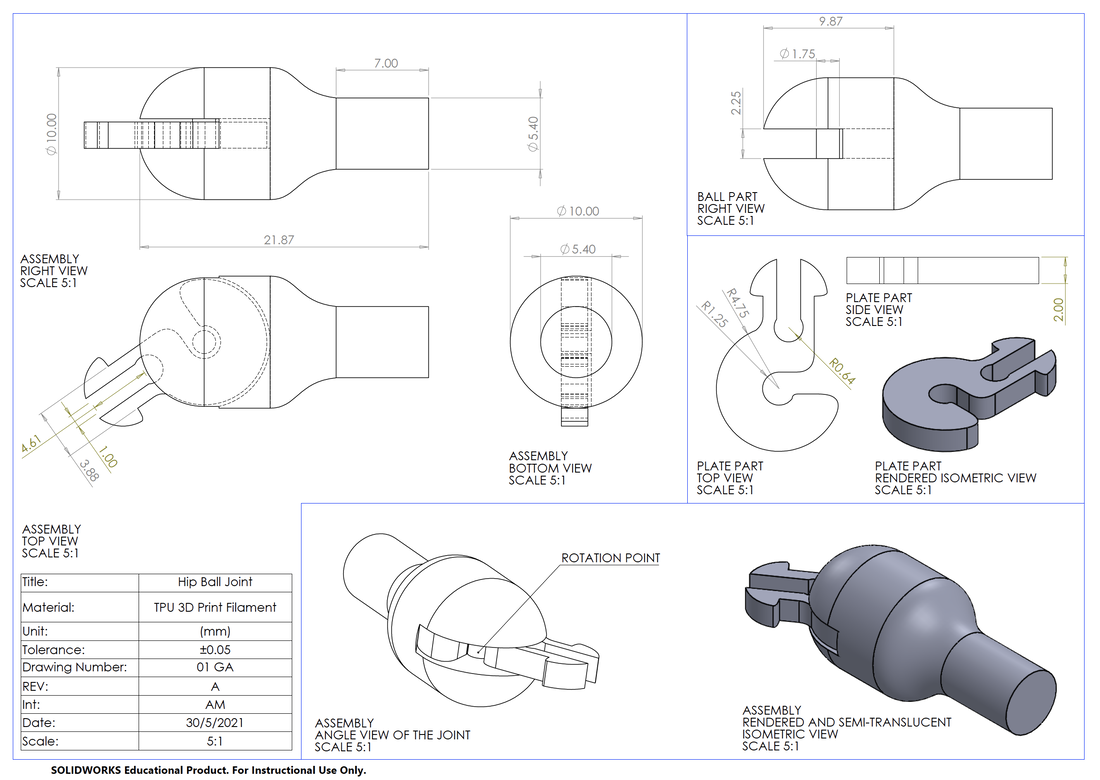 
0 Comments
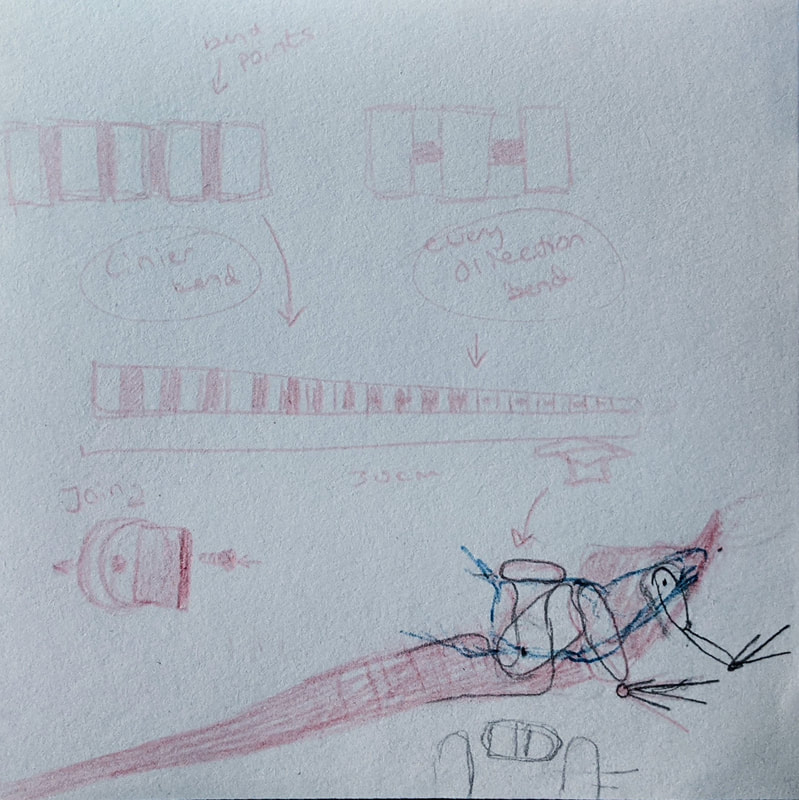
Digital Model of Tail Development - Design 2Here is a revised tail design; the model has been divided into smaller sections. It also has been altered on the first half to make the movement mostly in only two directions to increase the control over its flexibility. 
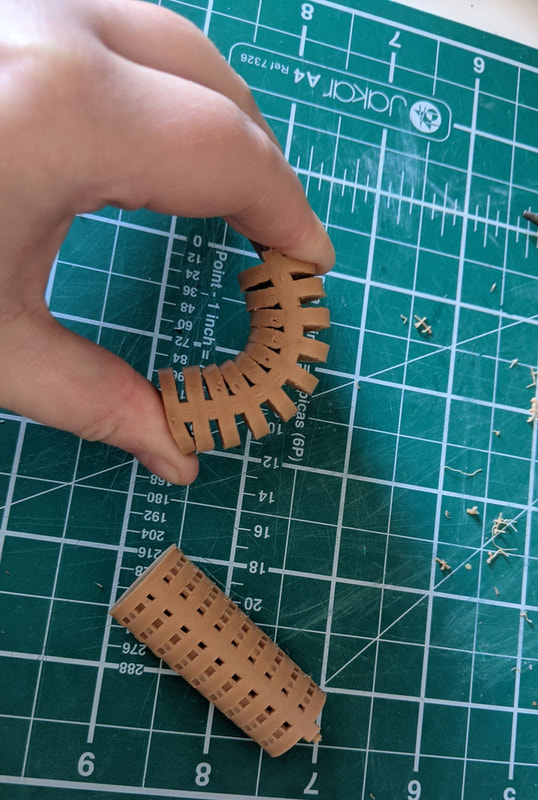
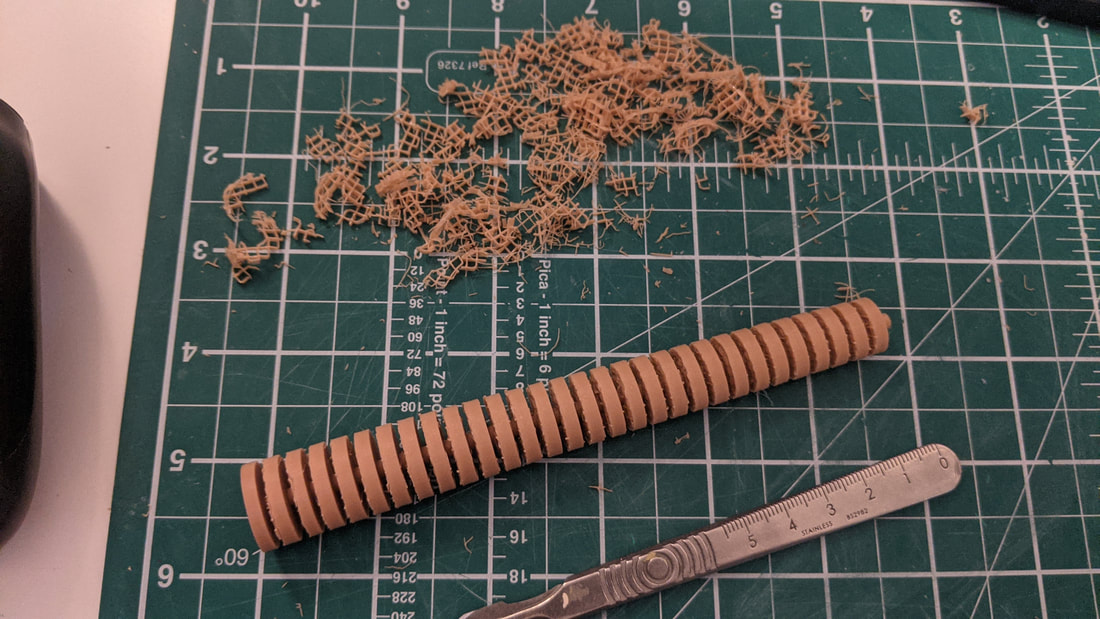
The first two parts printed to test the joint design and flexibility. Unfortunately this design makes it too stiff and the interlocking joint design doesn't have enough allowance to interlock smoothly. I want to work on a new design that finds a middle ground between these two attempts. The circular joint of the last design works perfectly and glues strongly so I will incorporate that in the next model.
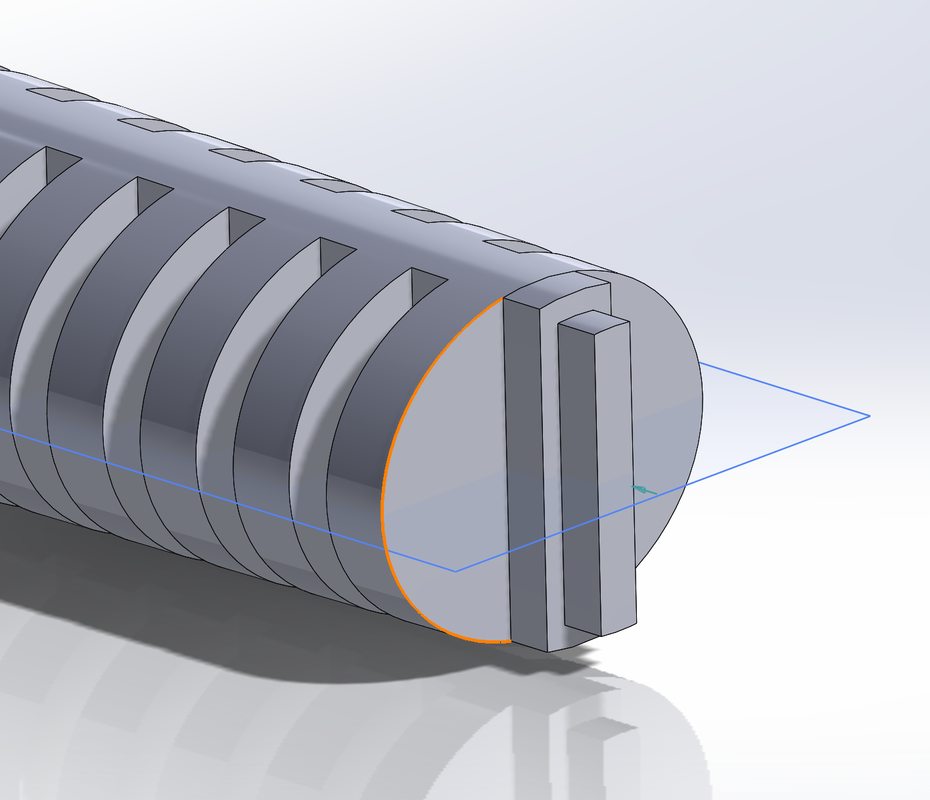
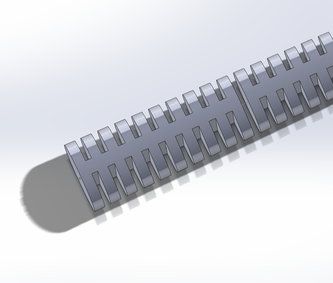
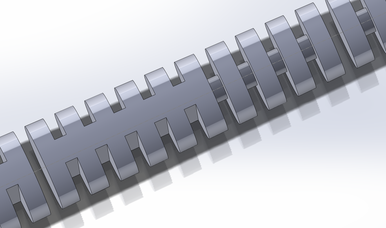
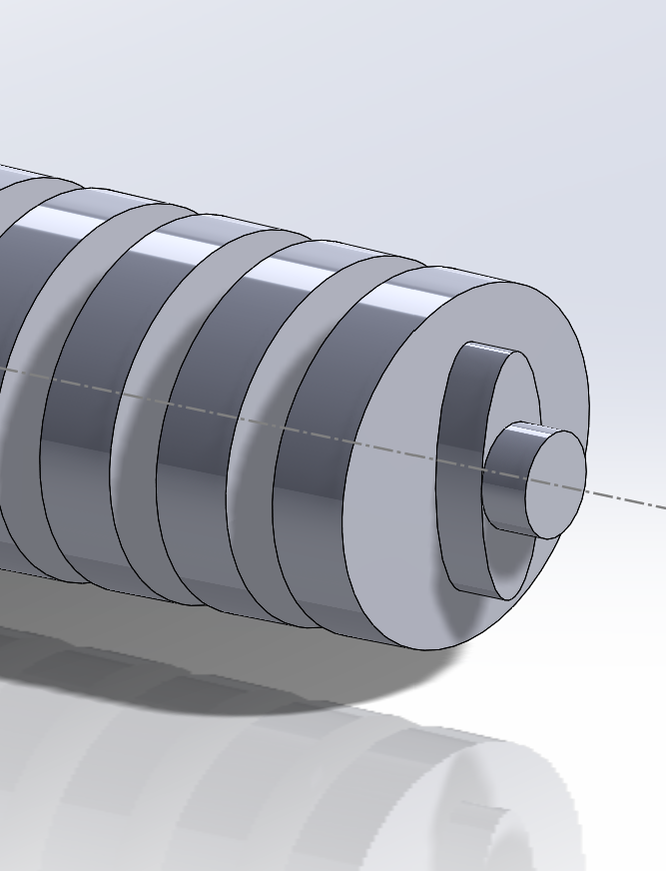
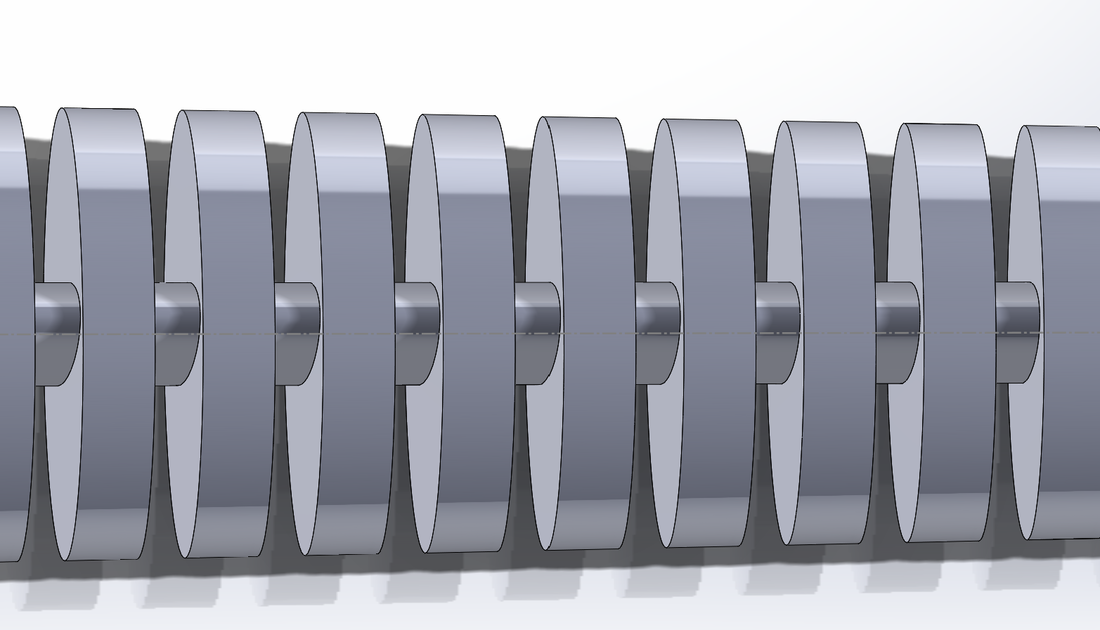
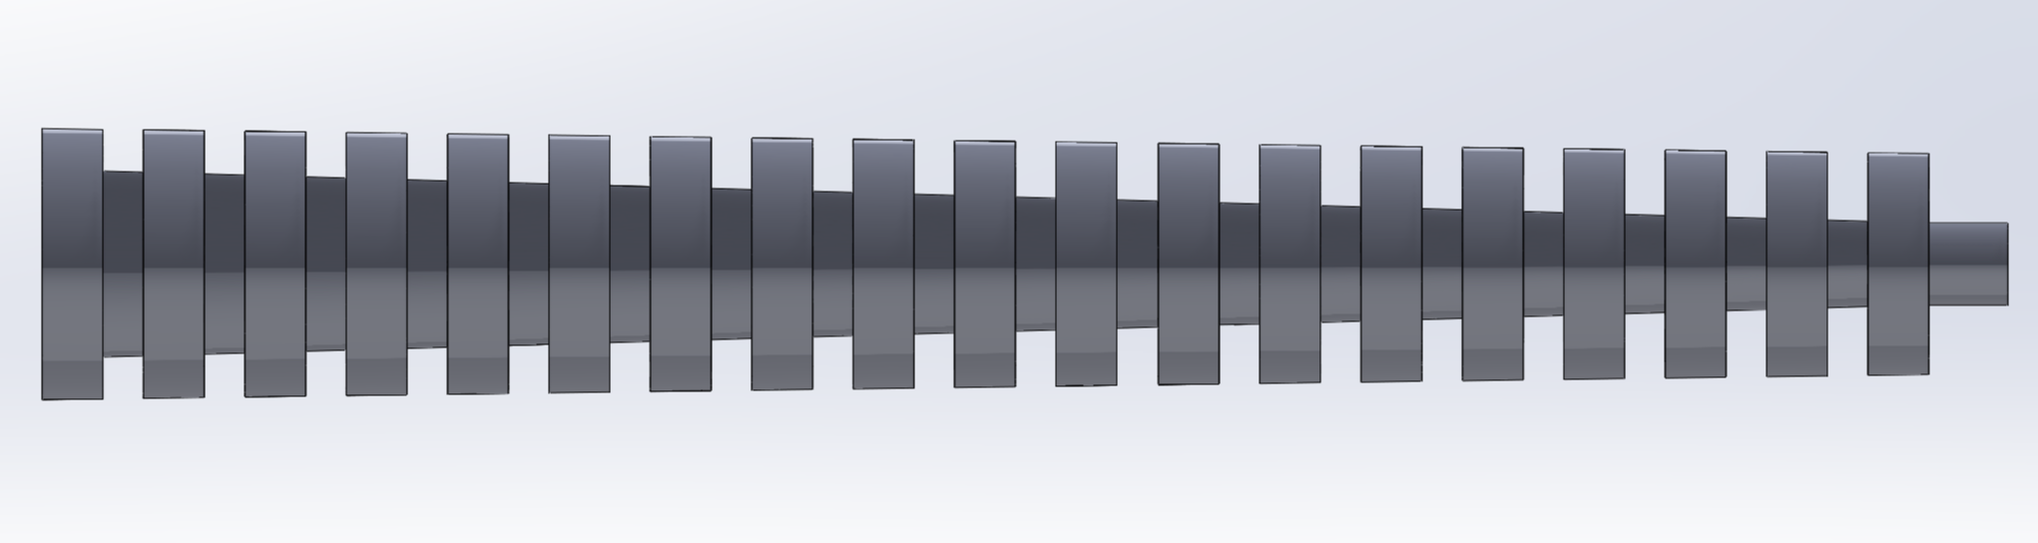
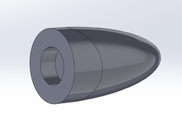
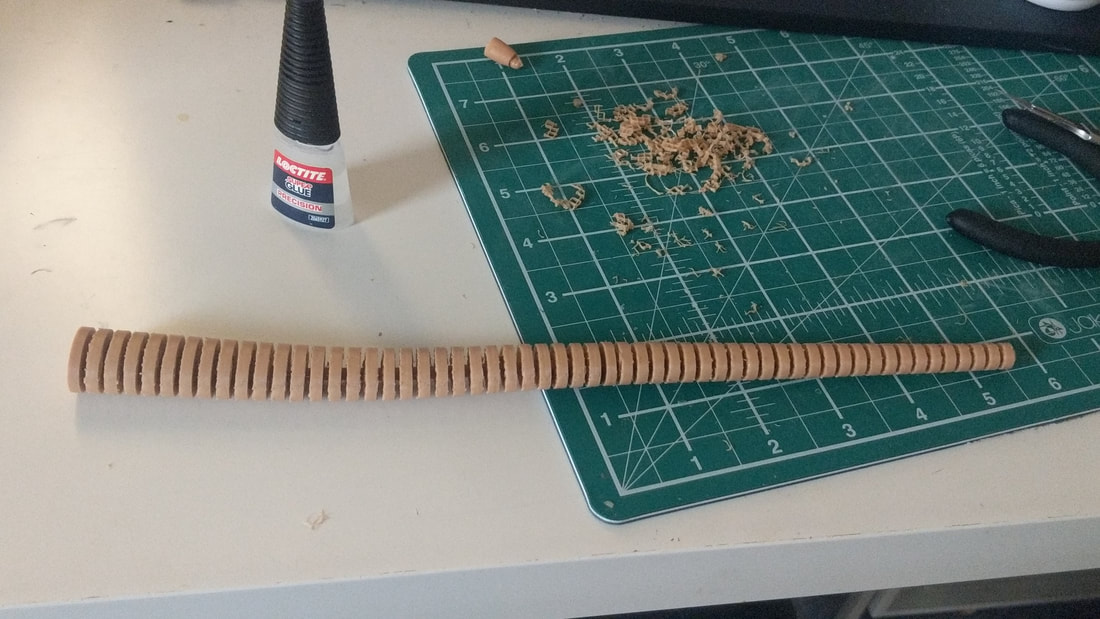
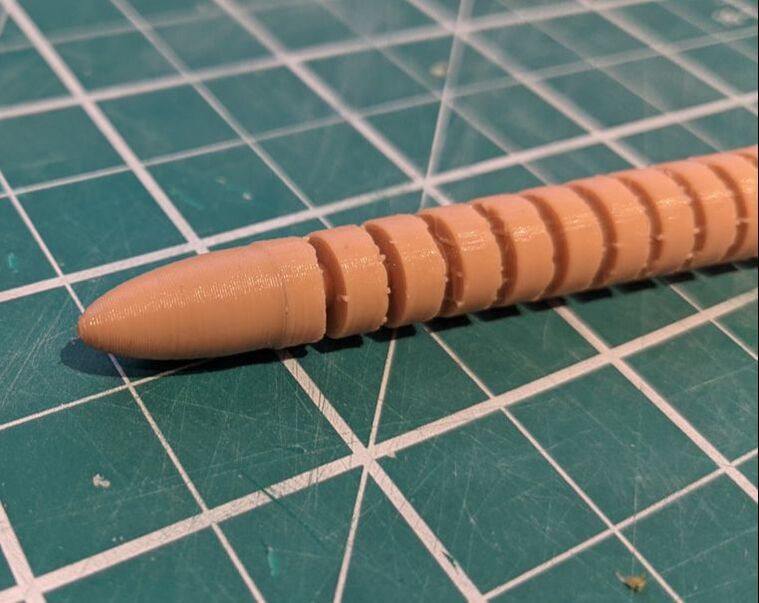
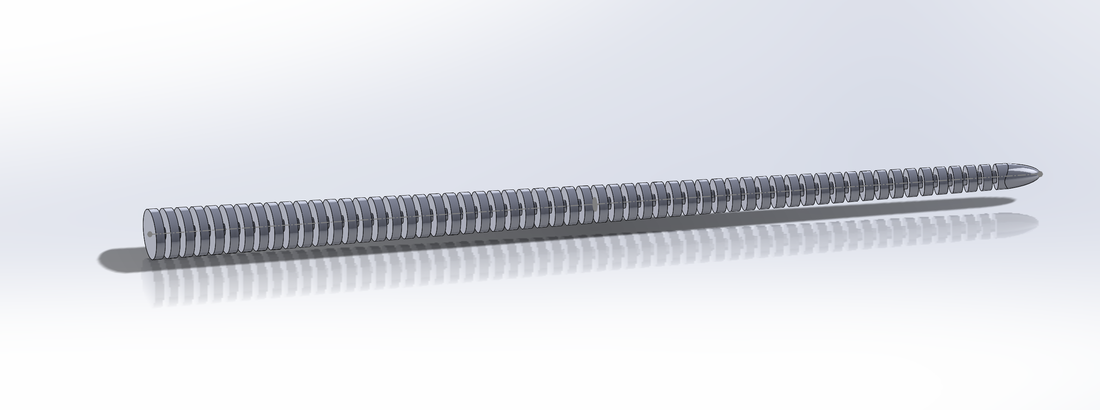
Design 3Here is the model for the third attempt at the tail design. I chose to use a oval shape at the beginning tapering down into the very flexible round centre.
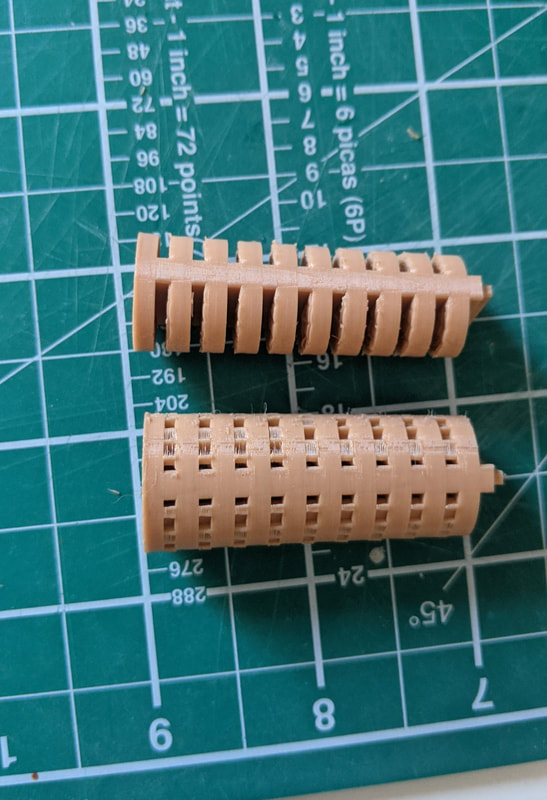
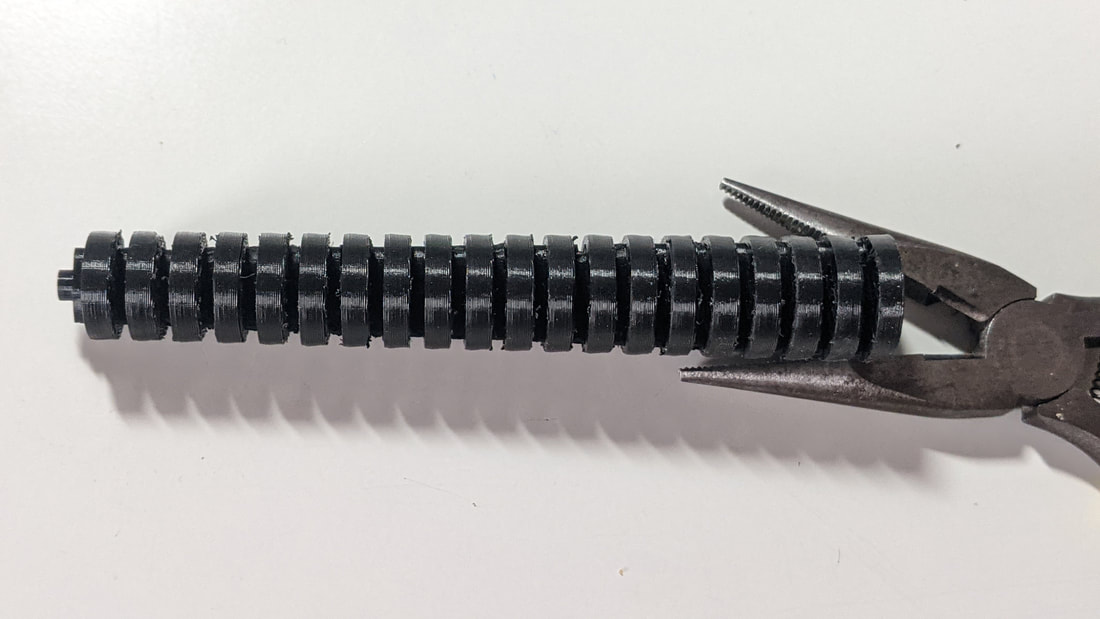
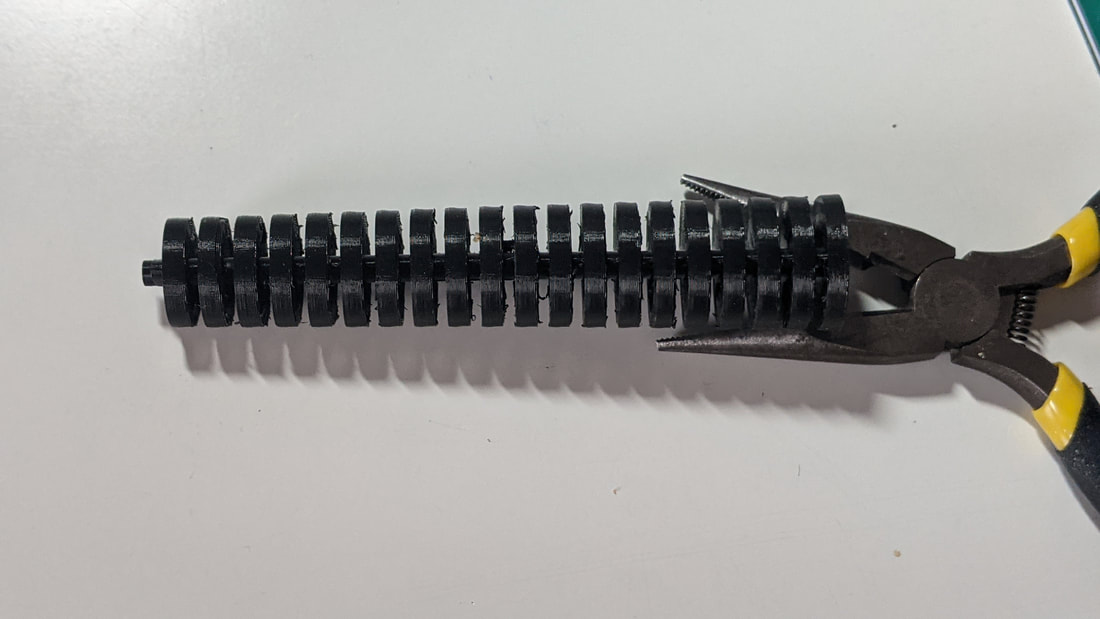
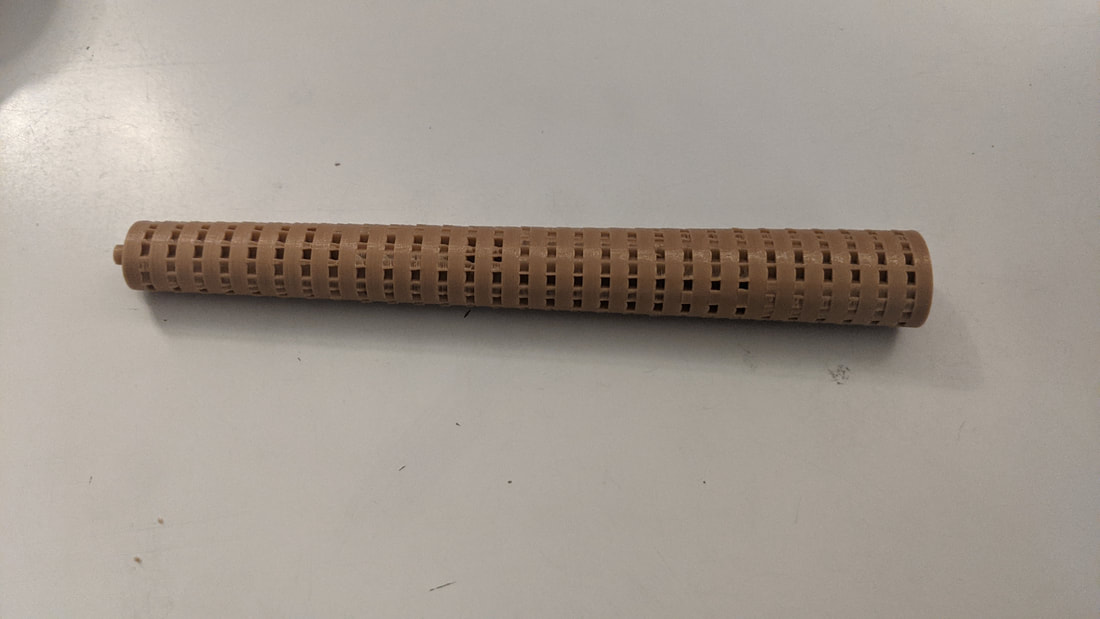
Here are some test prints of this new design in the same TPU filament but in black as it is a experimental print just to see if the movement and joint design works as intended.
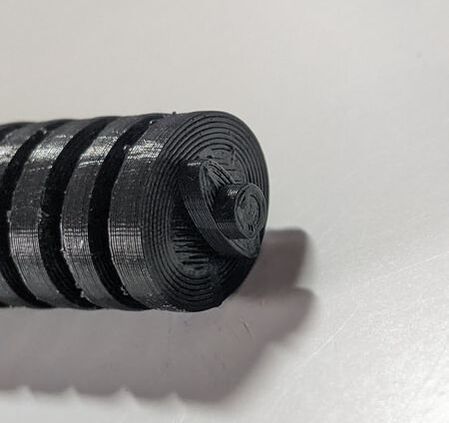
The flexibility of this design is perfect - it has the movement side to side as desired but not up and down. The joint mechanism is shown glued below and is a success! Image coming...
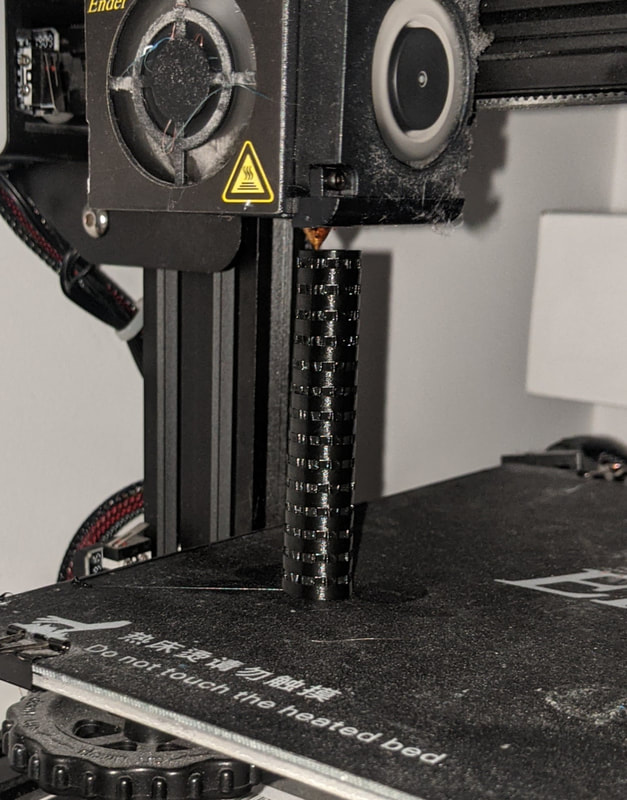
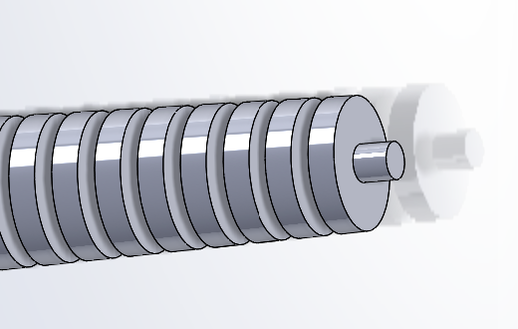
 3D modelled and printed tail experimentThis model was important to see how the printer handled the flexible filament. I had to set up the print vertically so the flat face was on the print bed: I learned that I love how flexible the result is but the printer doesn't. As the print gets closer to the top the TPU filament wobbles and effects print quality. To solve this I now know I need to print in even smaller sections to help with stability.
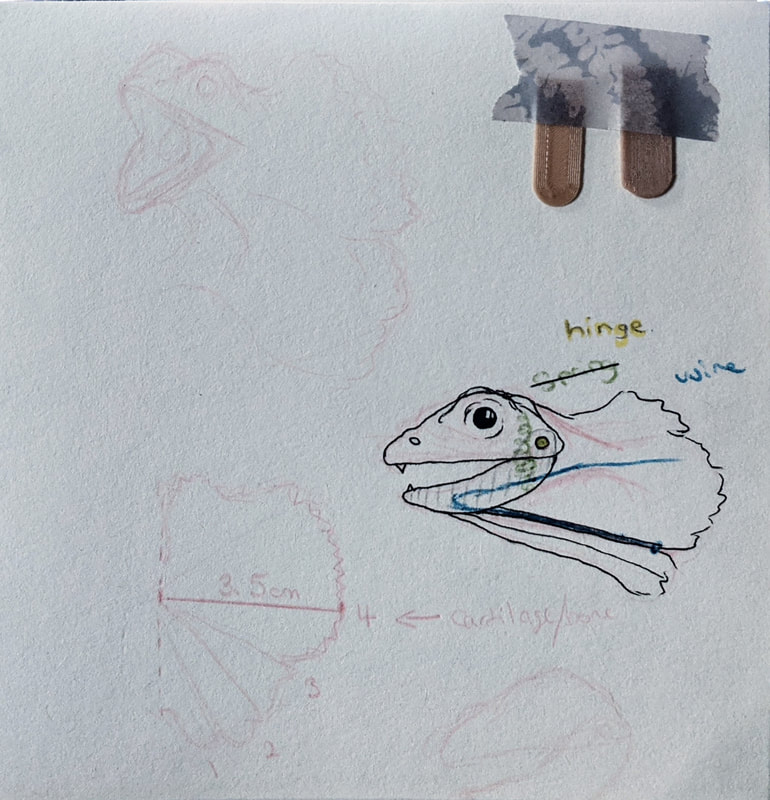
Further Sketches....Left sketches of the frill design and two test print samples using the same filament but at 1mm and 0.5mm thickness. The 1mm was too thick to be soft and flexible, the 0.5mm had a good softness - I want to digitally model and print the frill design as is to see how it moves and folds at this point. Right a new tail design and side profile of the puppet. The tail test print I found too flexible and lacked the control for the puppet: to solve this I am going to...
|