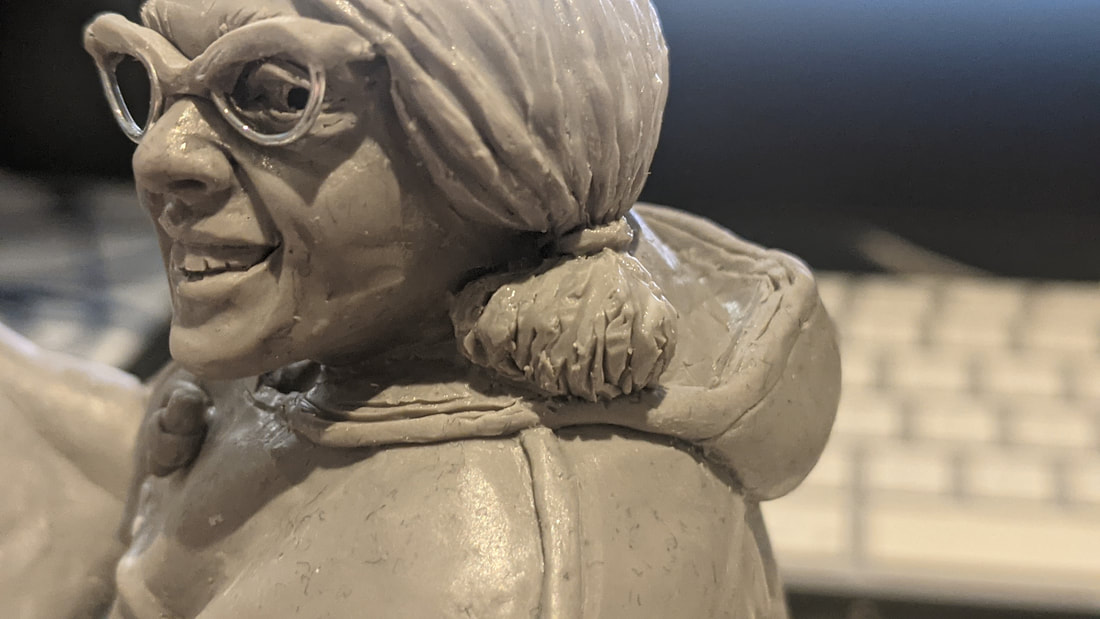
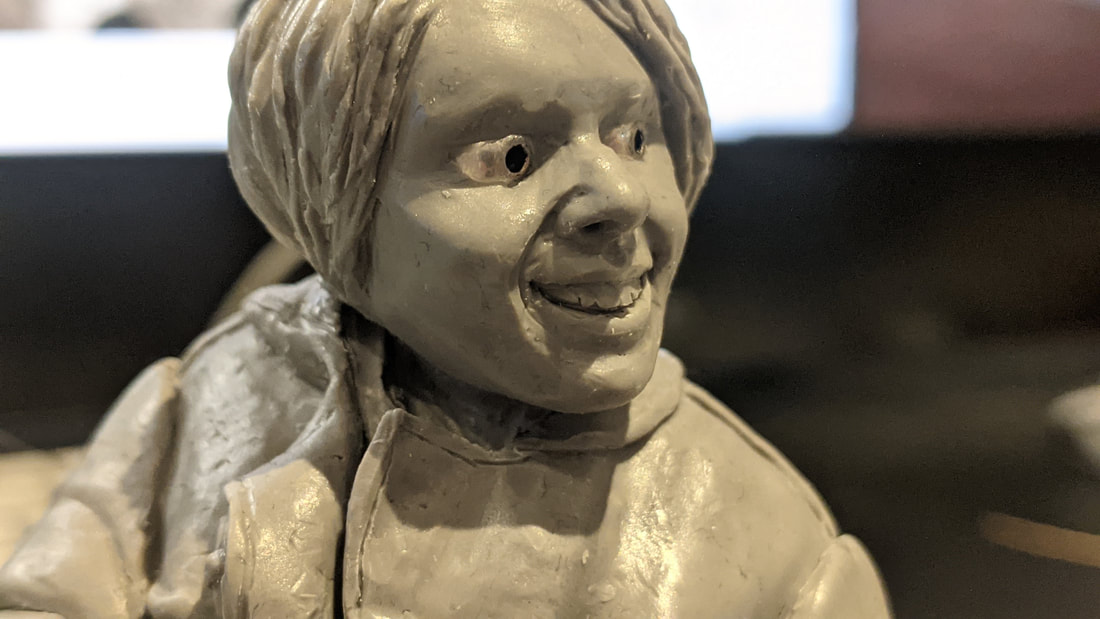
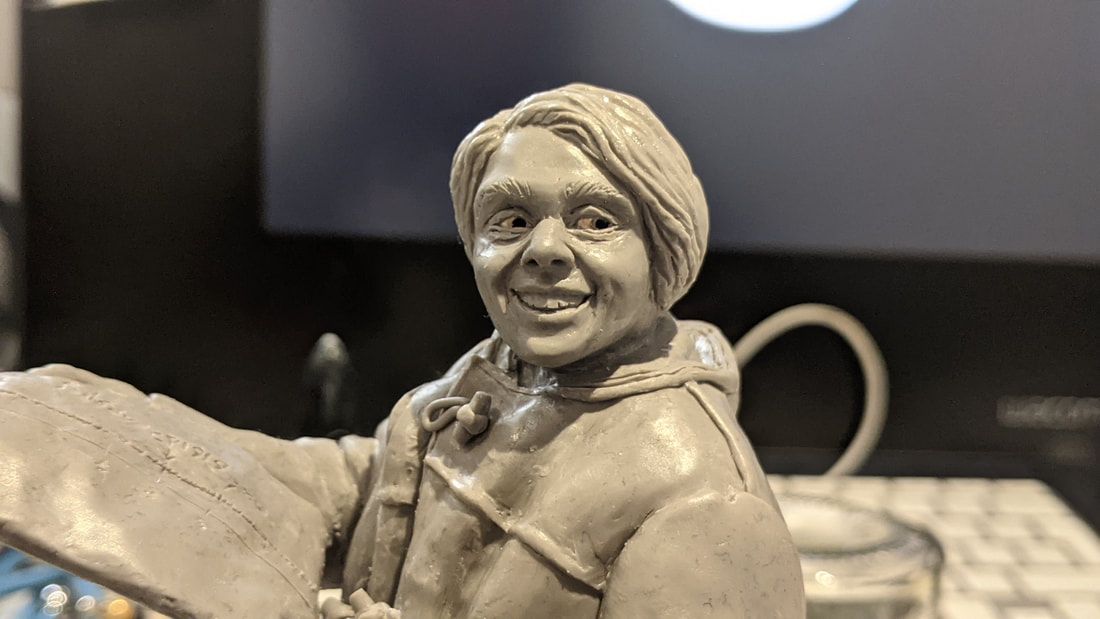
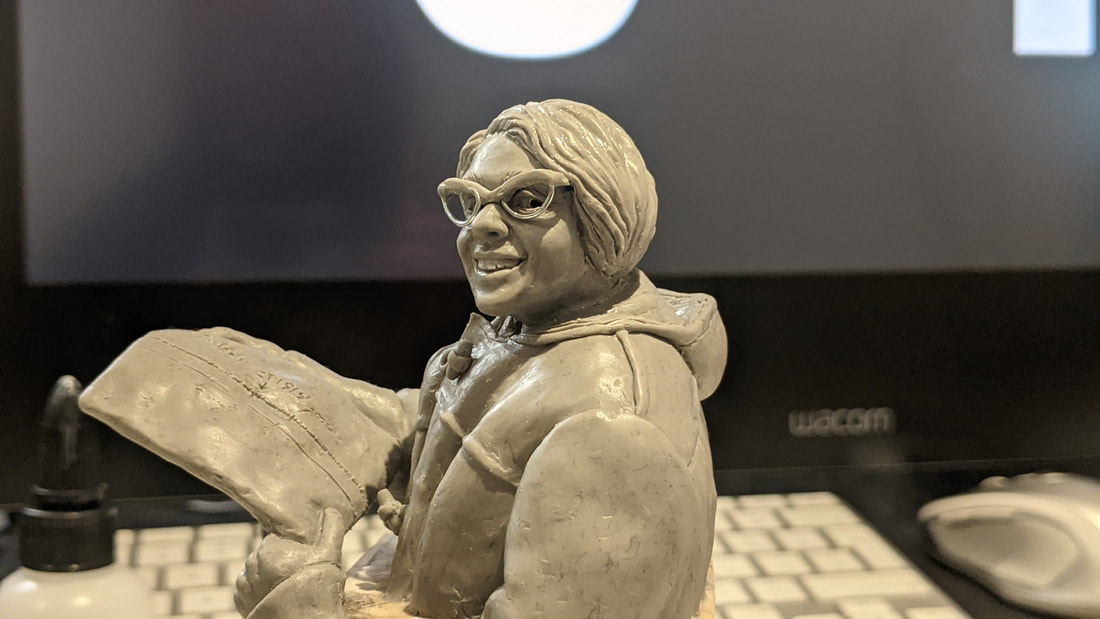
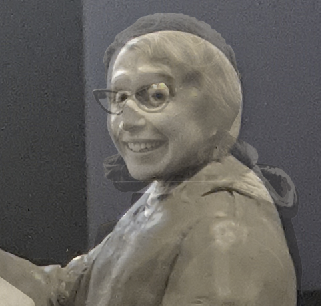
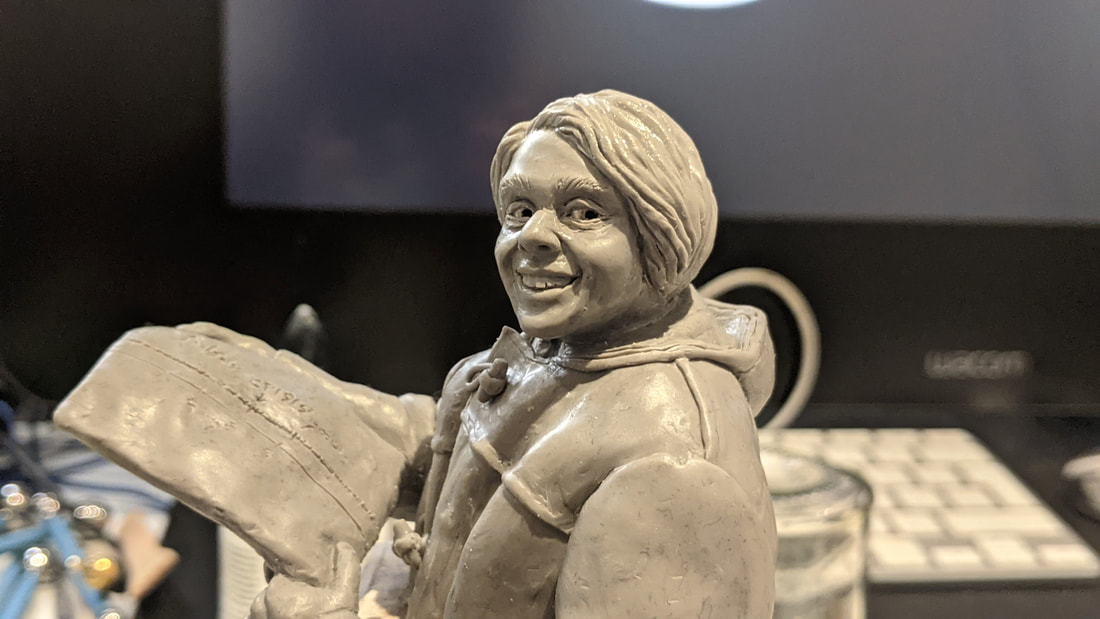
Hair progress
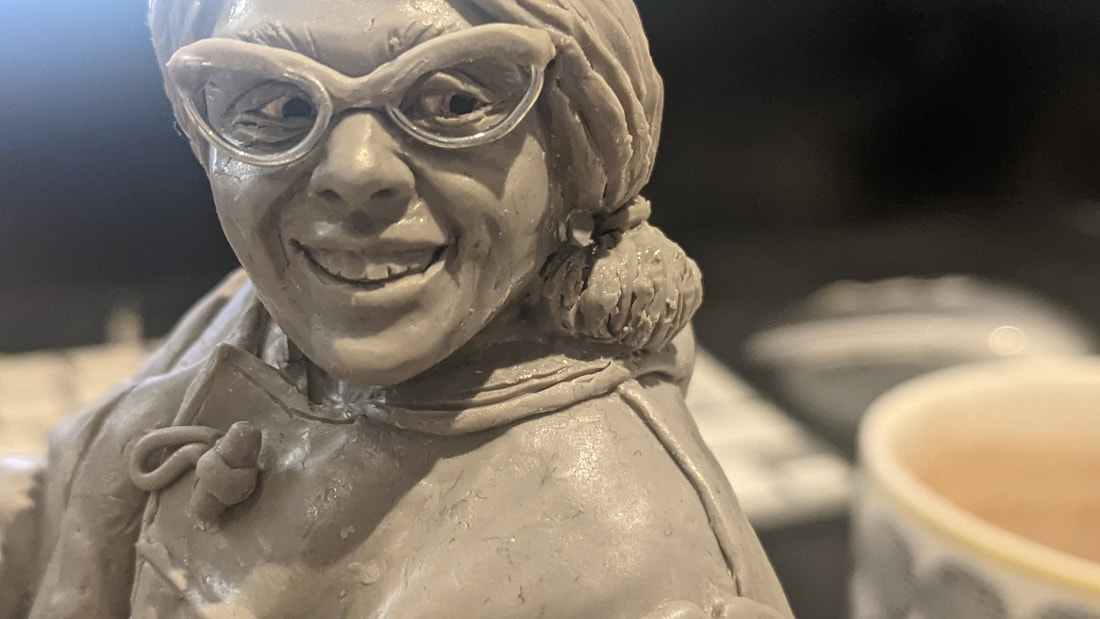
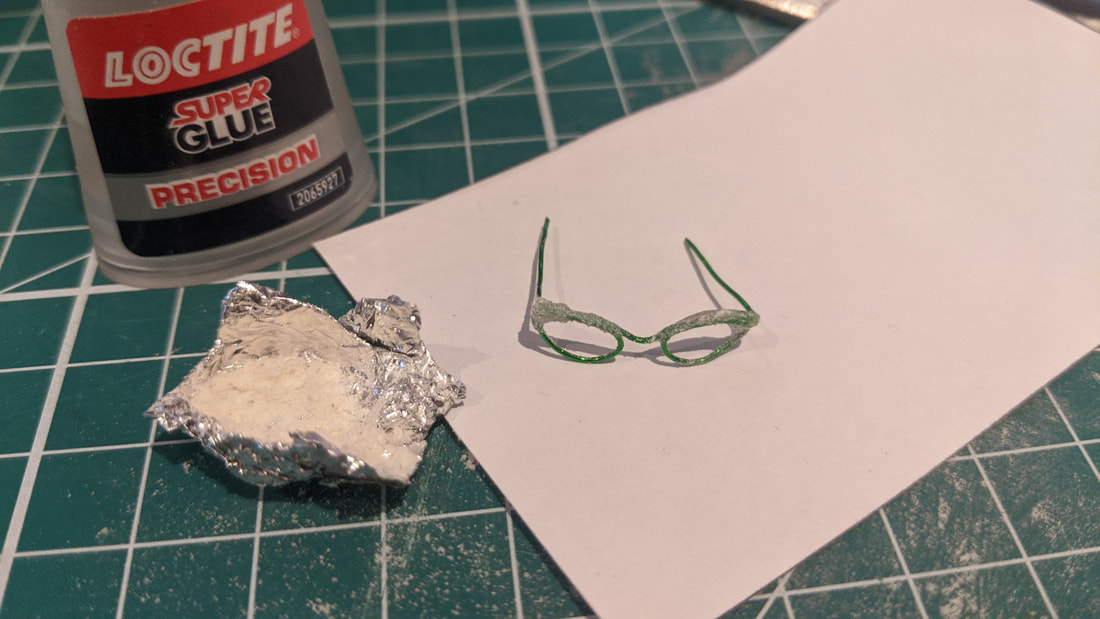
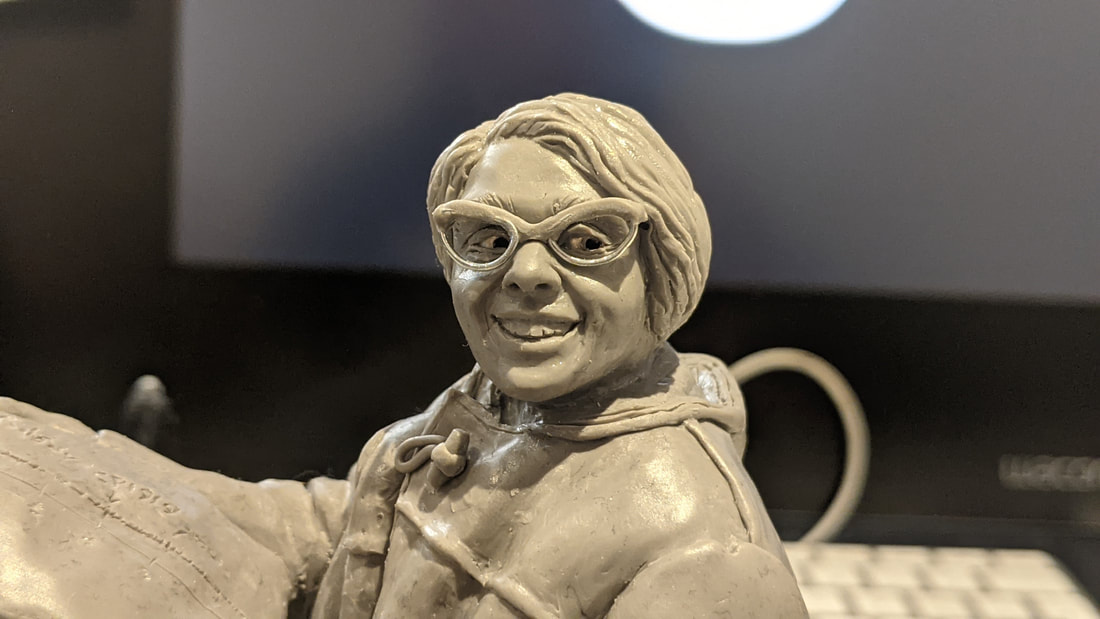
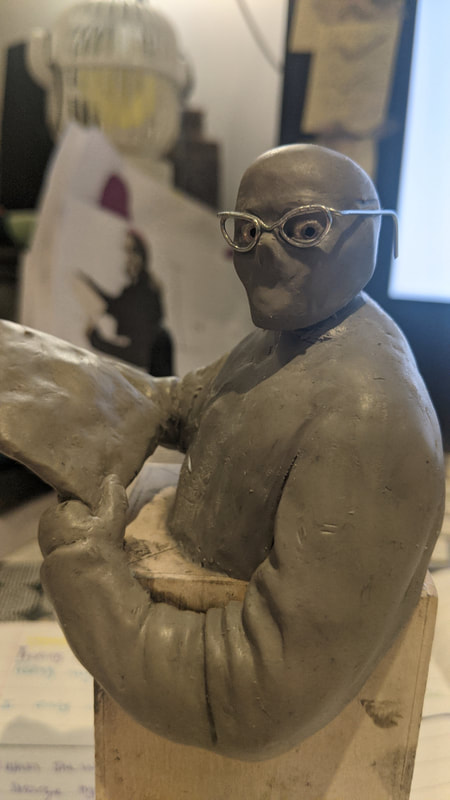
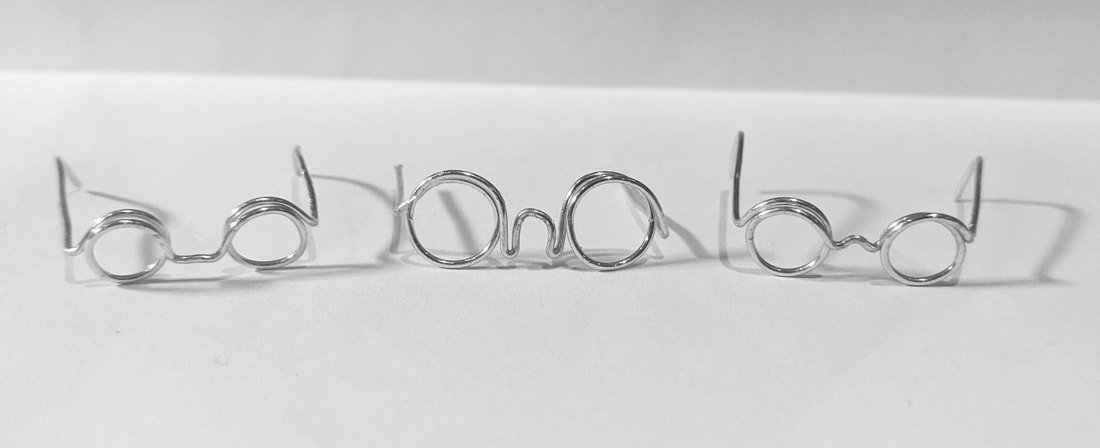
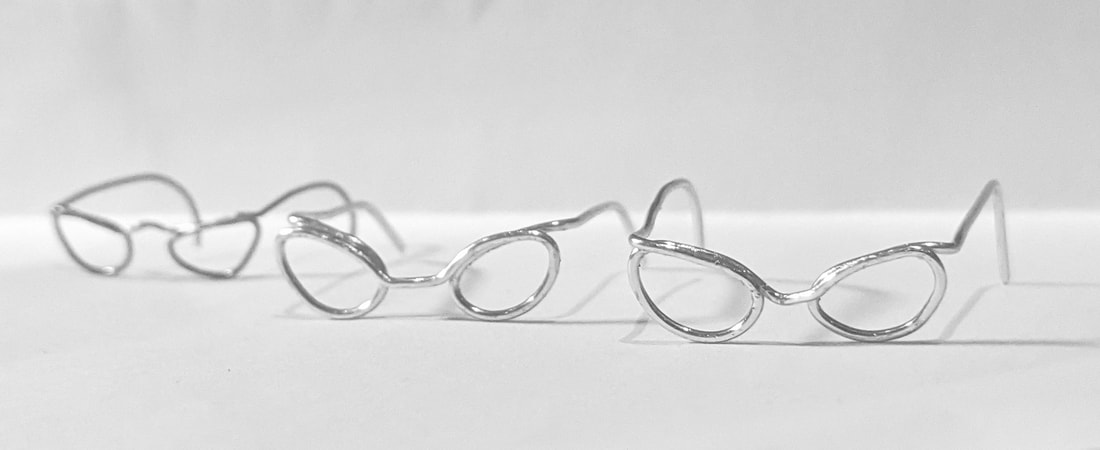
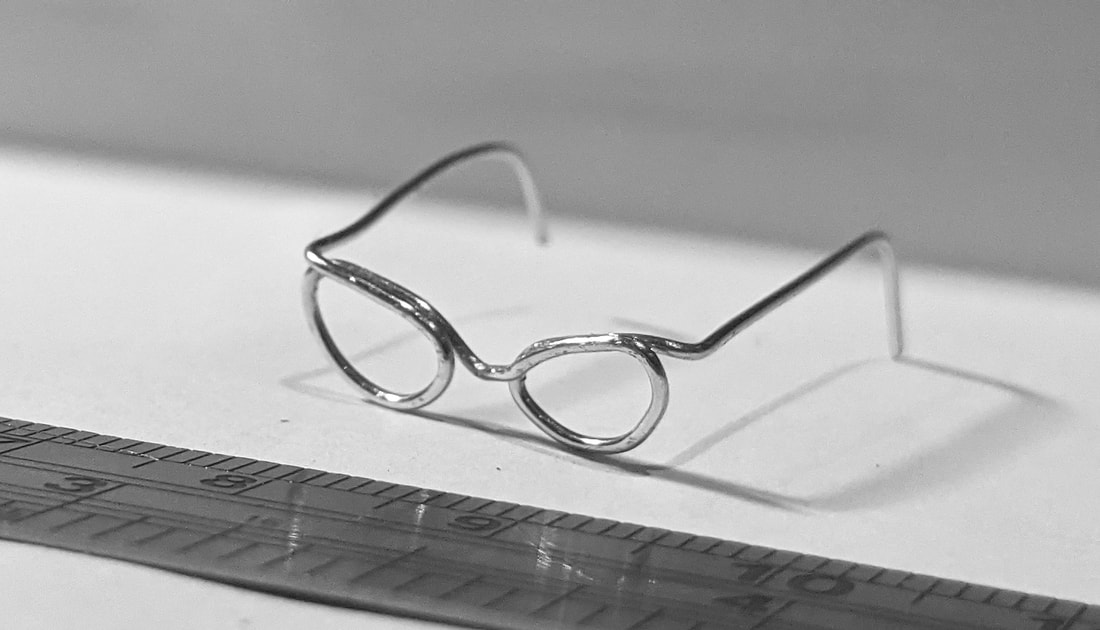
New glassesHere is the glasses without the Sculpey but I felt the frames were too heavy.... 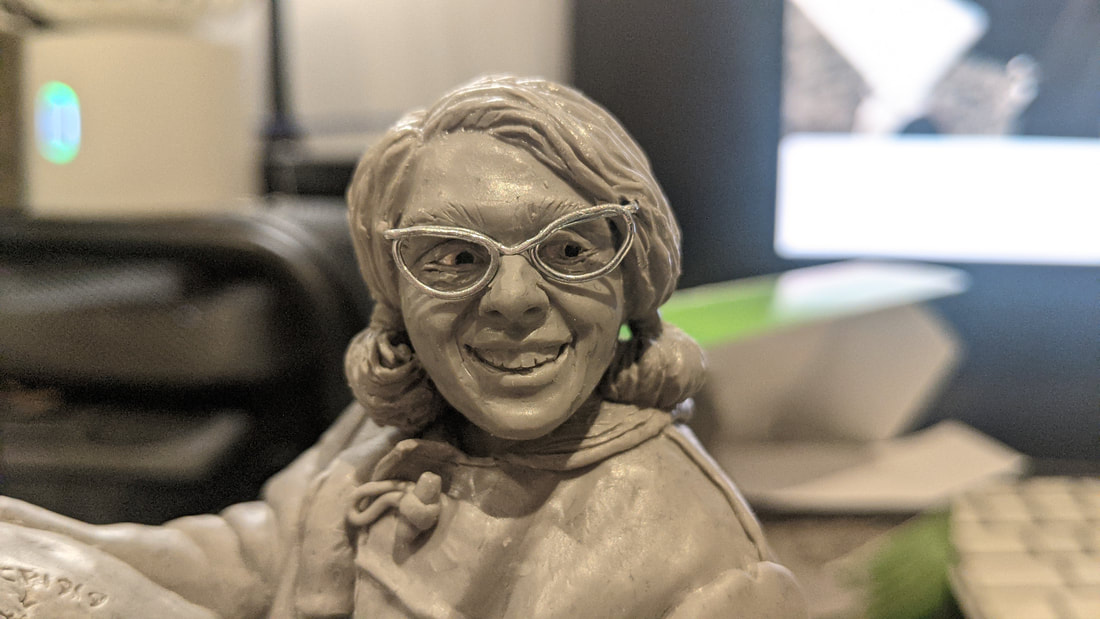 Below is the thinner wire glasses but the top is strengthened and bulked out with a mixture of super glue and flour.
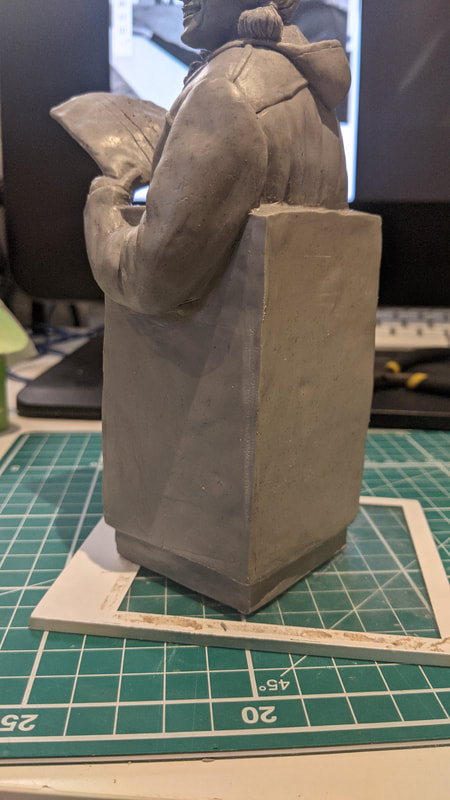
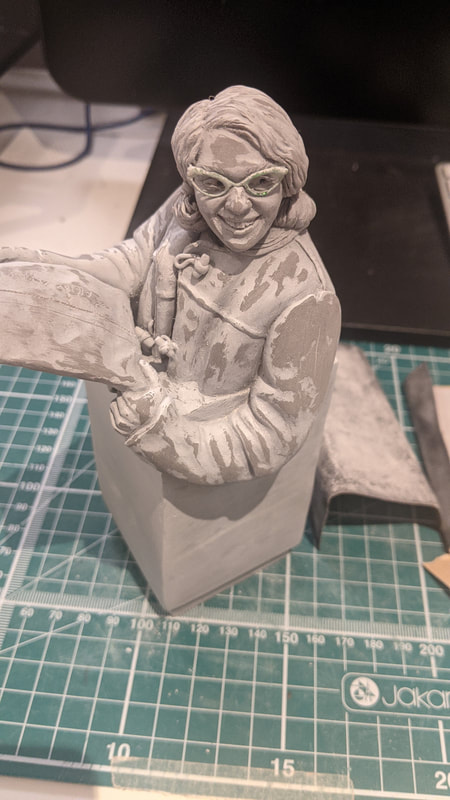
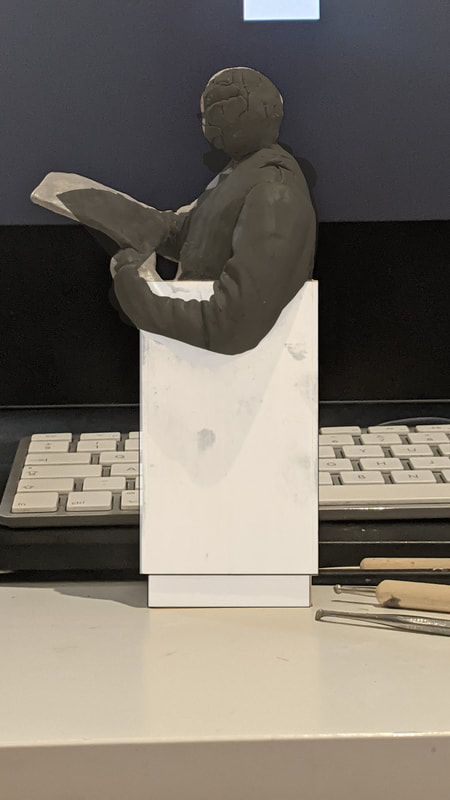
Priming and SandingOne coat of primer, sanded back:
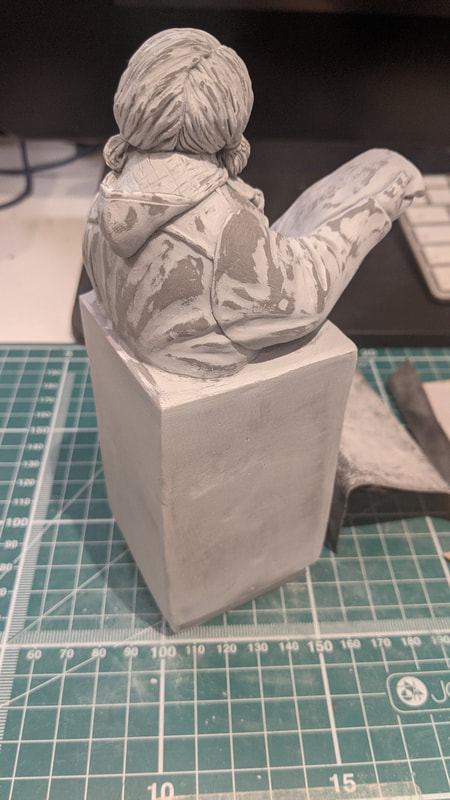
 Three coats of primer later, sanding each time, I arrive here! I delibrately didn't sand all of the imperfections back as this is a representation of a statue that would be outdoors and naturally become dented and textured. Furthermore, when adding in the bronze and highlights these surface variations will shine and create a more interesting texture. 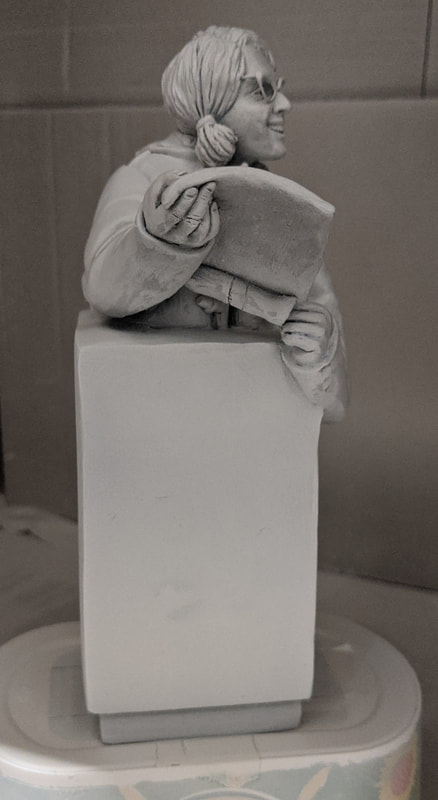
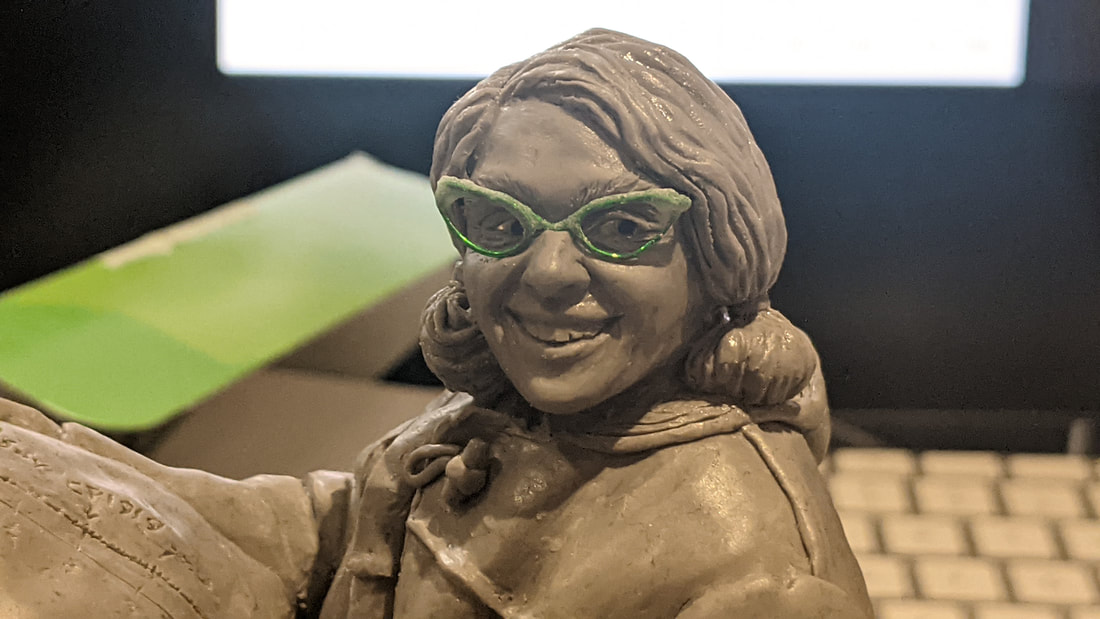
Above I am not happy with the thickness of the glasses so I will remove them and start sanding back further.
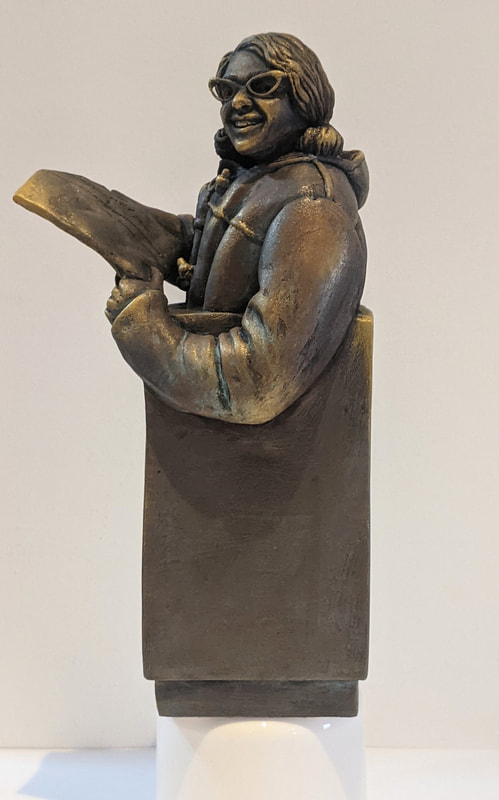
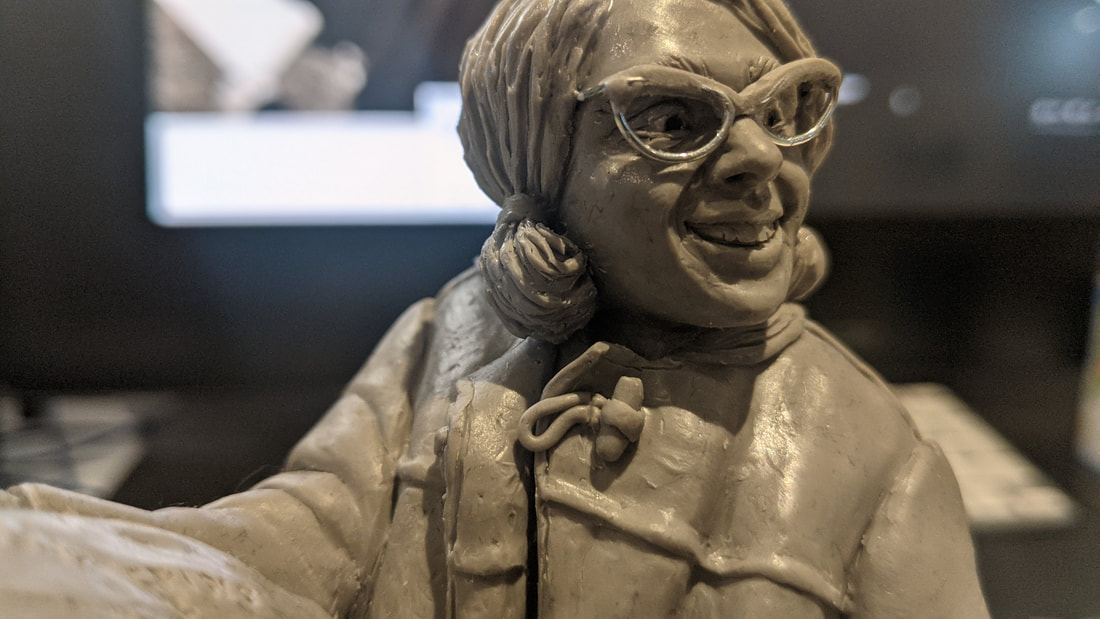
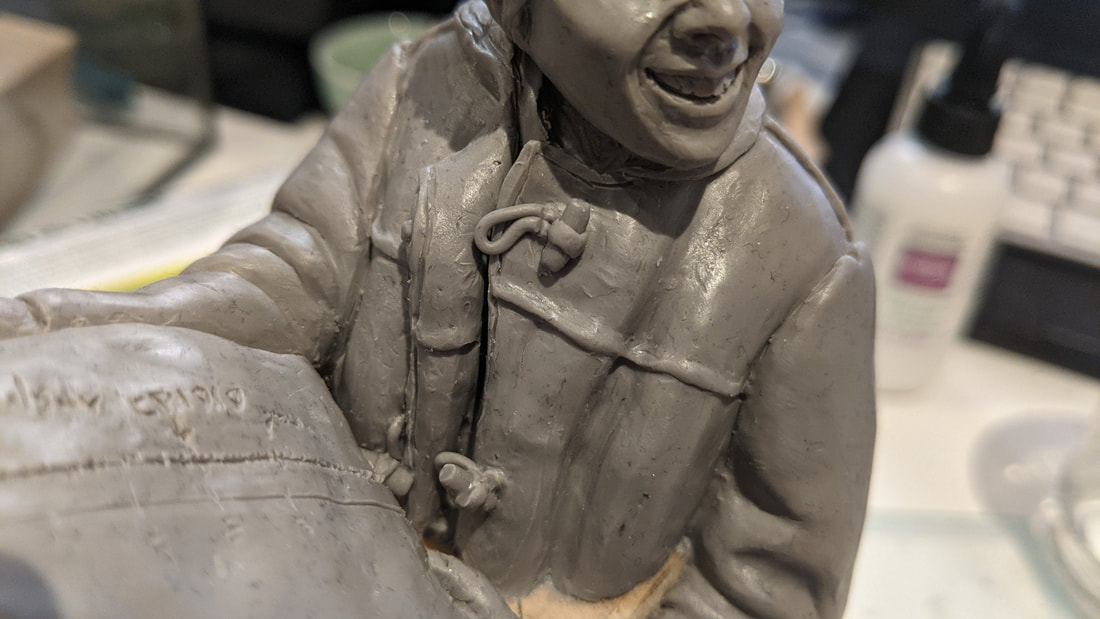
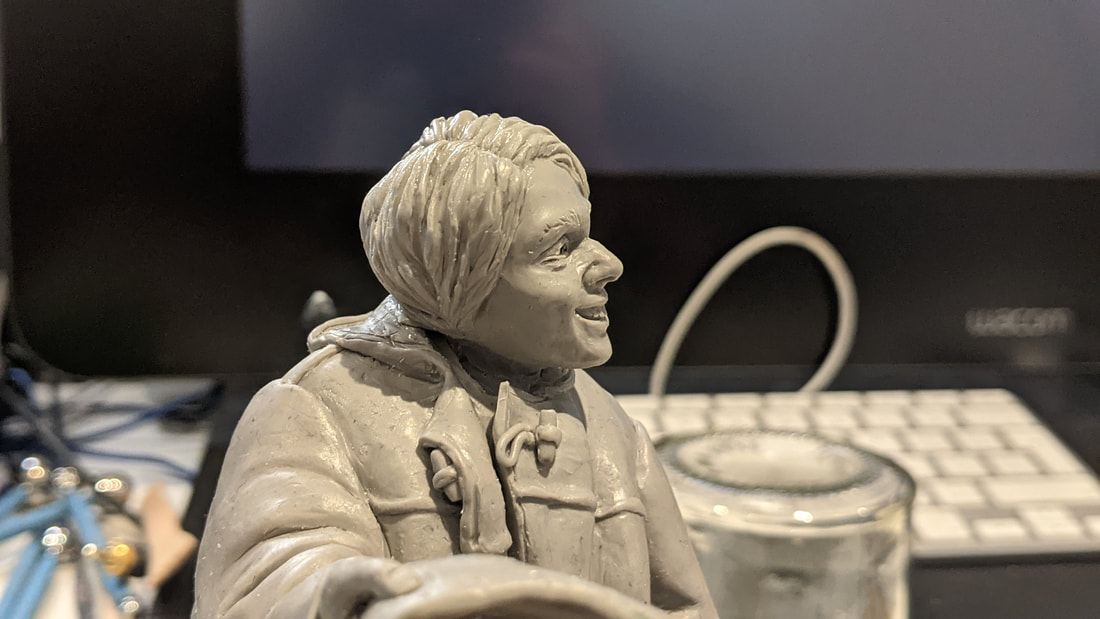
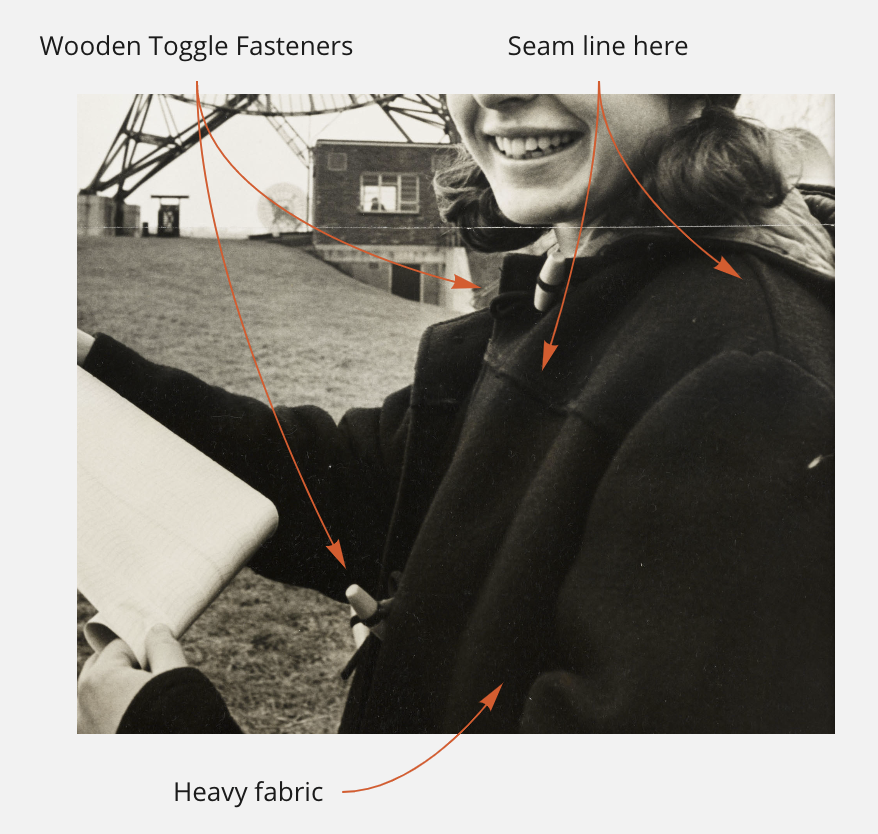
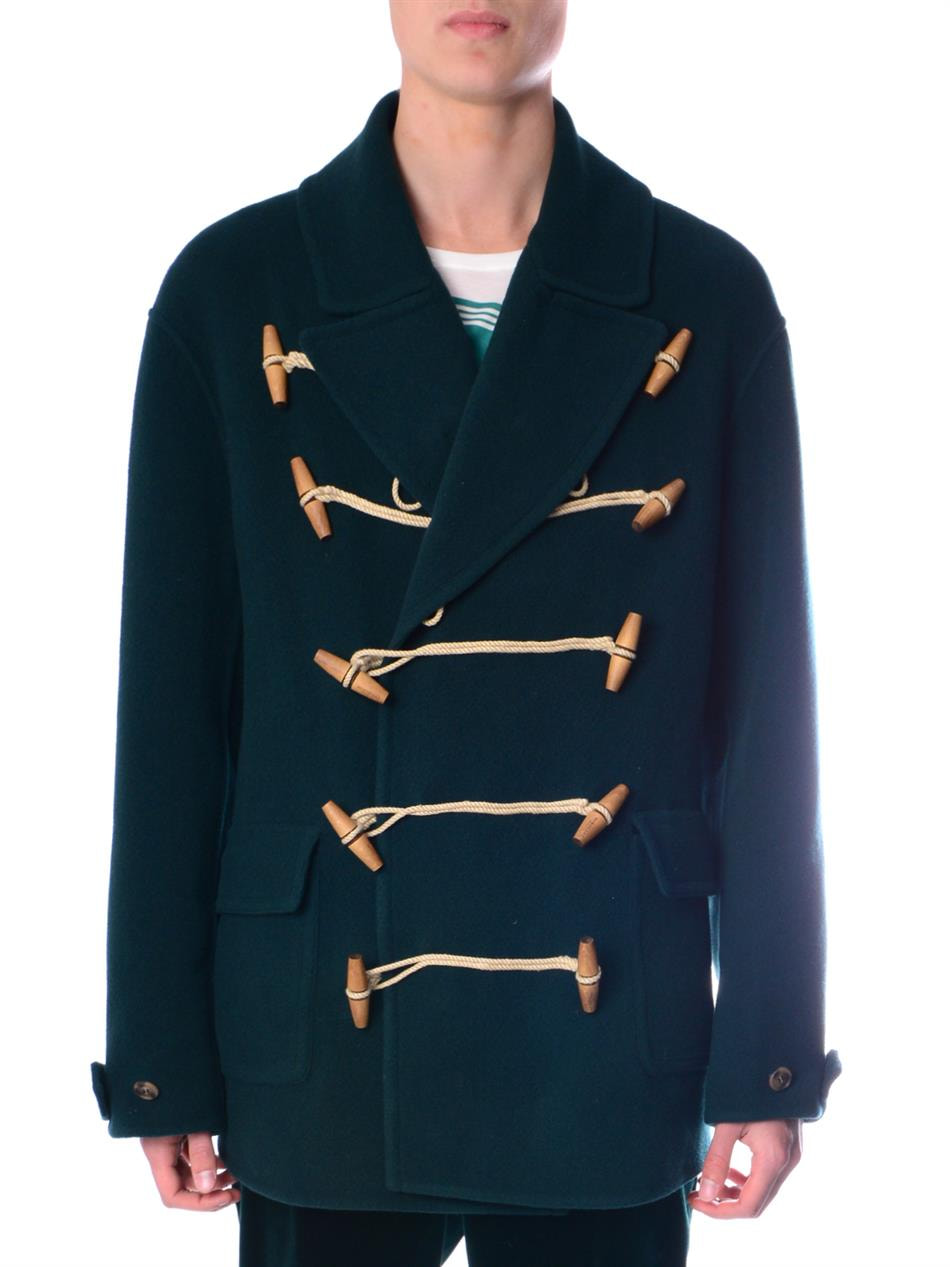
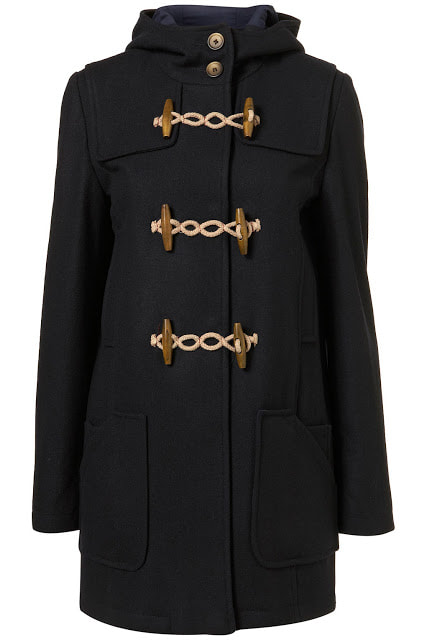
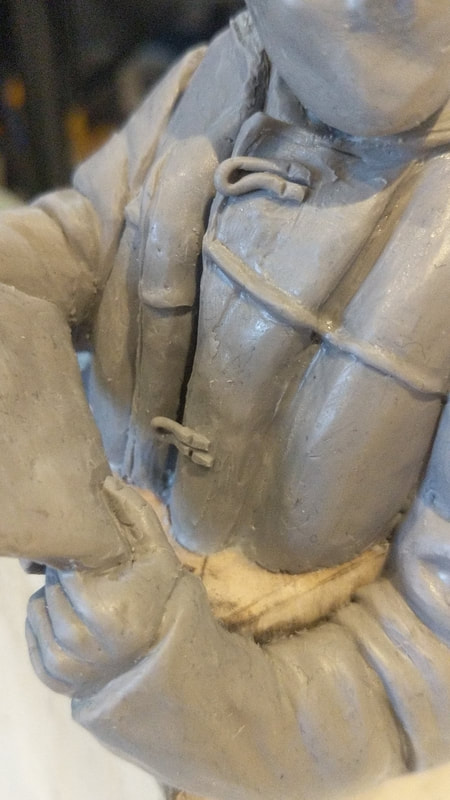
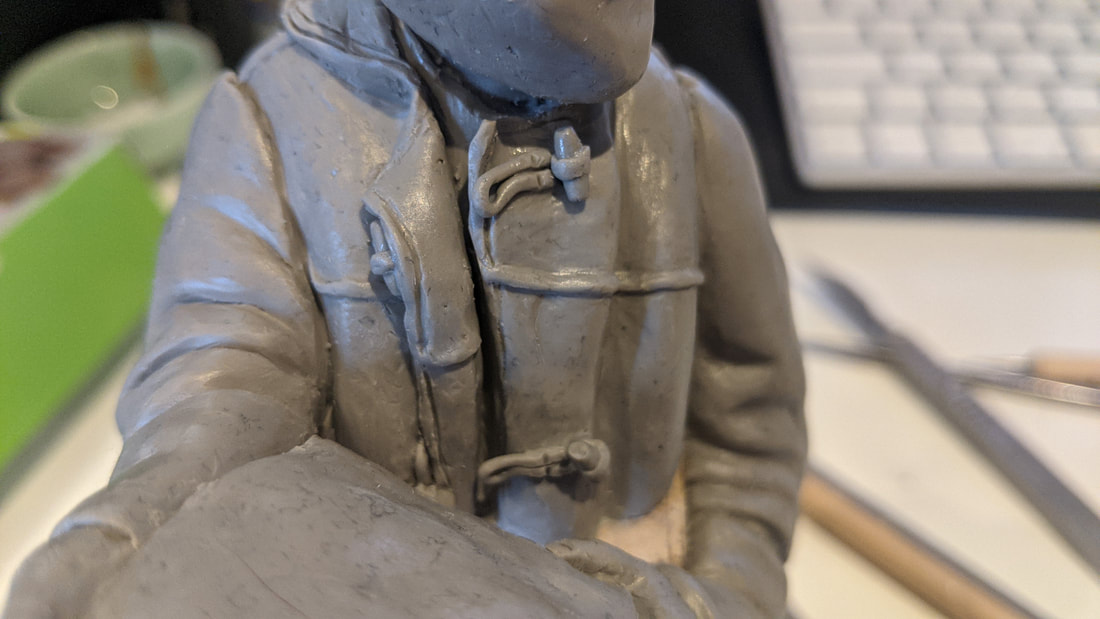
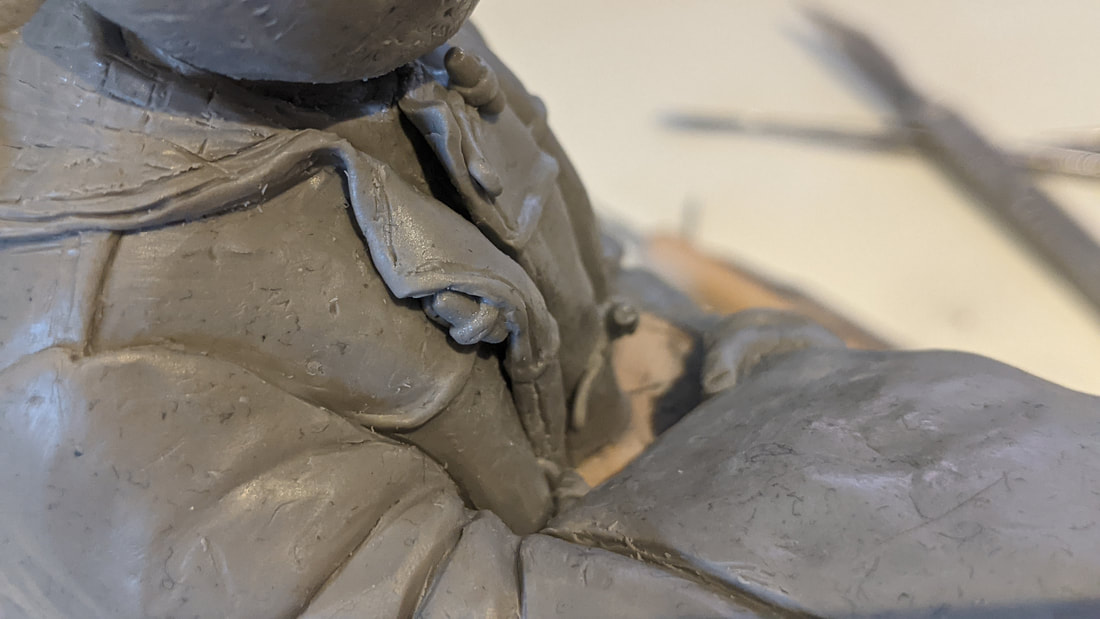
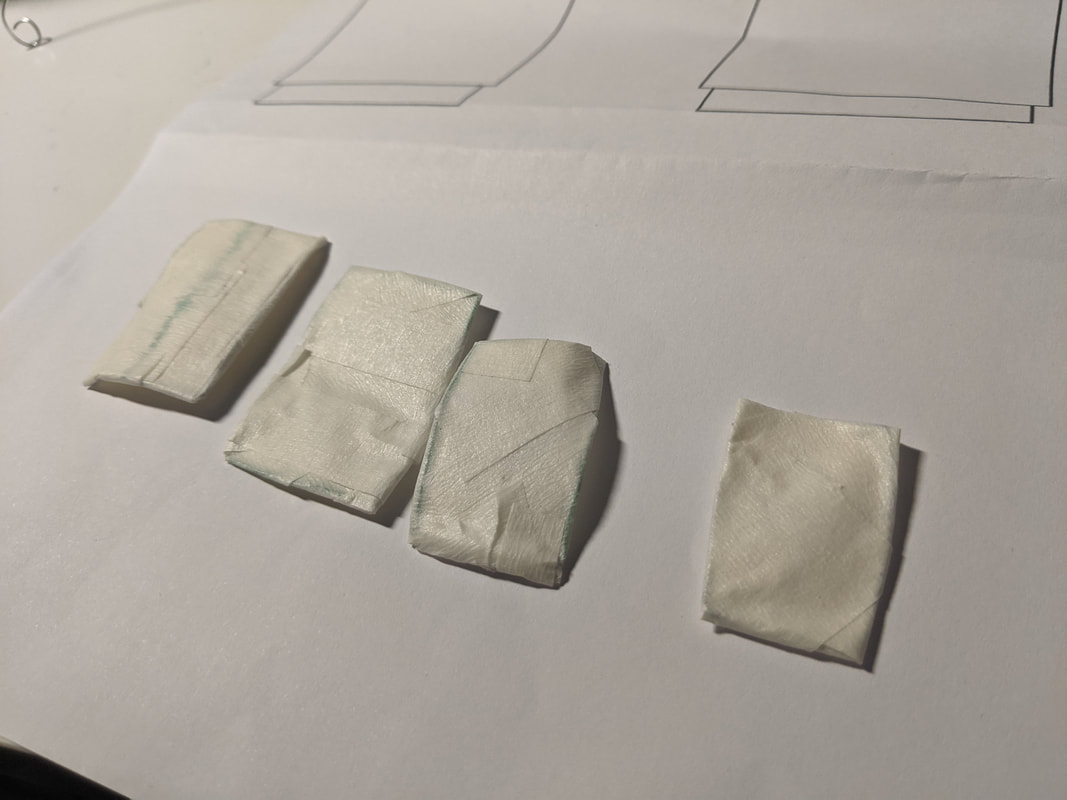
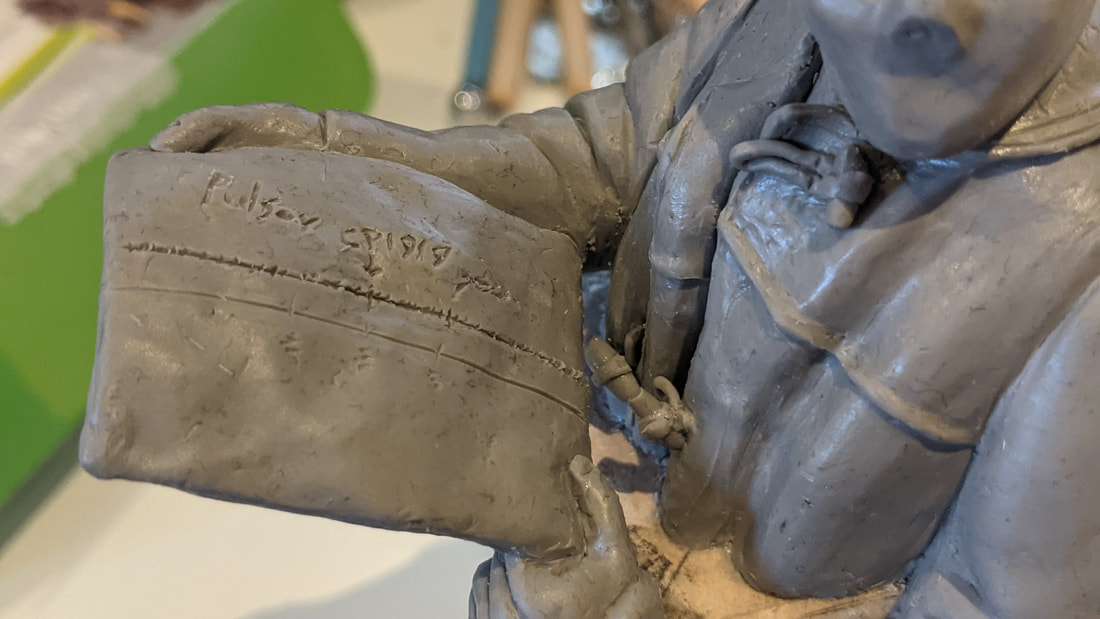
Below Left are the two most accurate fasteners to what JBB is wearing. There appears to be wooden toggles on both sides and a single loop coming from the left hand side to fasten to the right.
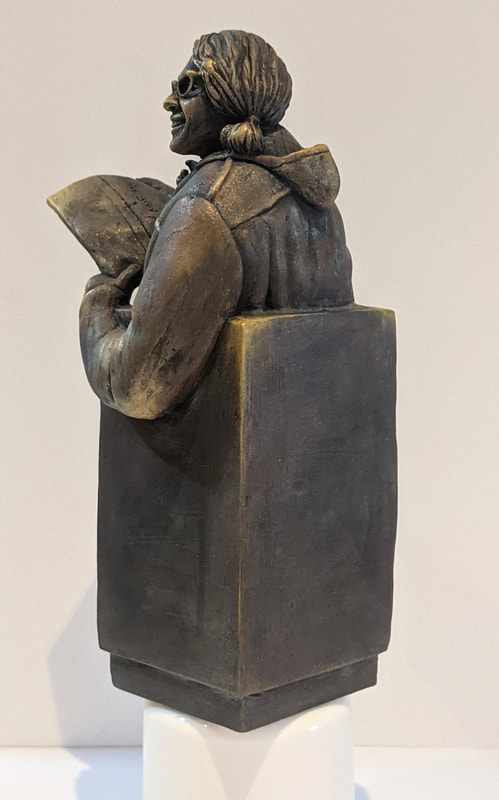
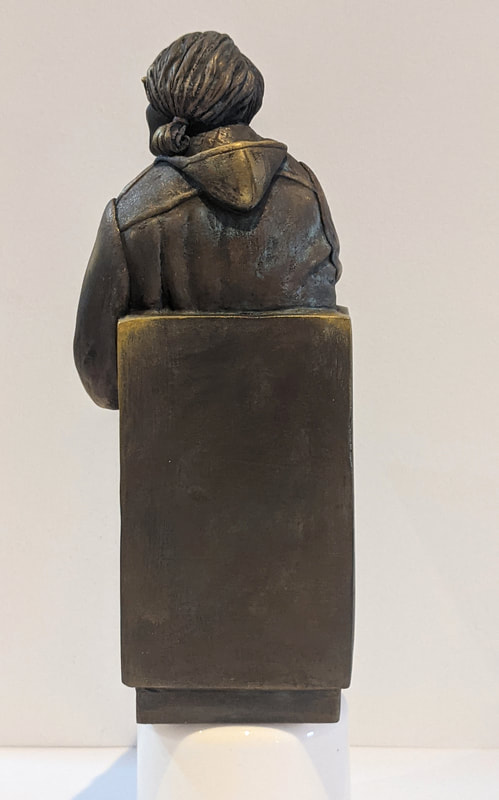
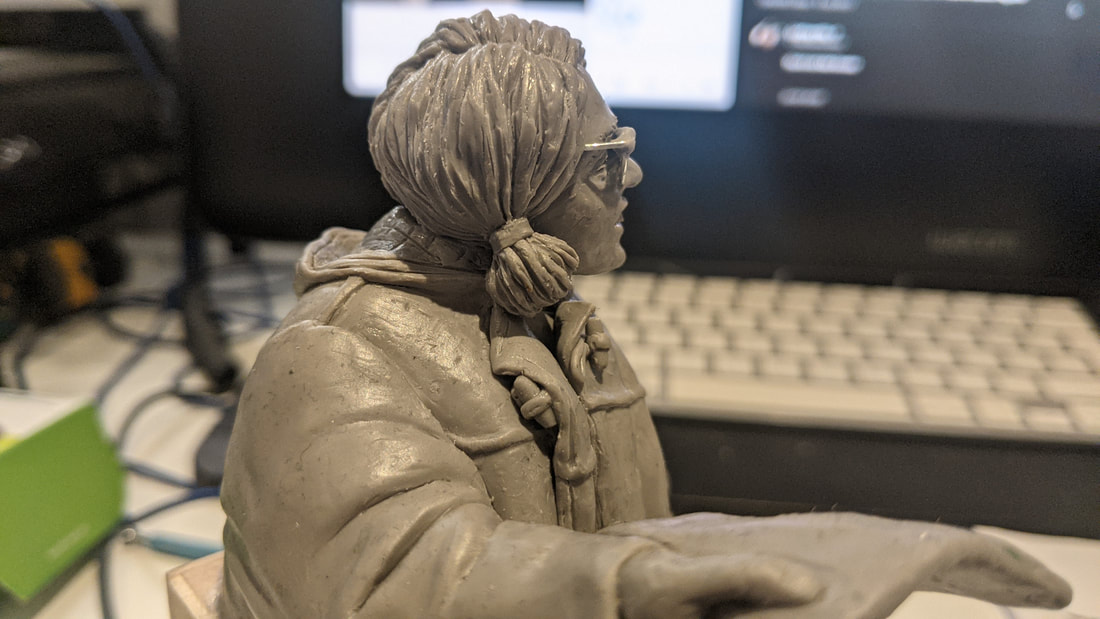
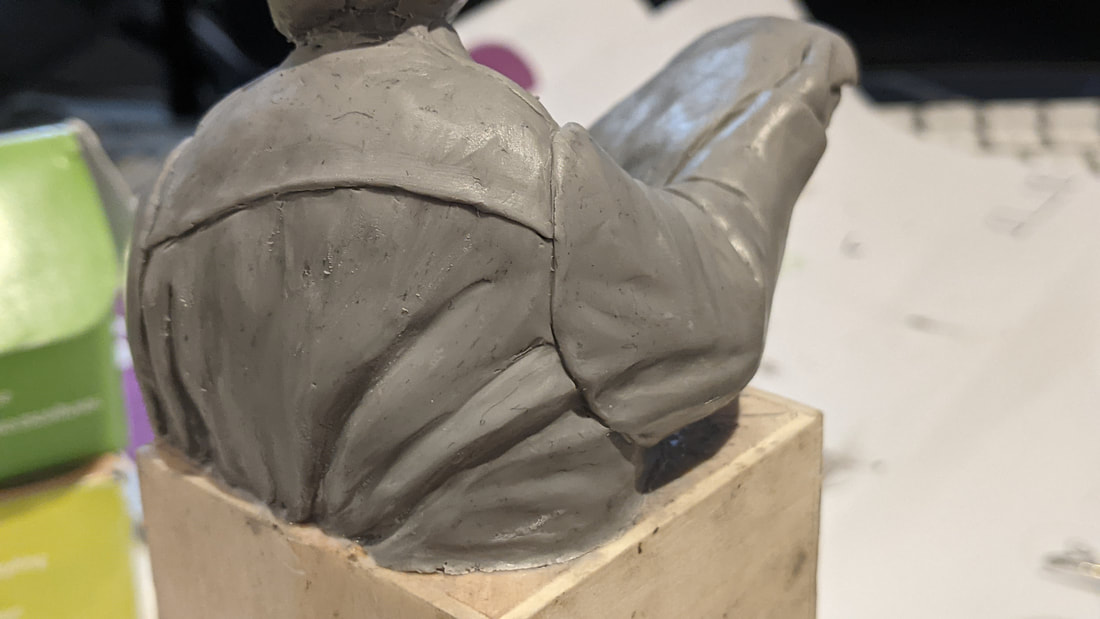
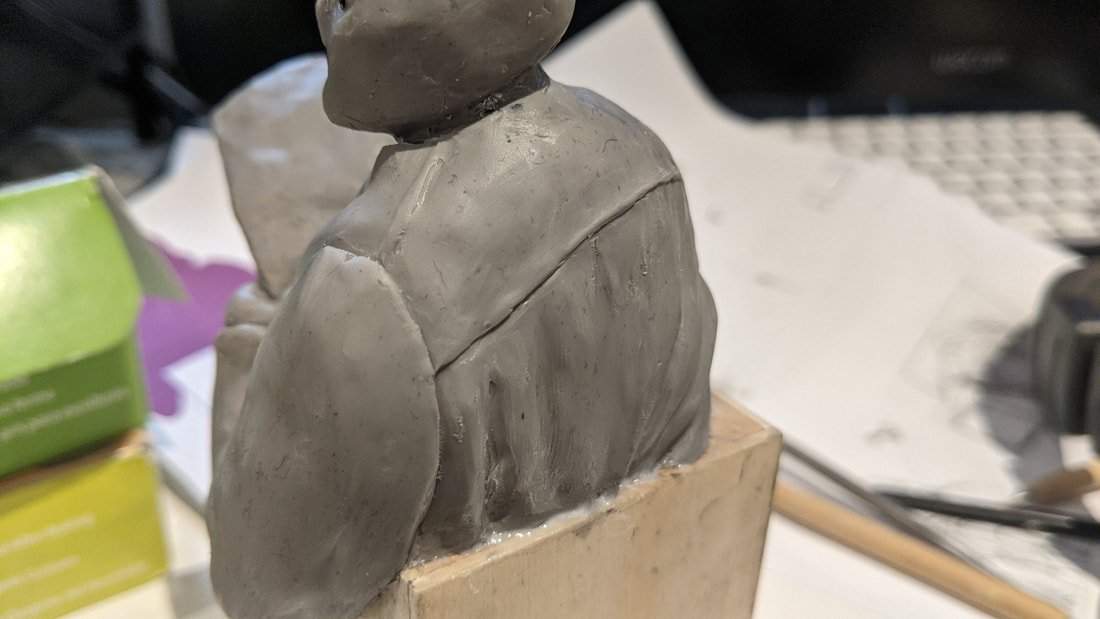
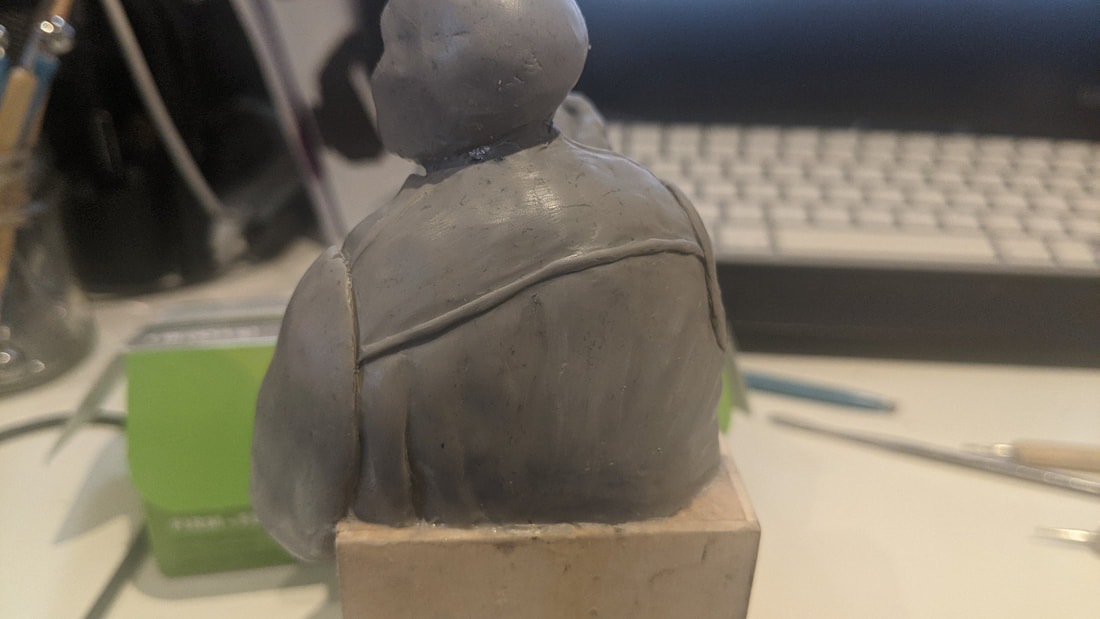
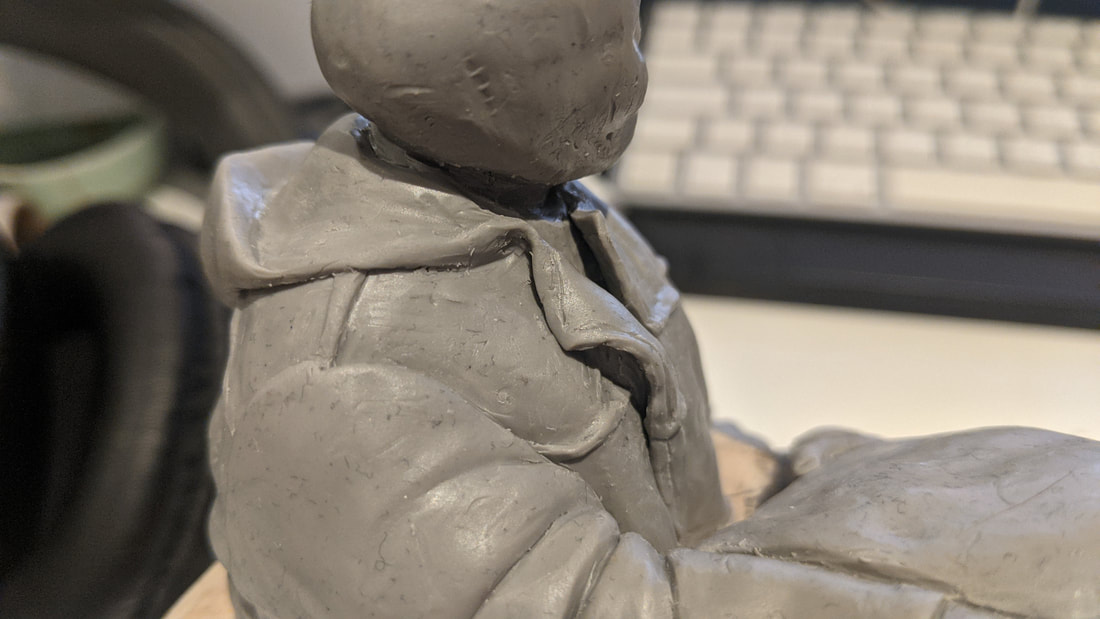
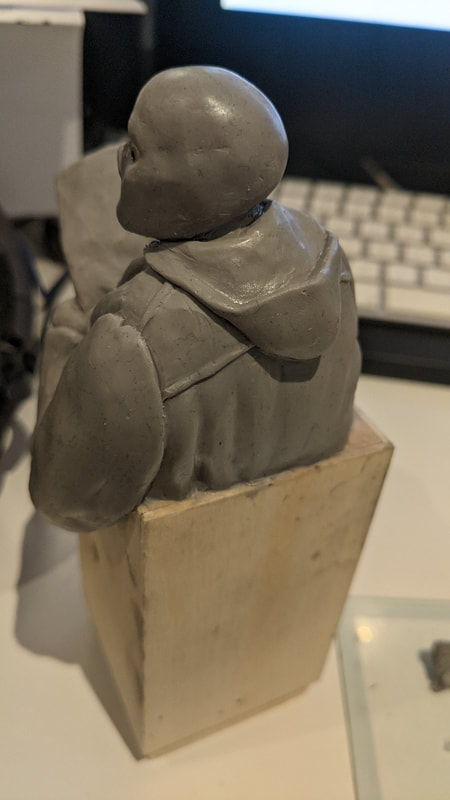
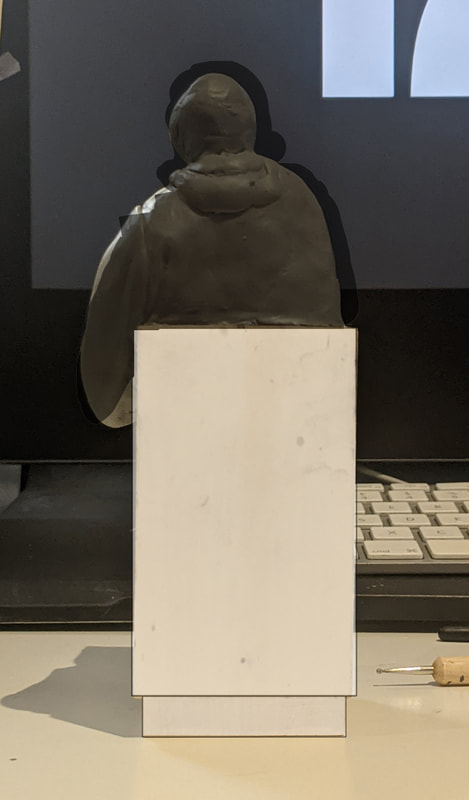
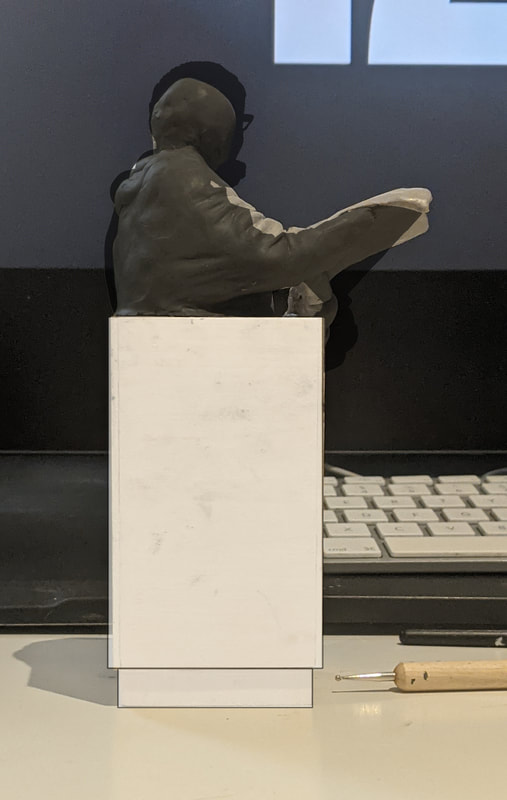
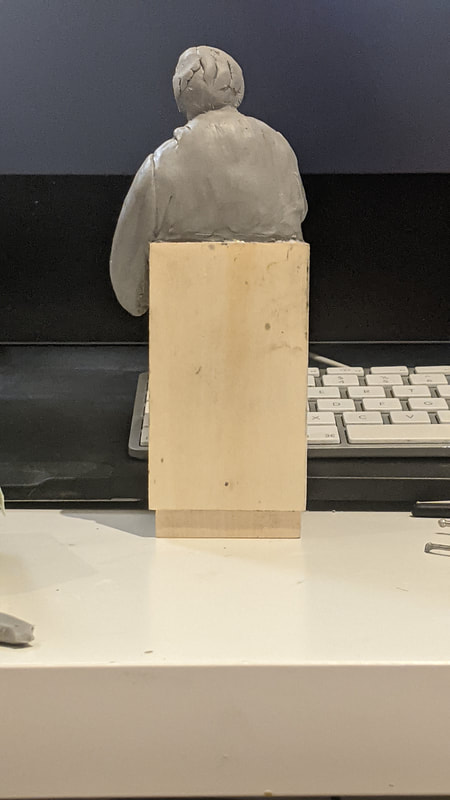
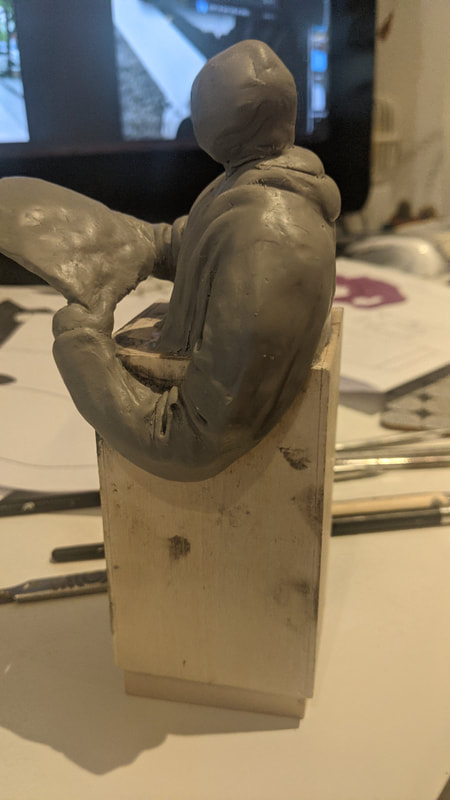
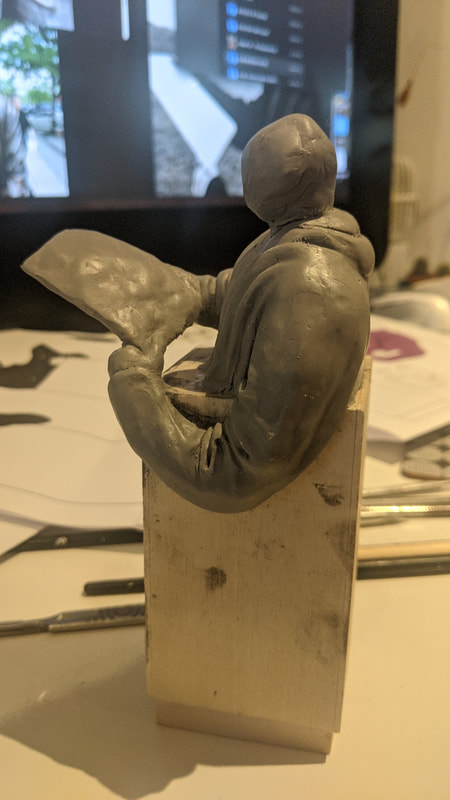
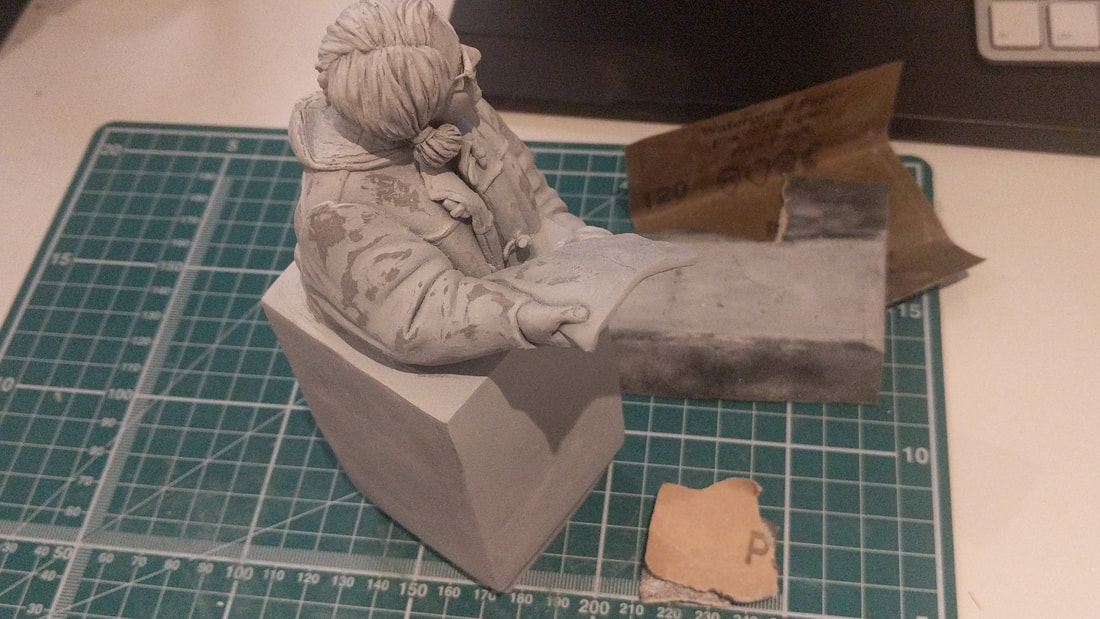
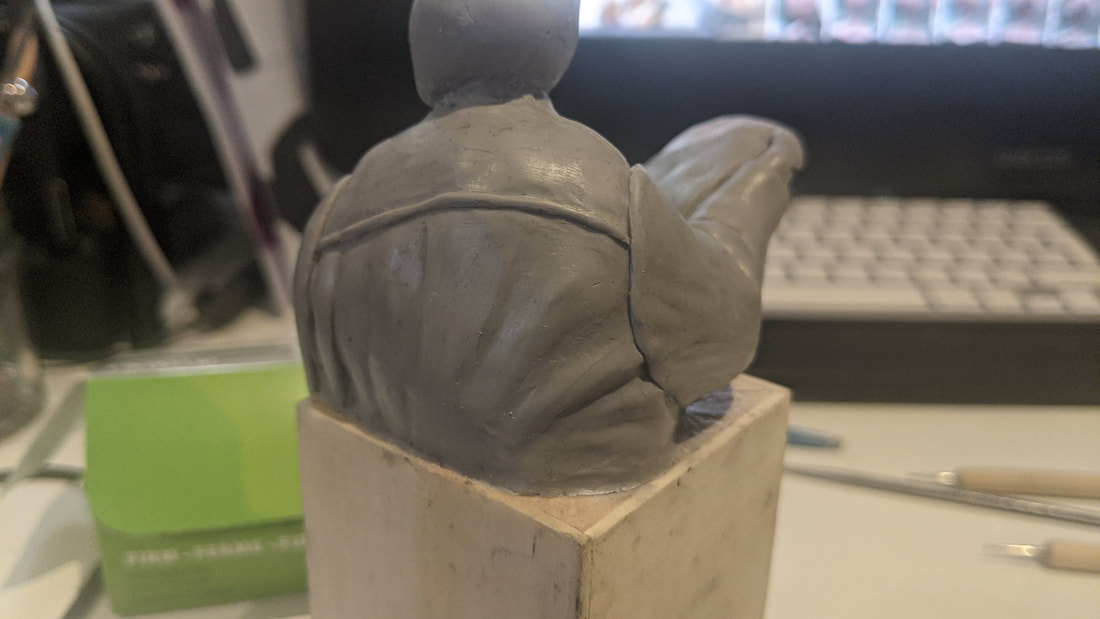
Above I am not happy with the folds on the back at this point so i will be reworking the folds. Below My smoothed out back to make it more subtle.
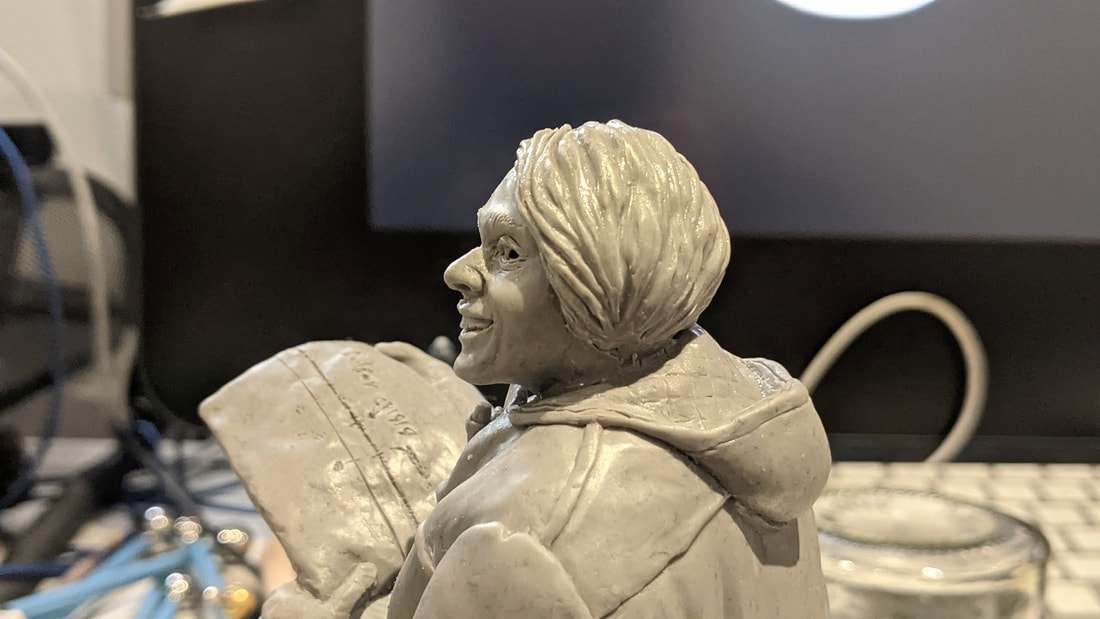
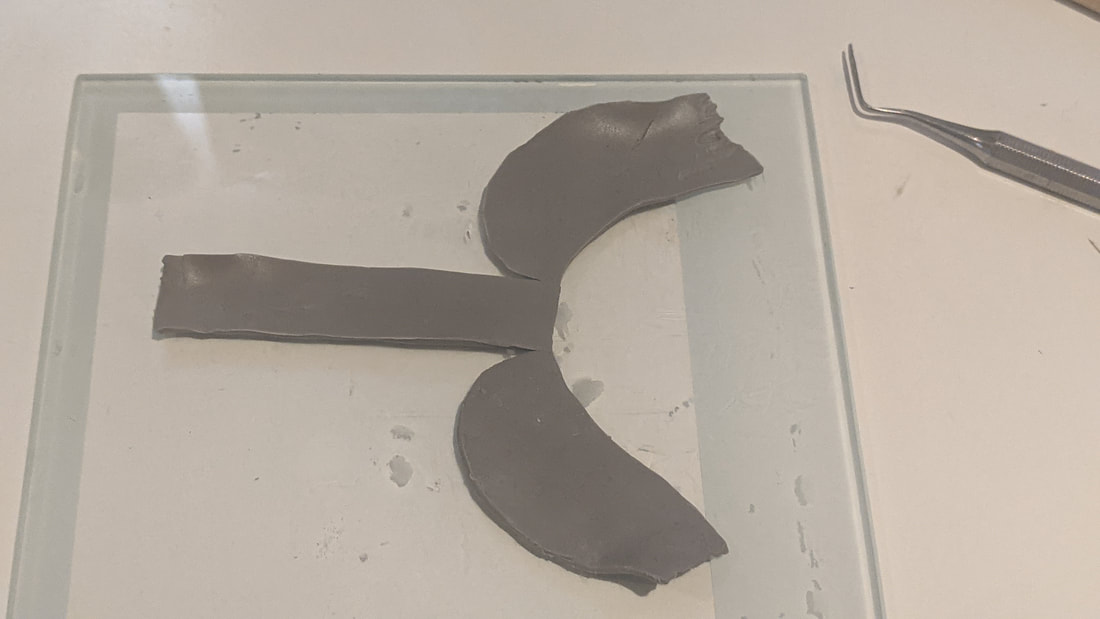
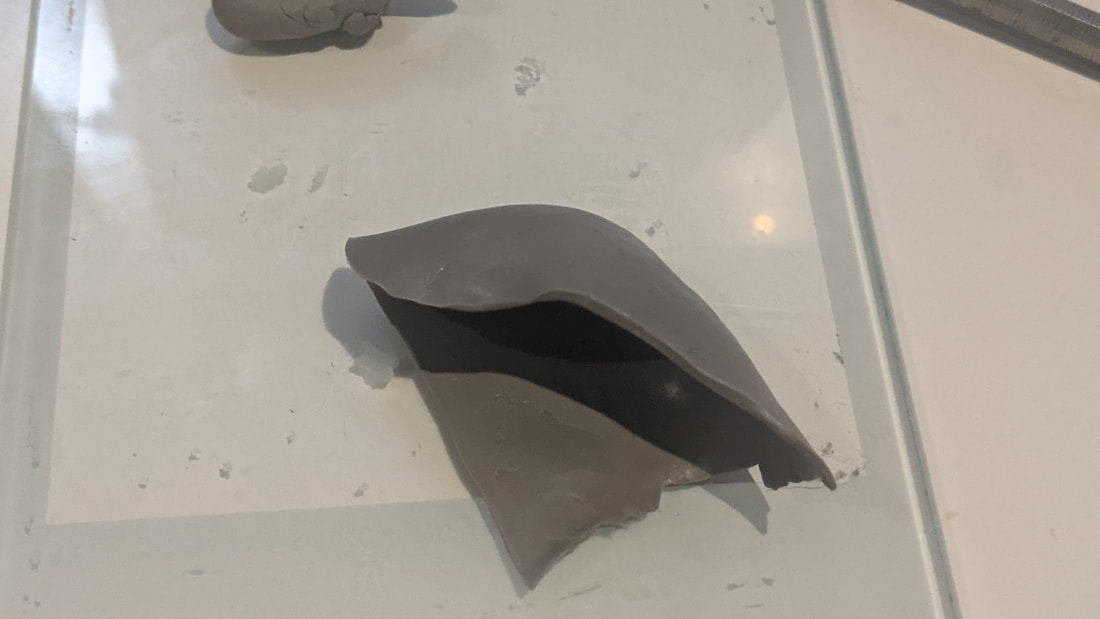
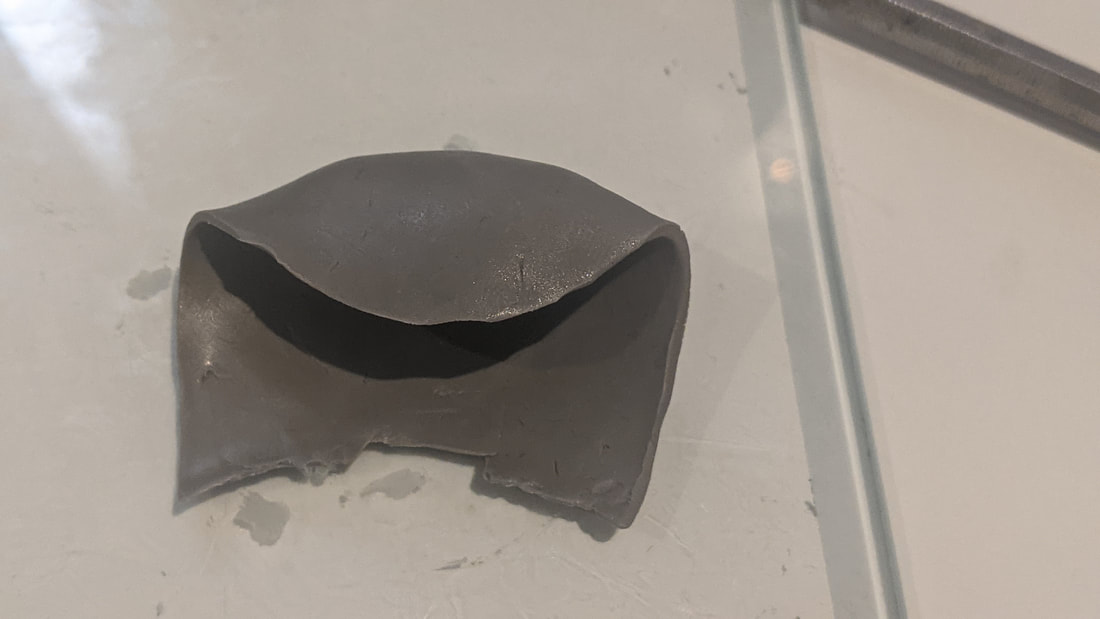
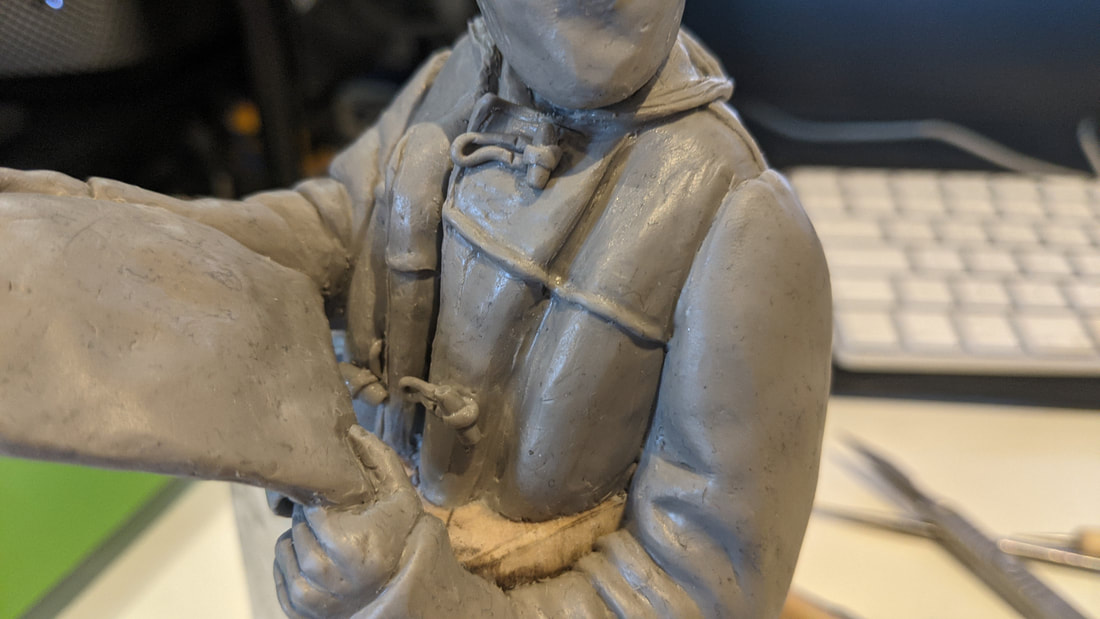
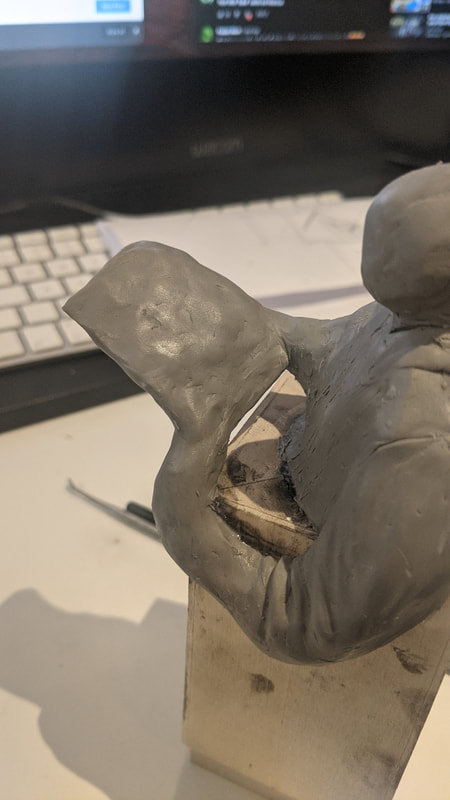
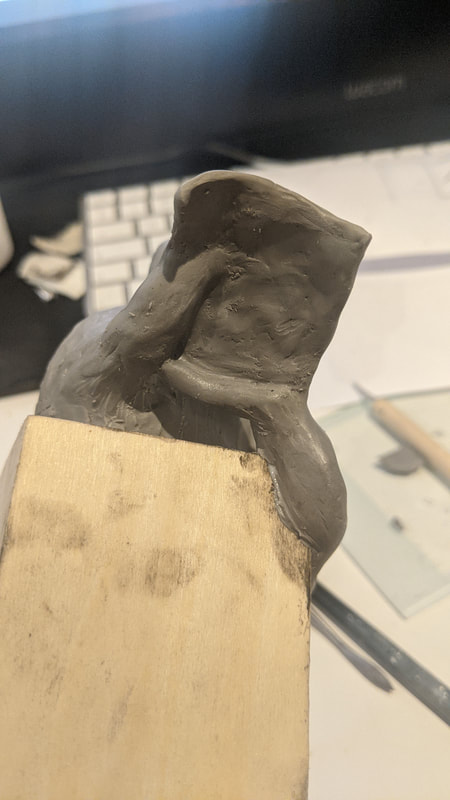
 An experiment for the hood, I ended up not going with this because it didn't work on the model. So, instead I simply layered up the shape I wanted with small bits of clay and then smoothed it all together. Next step for it is to add the seam lines and quilted effect to the lining.
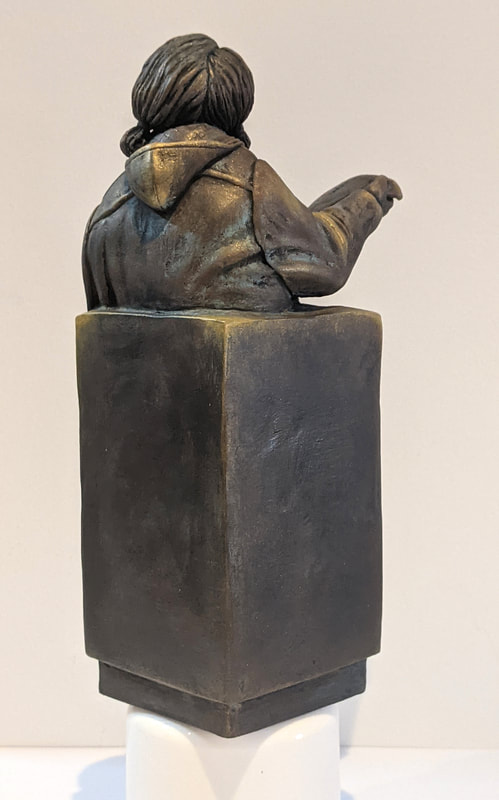
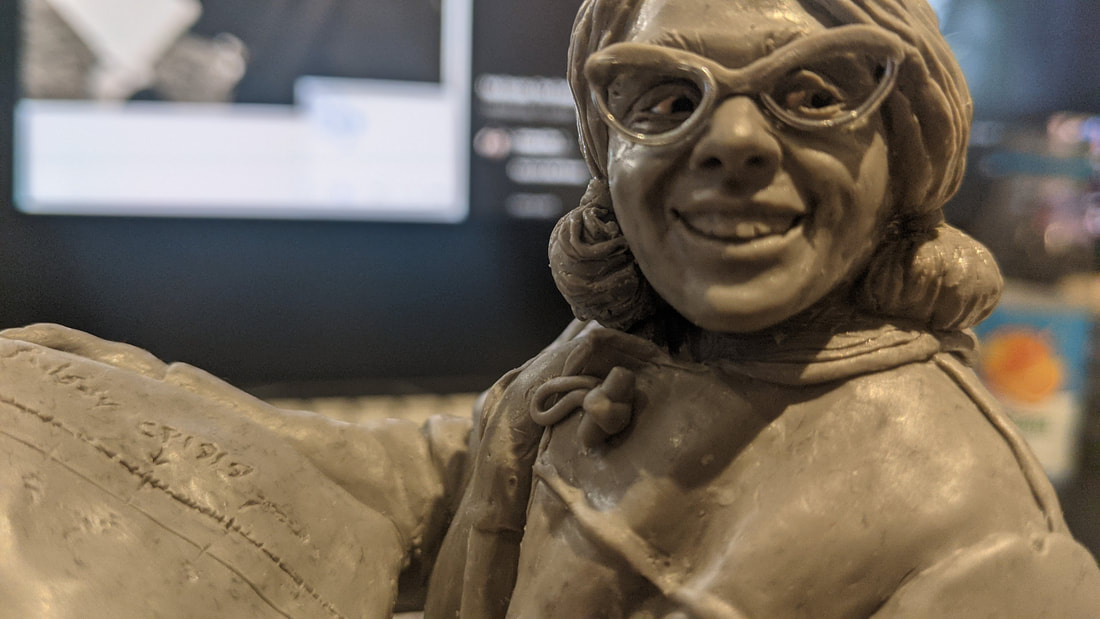
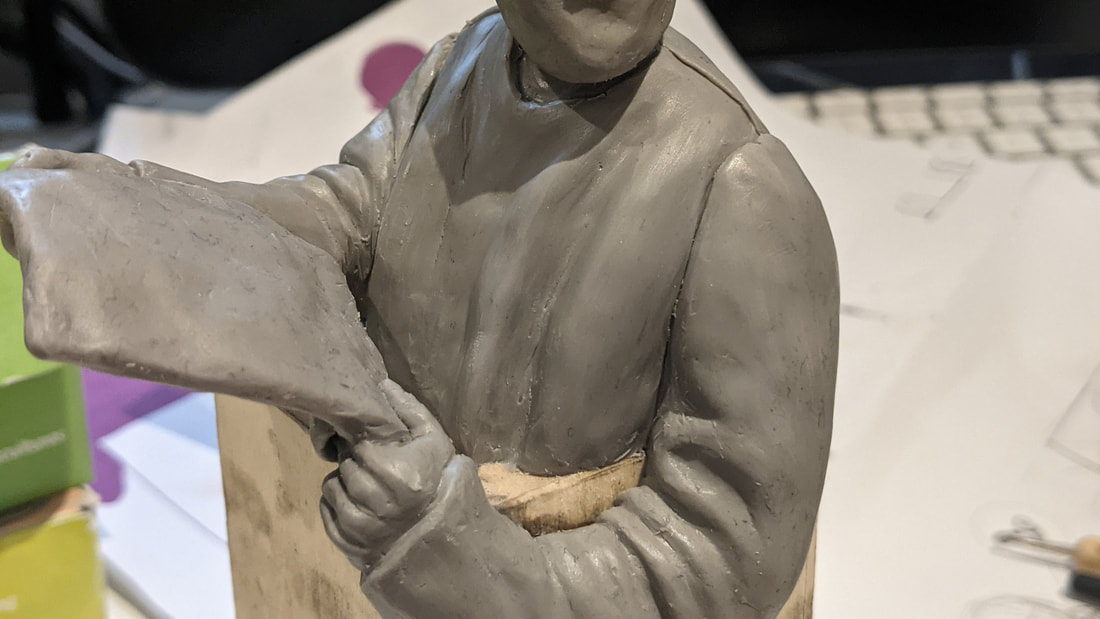
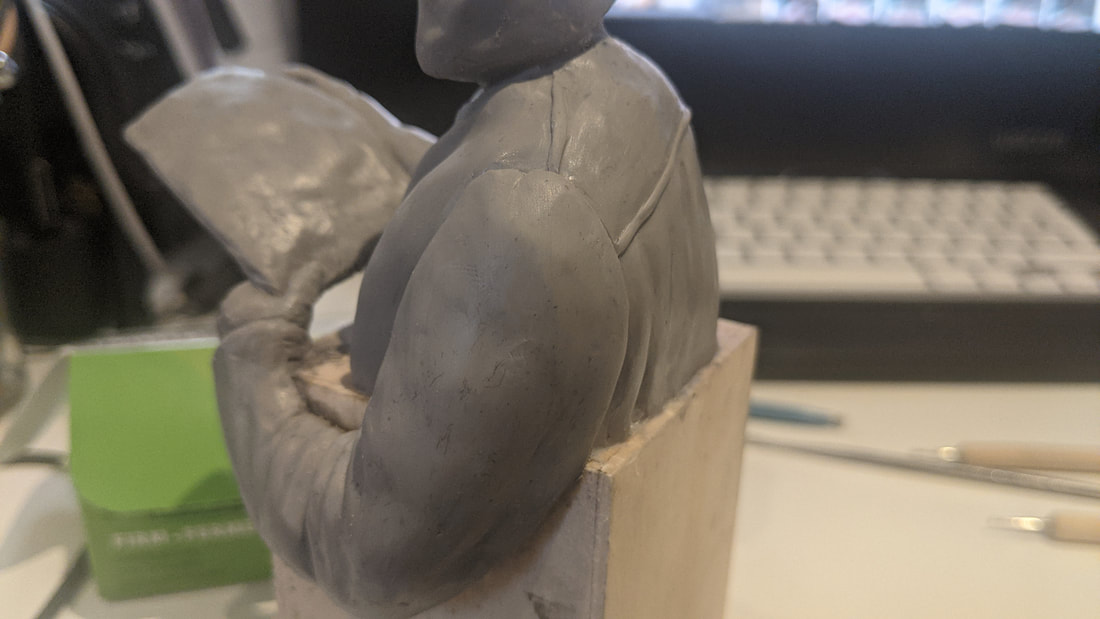
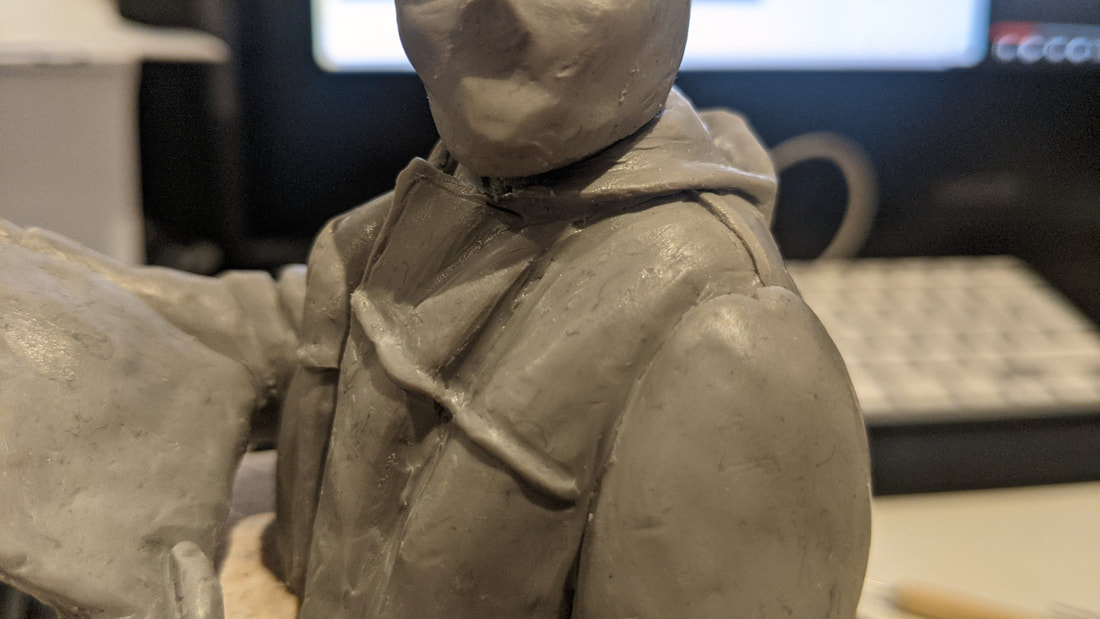
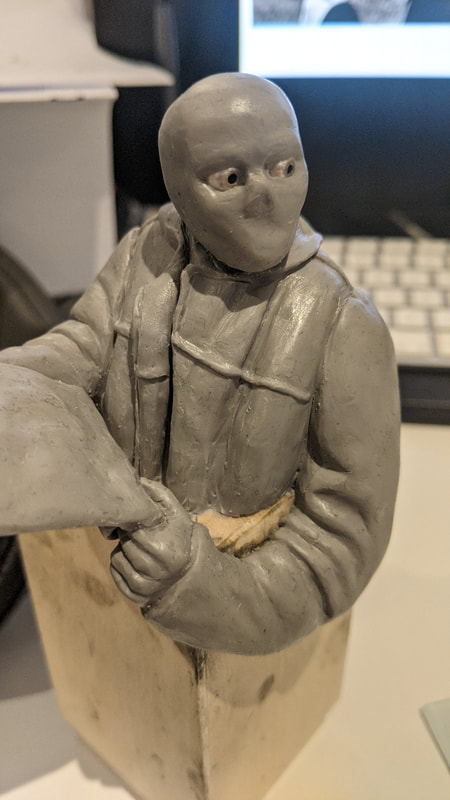
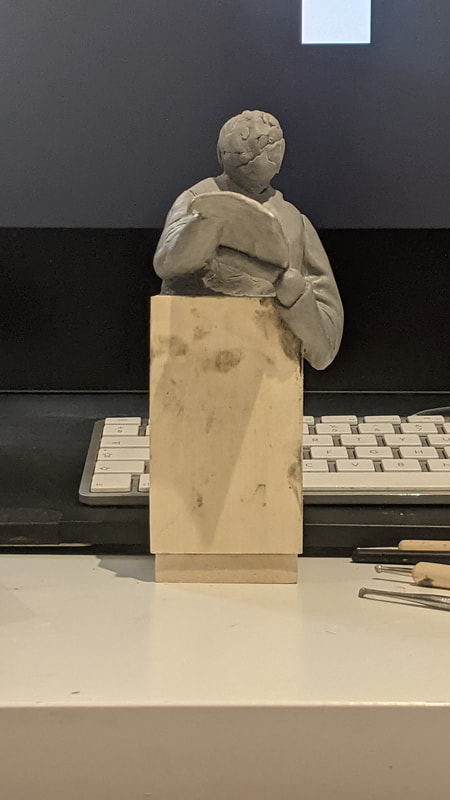
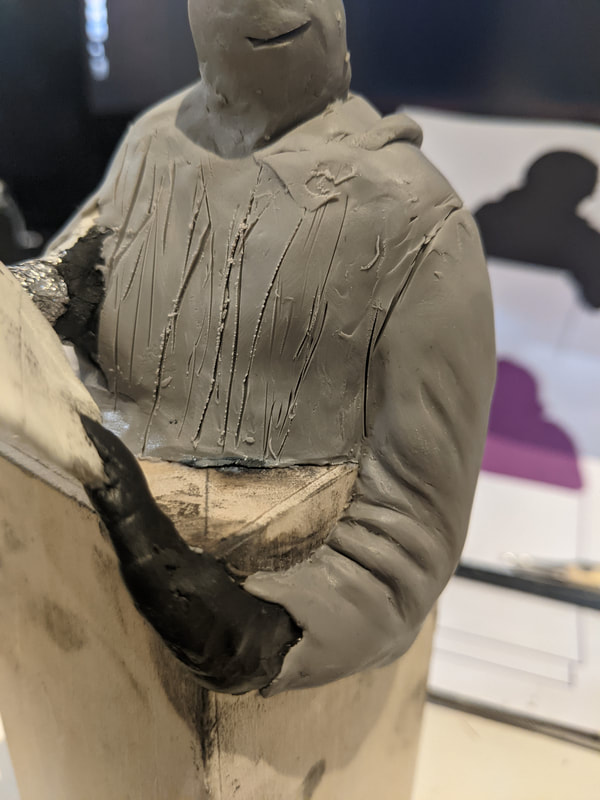
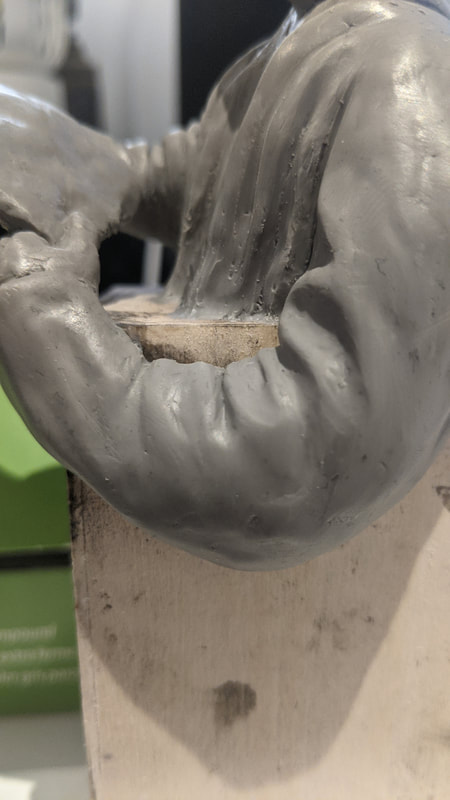
The front of the jacket took a long time to get right as it was tricky to work between the paper and the body. The wooden toggle fasteners are next to be added.
Below Beginning the fasteners:
 More Progress on the Sculpture...
Below example tests on photoshop that I do periodically from all four views to see how the model is measuring up to my plan.
Alterations made based on my measurements:
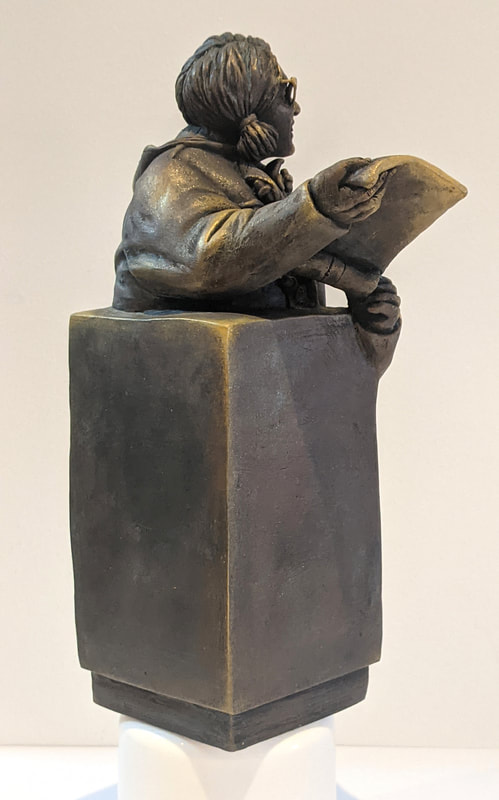
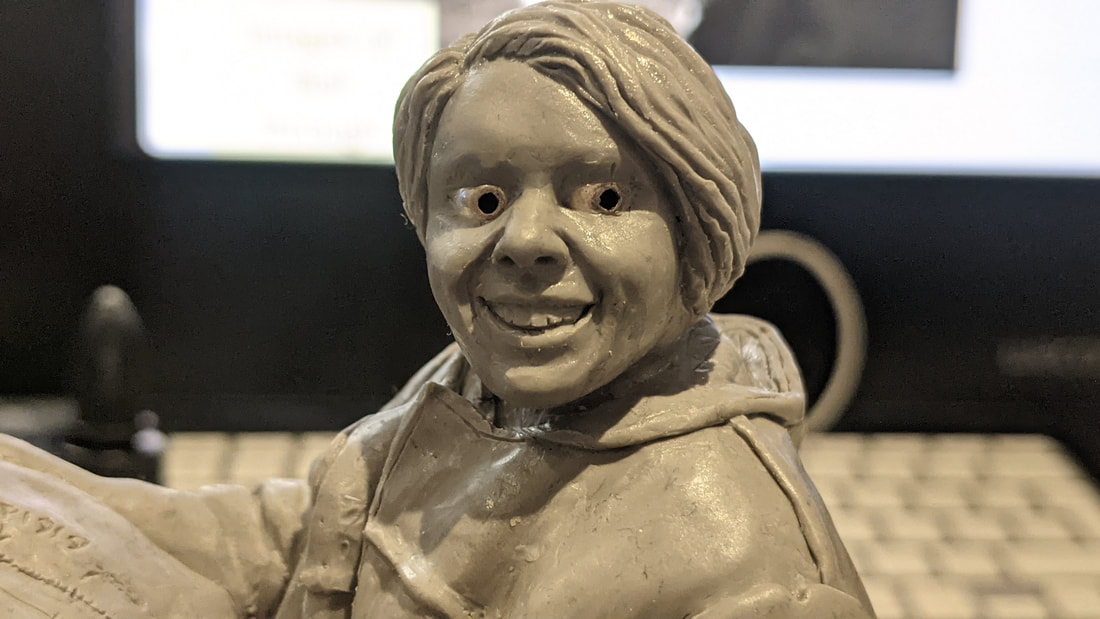
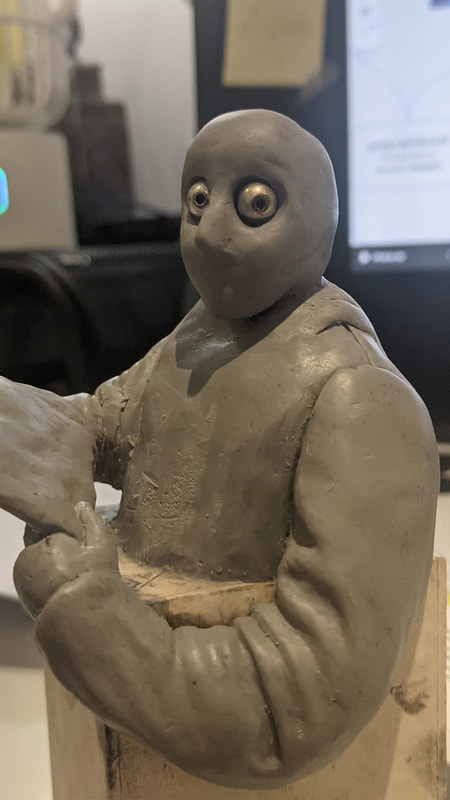
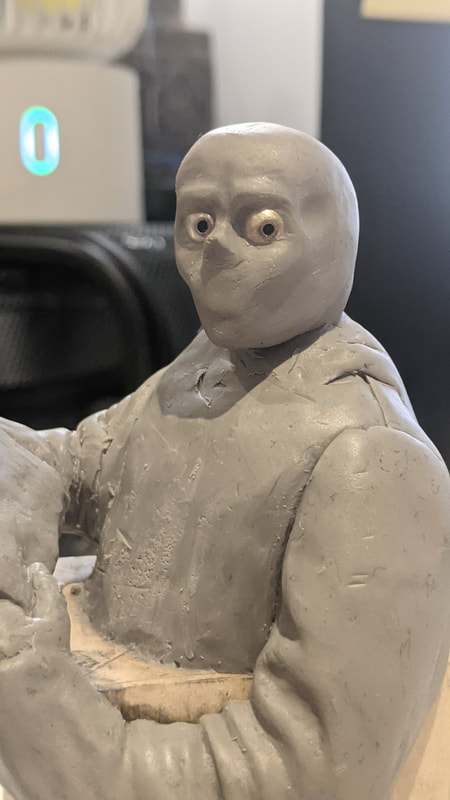
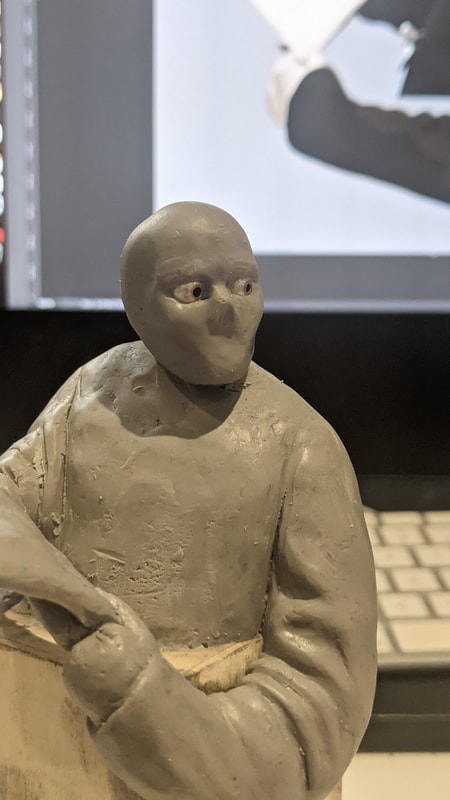
Below using beads for eyes. These are great as they come with the dips for the pupils already.
Glasses
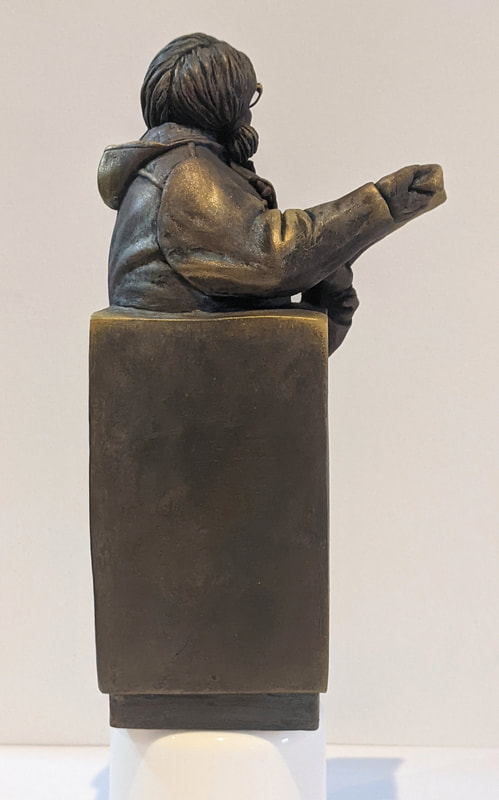
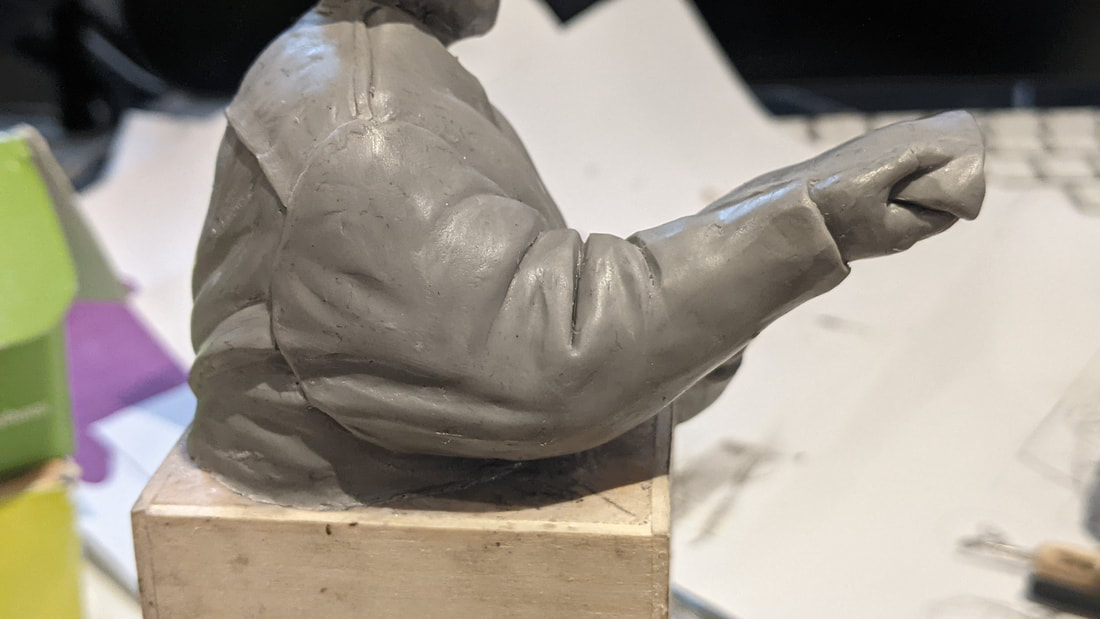
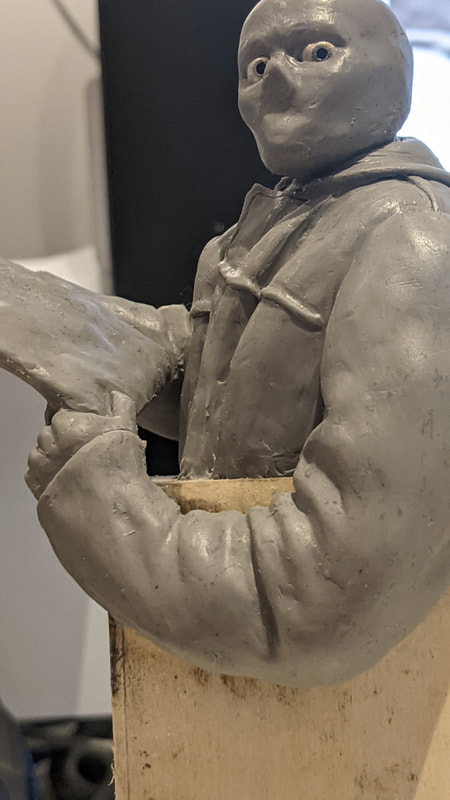
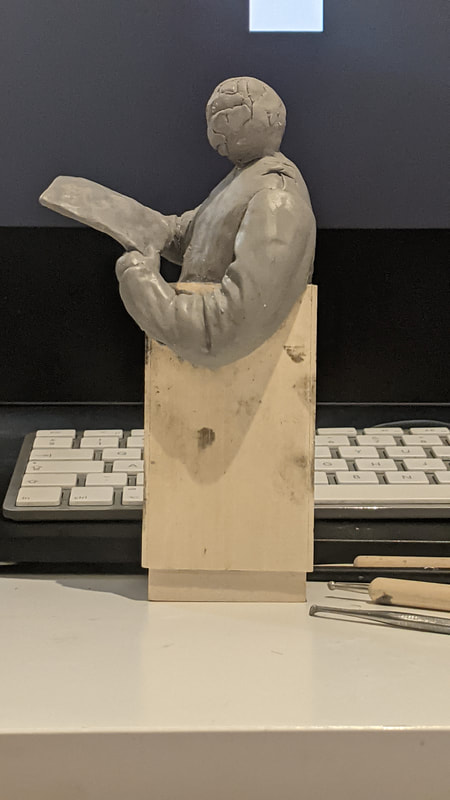
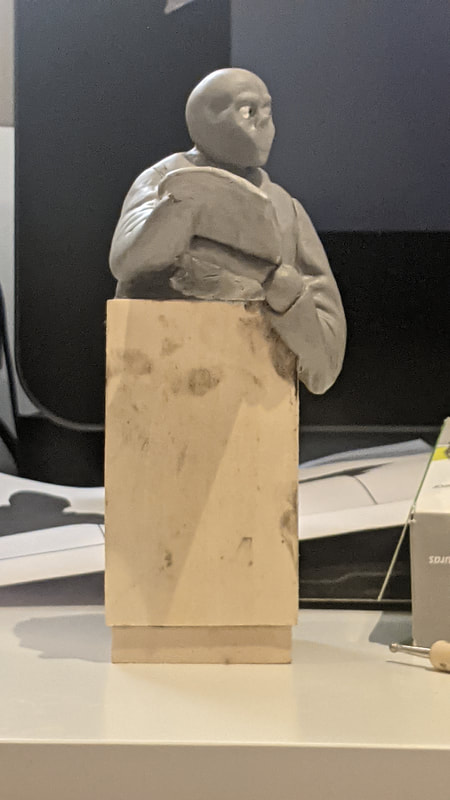
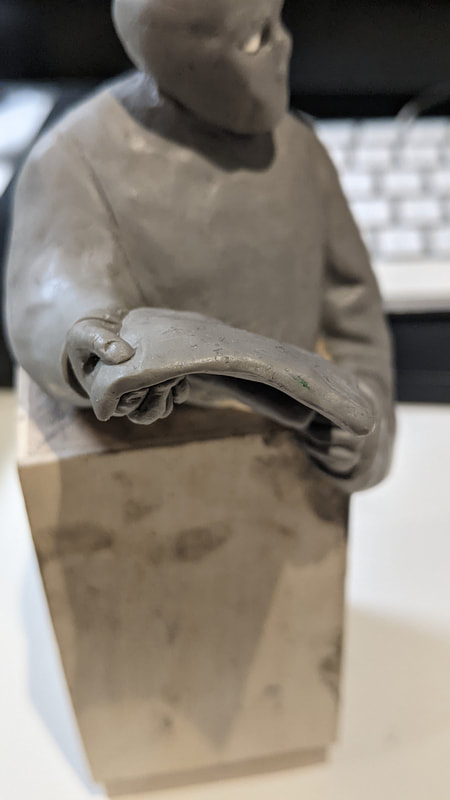
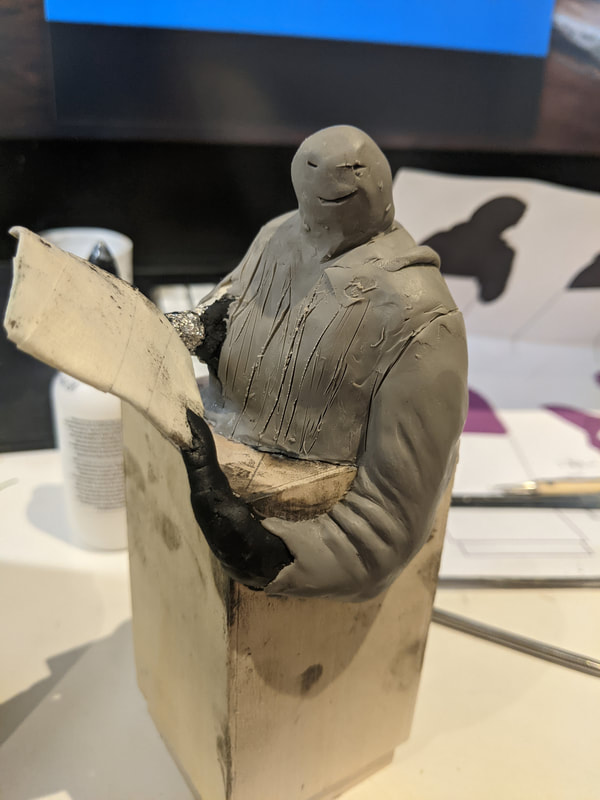
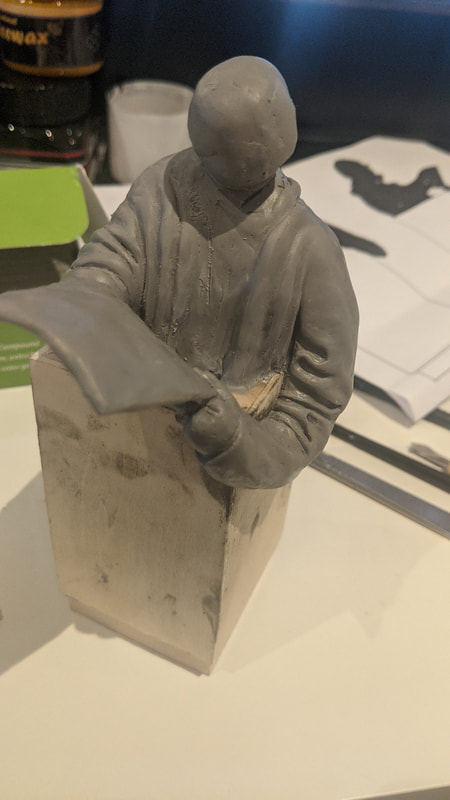
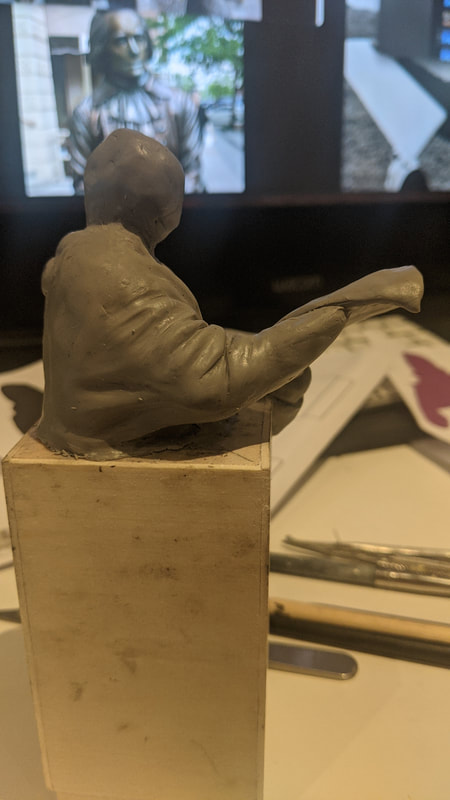
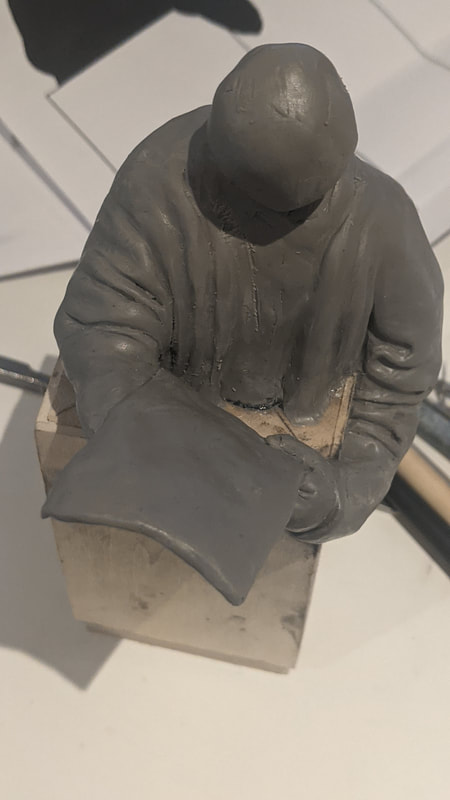
Super Sculpey SculptingHere I'm beginning to mass out with the clay, covering the armature and even added a few creases to the fabric on the arm.
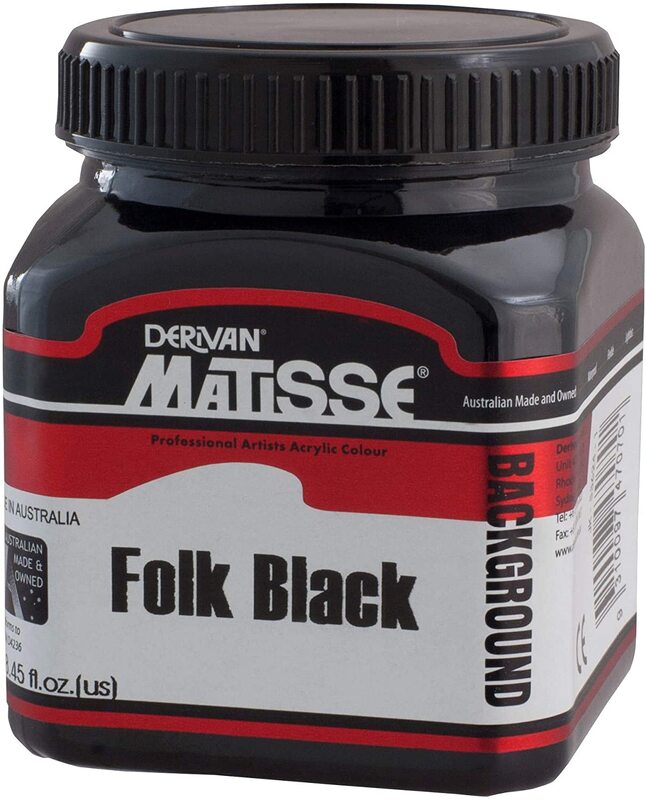
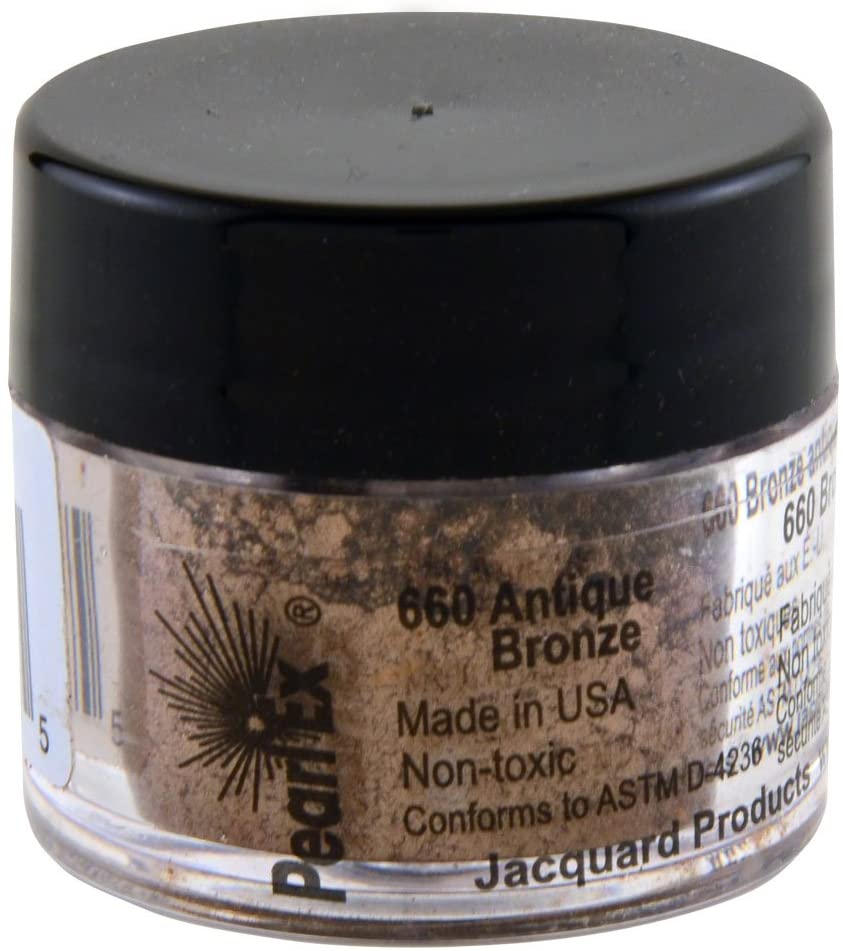
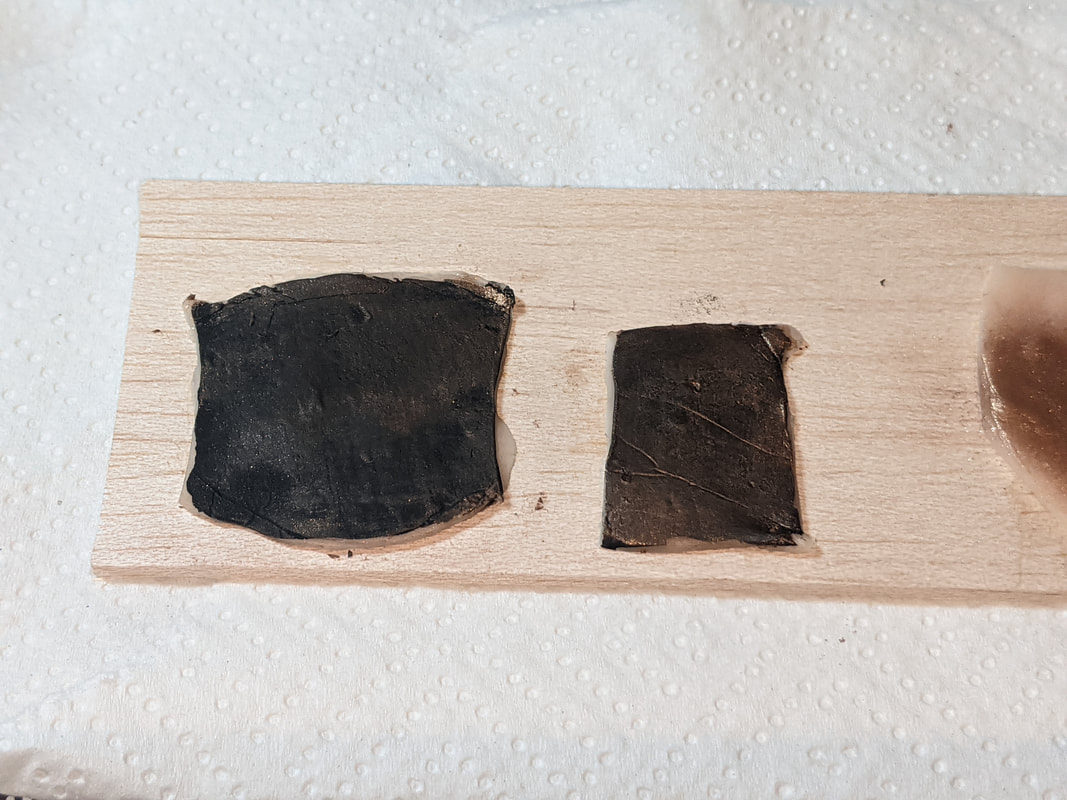
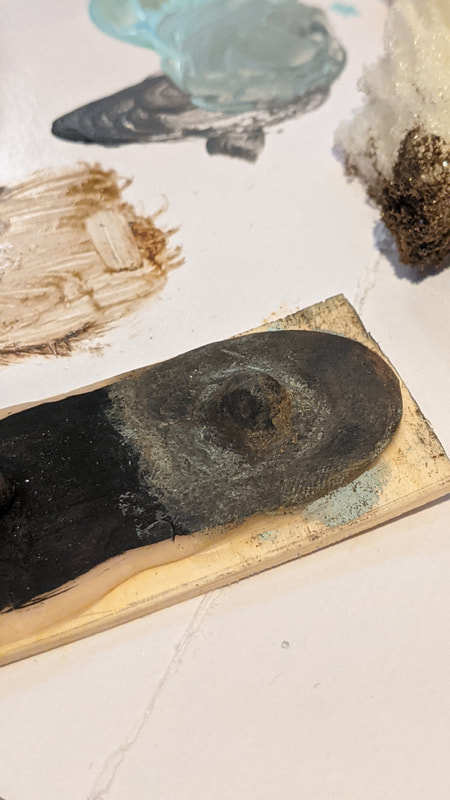
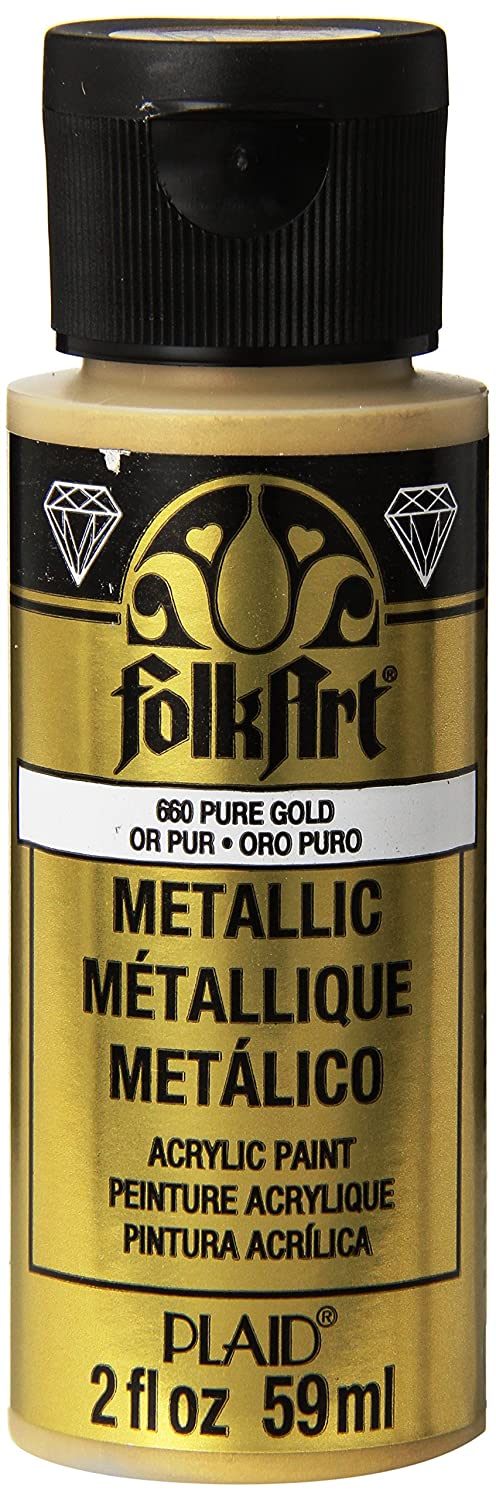
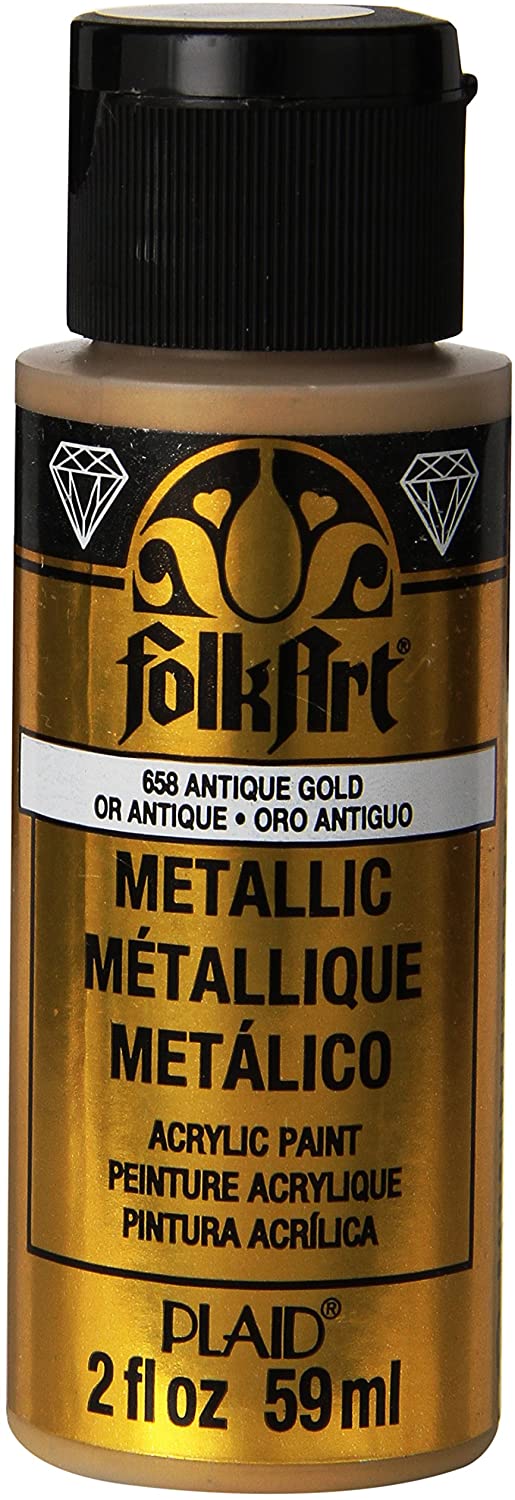
Test Pieces Pigments and PaintHere is my documentation for tests of different finishes. Images of the products I am using for this project: (from left to right) Sculpey Bake&Bond; Folk Black by Matisse Acrylic; Jacquard Pearl EX Powdered Pigments in Antique Bronze; and Natural Beeswax.
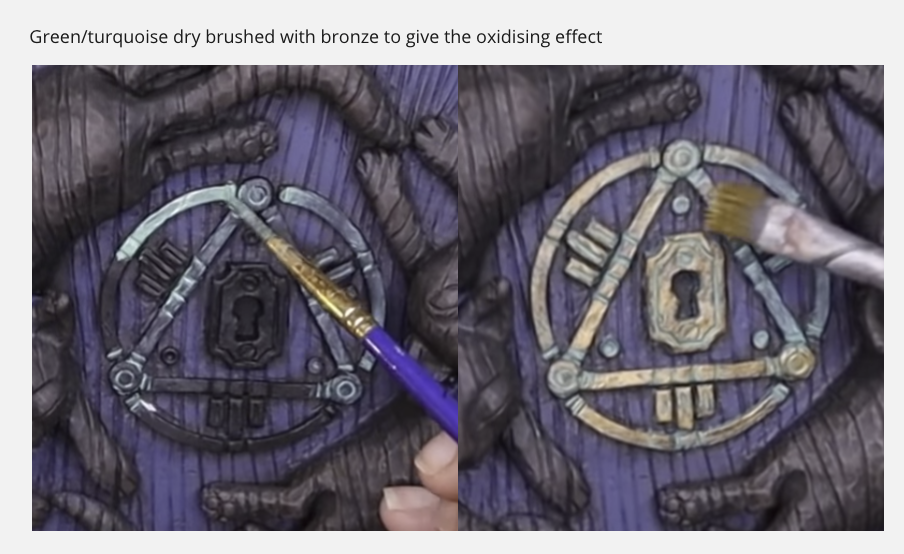
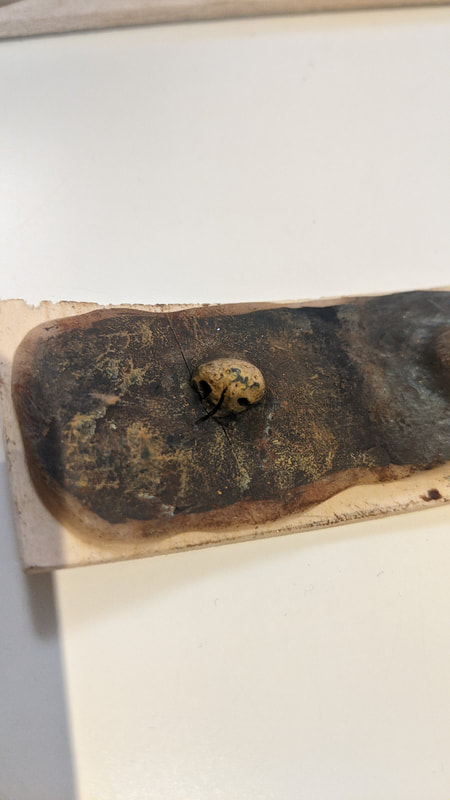
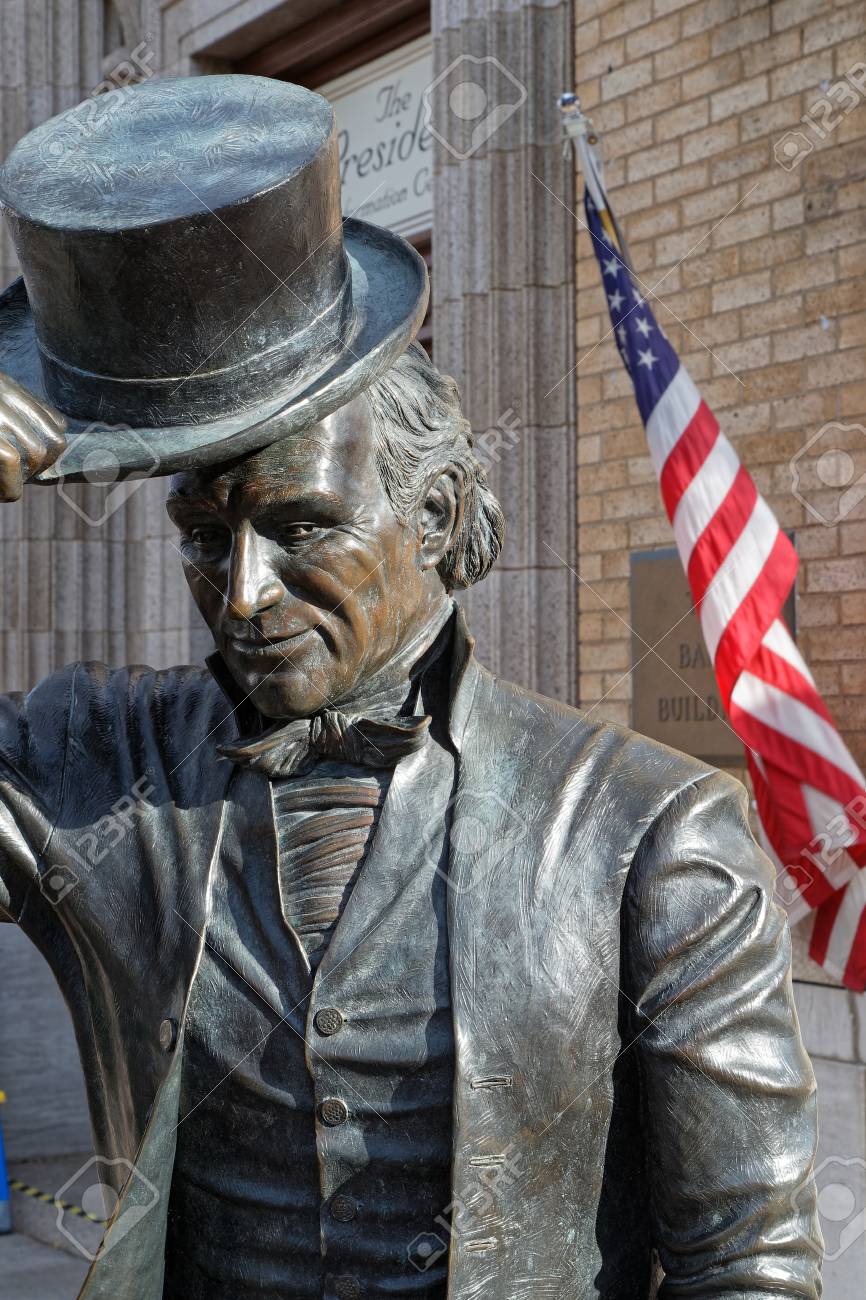
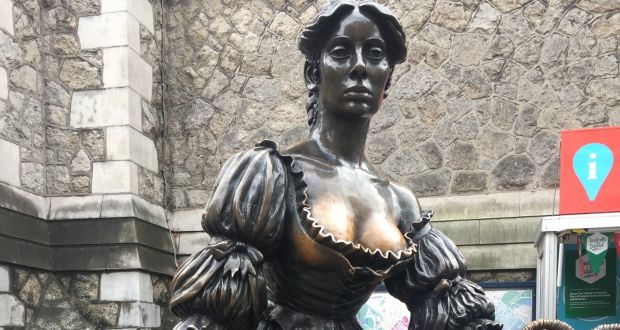
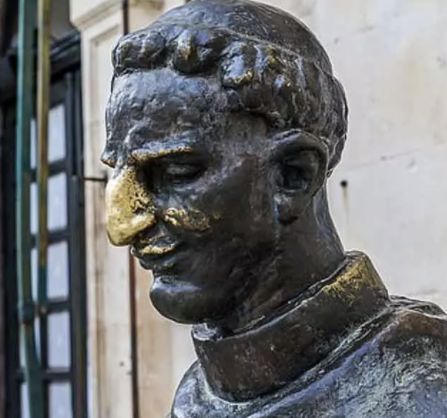
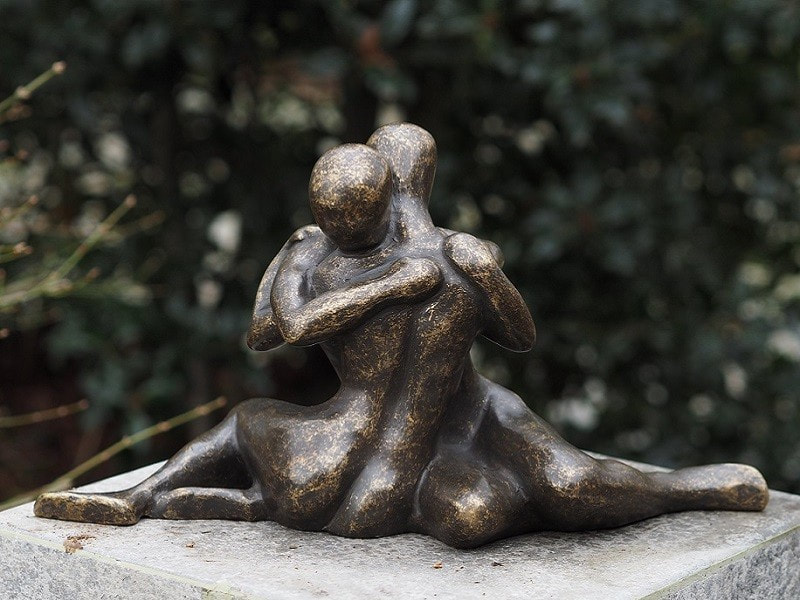
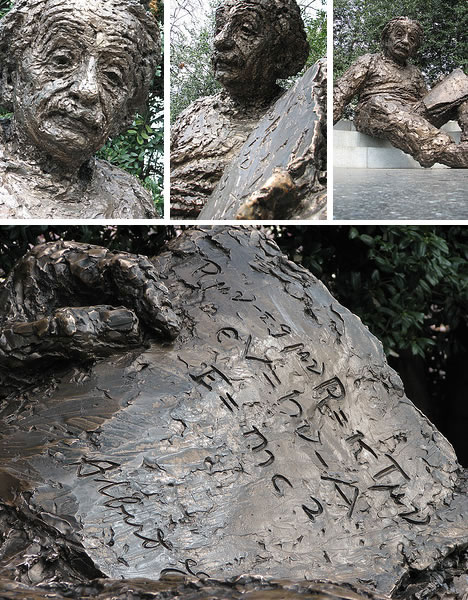
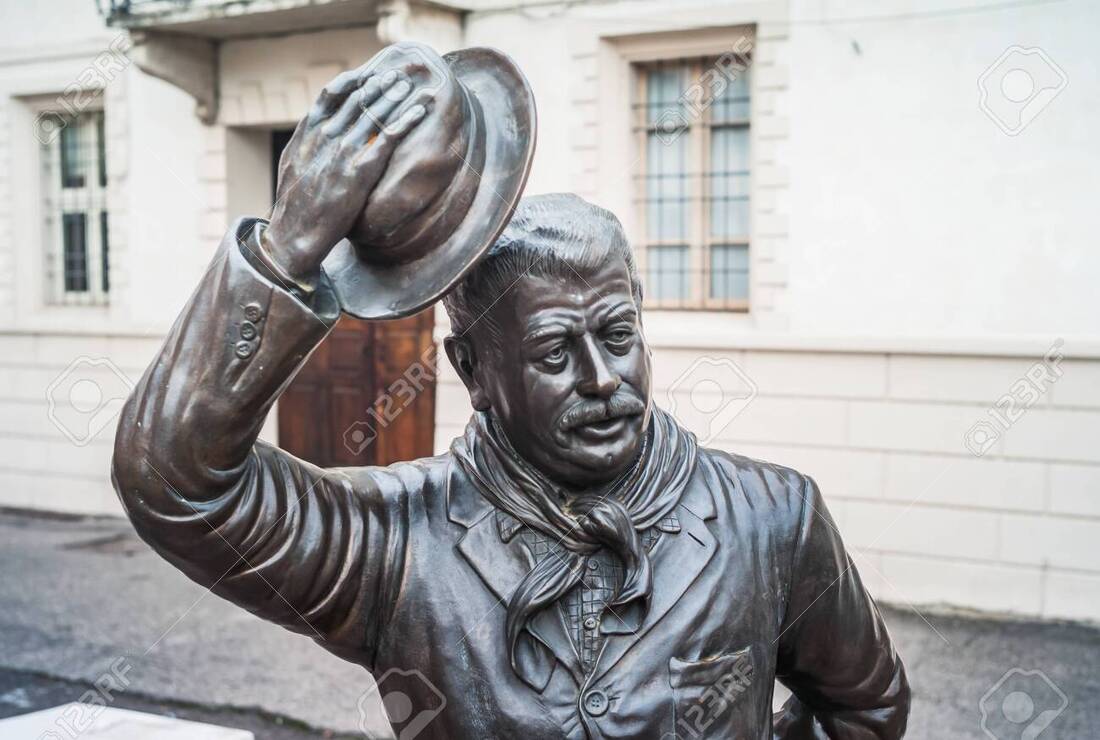
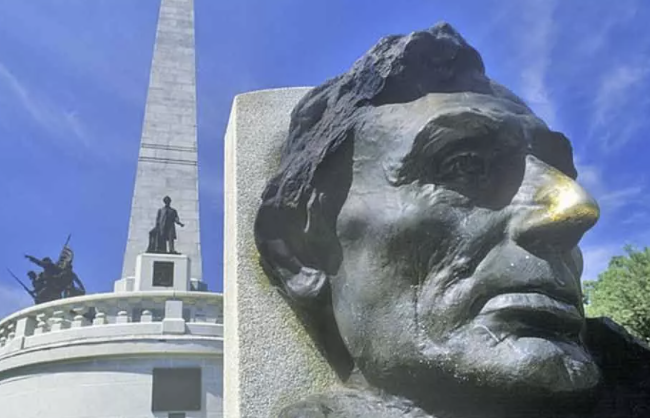
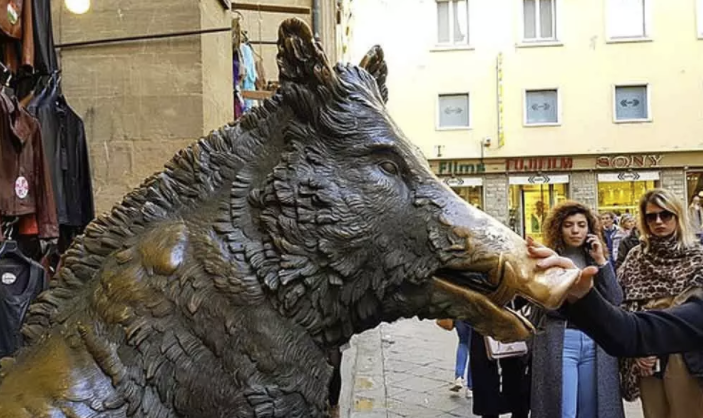
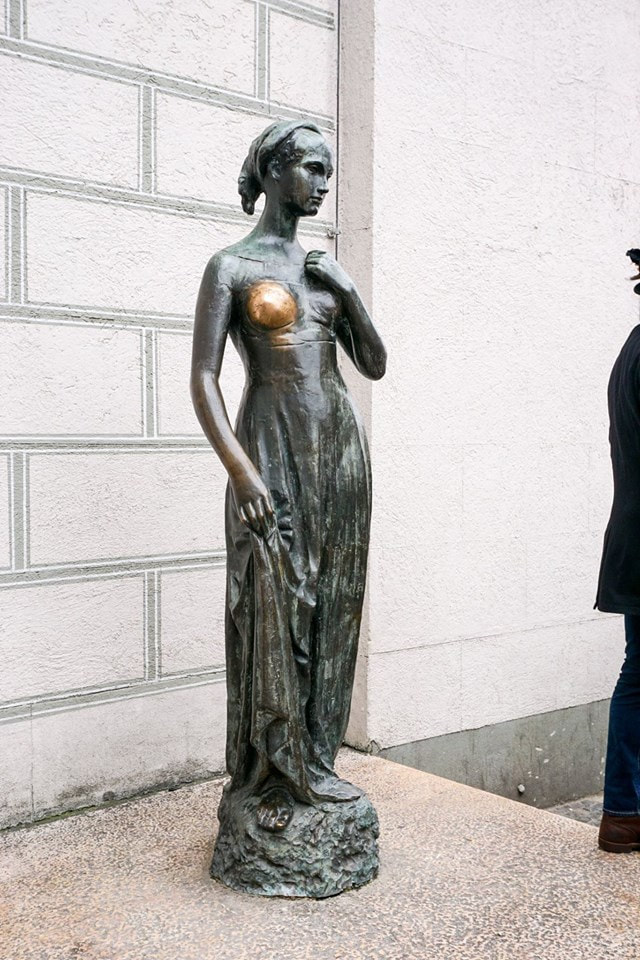
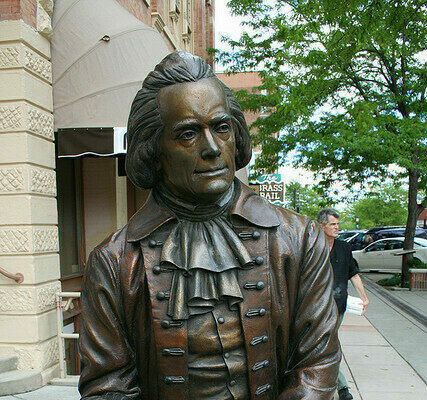
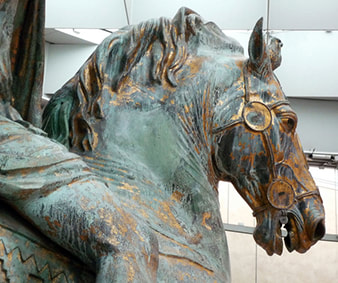
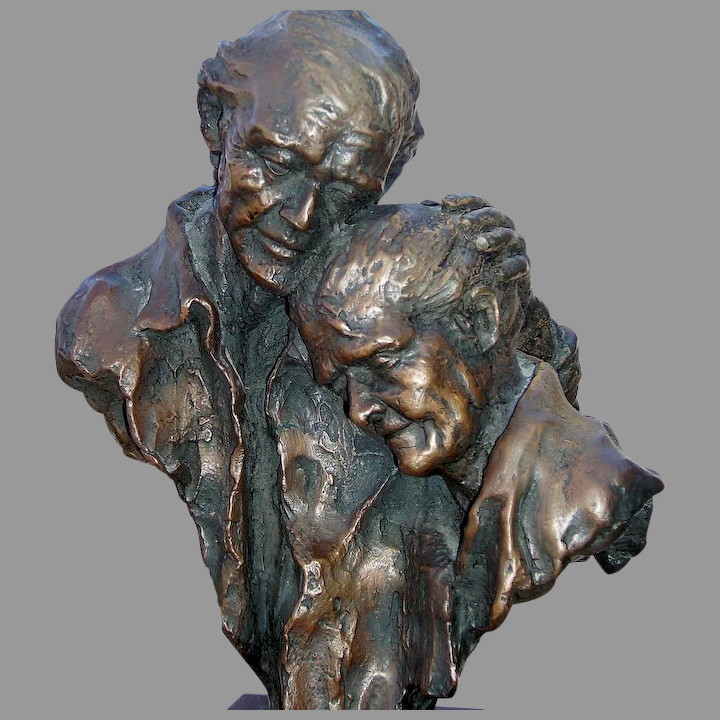
In the test image above it is before being baked and the powder pigment has been applied using a normal paint brush. I am pleased so far but I feel it may be too bright/glittery for the whole model. Currently I am considering a dark paint wash over potentially, as it would give the model the depth in the shadowed areas. Bronze weathers over time, lighting in the areas that it is most frequently touched: animals noses, peoples hands, shoulders etc. My blog post containing 'Bronze Statue Colour Guide' documents examples of this weathering.  Here is the baked test pieces. The Bake&Bond adhered great and the powder rubbed in appears to be staying in place. The glittering is very obvious in this image so I will need to work on lessening that if I use it in the final result. On the left, the two plain sculpey test pieces have been painted in the acrylic background back; I chose it for its high pigmentation and matt effect when it's dry. Hopefully this will create a good surface for painting or applying the beeswax and powder pigment and potentially lesson the brightness of the powder. Below are two angles of the same test pieces to catch the light in the images: after the primer acrylic paint dried I added the powder pigment, applied with beeswax (right of the two test pieces). Left is the same but using the residual pigment on the towel so it lessons the effect. I think both of these are effective depending on where they will be on the model. The stronger the pigment and lighter the effect will be in the areas most likely to weather.
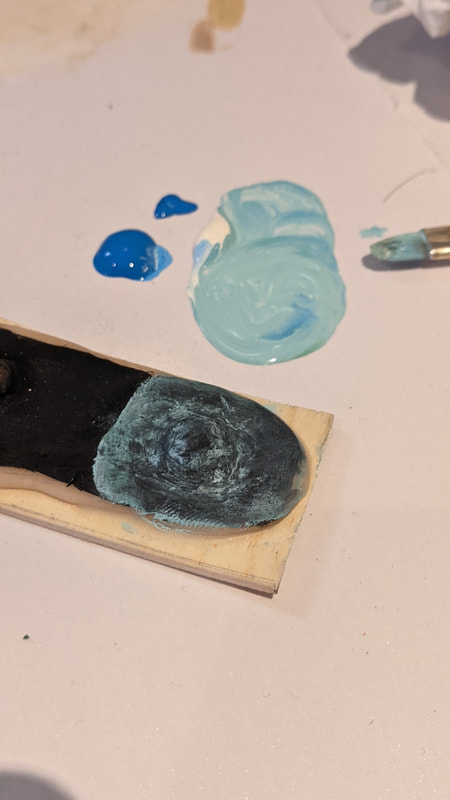
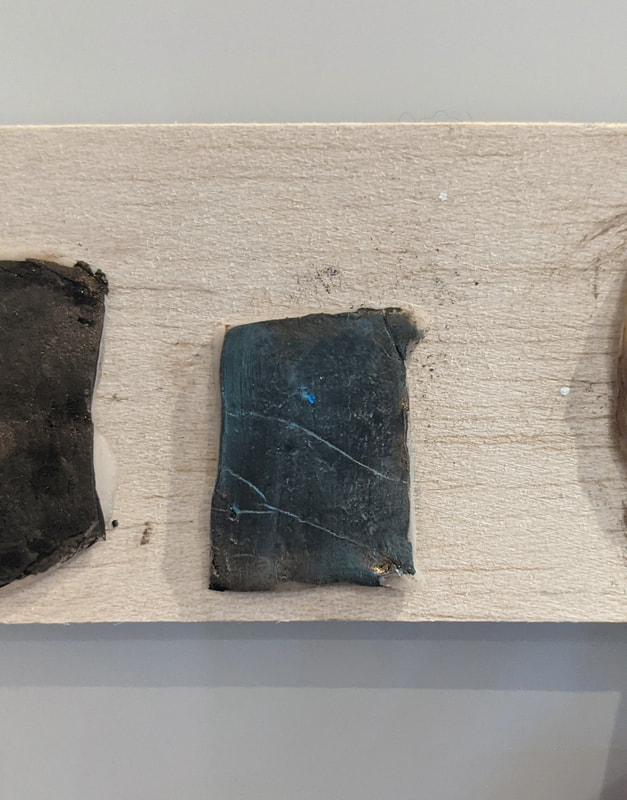
I still want to test paint techniques so I am using this piece to experiment with that. I included some textured, elevated areas to see how the pigments interact with the undulations. I brushed on some of the powder before baking it at the very tip as I like how light and shiny it becomes in contrast to the black.
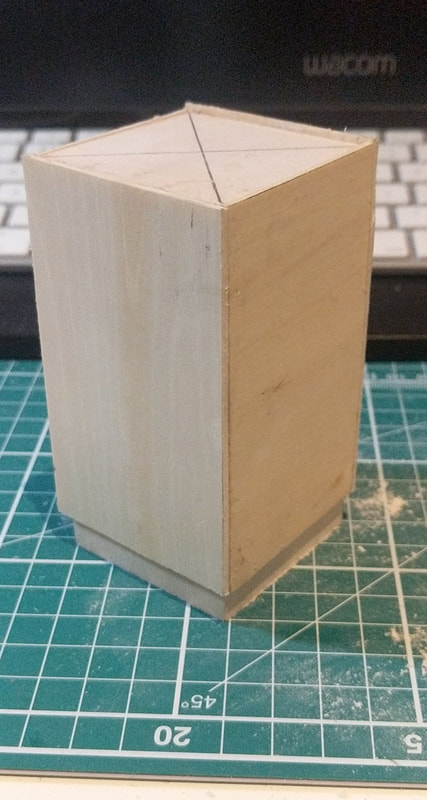
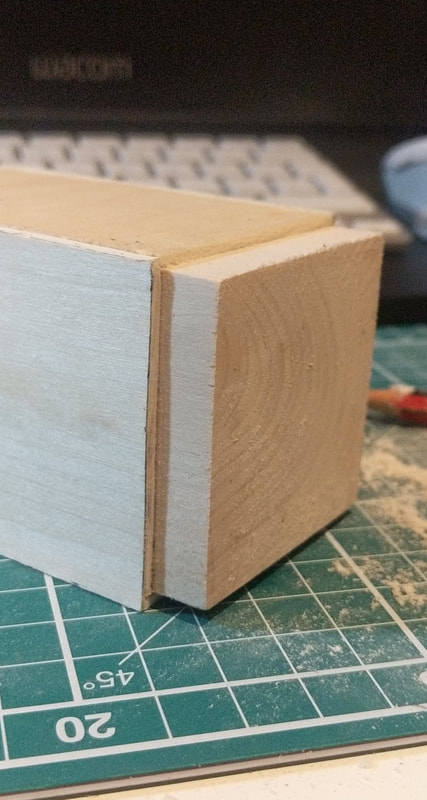
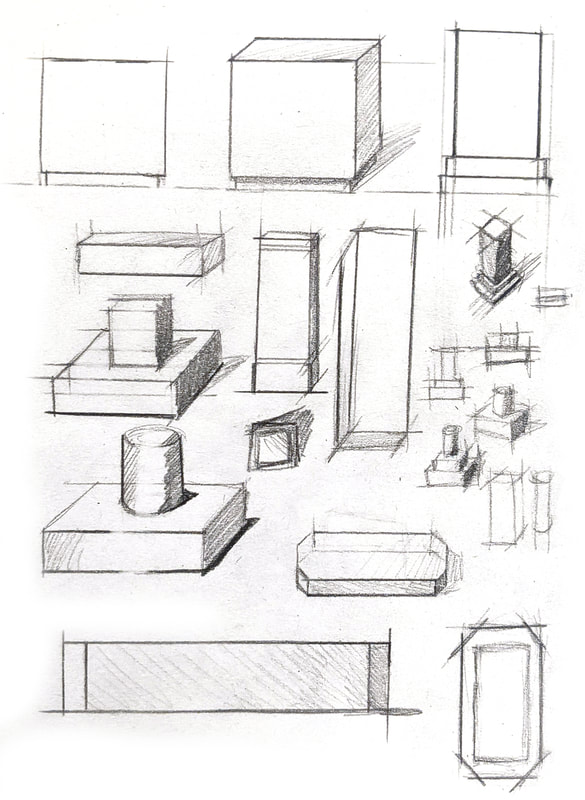
Plinth & ArmatureMy clad, glued and about to be finally sanded base (a small lip is still visible on the left picture), ready for the armature to be screwed to the top. After this it will be covered in Super Sculpey with Bake&Bond adhesive.
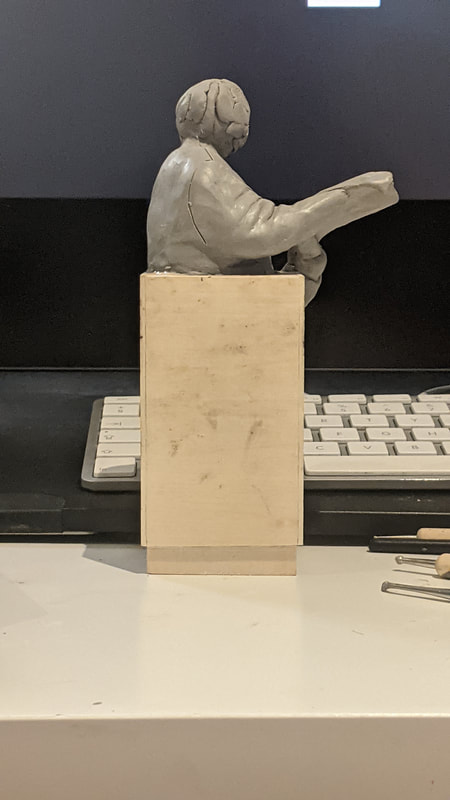
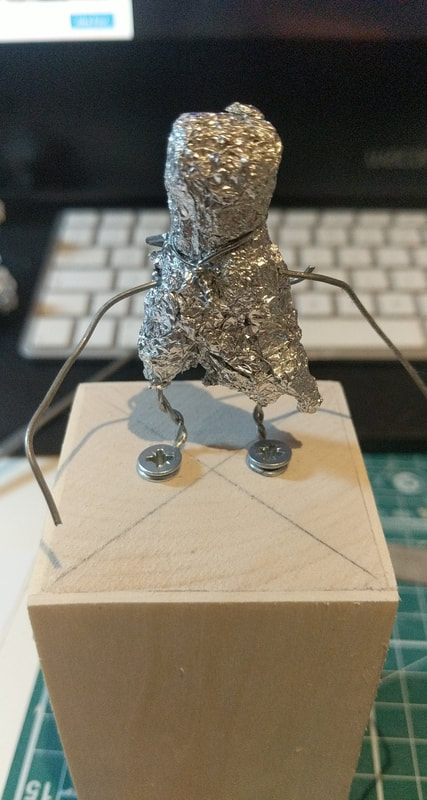
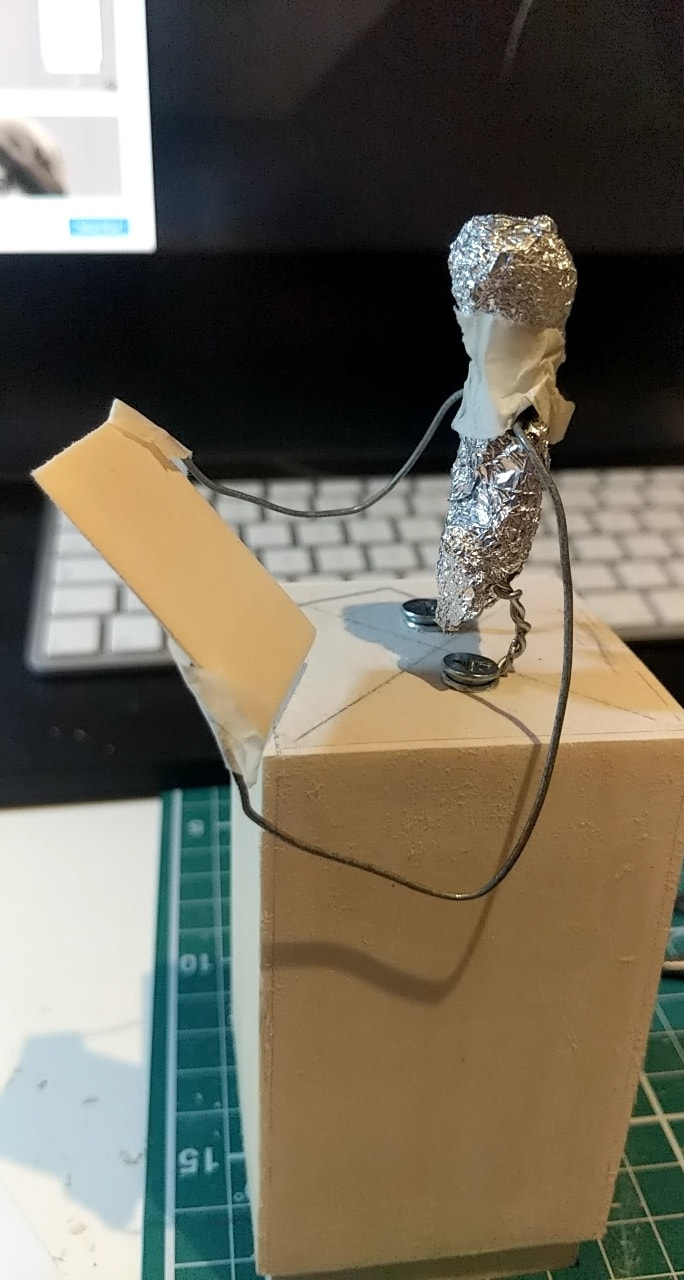
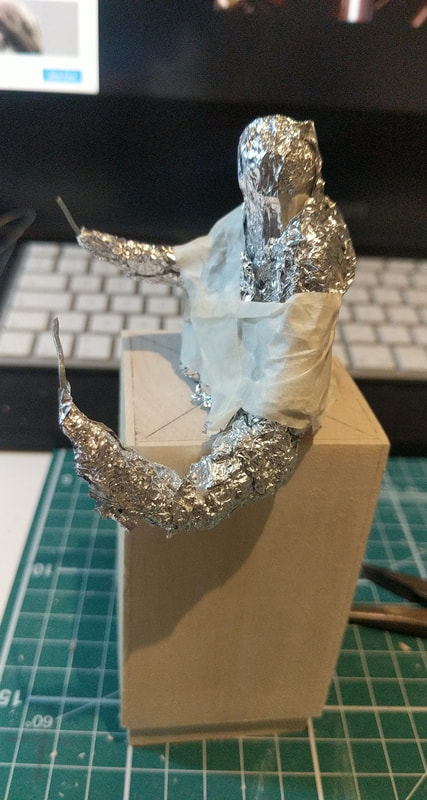
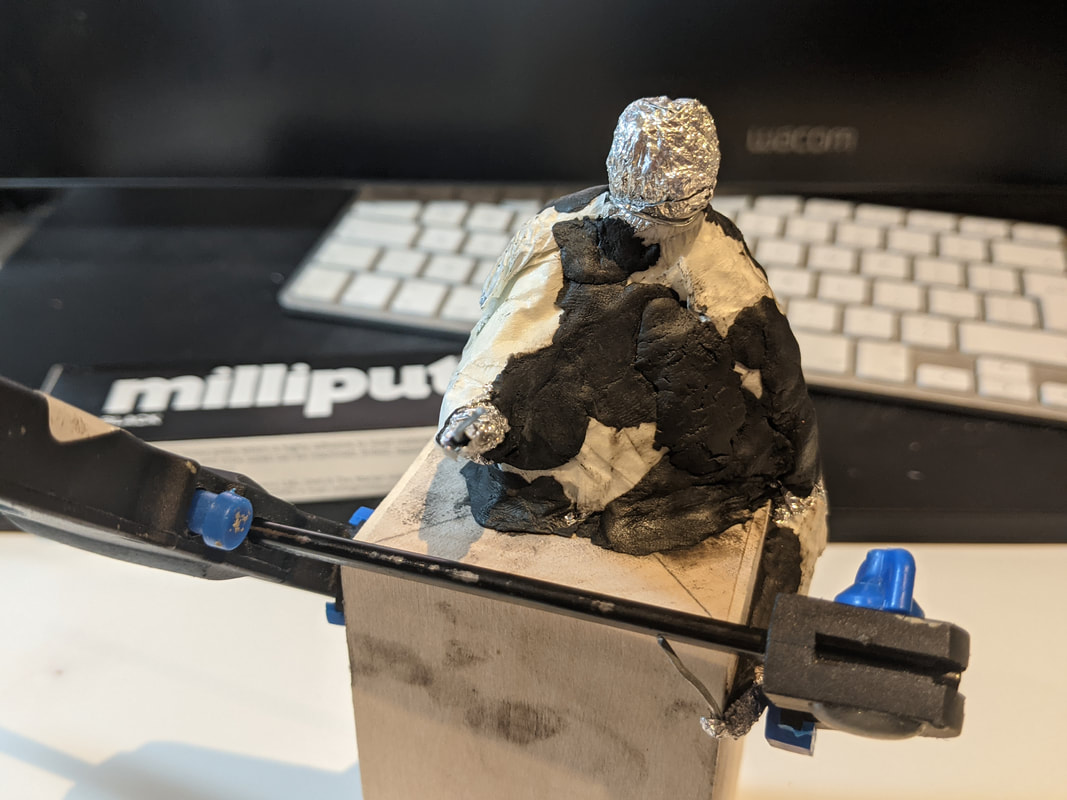
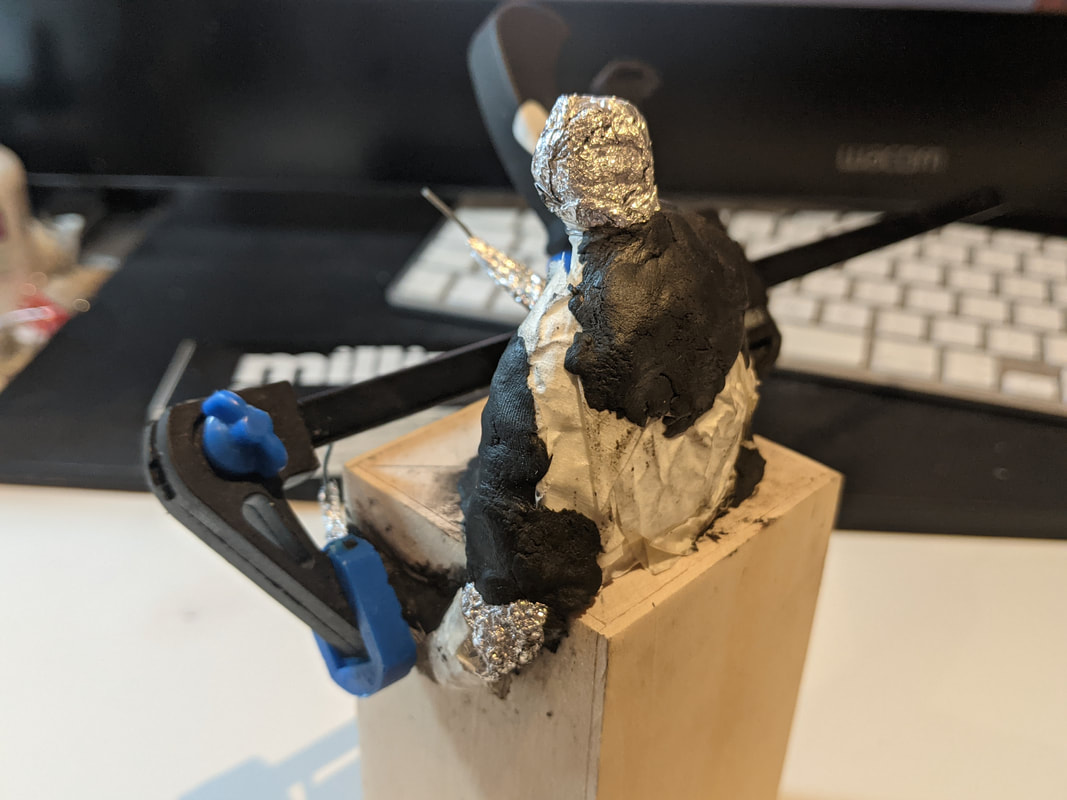
Below the beginning of JBB armature. On the left is a picture of the two screws holding it to the plinth: I chose to use more than one to help keep the armature very secure when sculpting. The middle image is a temporary example of how the arms will sit while holding the piece of paper. Right, the start of the massing out using tinfoil and masking tape, the next step will be reinforcing it with Milliput.
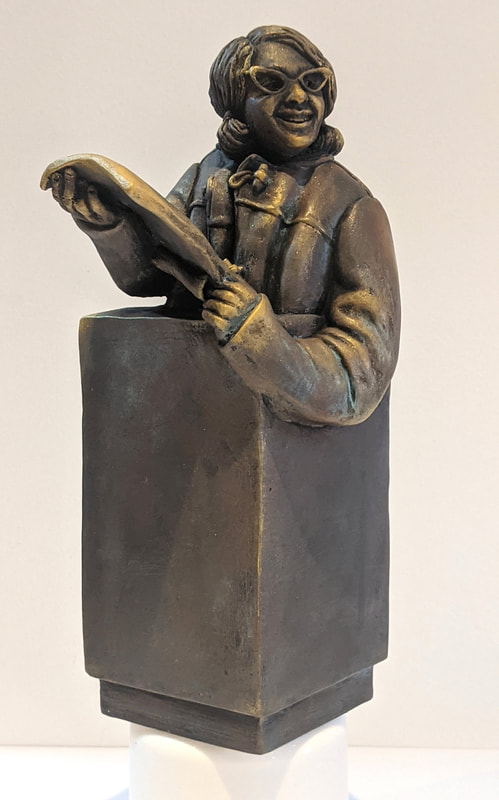
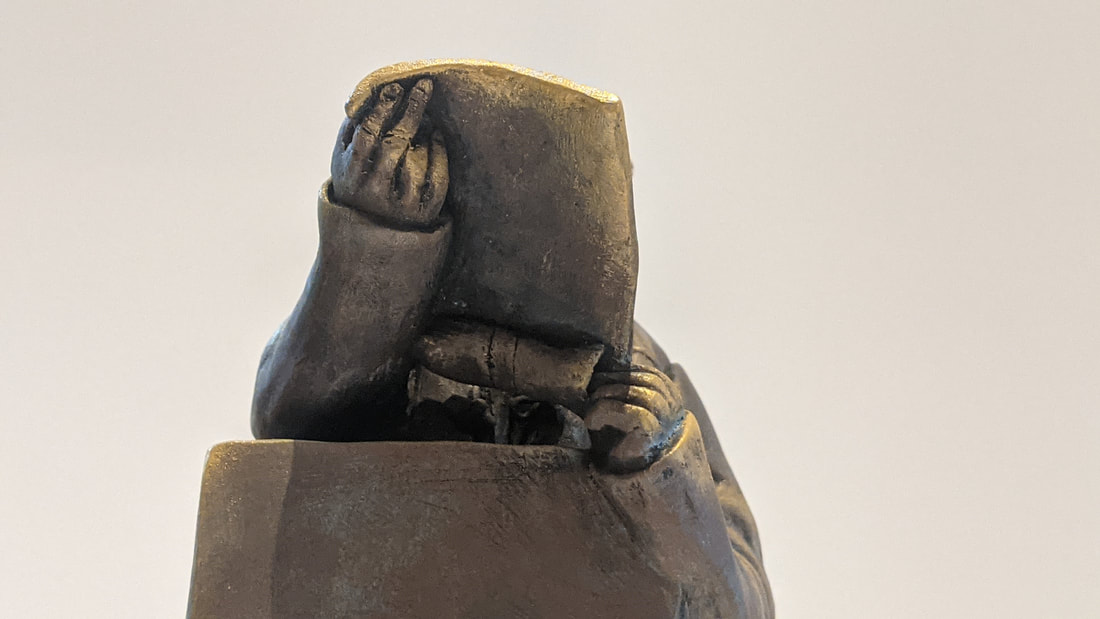
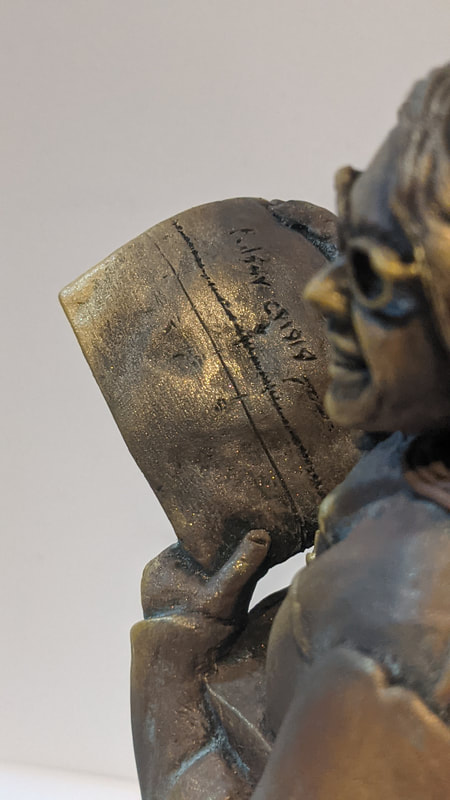
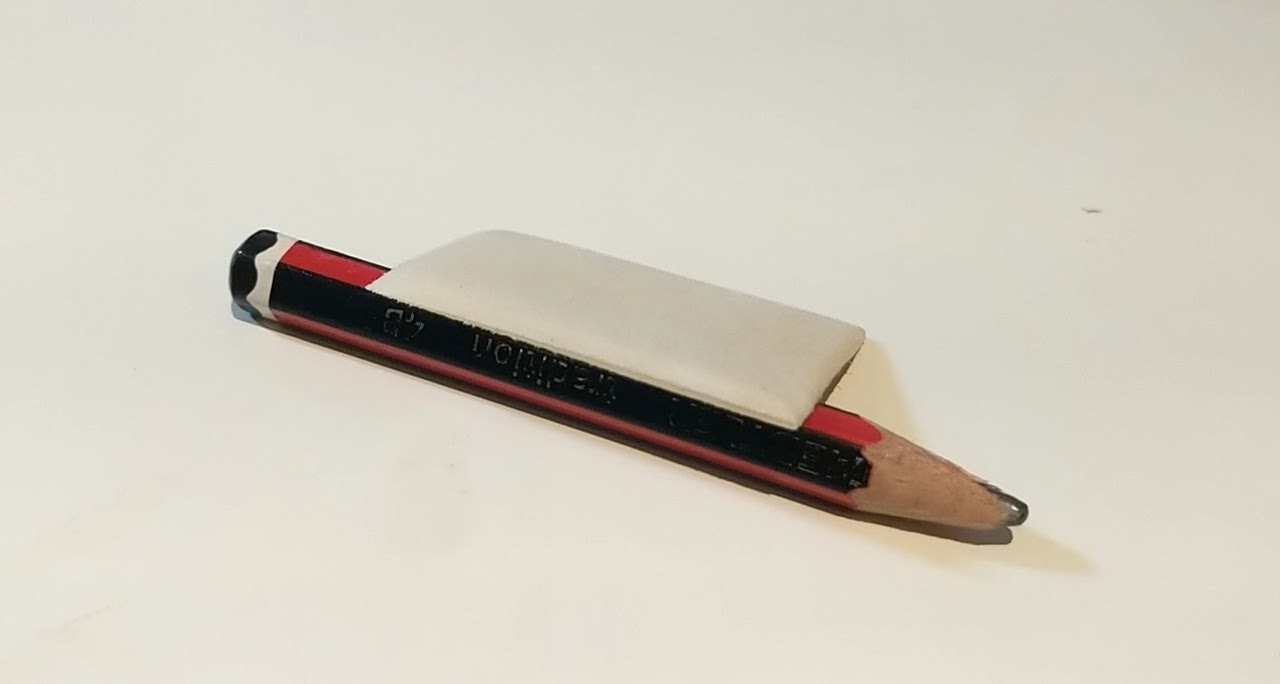
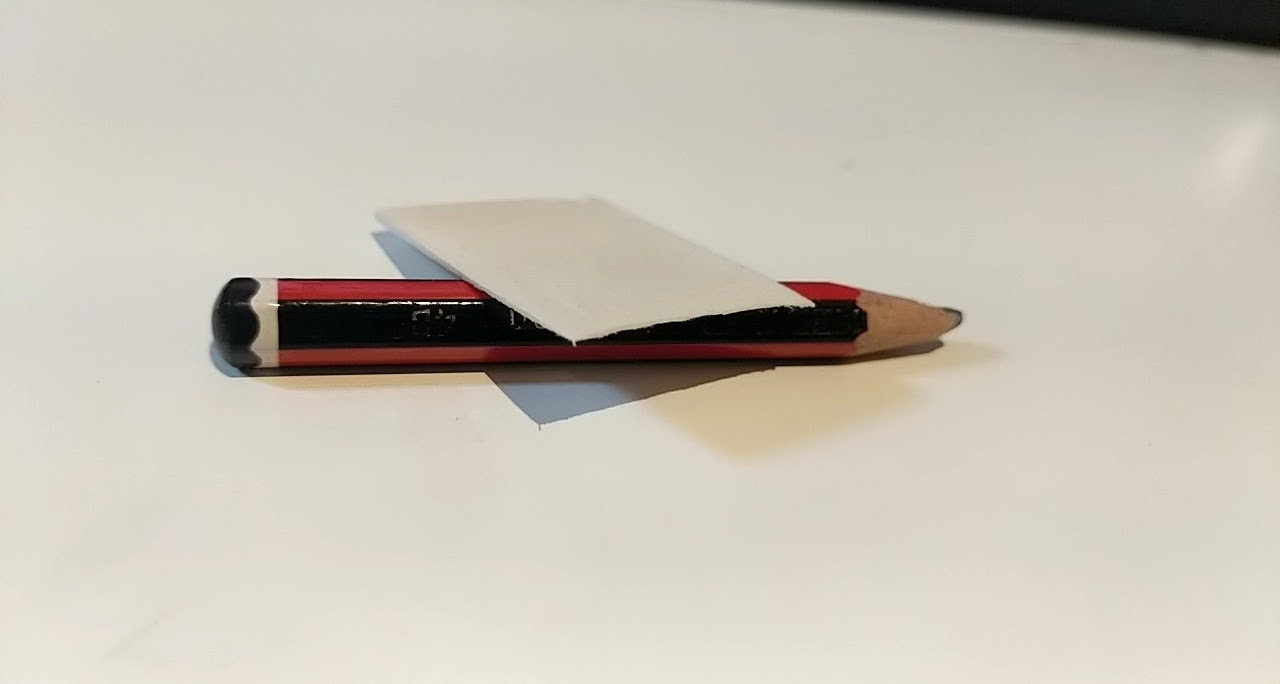
Below is the technique I decided to go with for the paper JBB is holding. It's a simple wire rectangle with masking tape. I love how well it has come out and is able to be manipulated into the correct form. I attached it using more Milliput where the hands will be sculpted. Bake&Bond will attach the thin layer of sculpey over it. This is important as I need all the surfaces to be the same so the painting techniques take the same way all over the model.
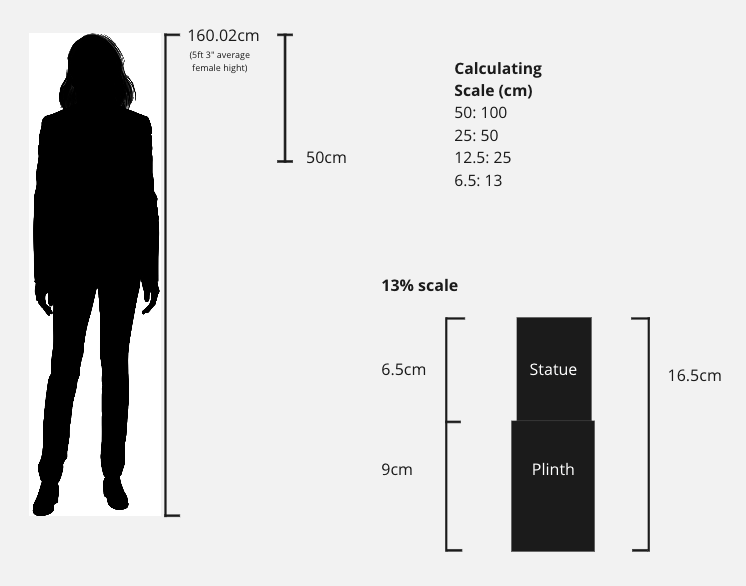
Below drawings in Solid Works of the final plinth design. 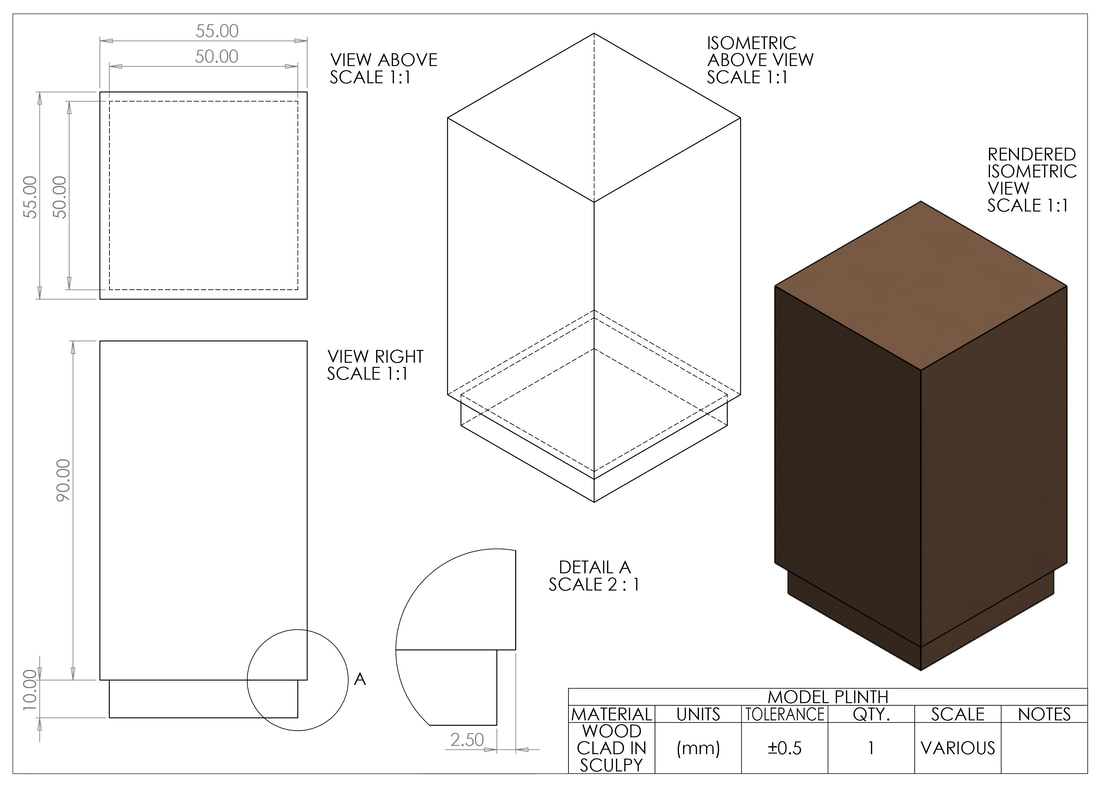 Below Photoshop to scale turn around of the sculpture. 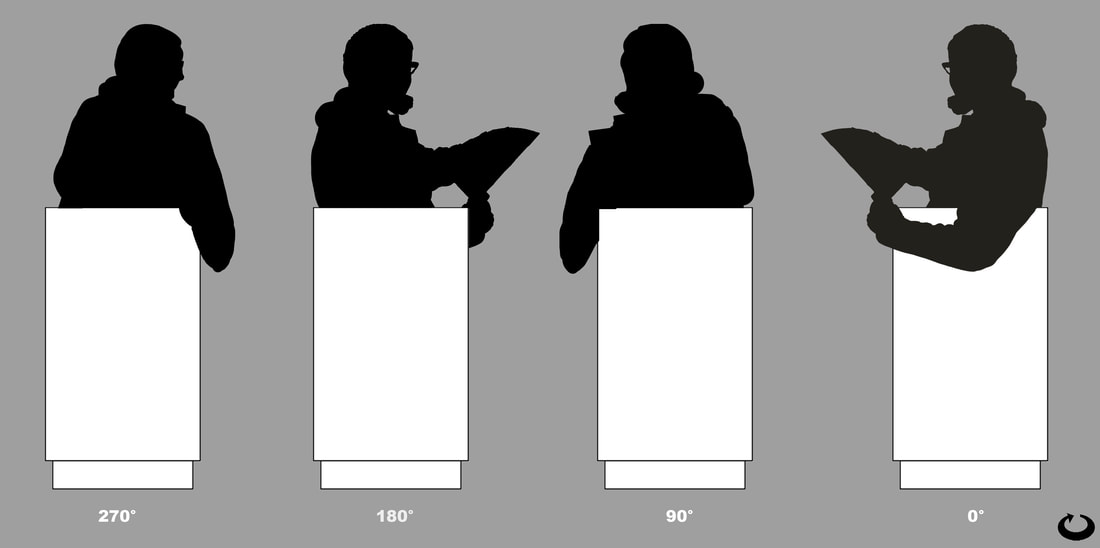
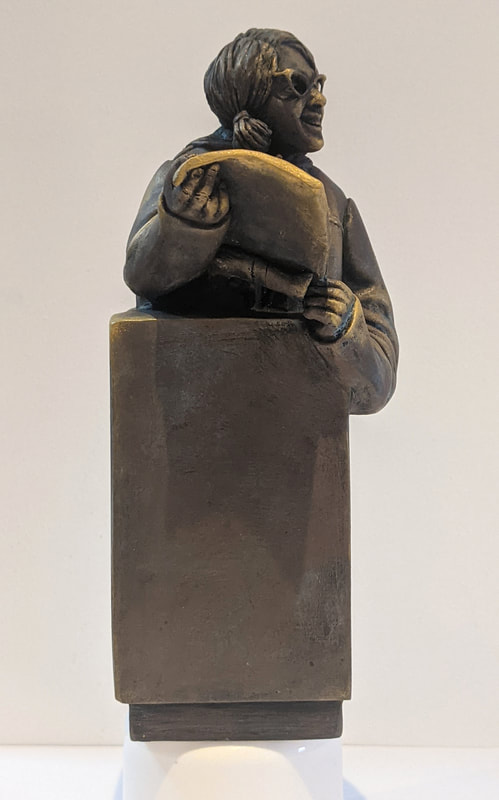
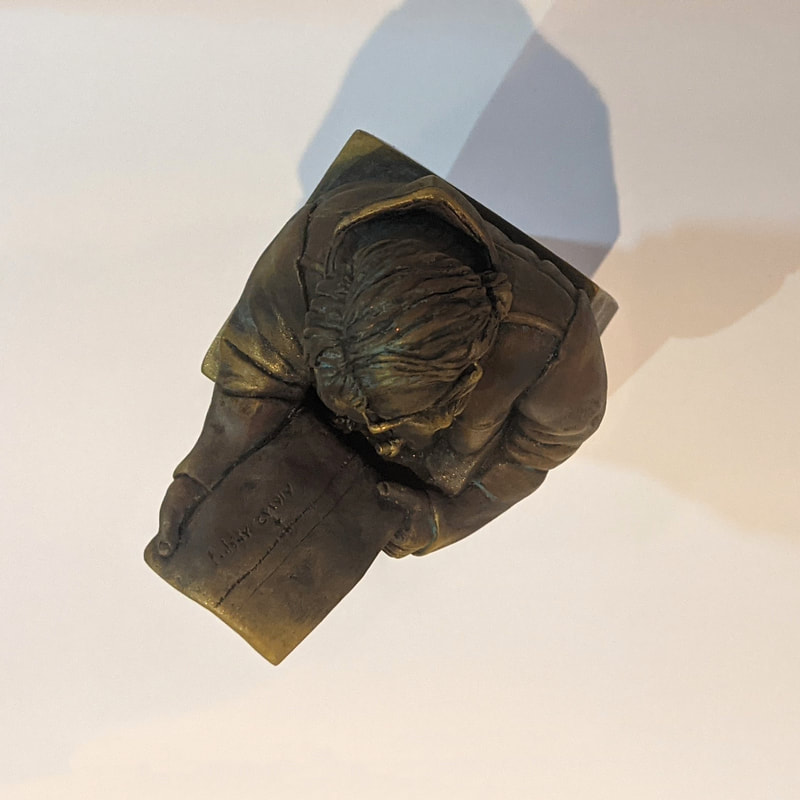
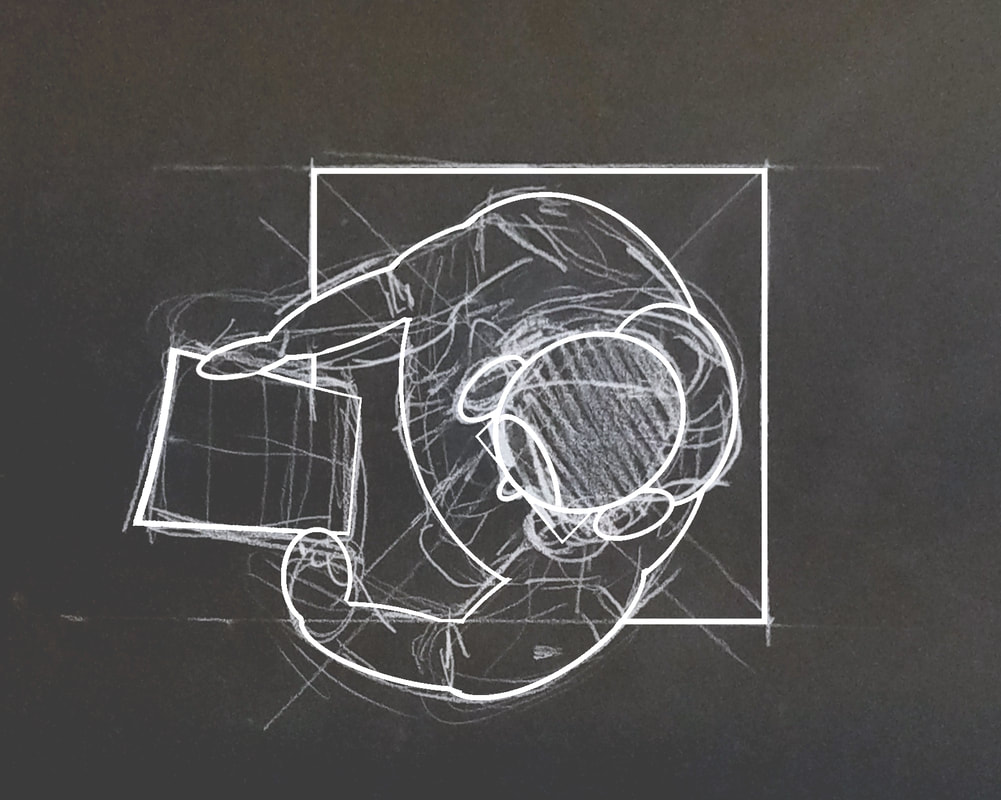
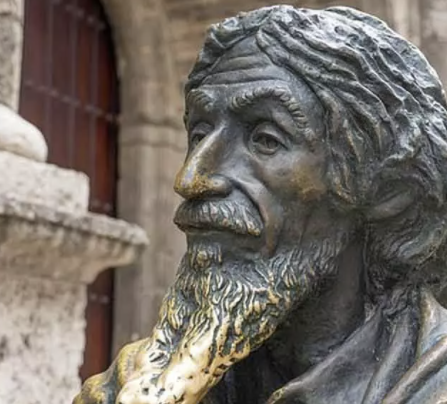
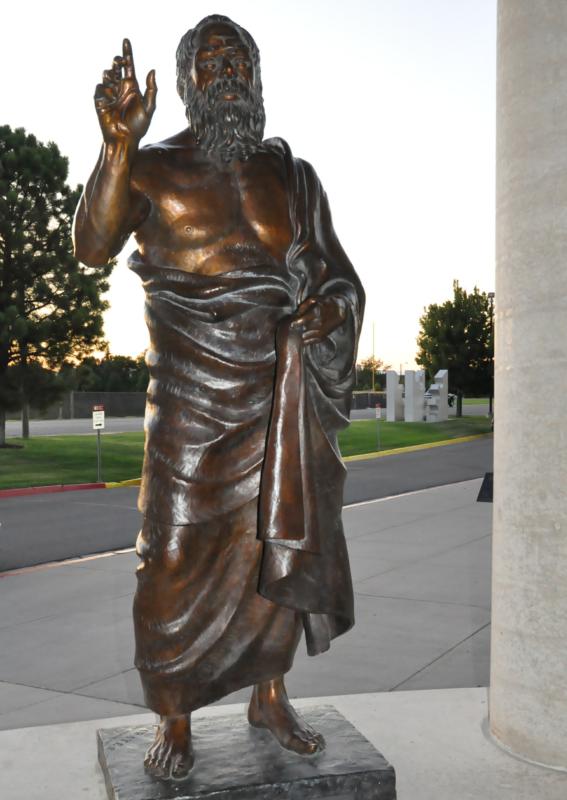
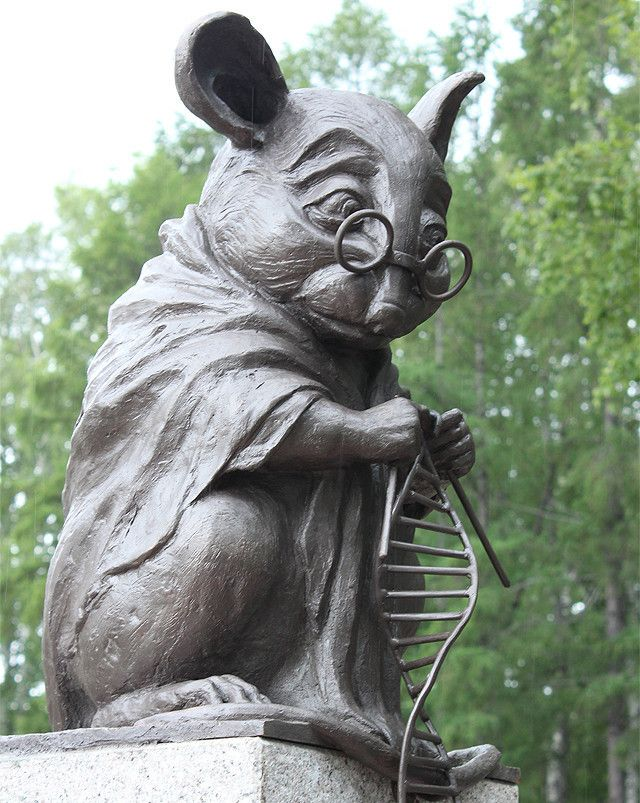
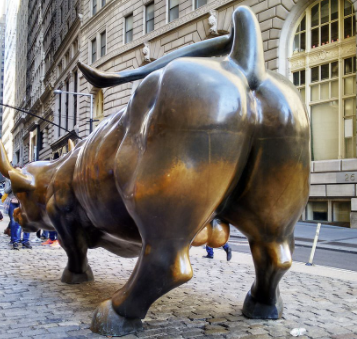
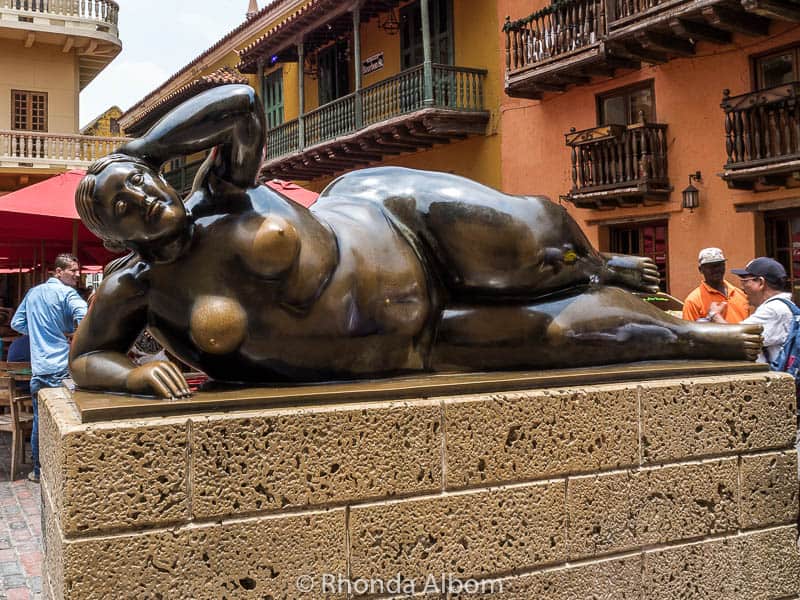
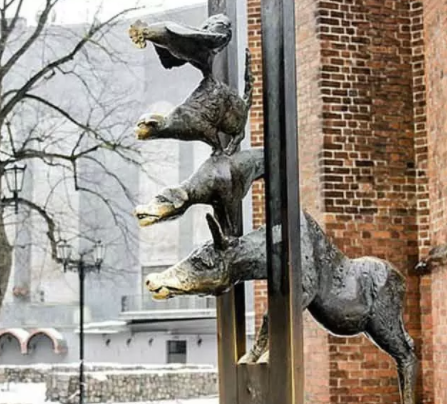
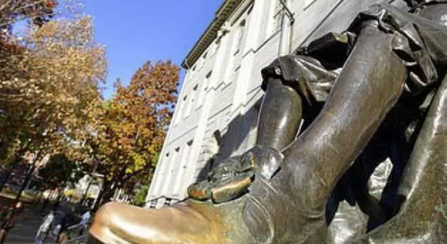
Above Right Photoshop drawing of Bell completed with out the image crop. Above Left Another photoshop drawing of a birds eye view of the model. Bronze Statue Colour Guide
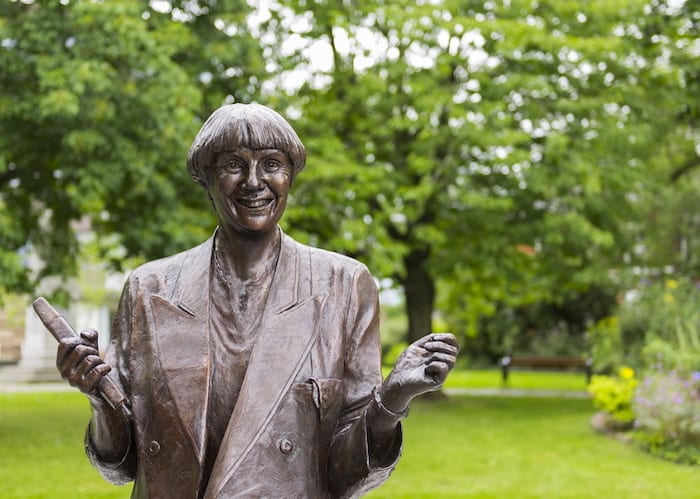
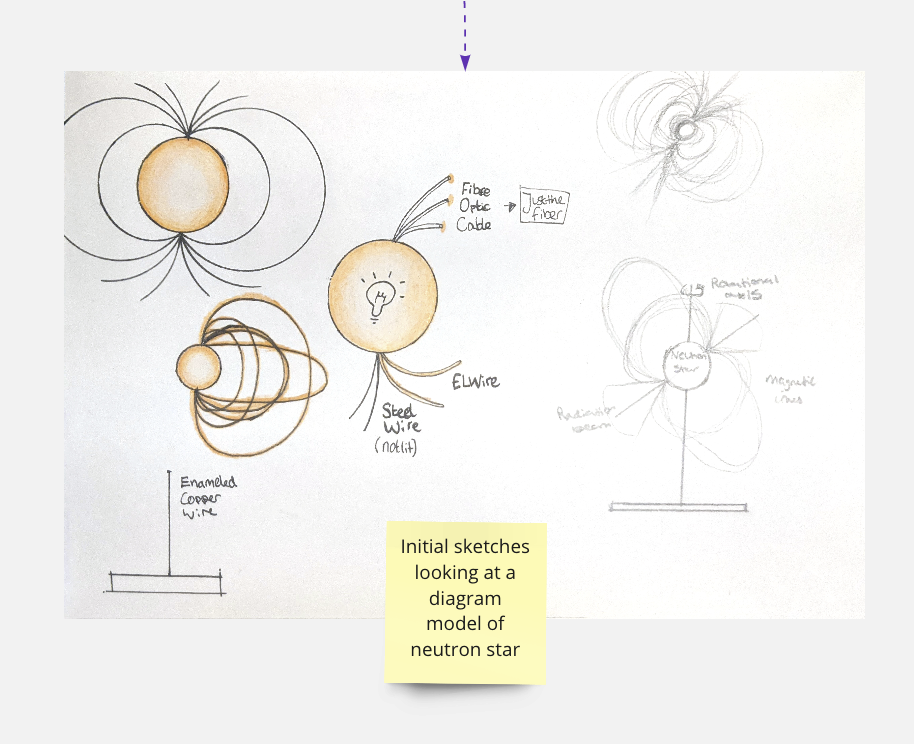
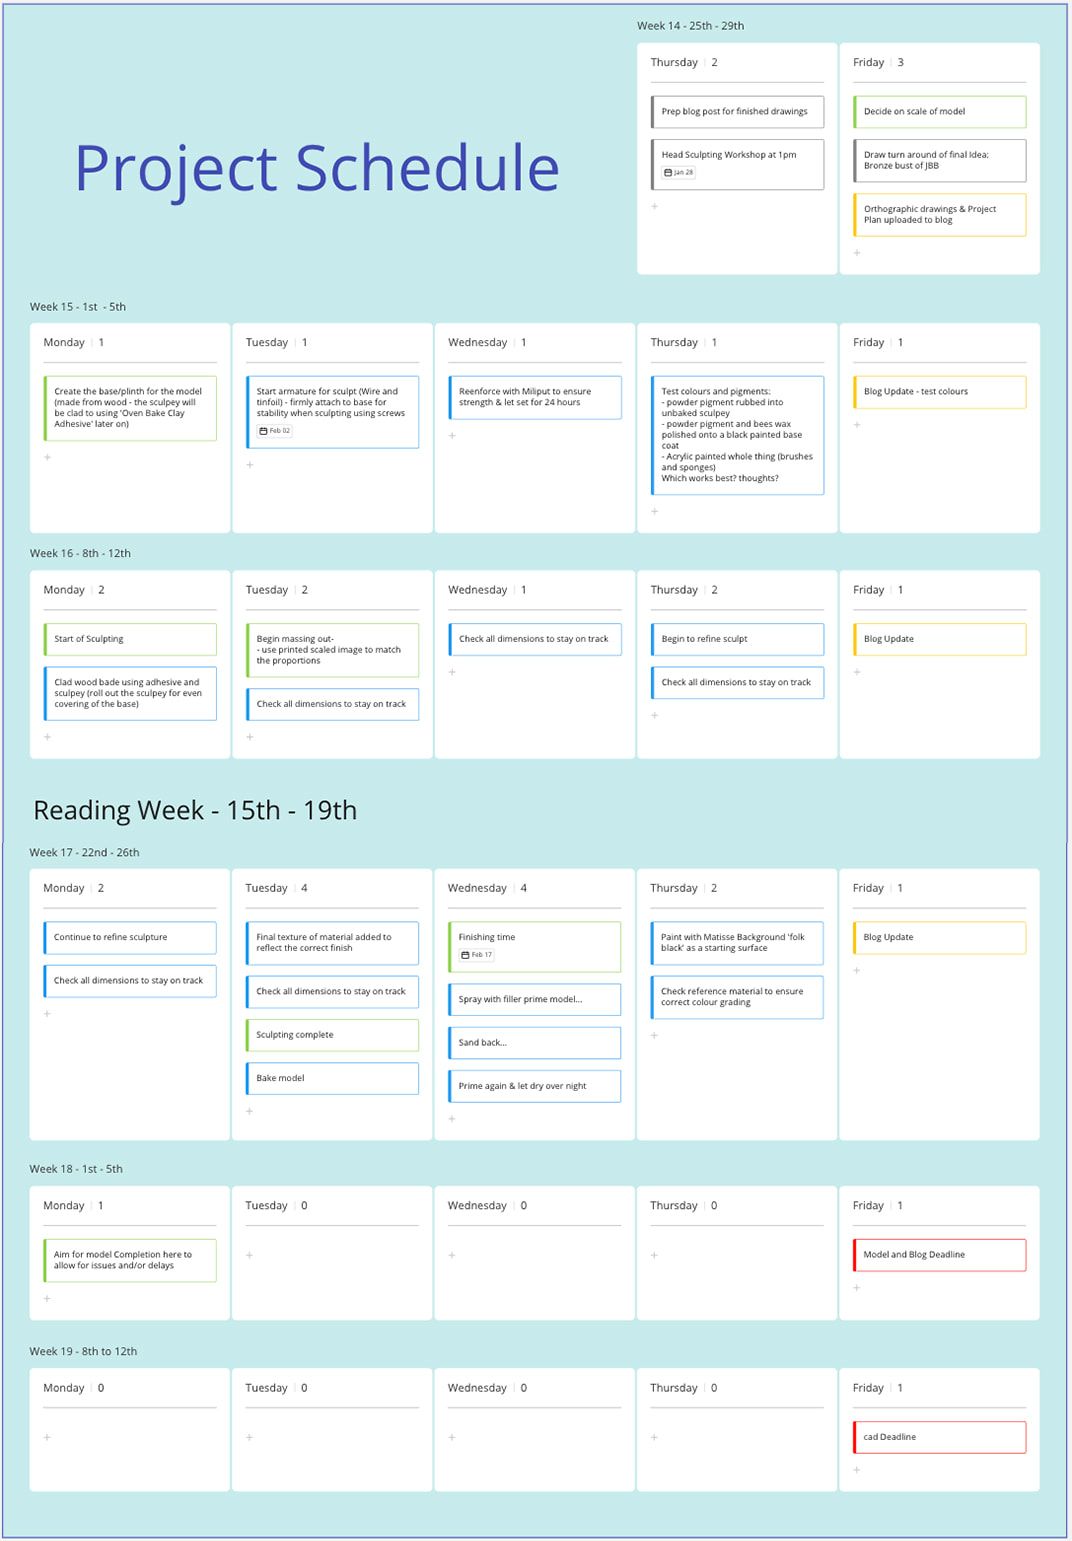 The first person to discover Pulsars was Jocelyn Bell Burnell. My research into Bell and this project its on this developing MIRO board here: (Week 12 and 13 progress combined into one post) 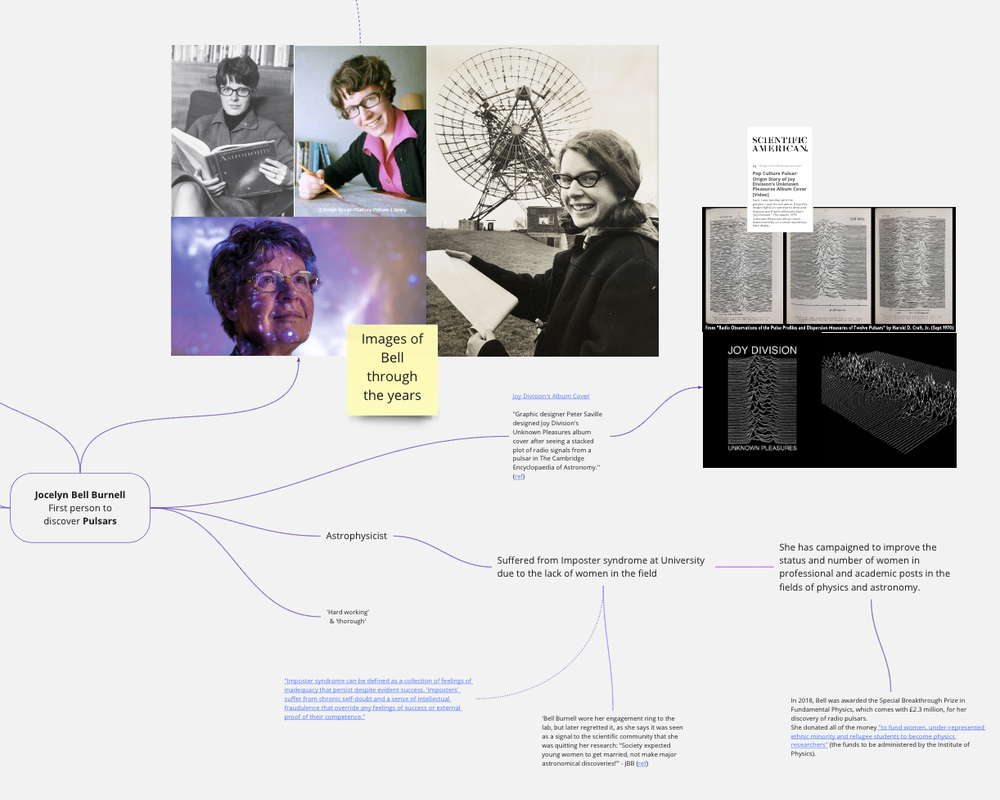 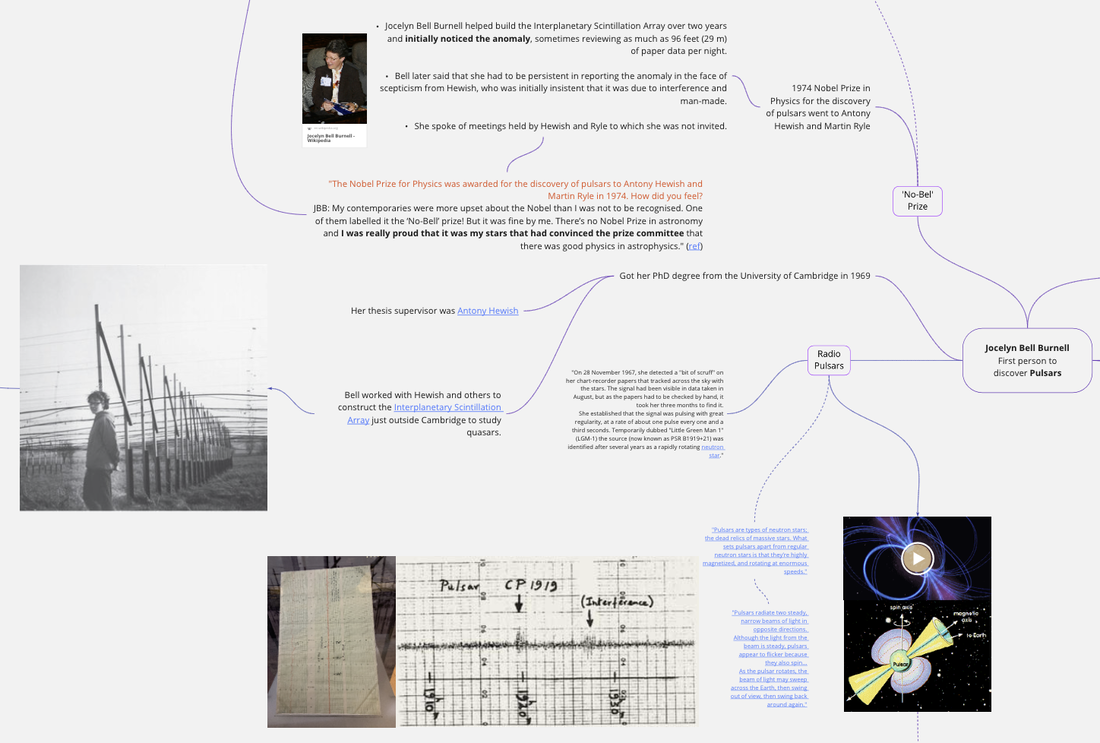 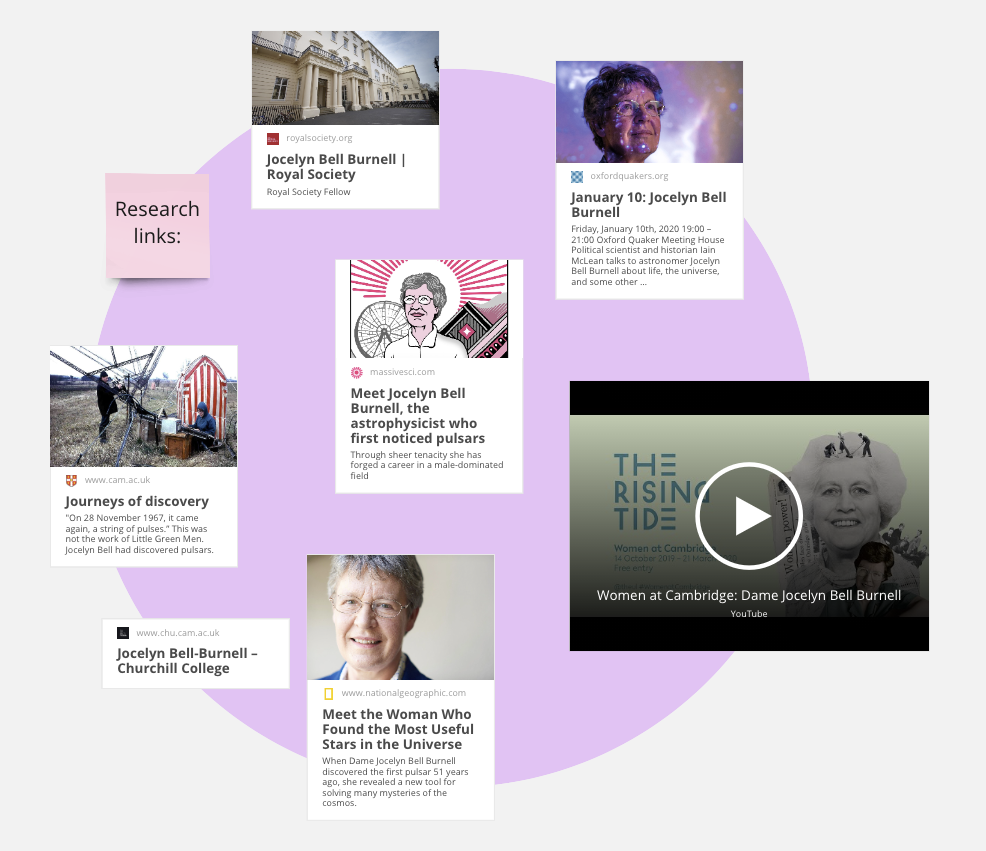
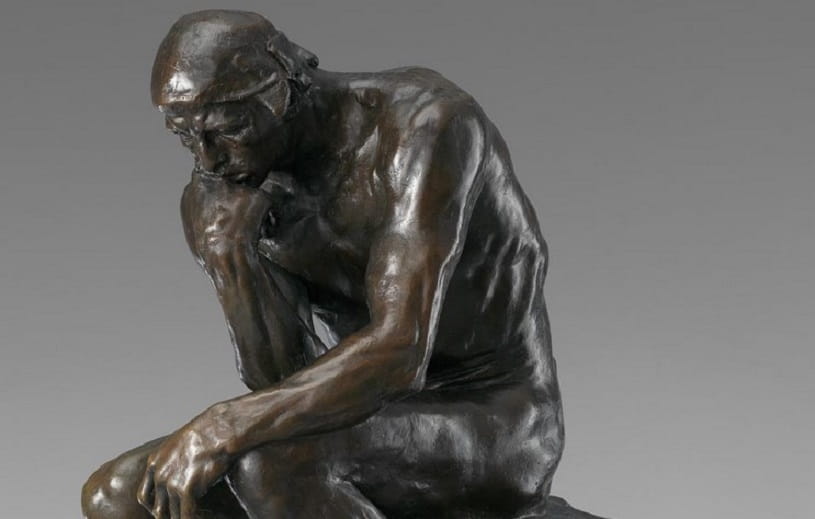
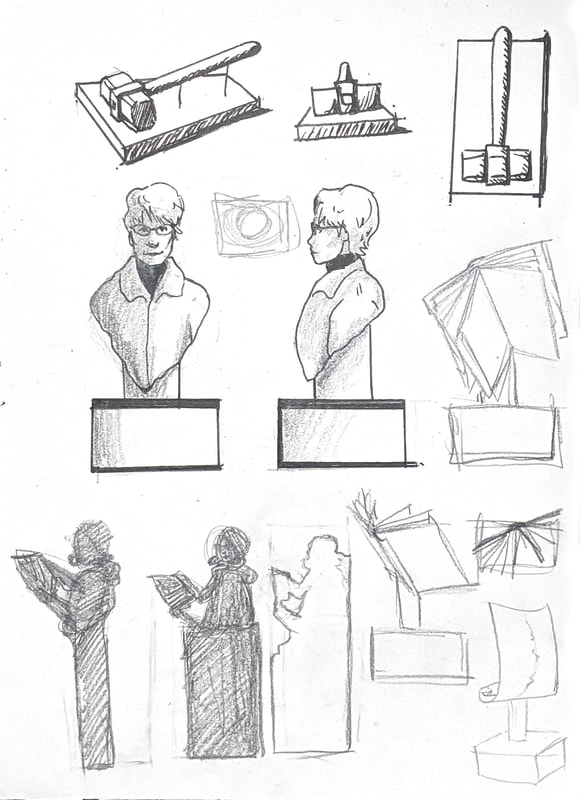
 Below, developing the idea of a potential model of the Nobel Prize Medal but 'No-Bel' in reference to the quote from an interview with Jocelyn Bell Burnell; "My contemporaries were more upset about the Nobel than I was not to be recognised. One of them labelled it the ‘No-Bell’ prize!" 1974 Nobel Prize in Physics for the discovery of pulsars went to Antony Hewish (her thesis supervisor) and Martin Ryle.  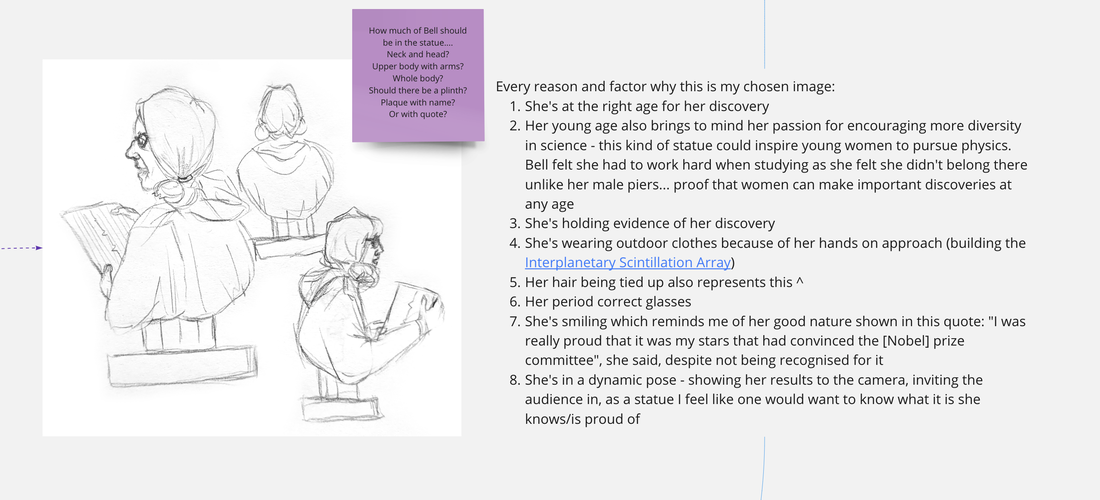 Describe what your model will communicate, what form it will take and your initial thoughts about making it. I hope for my model of the statue of Bell will communicate her excitement at the discovery she holds evidence of in her hands and attempt at least to capture the rest of the factors I list above. 

|