
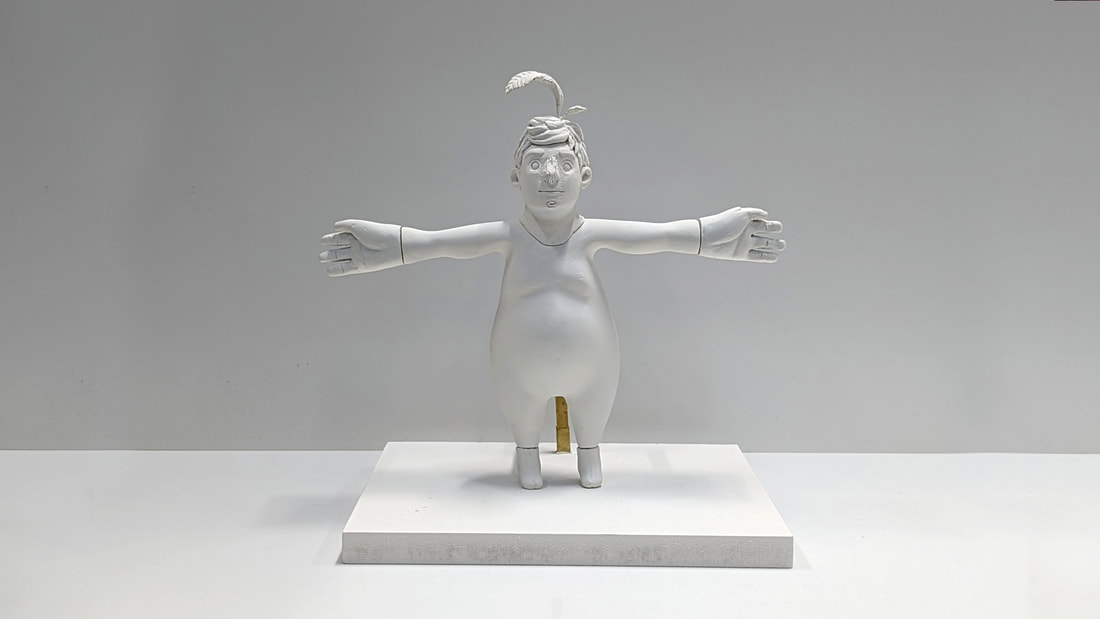
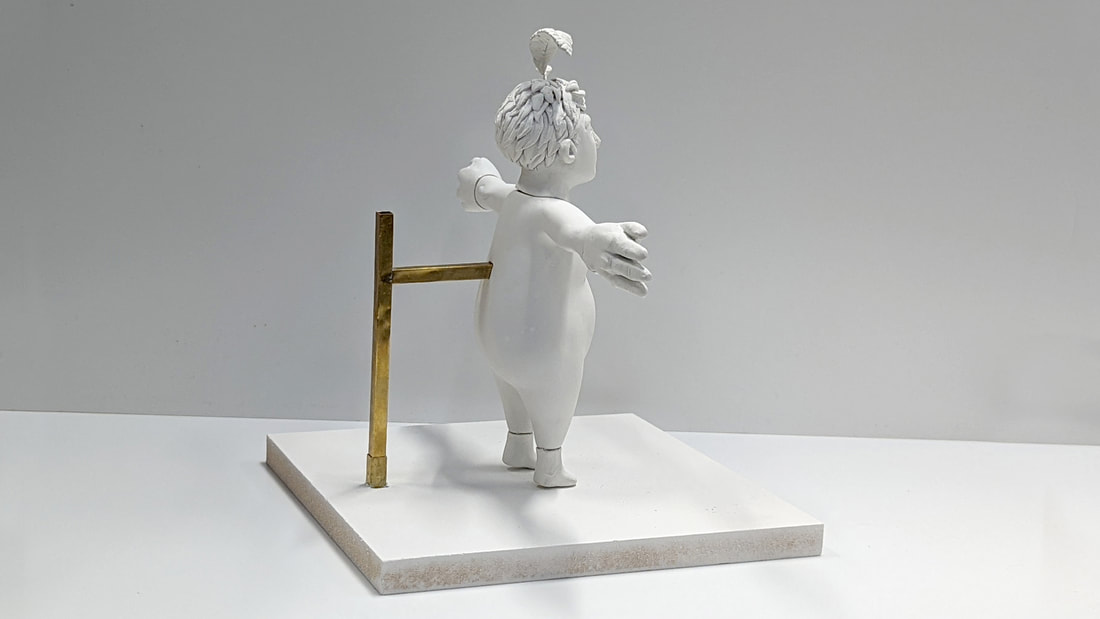
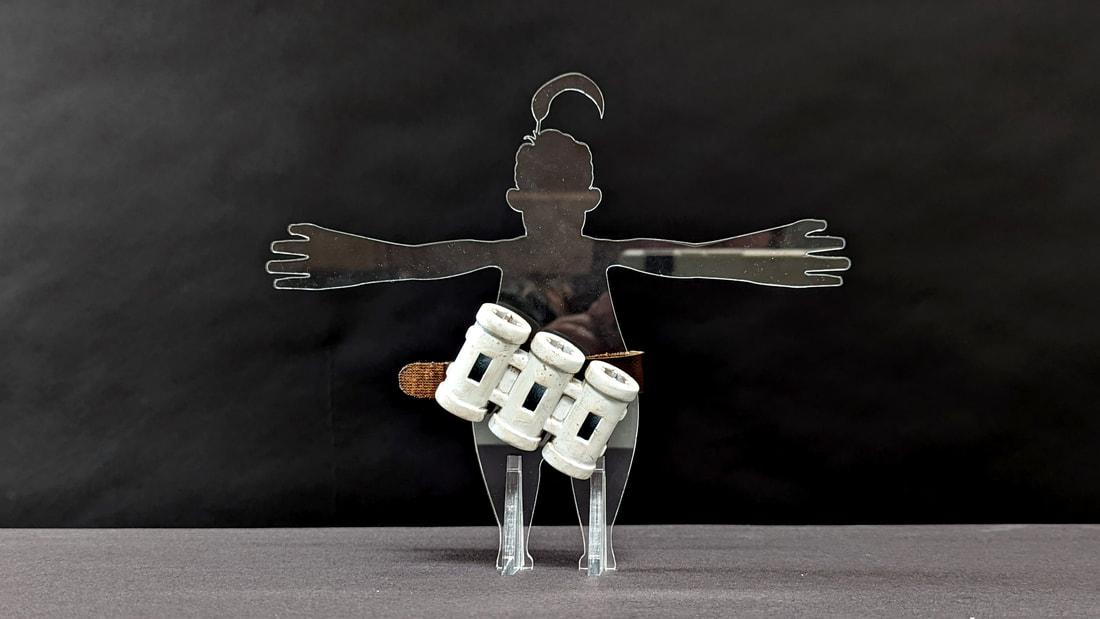
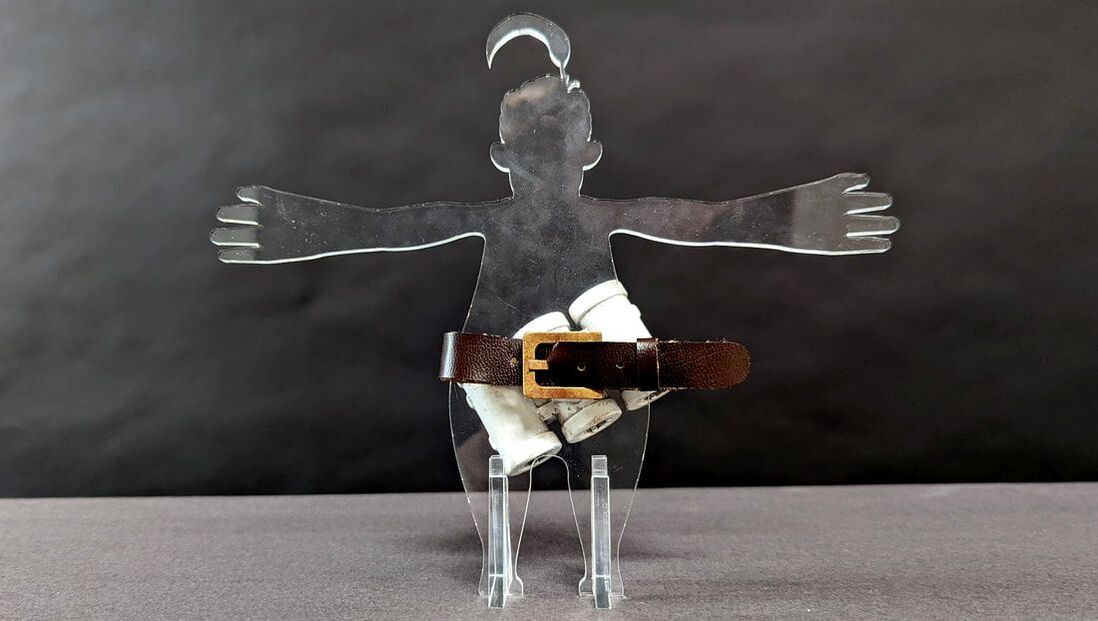
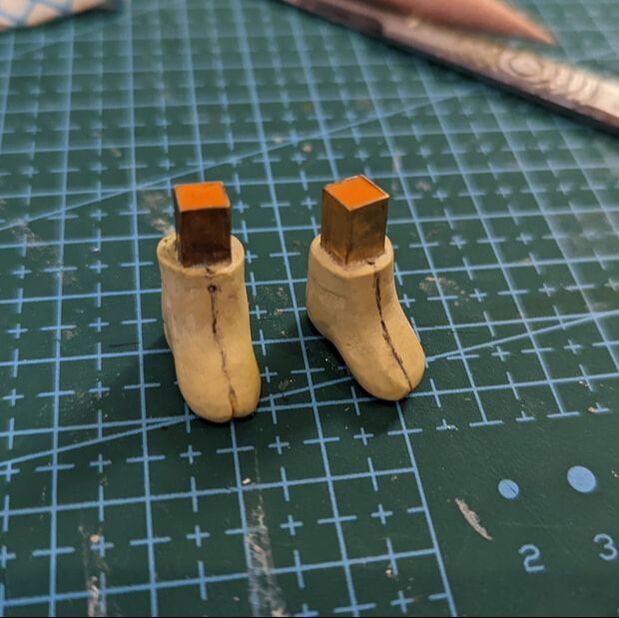
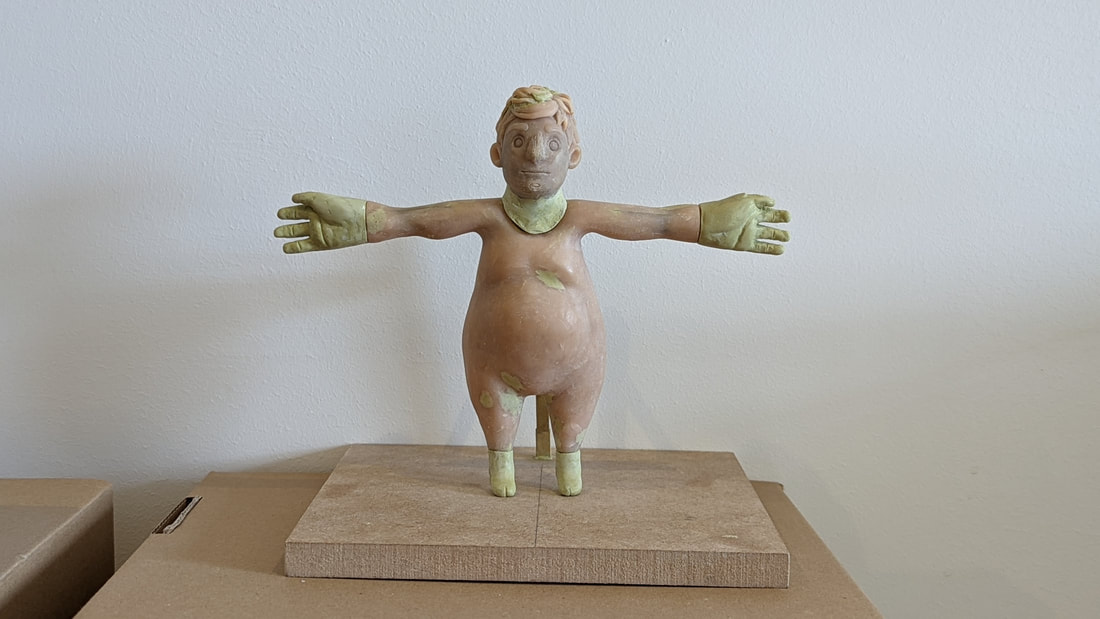
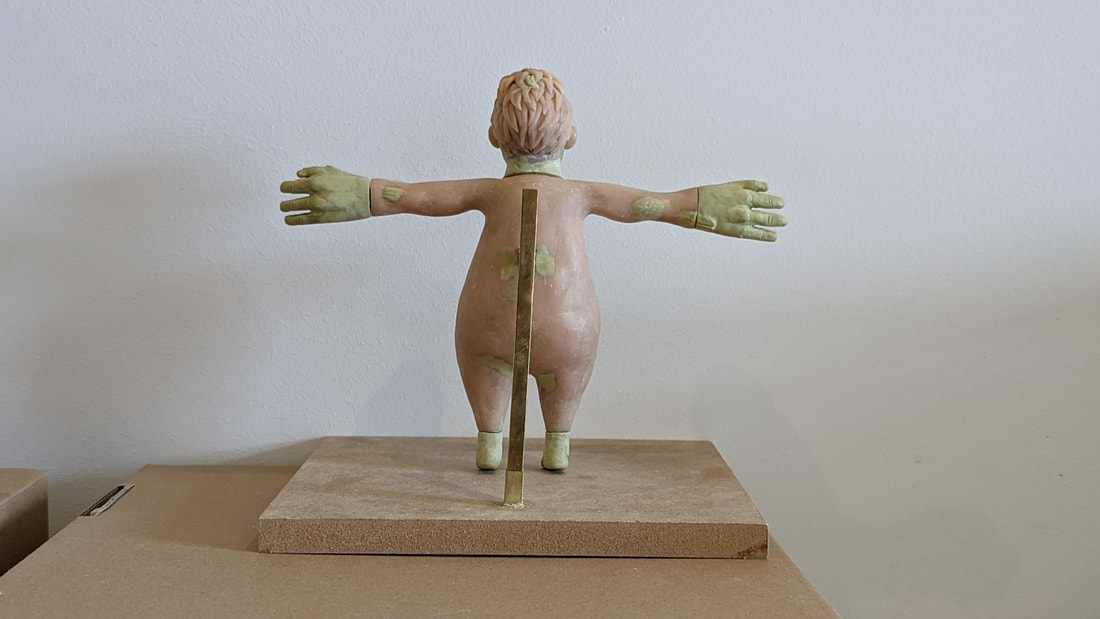
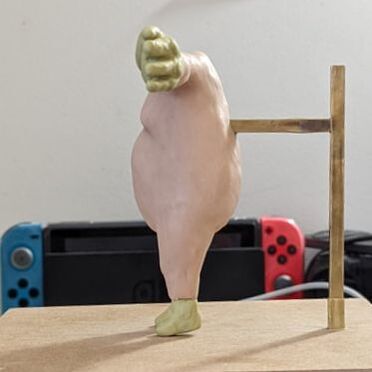
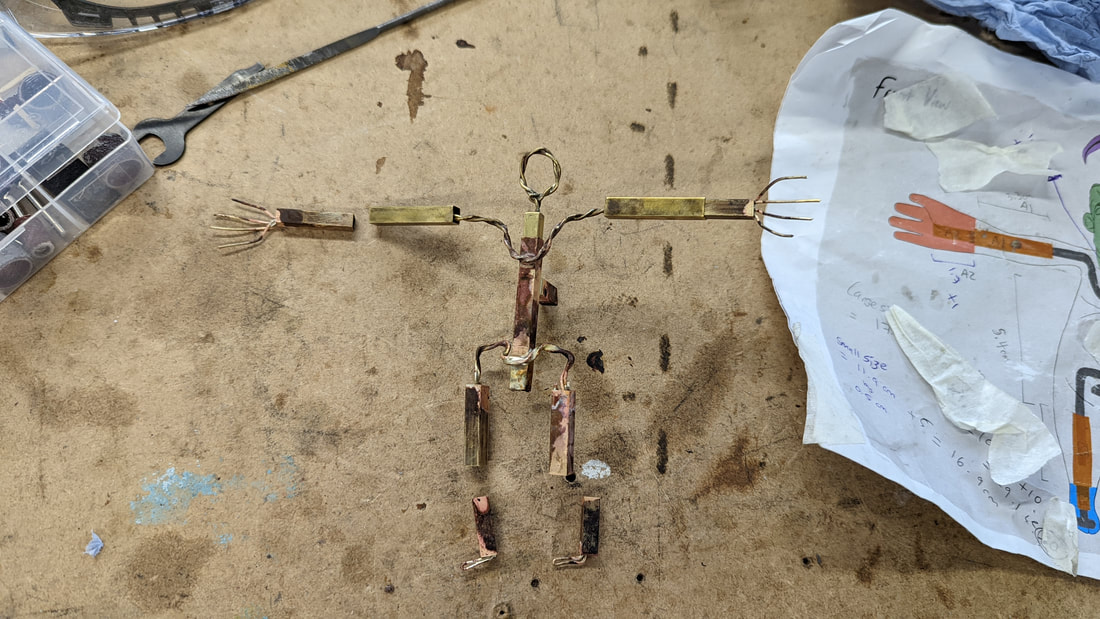
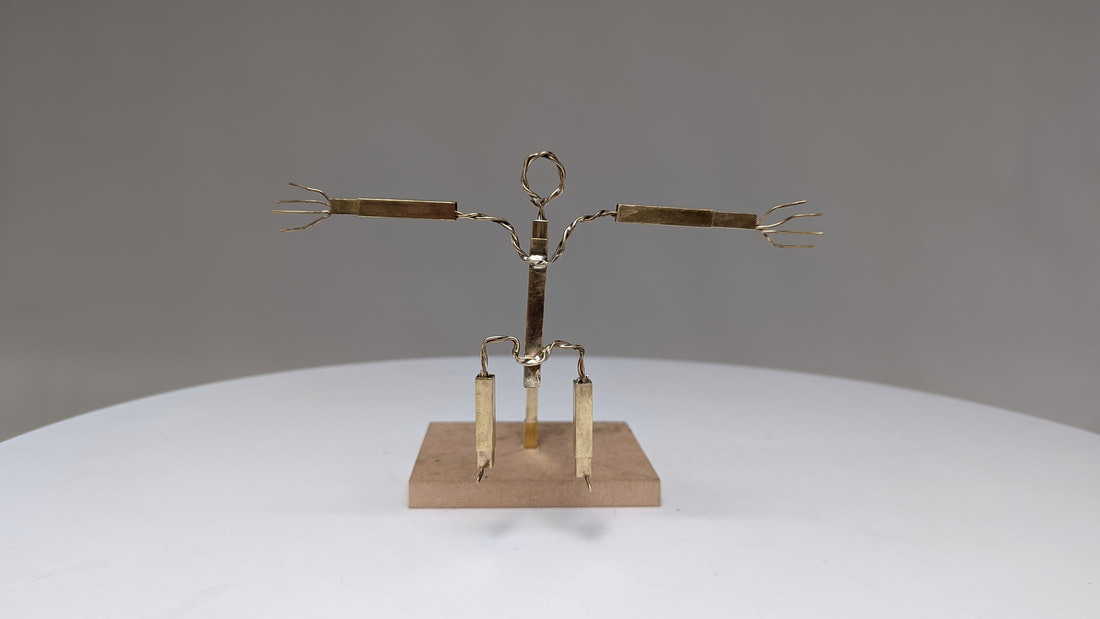
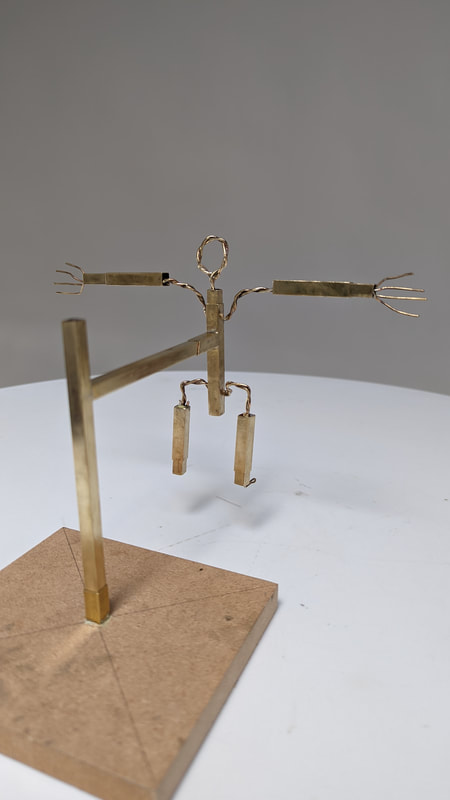
I also sprayed the base but left the brass visible to highlight the mechanics of the model and hit to its purpose. The minors came together and I laser cut a stand to display them on using an illustrator file traced from my scaled drawings. To hold the model on his waist two holes and some twisted wire running through keeps the front and back attached. For the feet they are interlocking triangles on each foot.
0 Comments
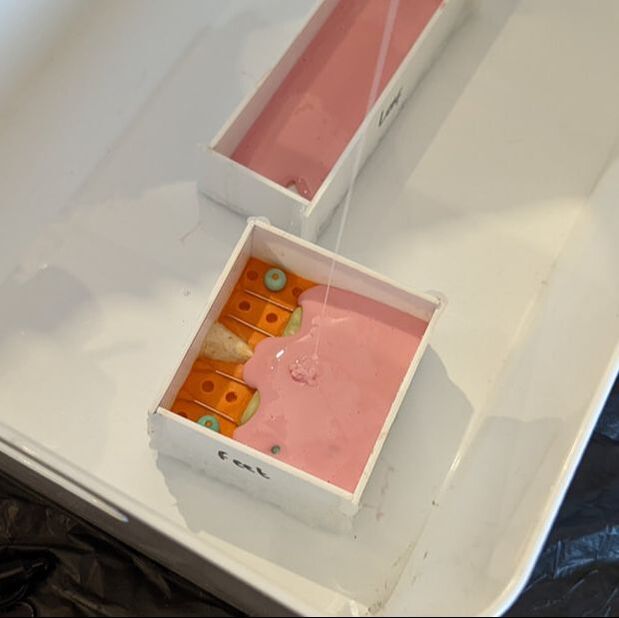
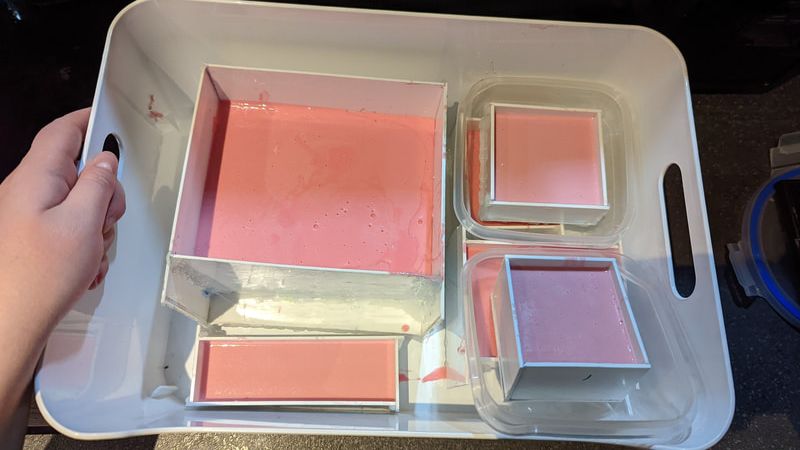
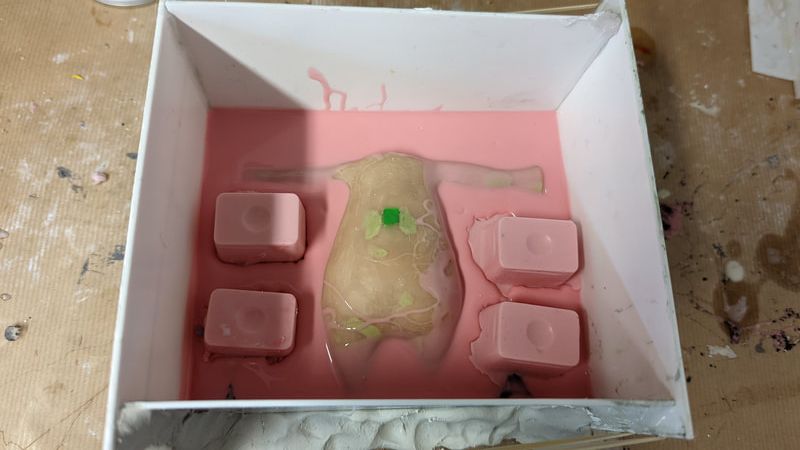
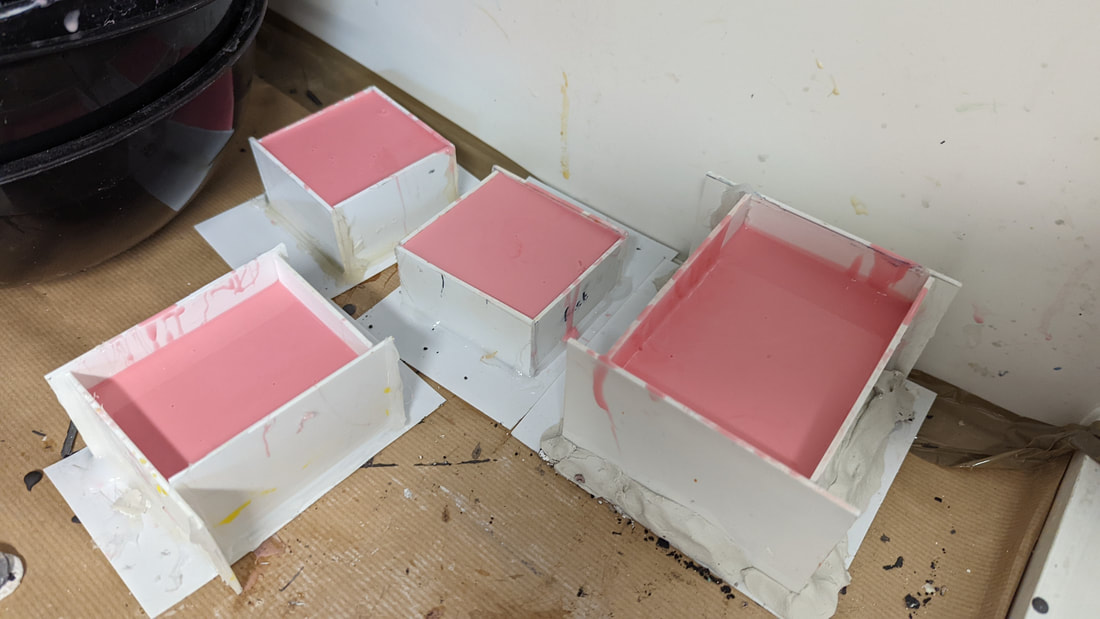
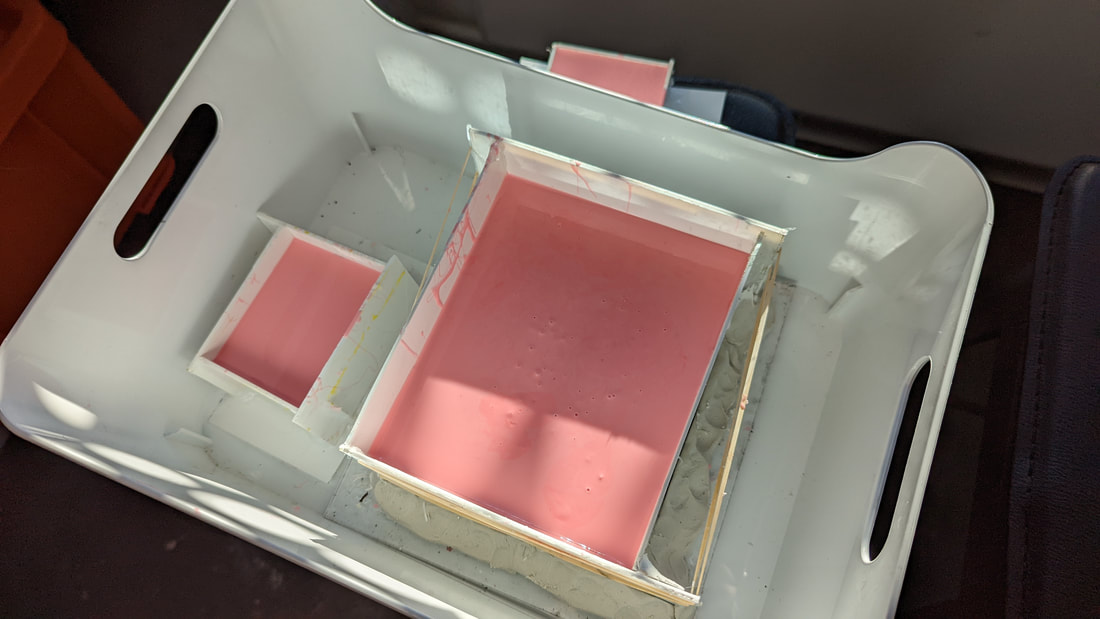
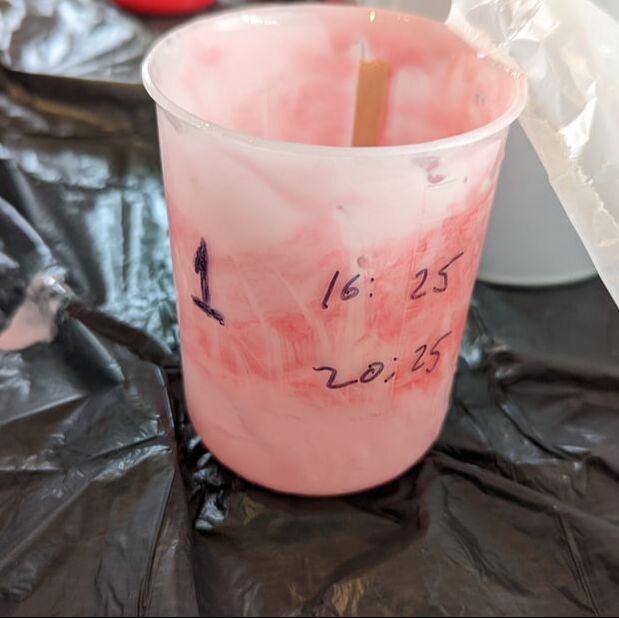
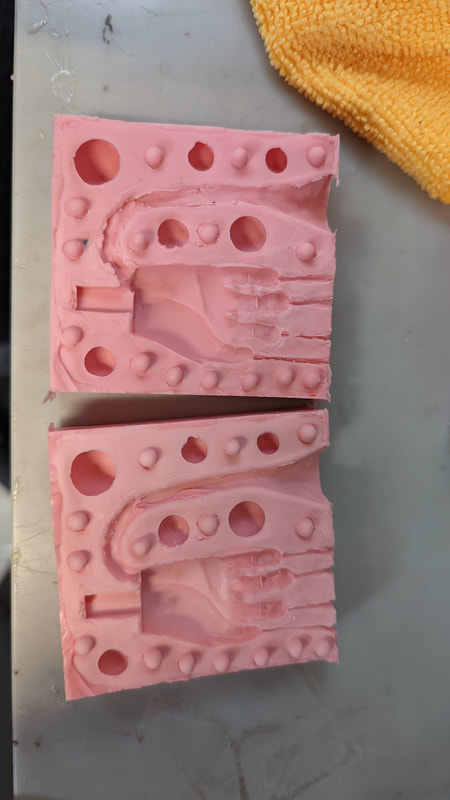
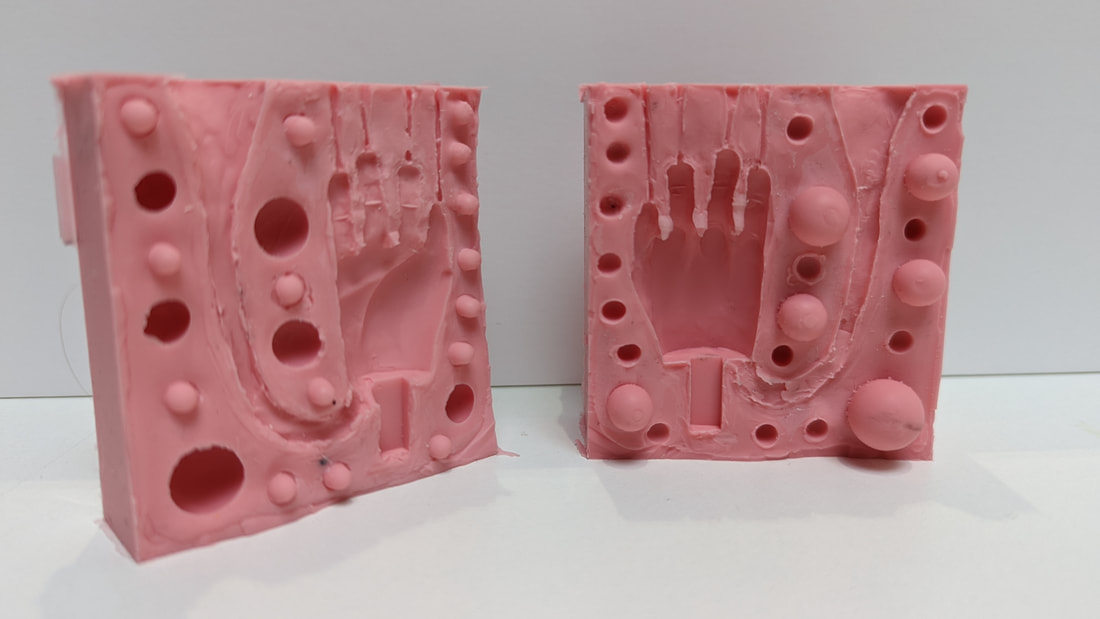
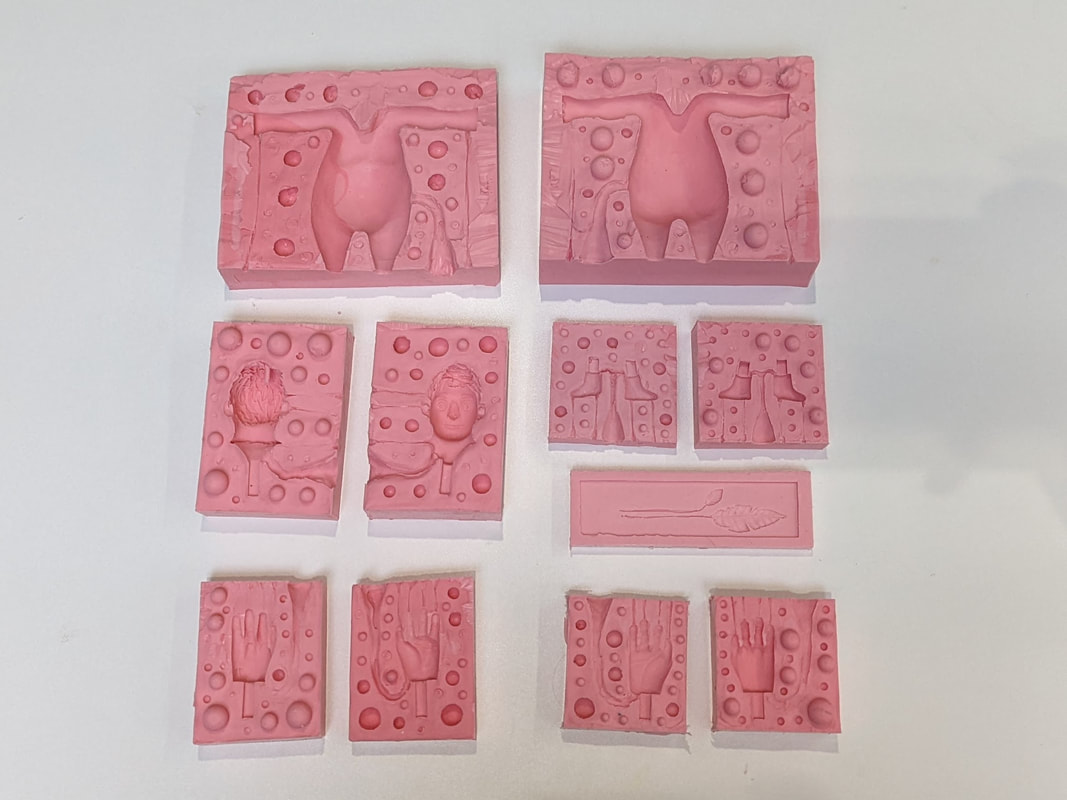
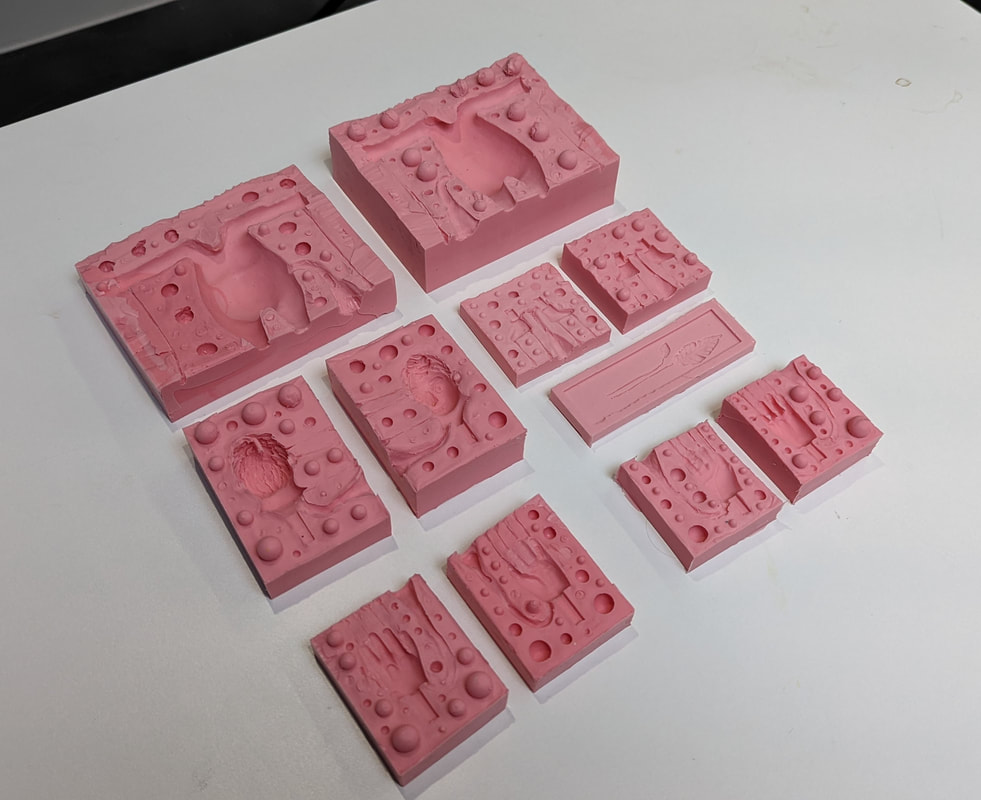
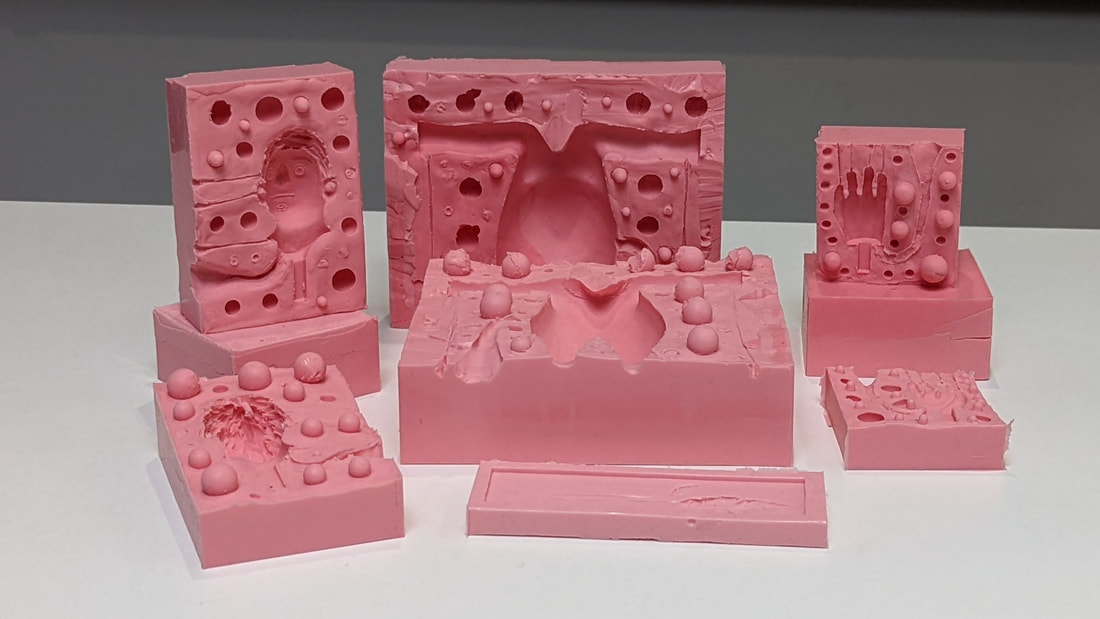
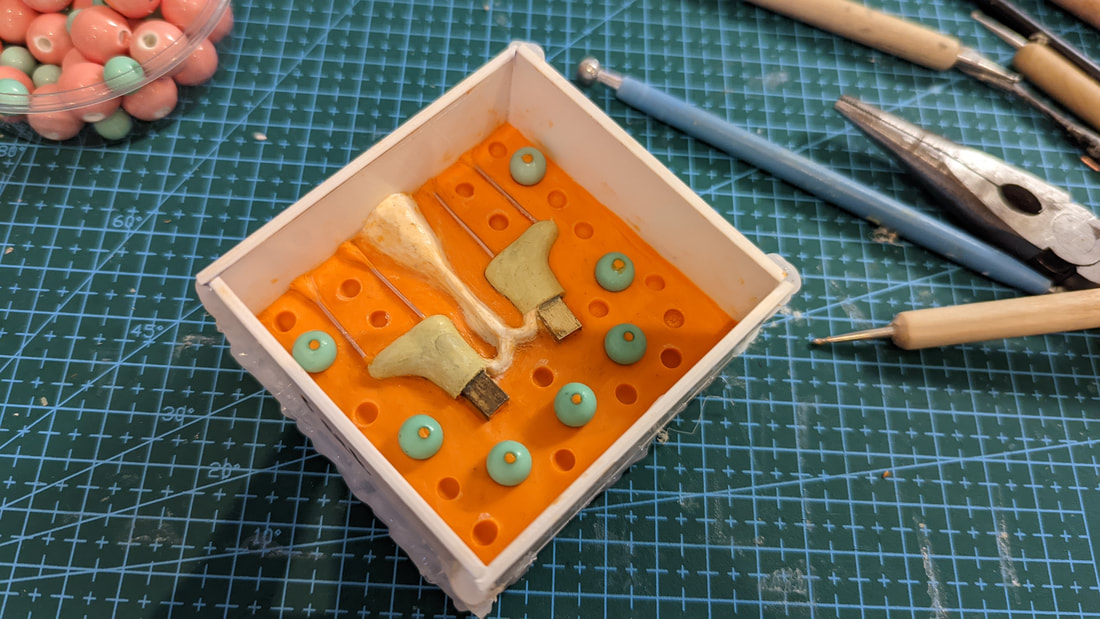
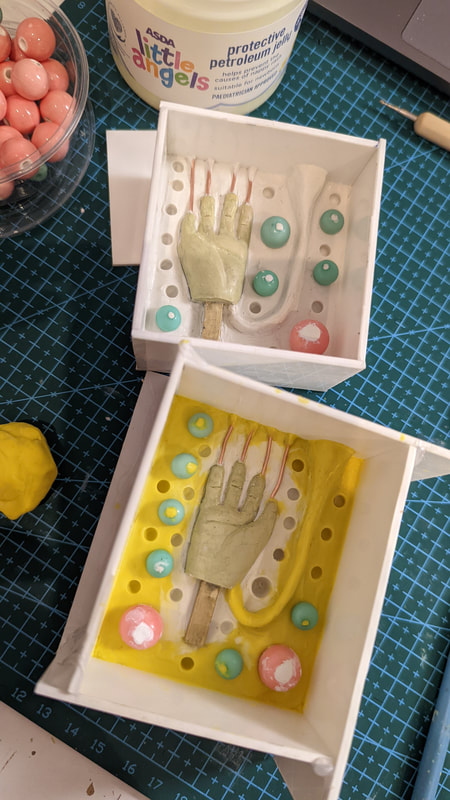
With my moulds laid up I poured the silicone on for the first halves using typical silicone pouring practice. As the moulds were all small (apart from the body) I used small containers and mixed up lots of smaller batches that would then be written on the side of the batch number and the time it was mixed so I can keep track of what order the pieces would be curing in.
The standard maquette in stop motion would be made from a reusable clay that can be put aside after the moulding for another project. As for my project, I am changing this slightly and using a hard model to ensure its survival for displaying at New Blades show. For this reason the moulds will need to be soft silicone ones rather than some typical stop motion ones that are hard plaster like ones.
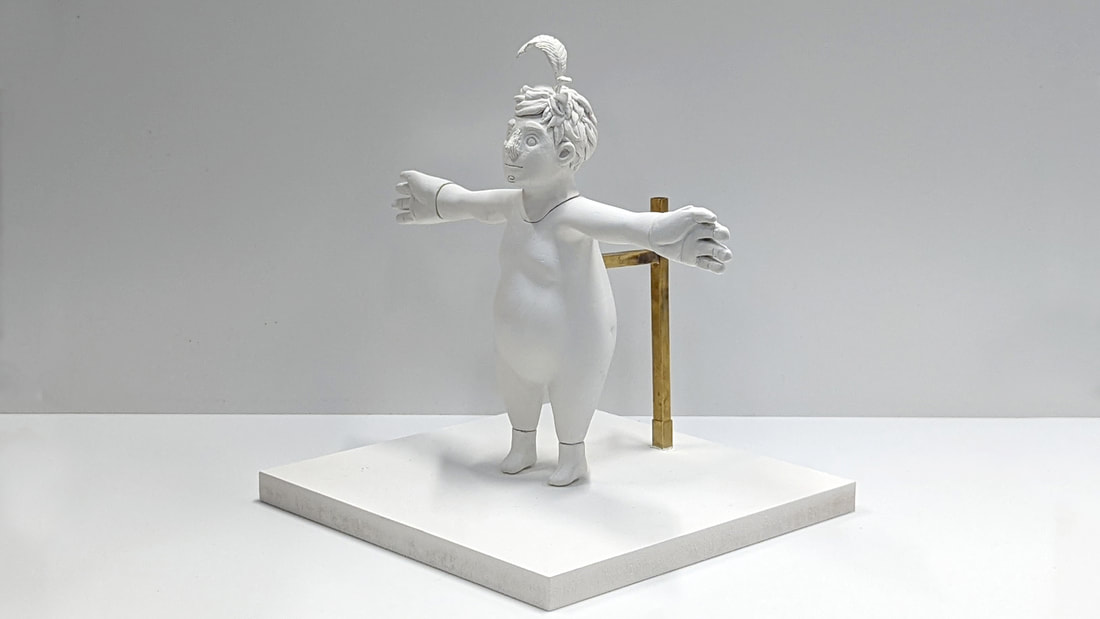
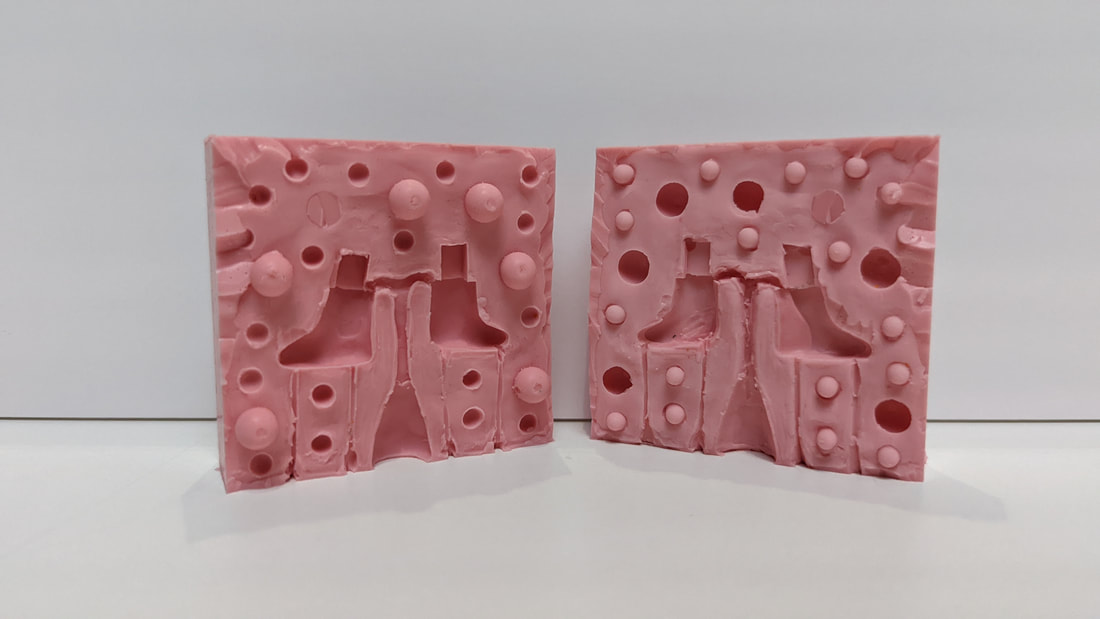
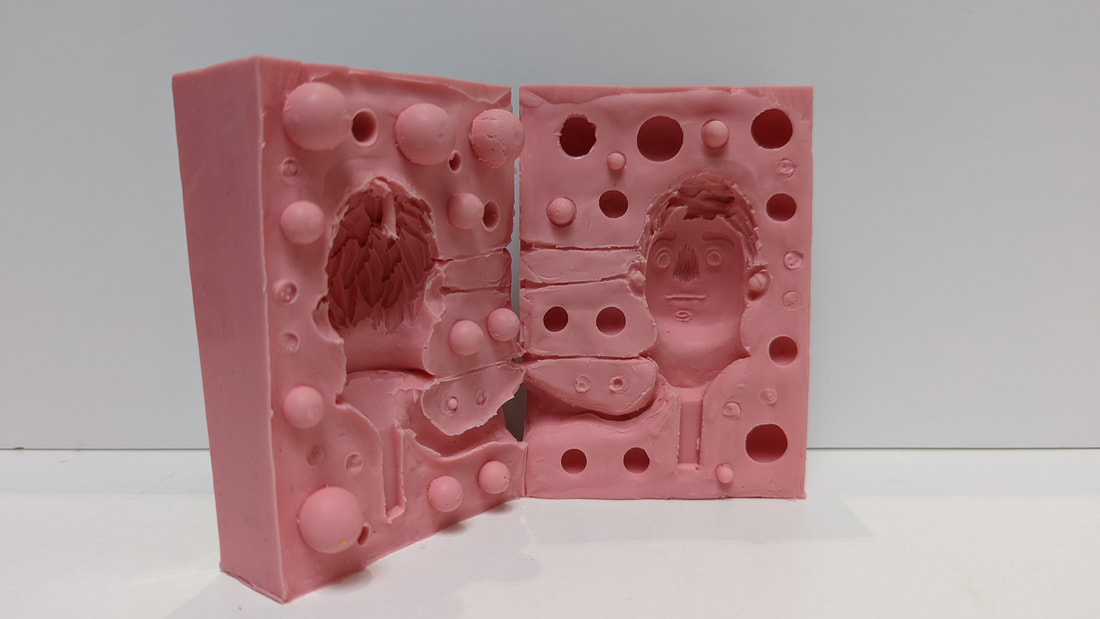
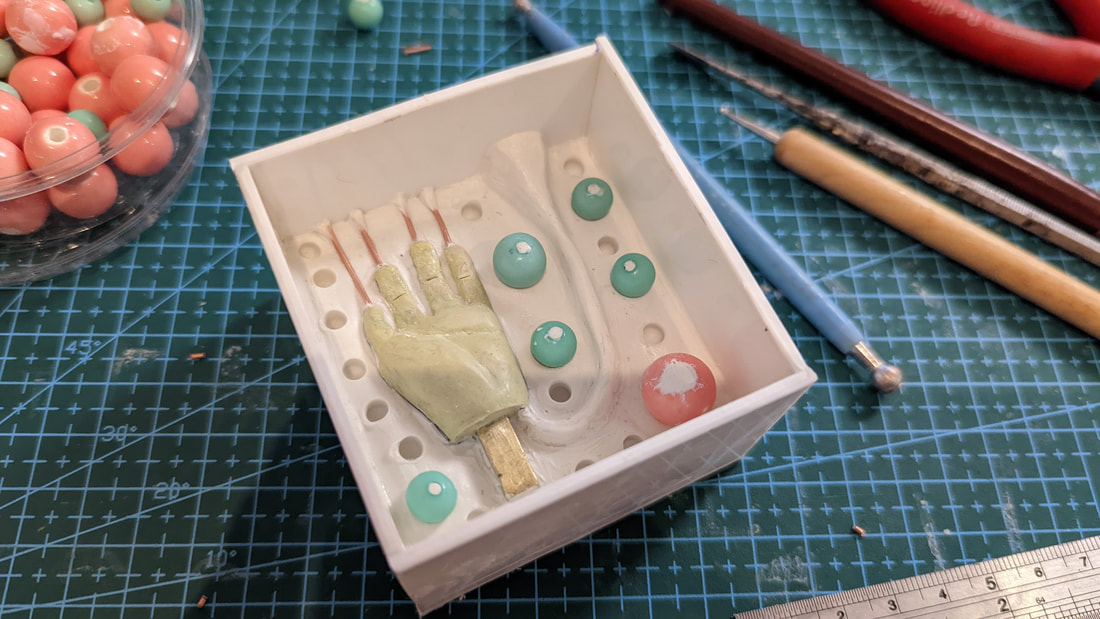
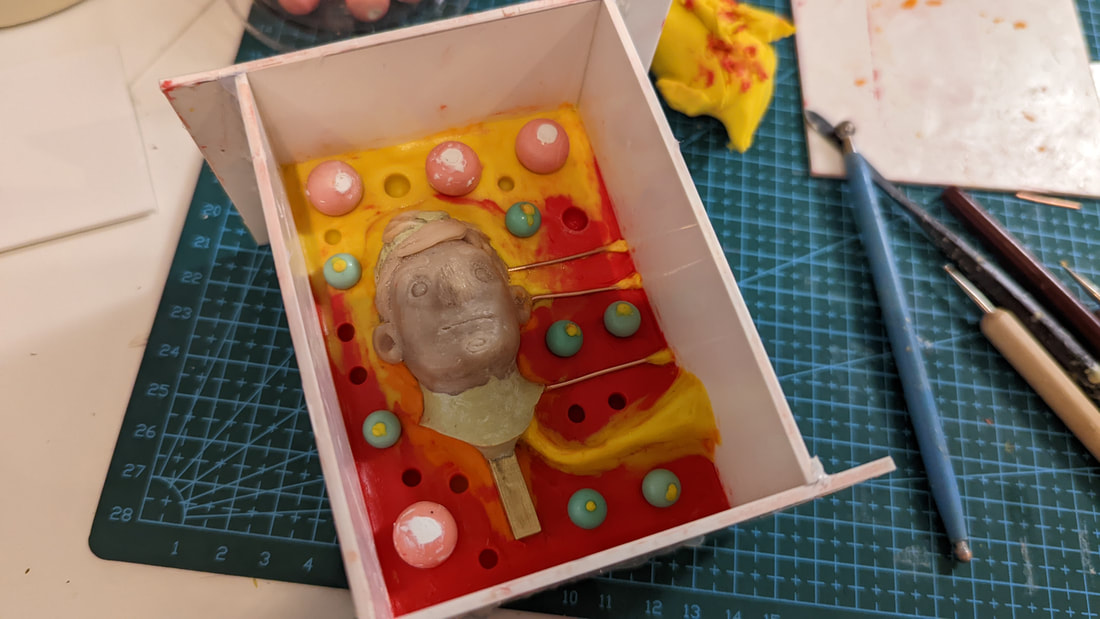
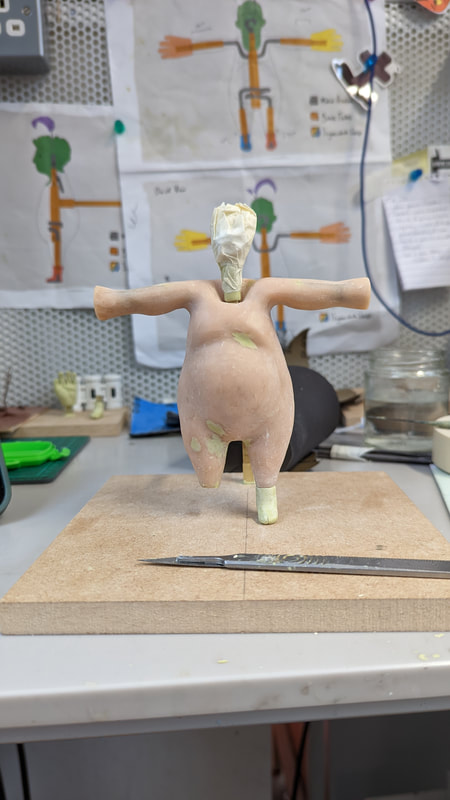
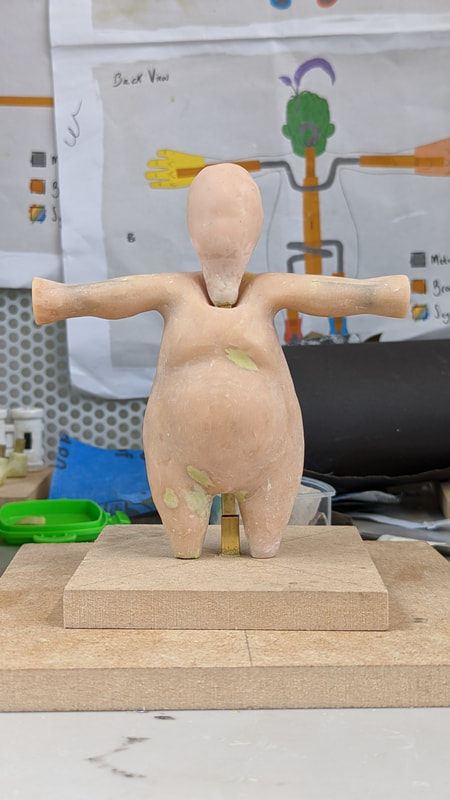
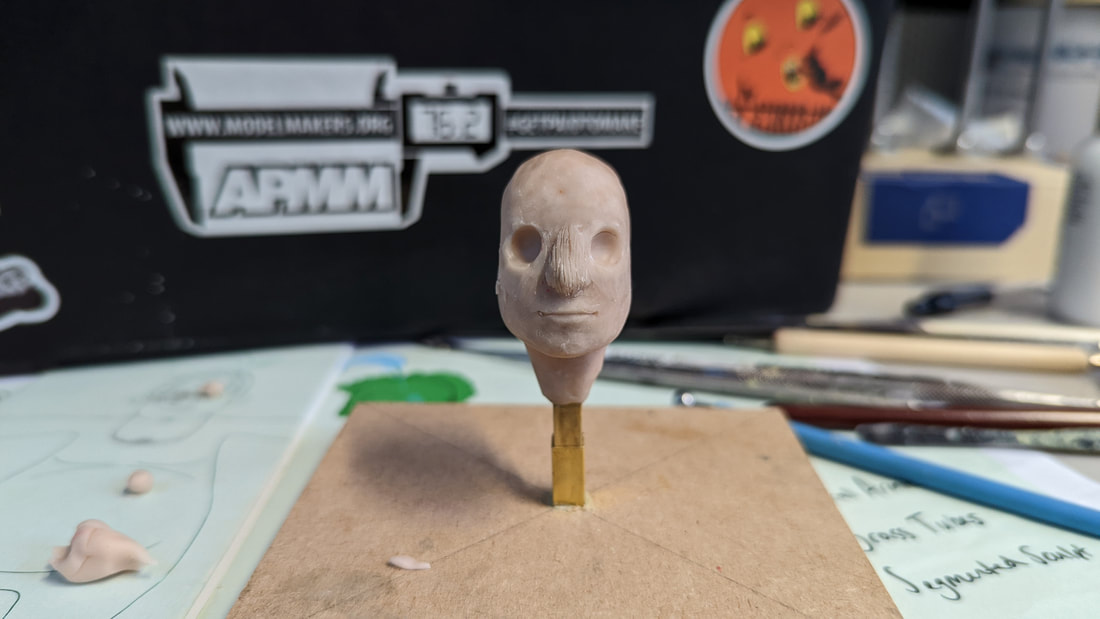
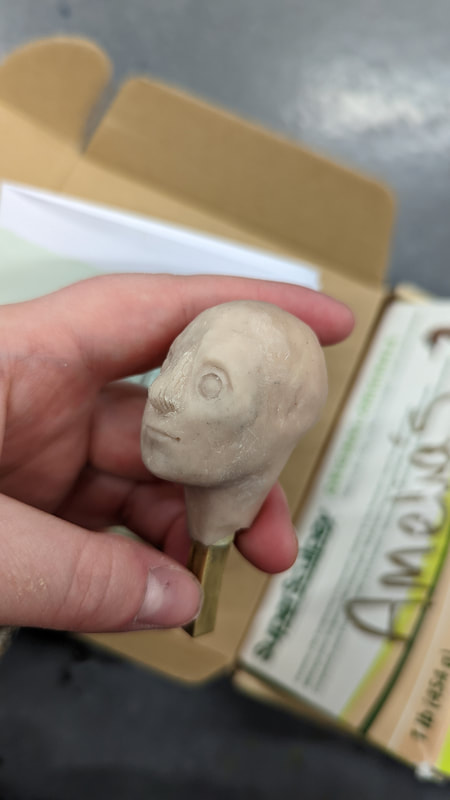
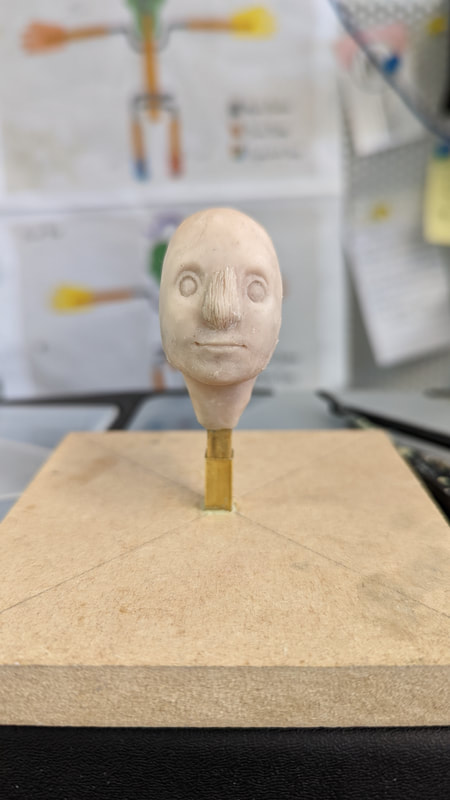
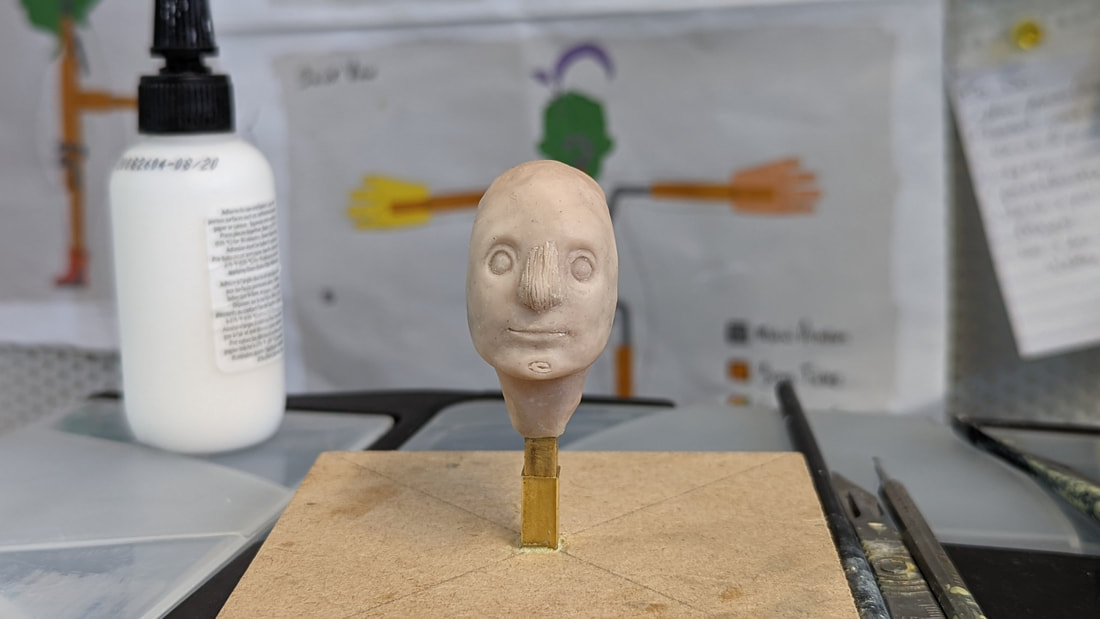
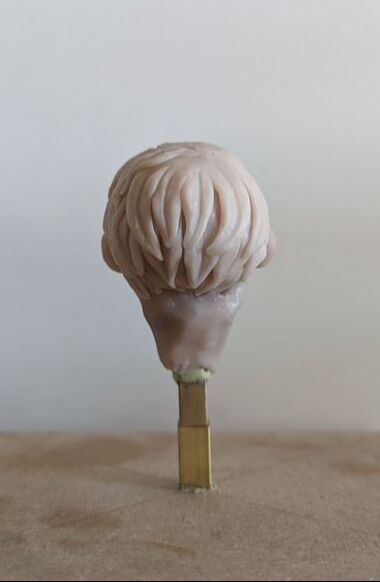
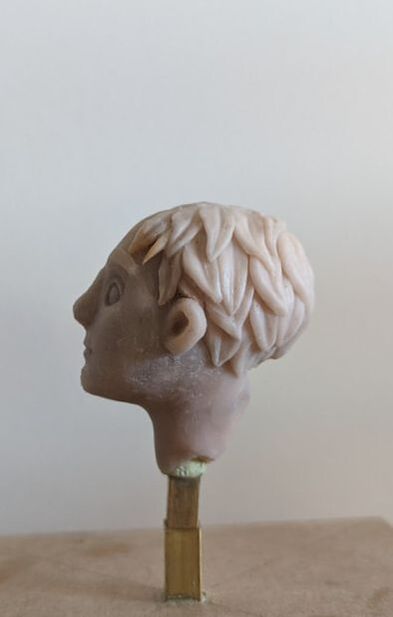
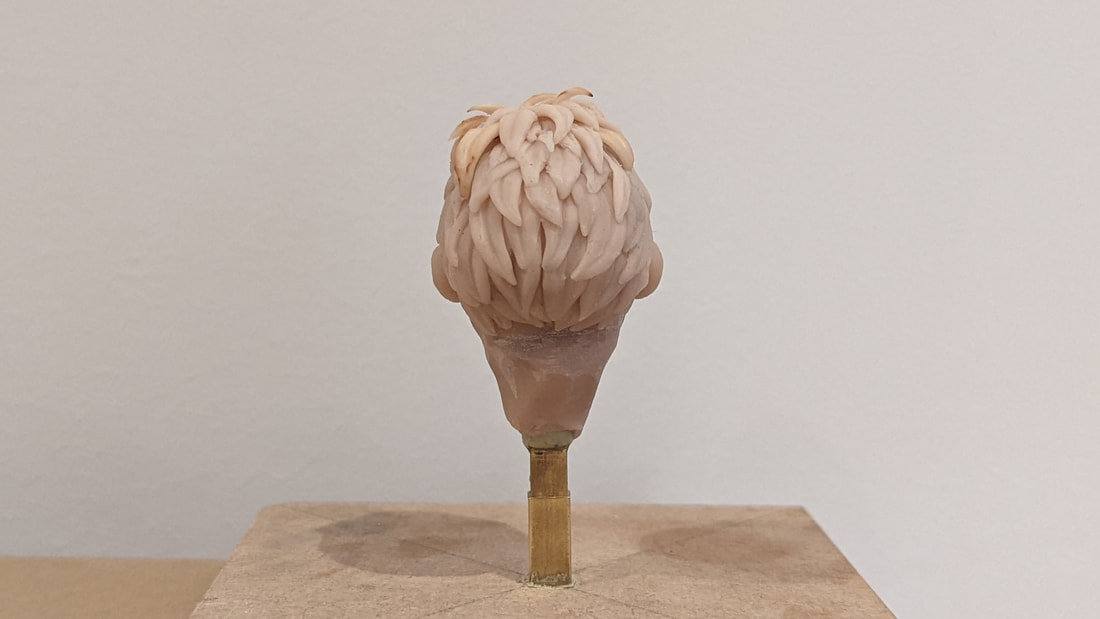
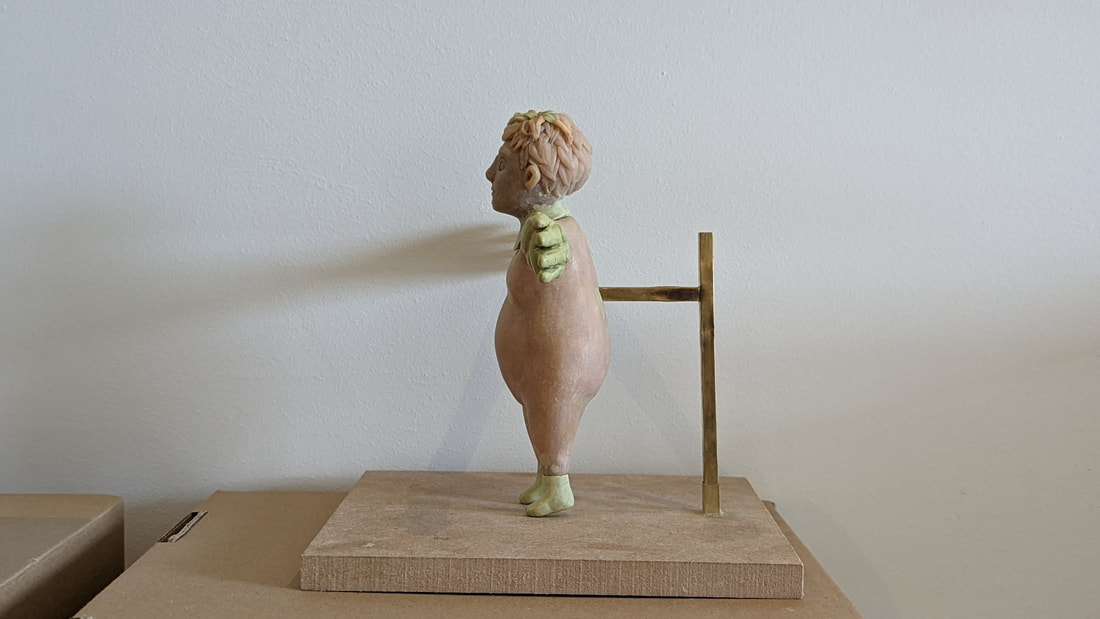
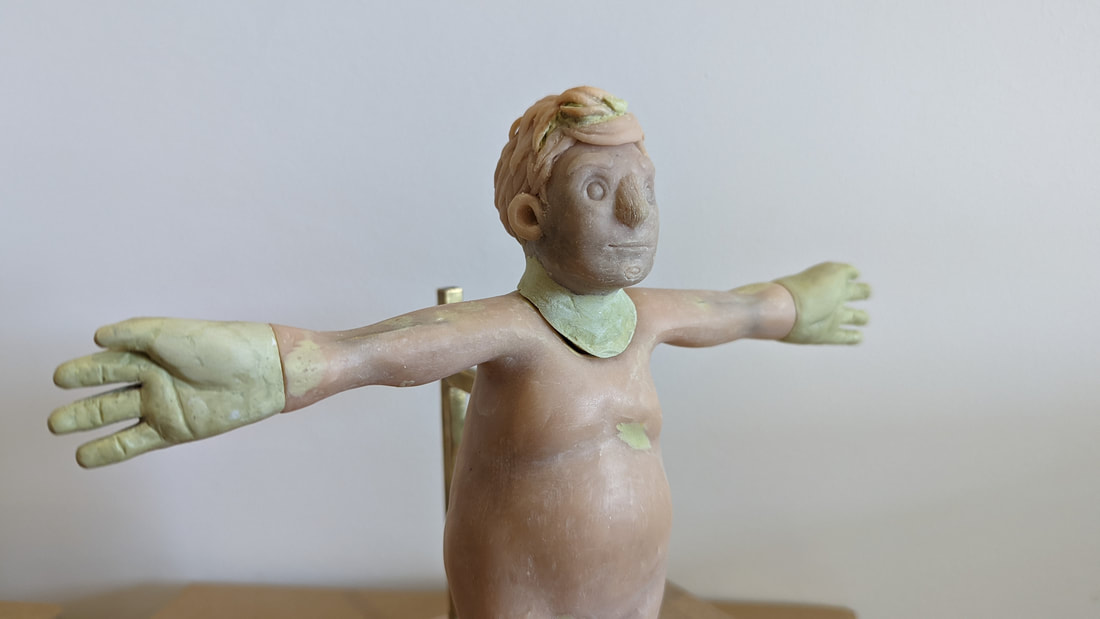
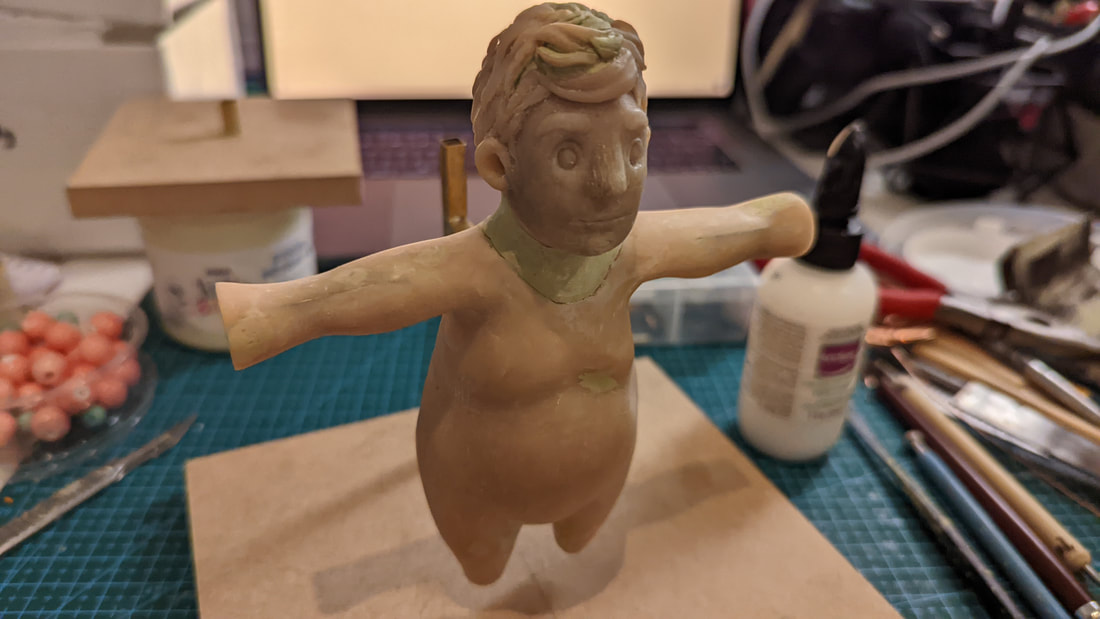
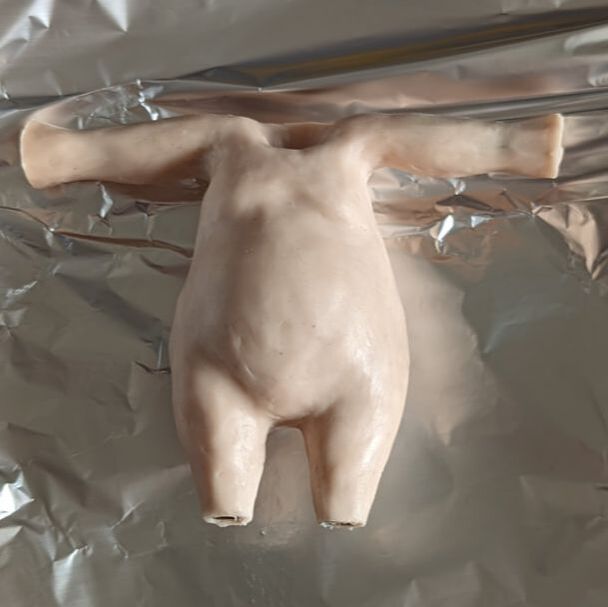
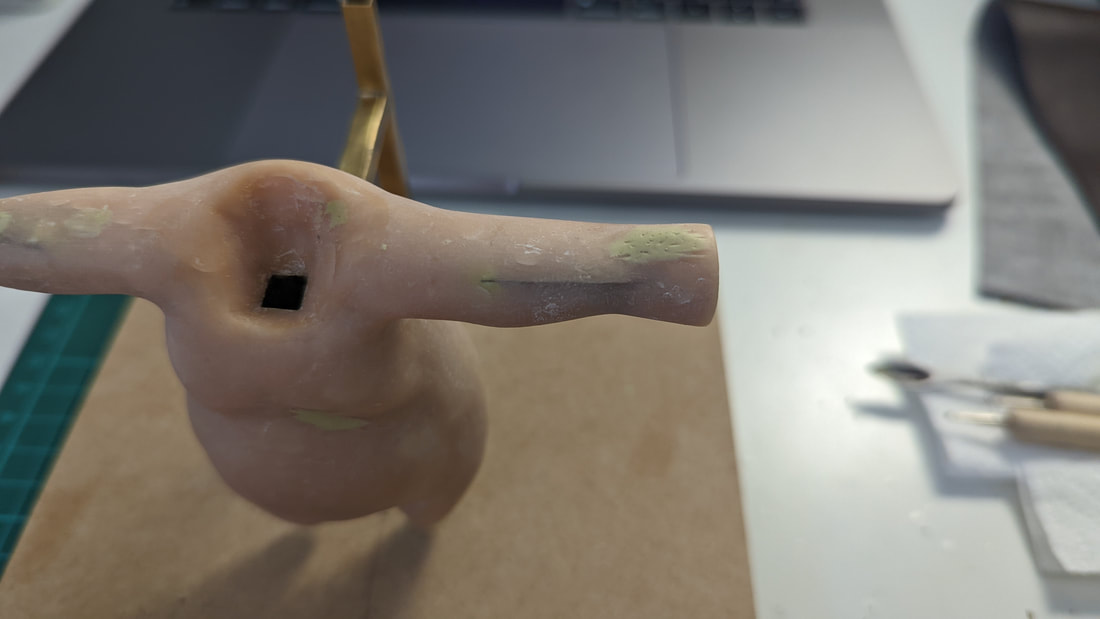
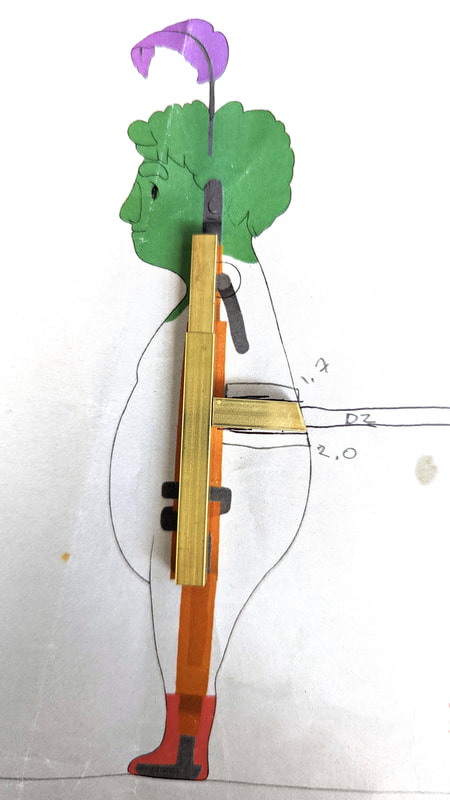
The feet here show how I filled in the tops with clay to stop the silicone flowing into the holes. The lines are a half way guide of how they will be laid up in clay for the moulding. Here I am using plastaline to lay up the moulds, clad in styrene and hot glued for strength. The locators are simple round beads and air channels are included using wire. The pour point connects to each model on an unimportant area. Next for the sculpting I worked on the head. The process is much the same as I simply used tinfoil to bulk out the head mass and went in with sculpey. In this picture I am using the photoshop technique to compare it to the reference to get the in-human proportions correct.
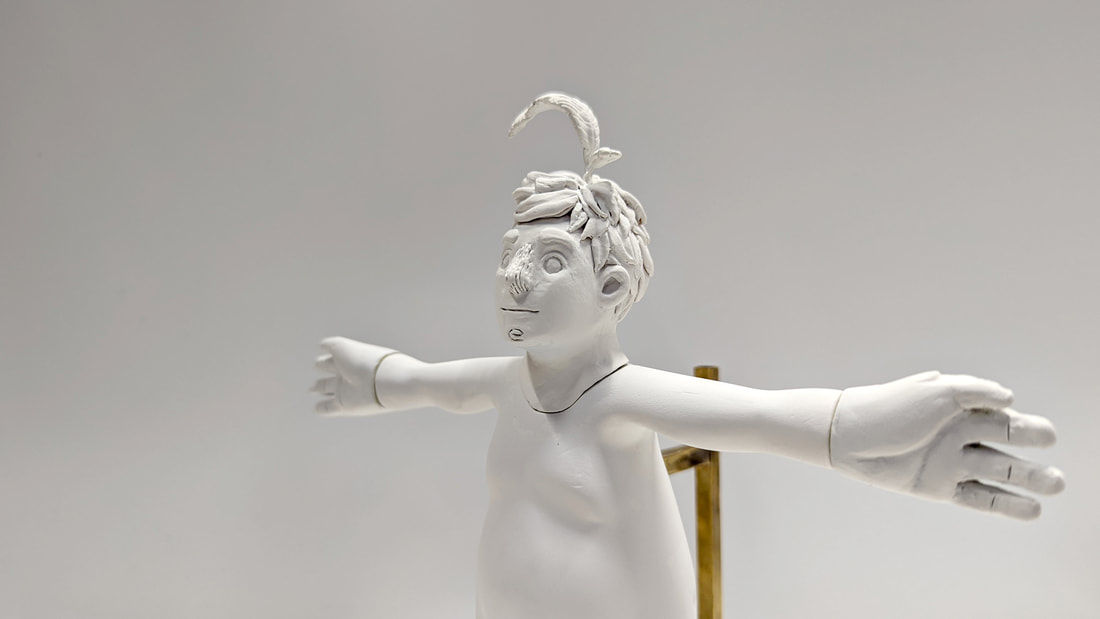
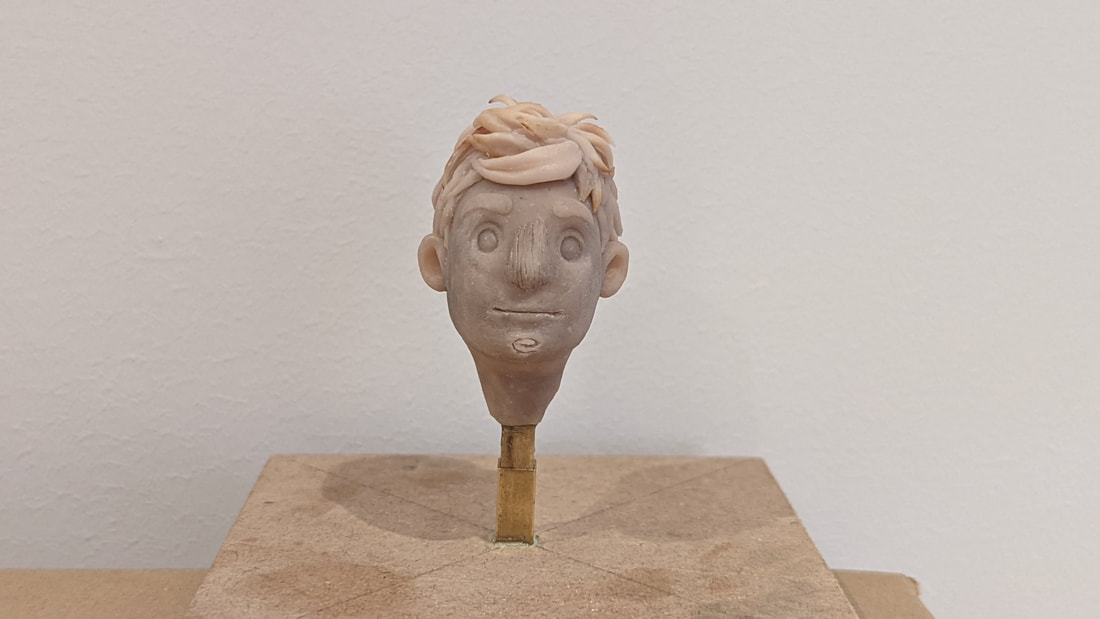
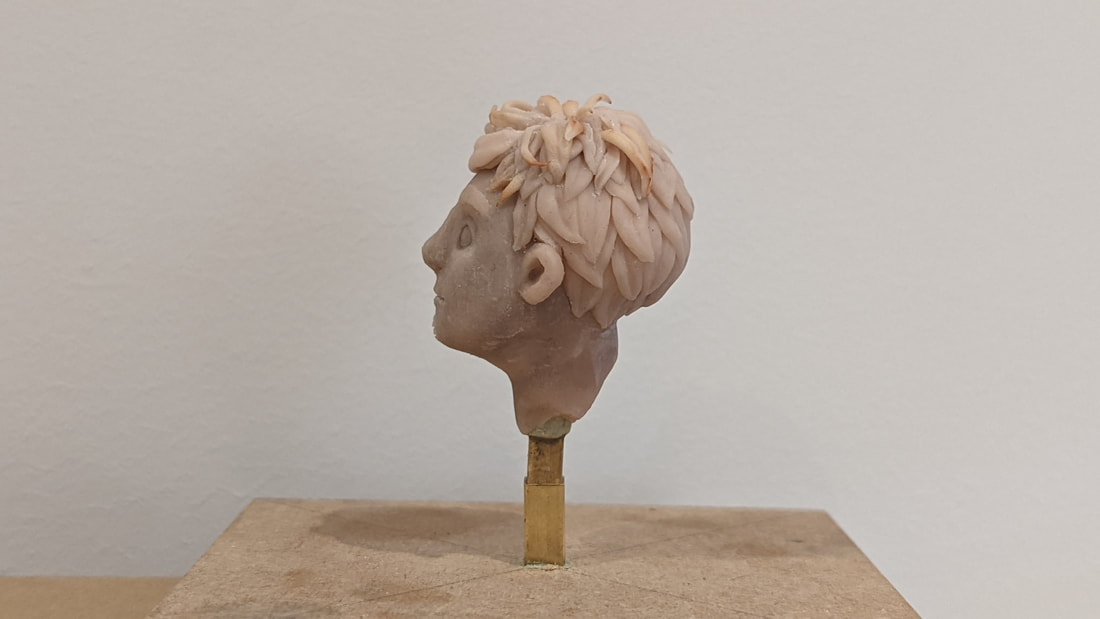
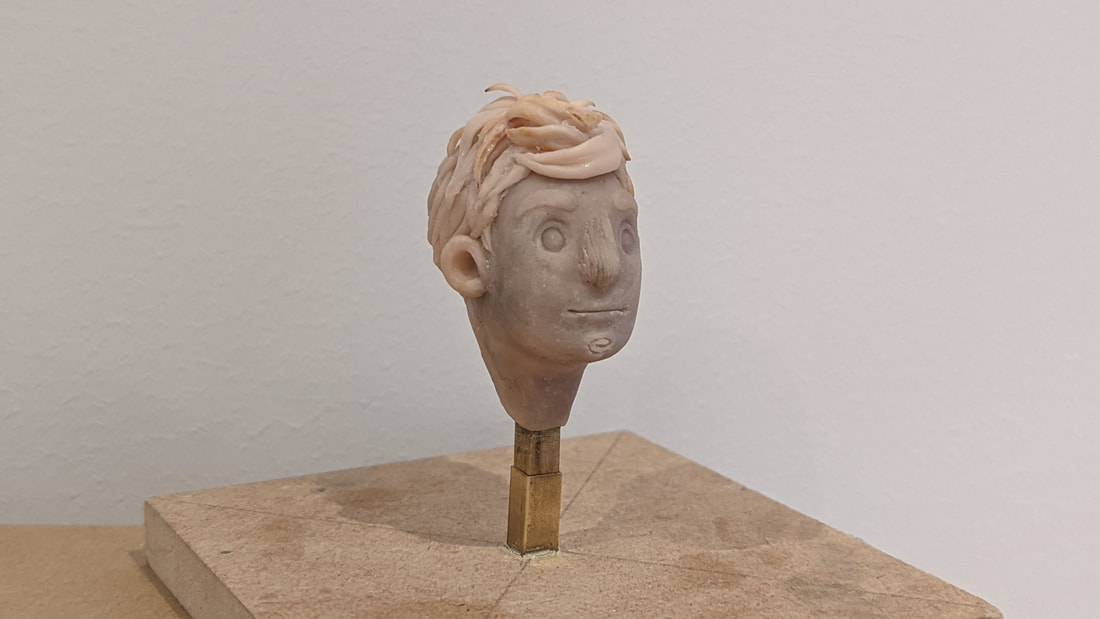
I like how this model forced me to follow the reference material closely and work in their set style. It pushed my boundaries of small scale face sculpting and I think I improved as a result.
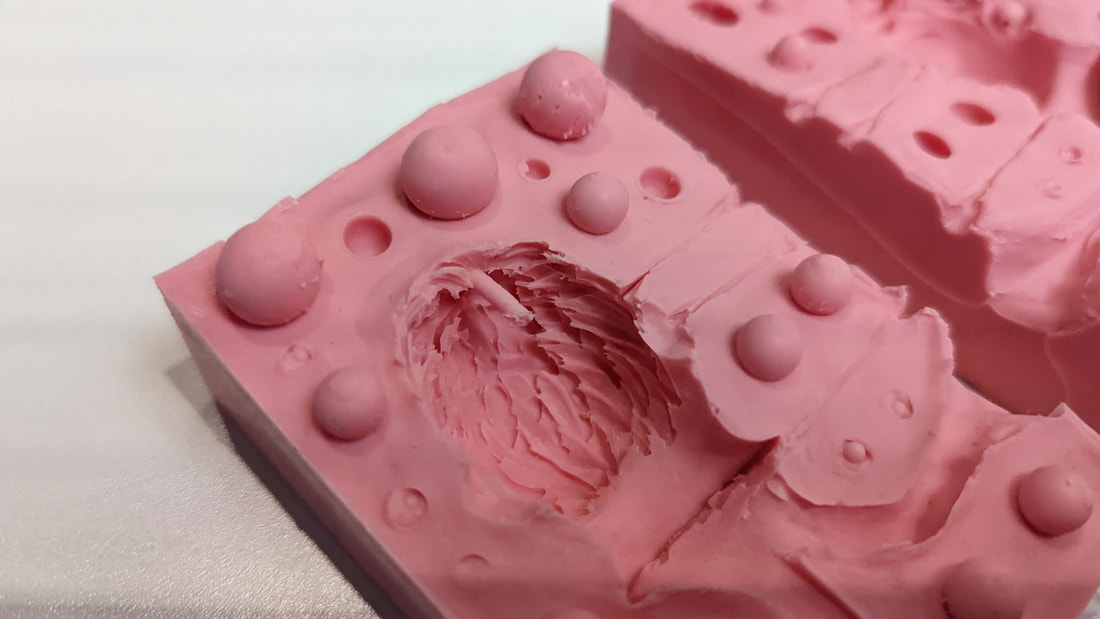
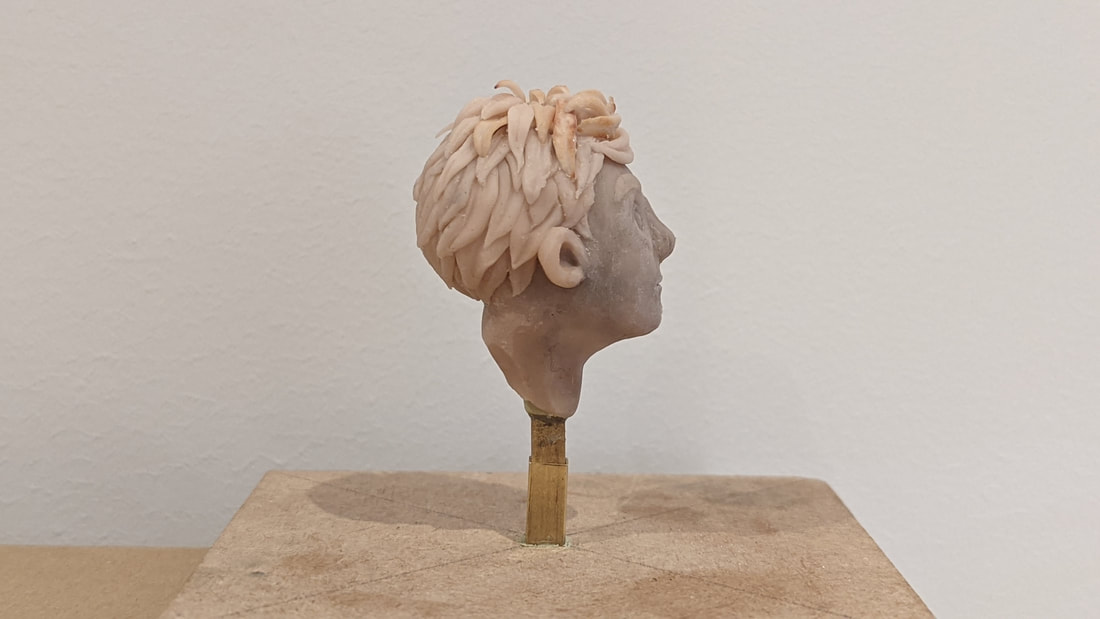
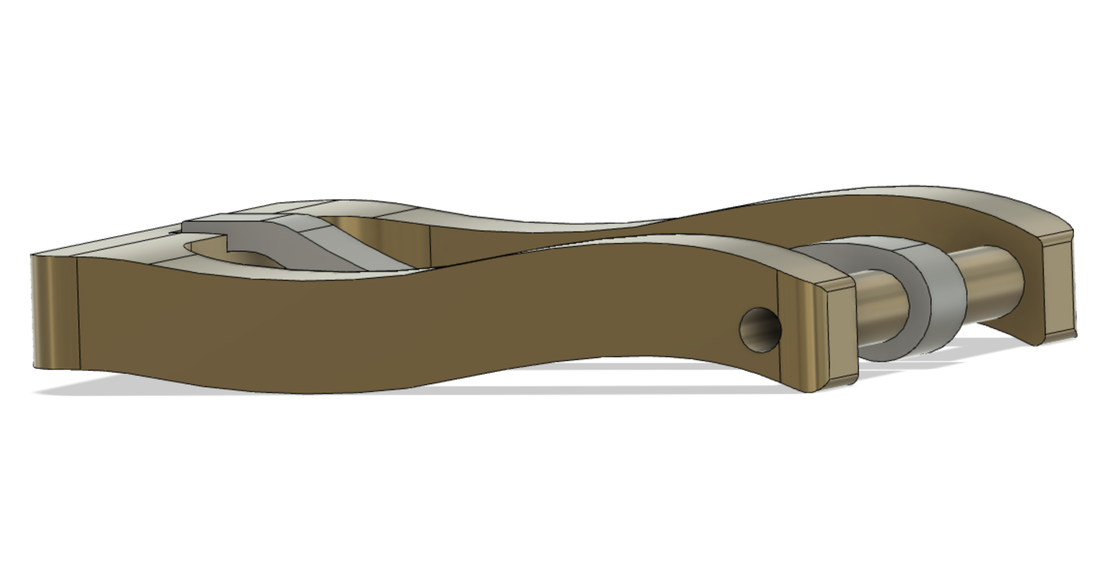
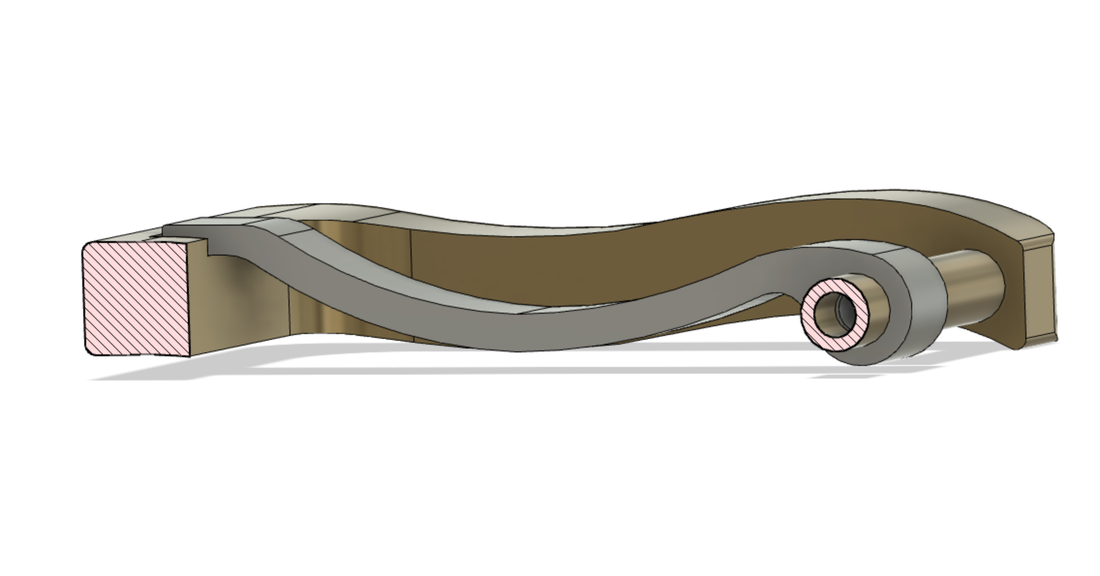
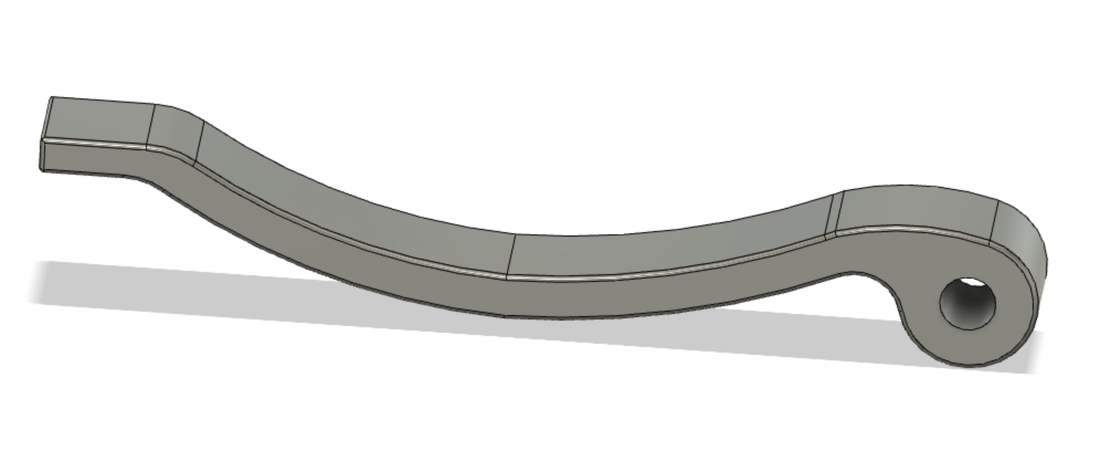
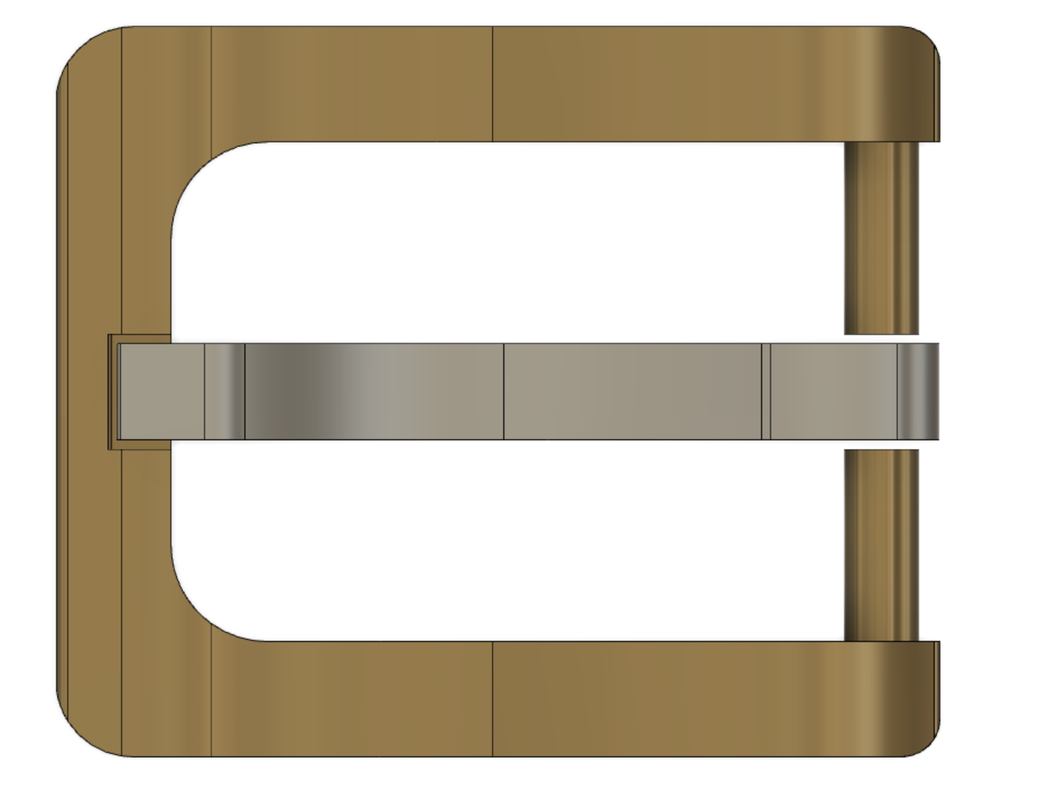
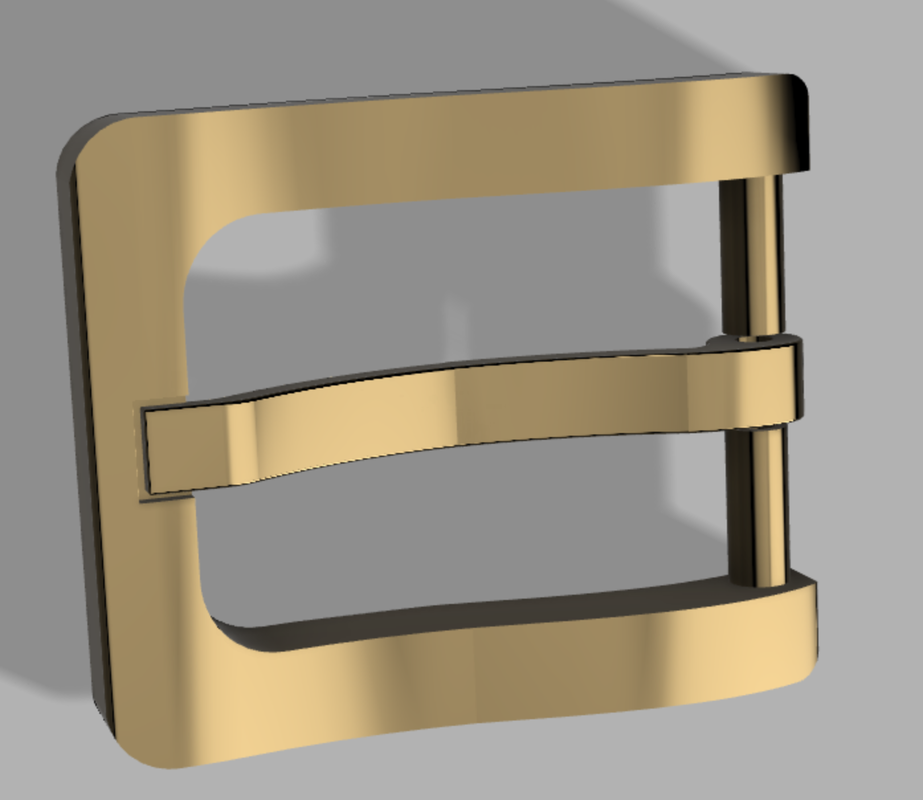
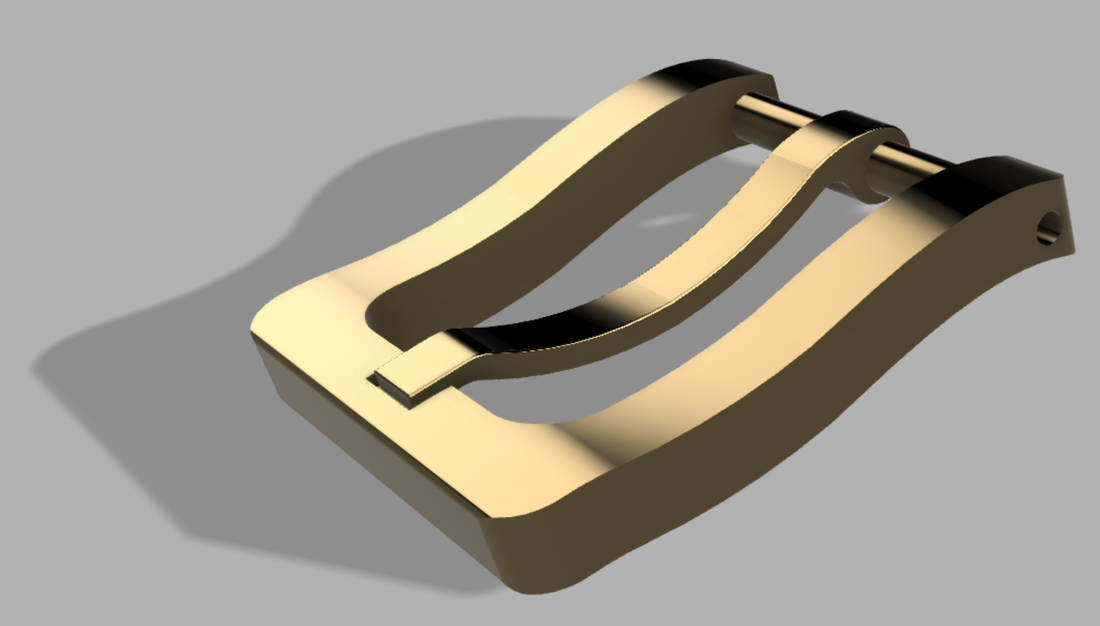
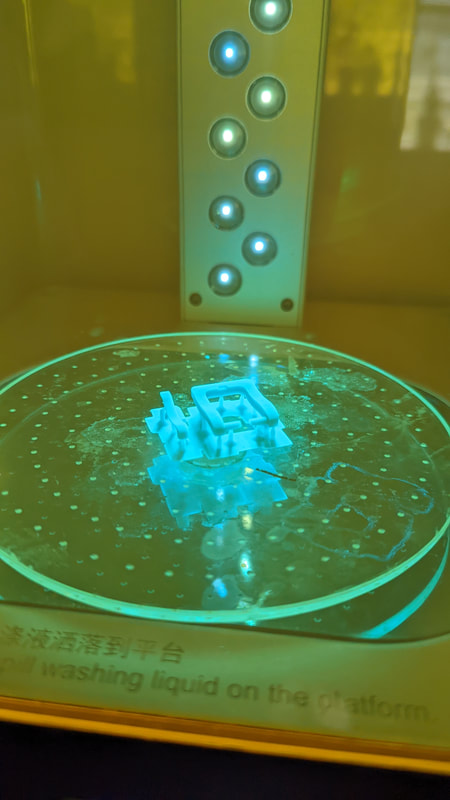
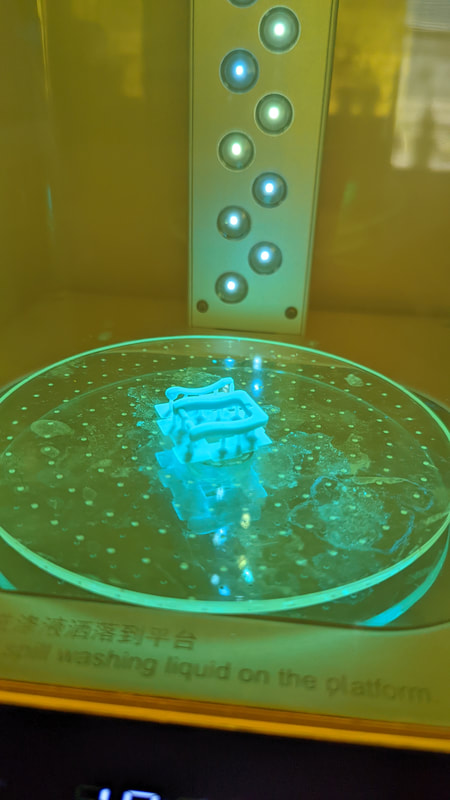
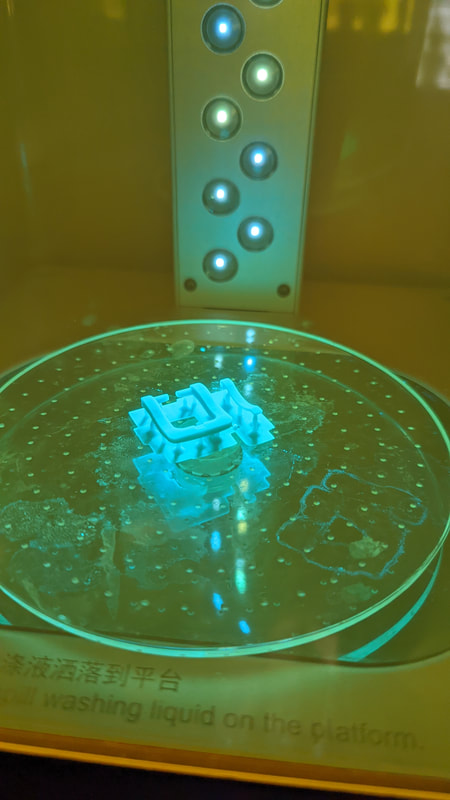
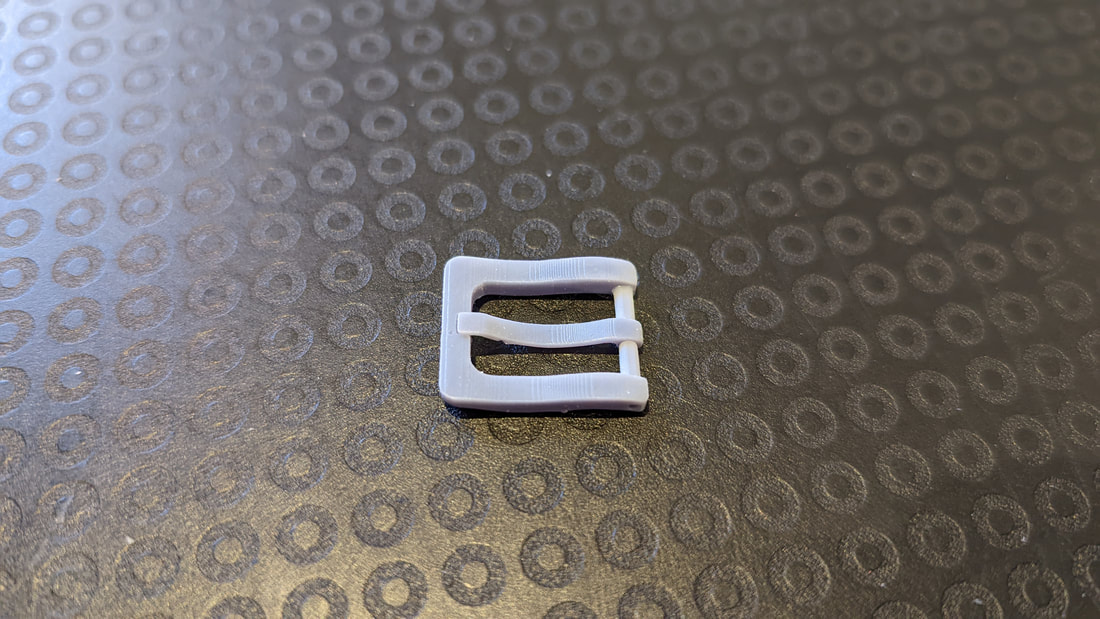
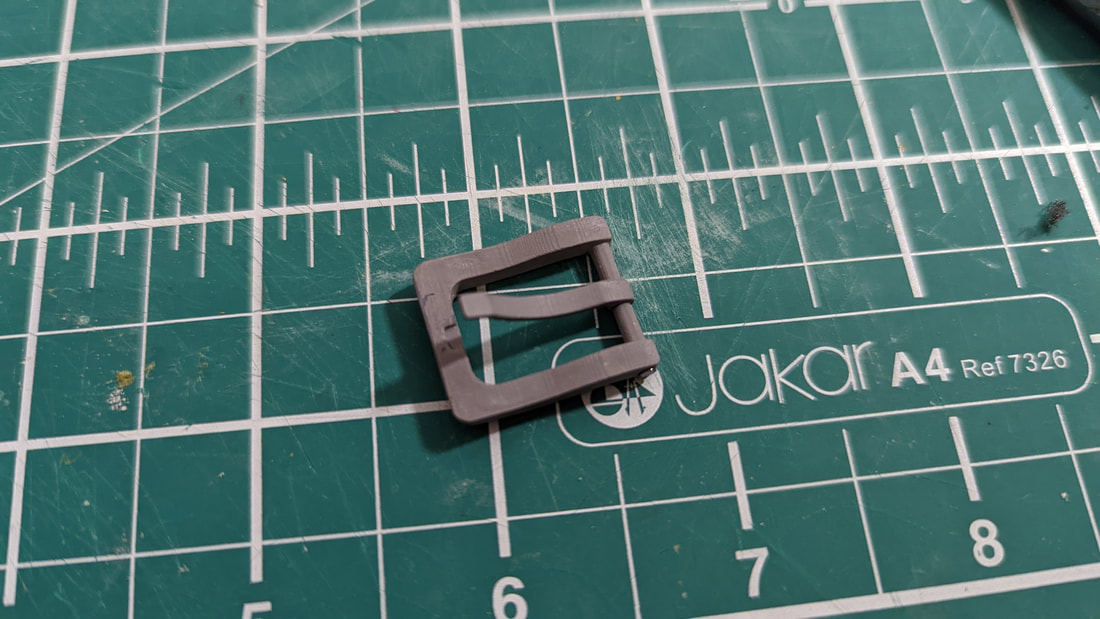
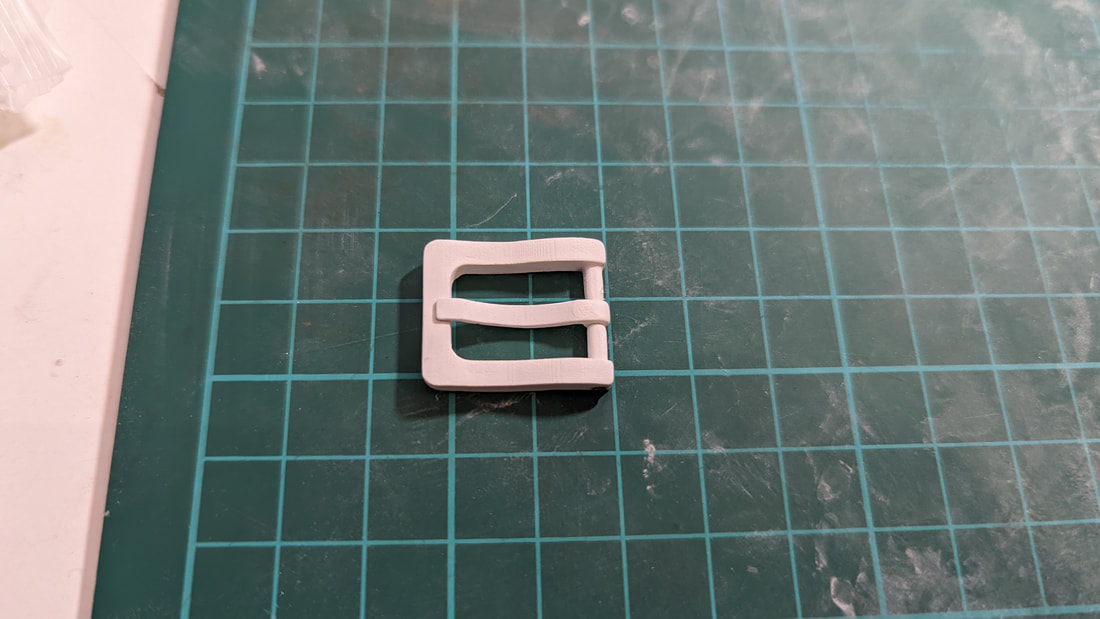
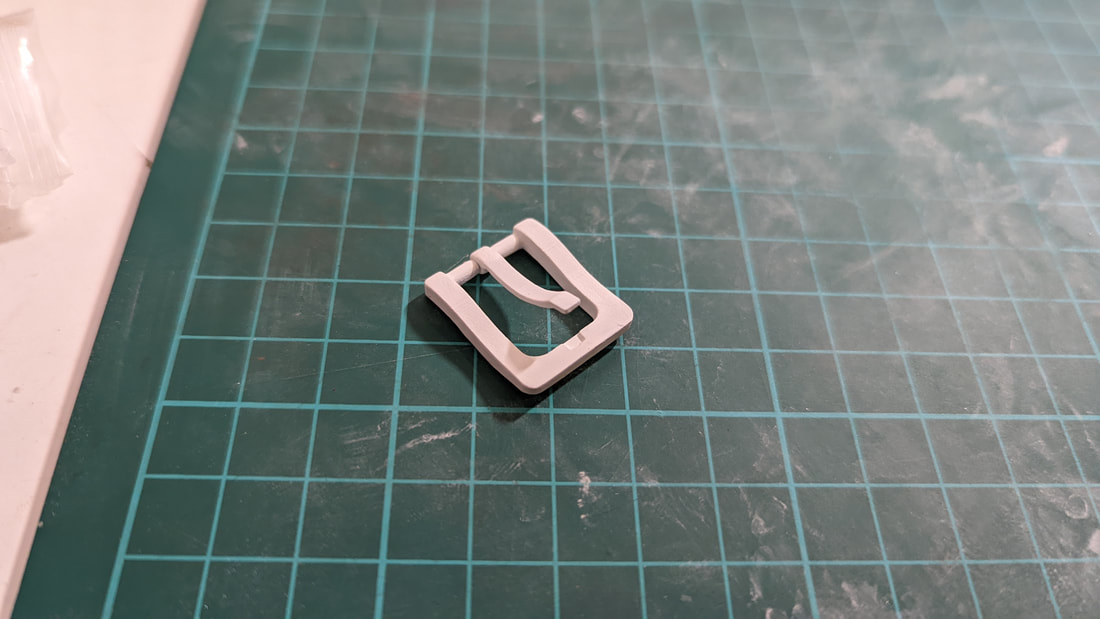
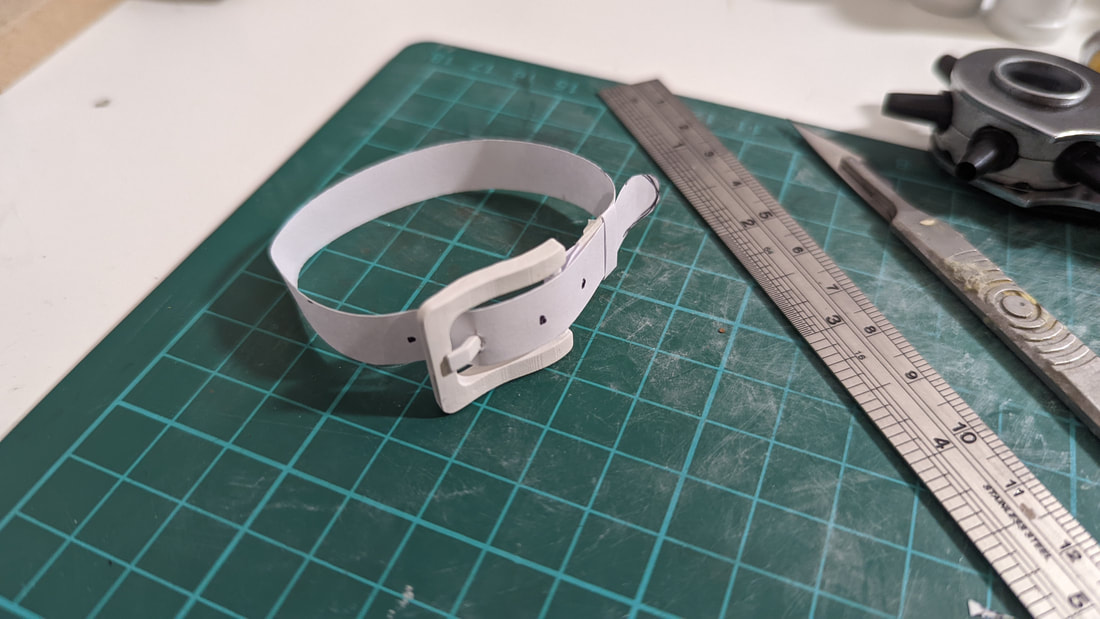
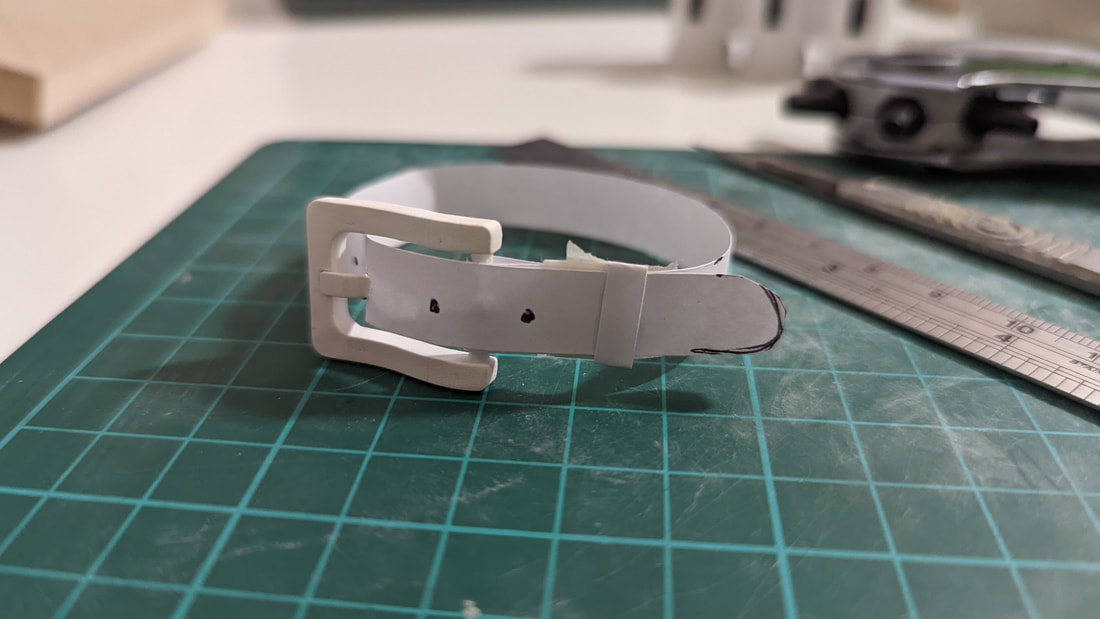
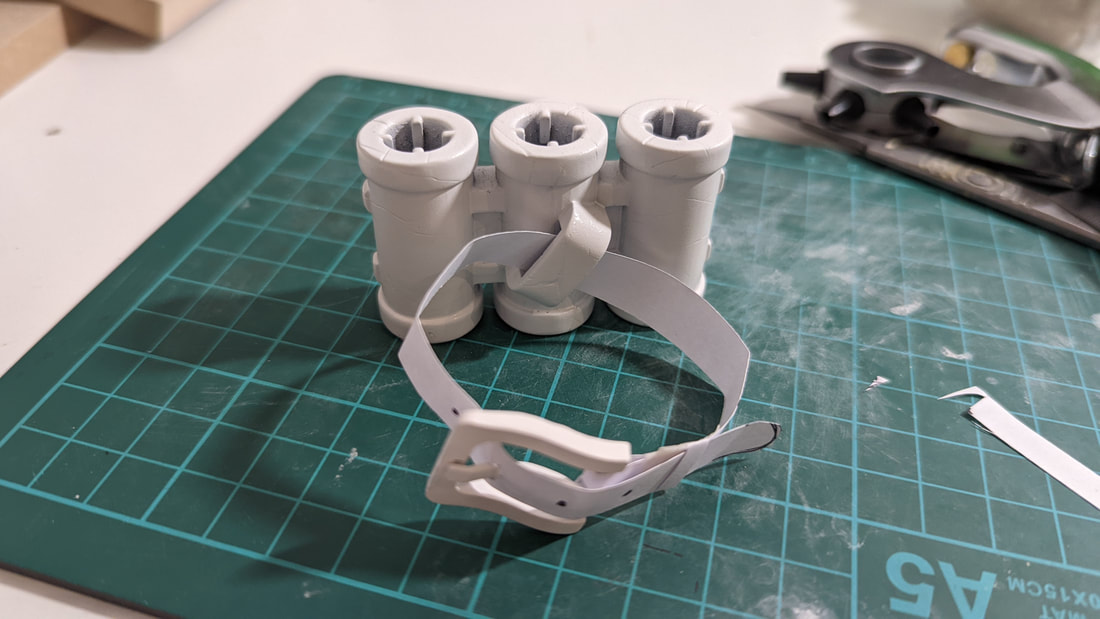
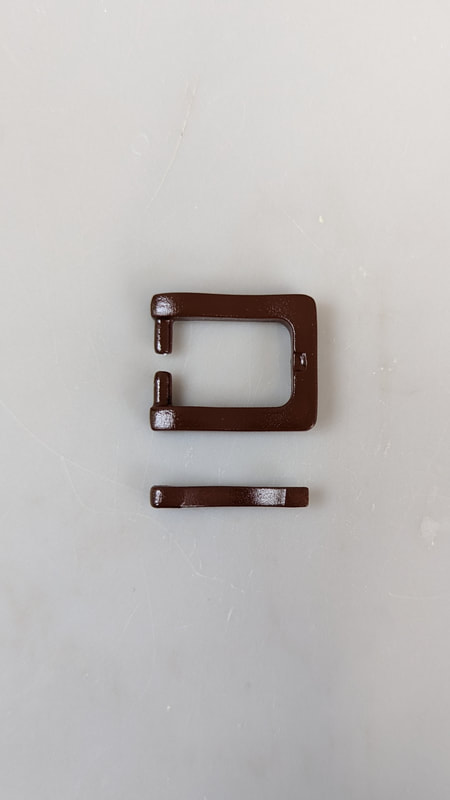
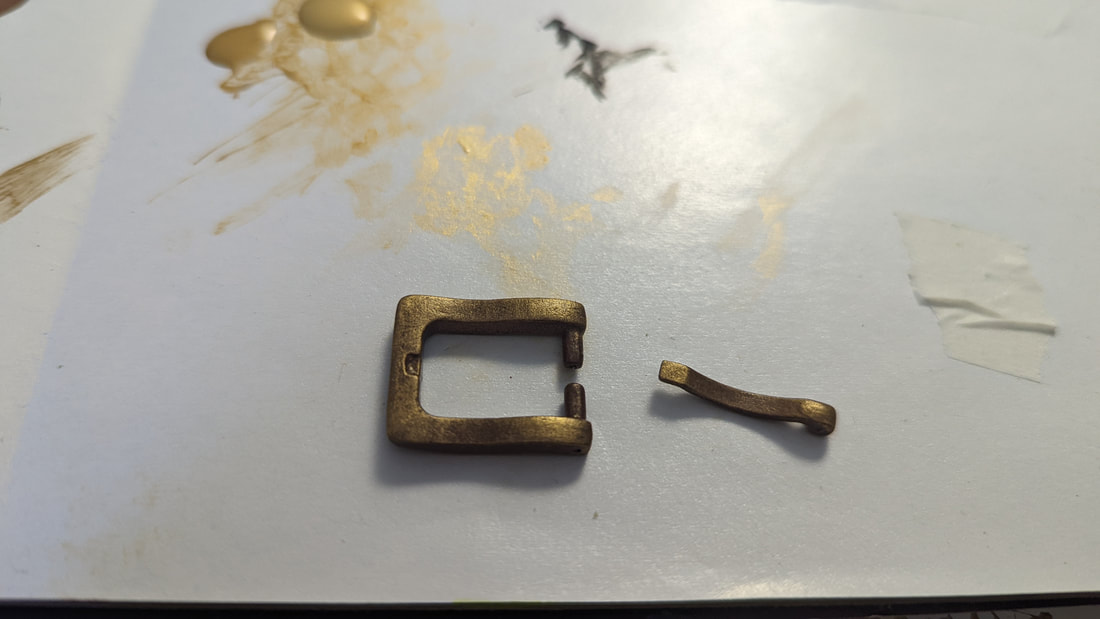
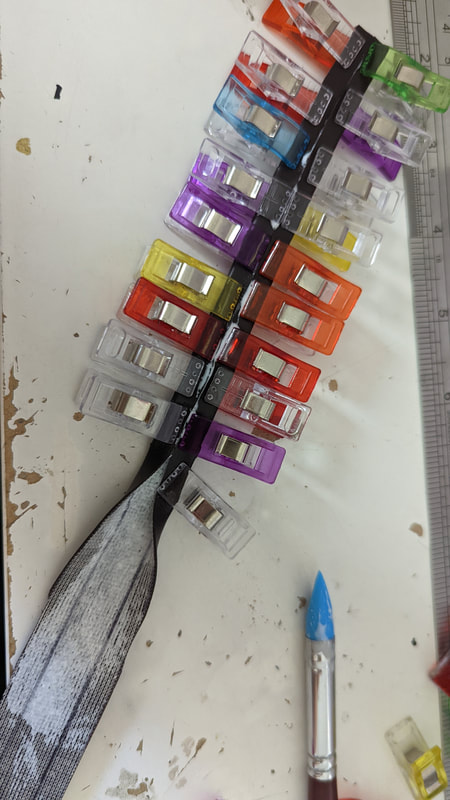
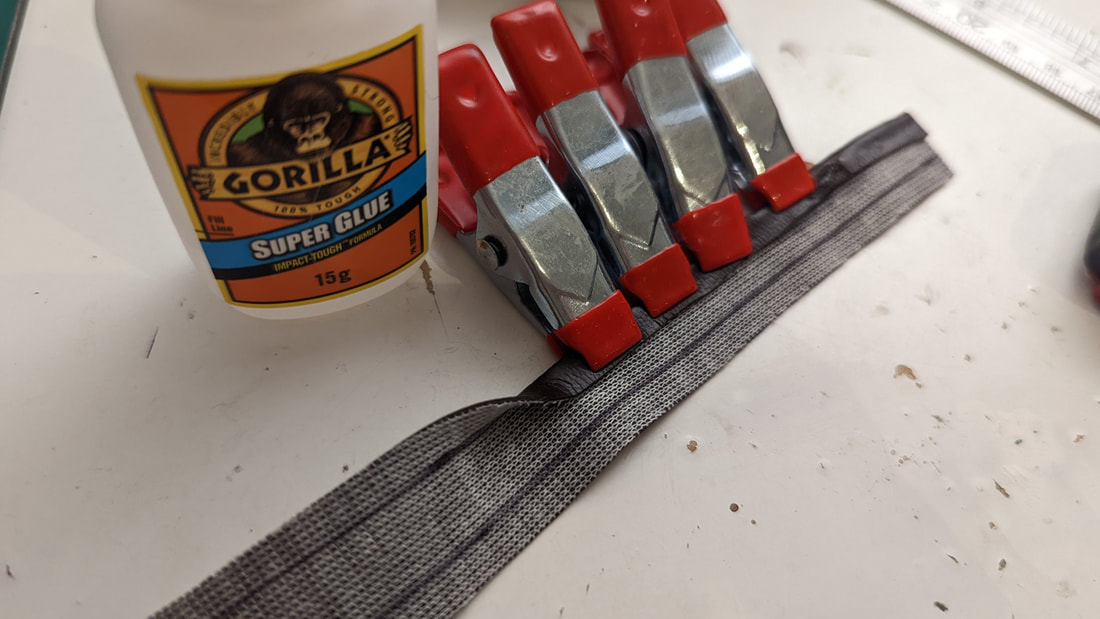
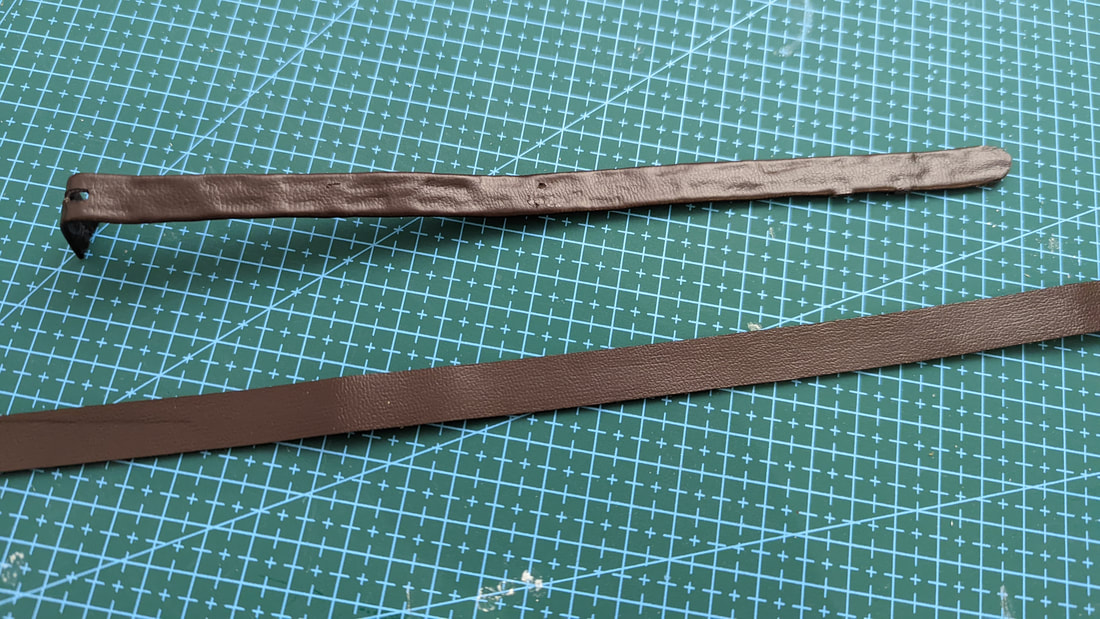
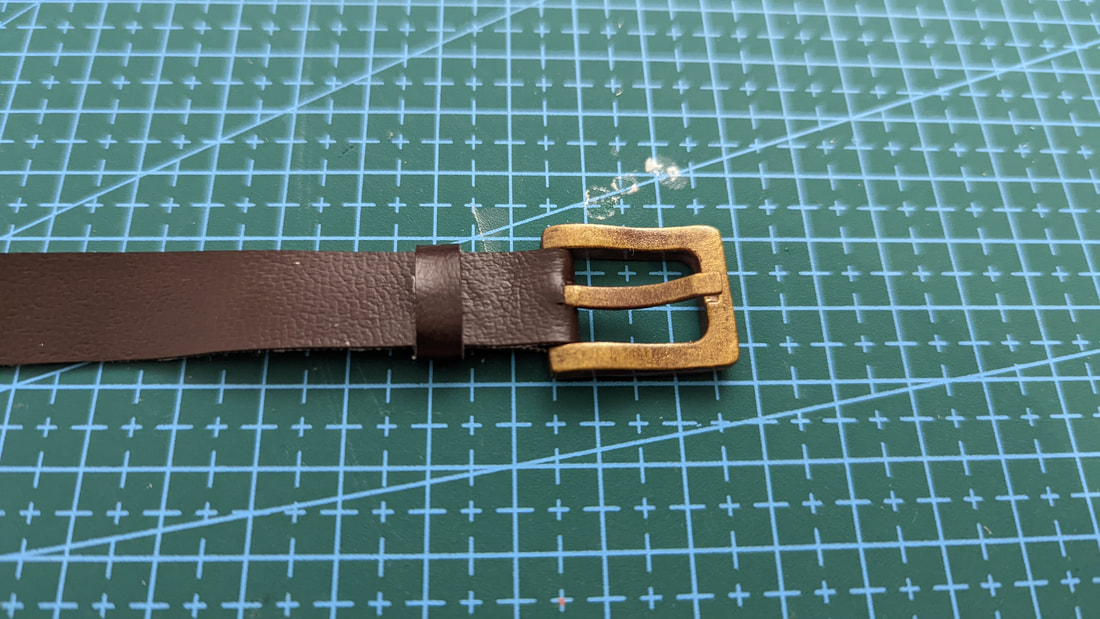
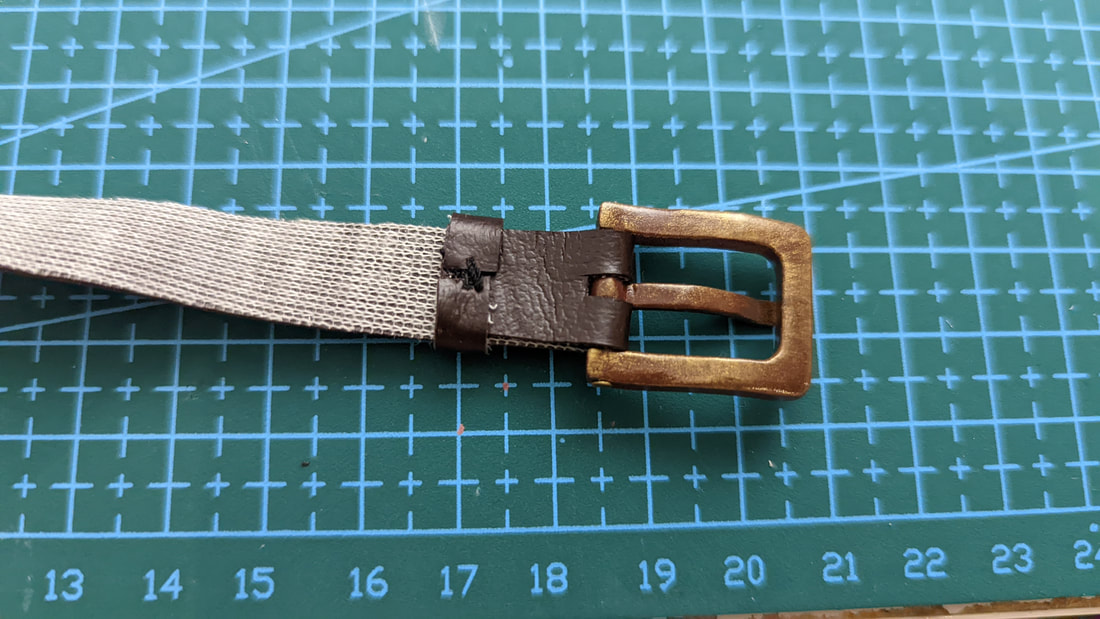
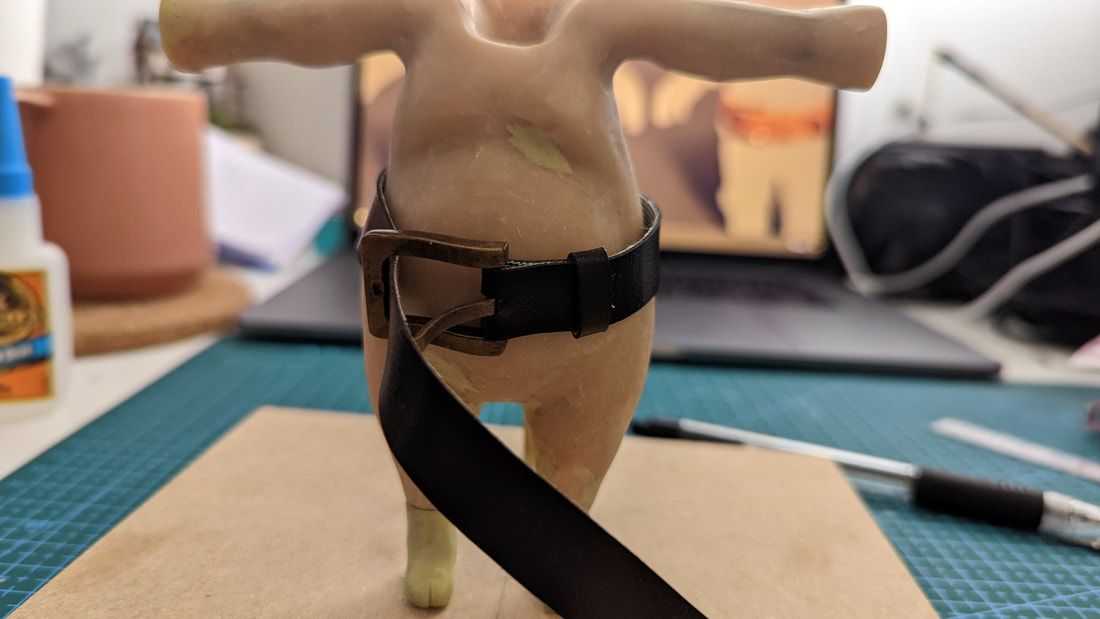
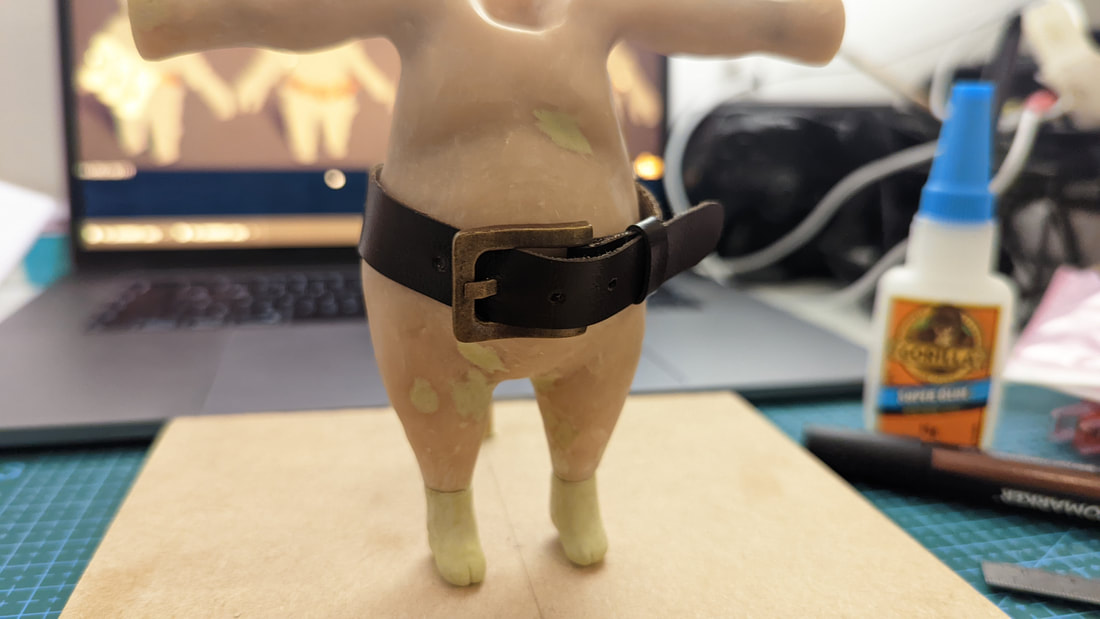
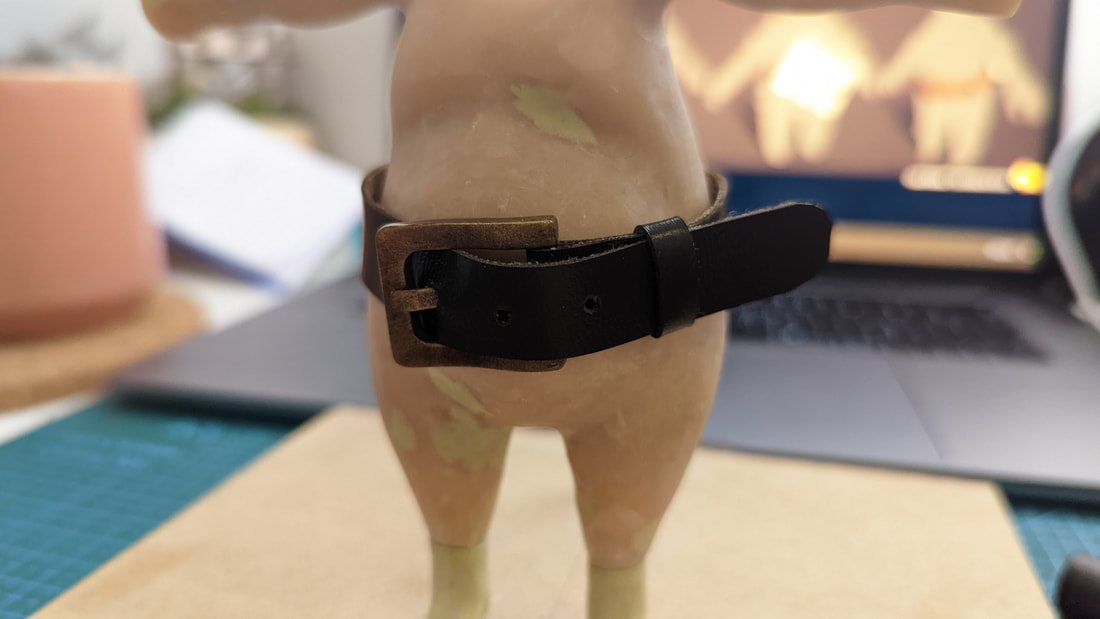
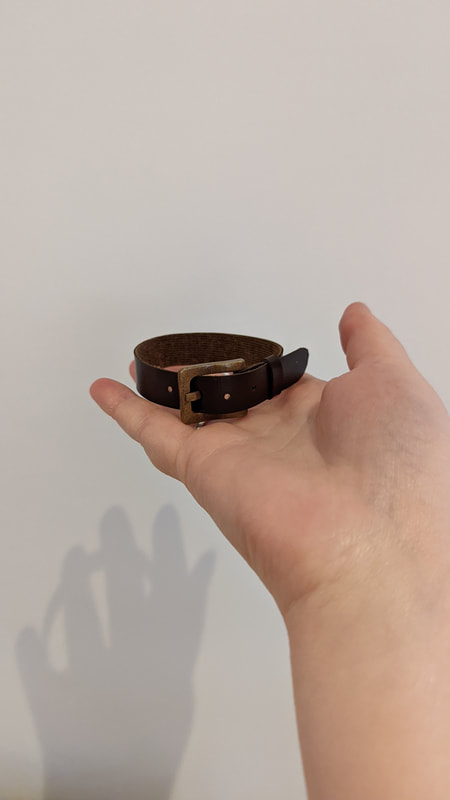
The hair finished: the smaller pieces that were fragile needed replacing after baking with milliput to help them last through the moulding process. The next stages for the sculpture is making sure all the joins between parts are a smooth transition. I chose to make the neck join low down so it would be hidden by the clothes so this one matters less. Creating the belt included designing the buckle on Fusion 360 and resin printing the model. The supports left a lot of scaring on this little model so it required filler and several layers of primer sanded back and reapplying. To hold the hinge in place I used a tiny tack. For the strap I determined the dimensions using the previously posted images and created this paper reference as a test of concept. It acted as a type of basic sewing pattern/proof of concept. The painting for the resin buckle was a case of a base spray coat of russet brown and finished with golden bronze paint dry brushed on. The dry brushing technique meant that the low areas remain darker brown giving the buckle a worn effect. The brown faux fabric I purchased was thick but able to go through my sewing machine: I tried the technique of sewing the seam inside out and turning the tube back on itself. The issue with this was the thickness as it wouldn’t turn inside out at this small size. Instead, I tried using fabric glue and clamps: the issue with this technique is the glue only stuck the two cut edges rather than the parts I was clamping. The result was a tube that looked nothing like the reference. I tested super glue and found that the fabric remains flexible. With this knowledge I used the same method to fold the sides over. Here is a side by side with the back of the super glued experiment vs the fabric cut neatly with a scalpel - the back of it is dyed with a brown marker to remove the white. I wasn’t happy with how messy the back of the superglued strap looked as it would be visible poking out the side after the buckle. The coloured in fabric was thiner which replicated the reference material more closely also, so I decided to use this method. The holes were punctured with a revolving hole punch to get clean cuts. I found that the super glue made a good adhesive here but was entirely unaffected when used on the dyed fabric. Glue and a few stitches kept the belt loop in place; once done I was able to go back in with the brown marker to dye it the correct colour. Below the belt is tested on the model work-in-progress.
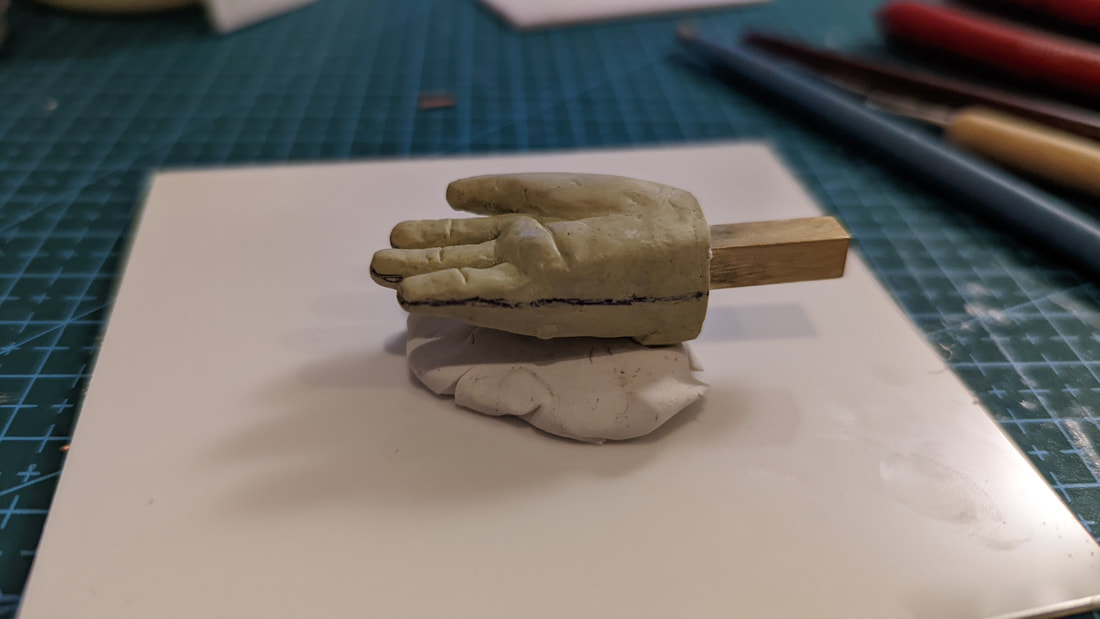
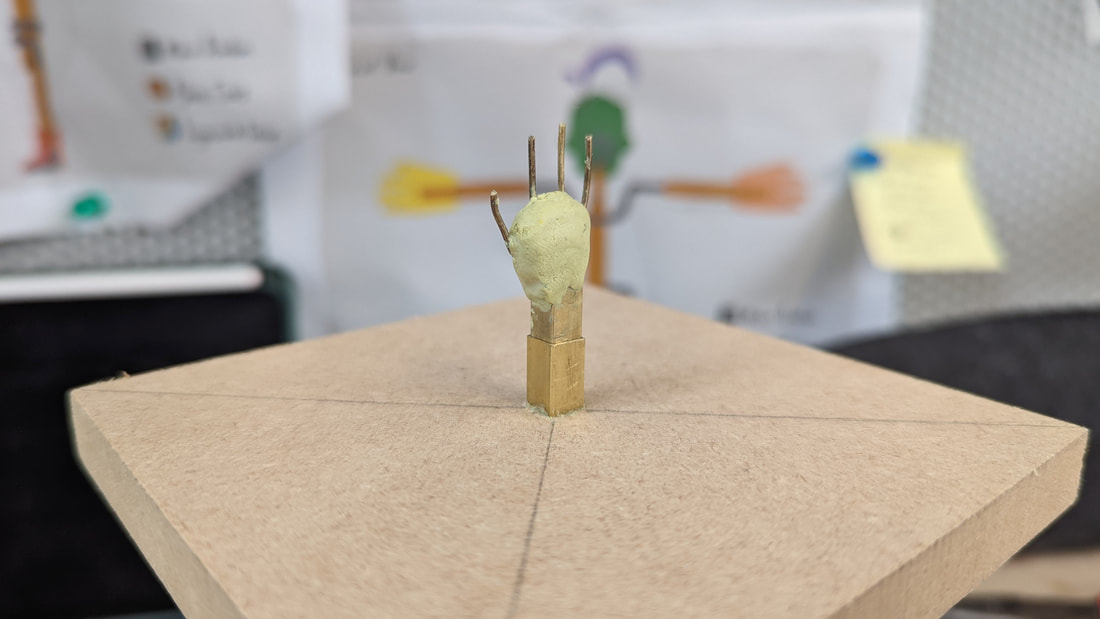
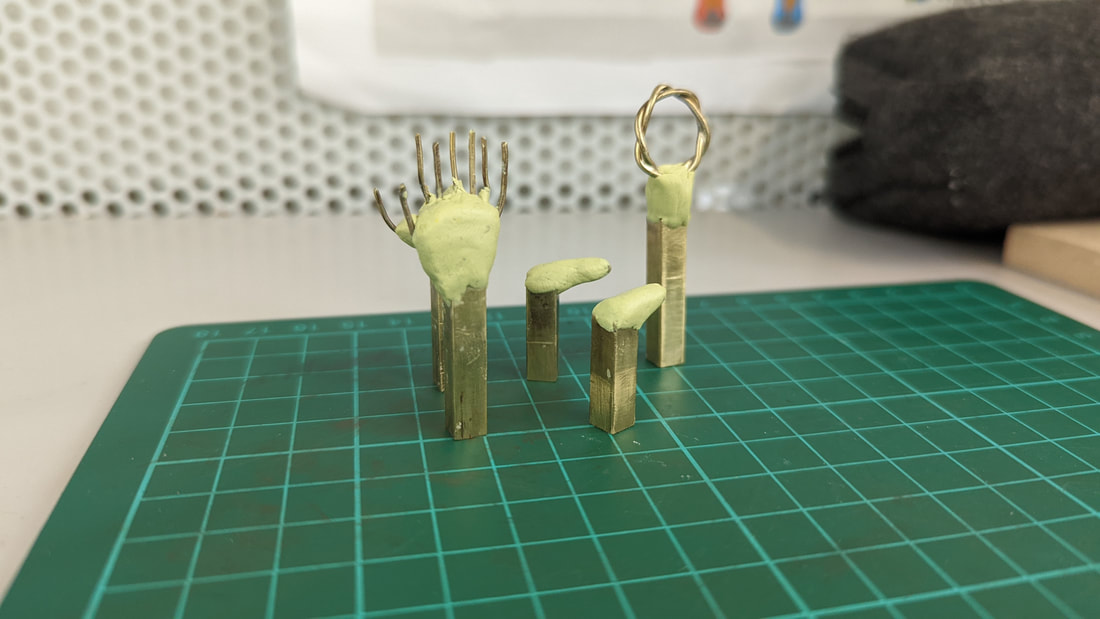
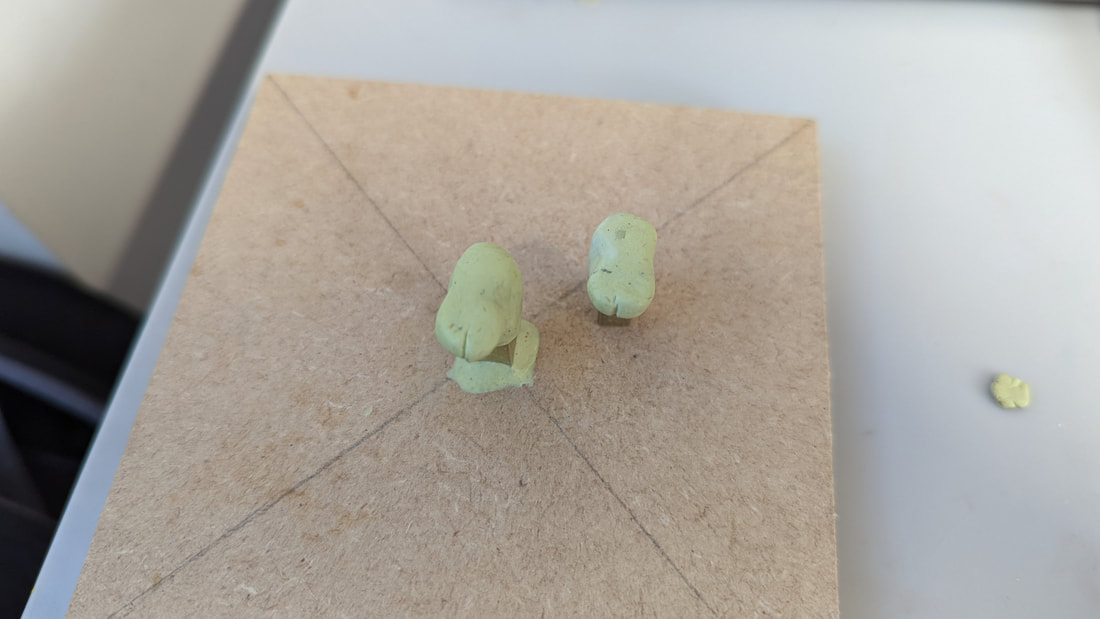
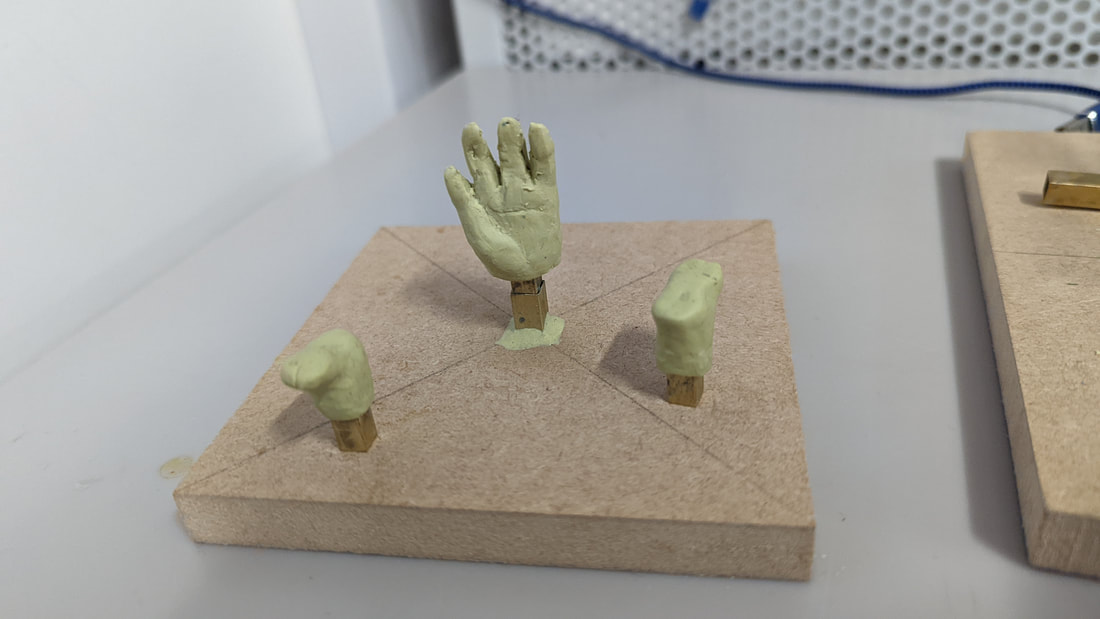
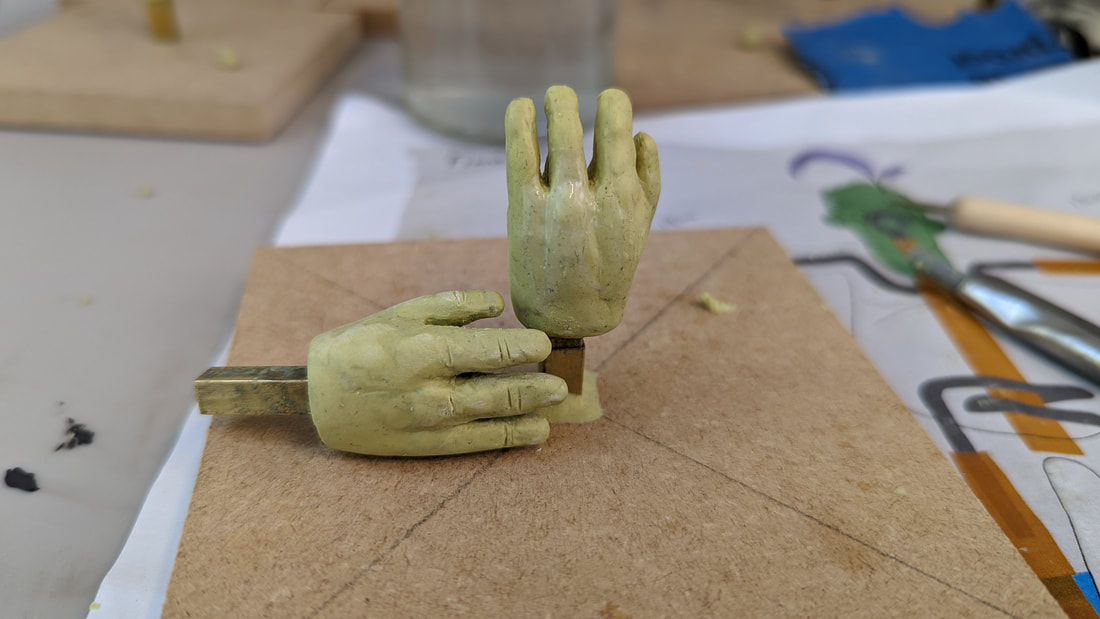
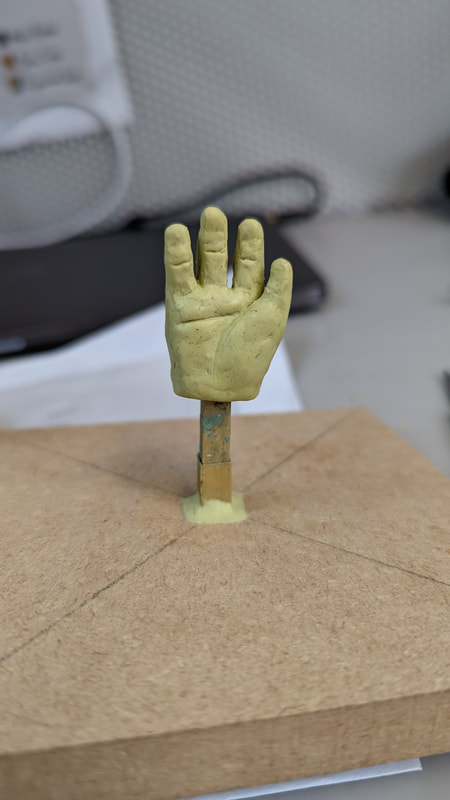
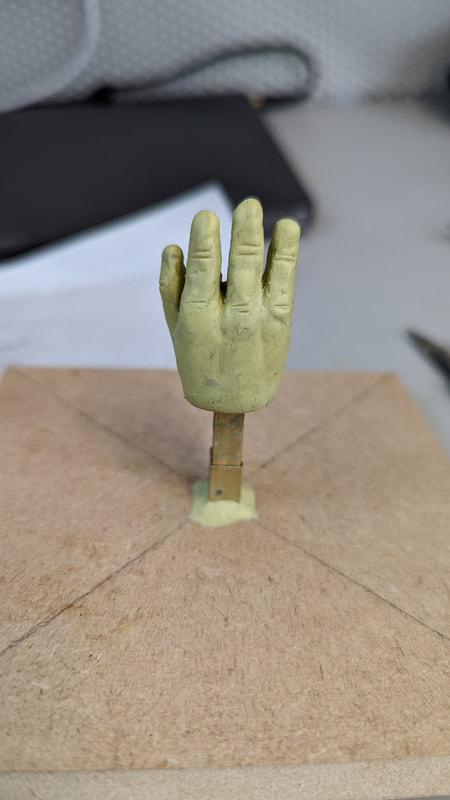
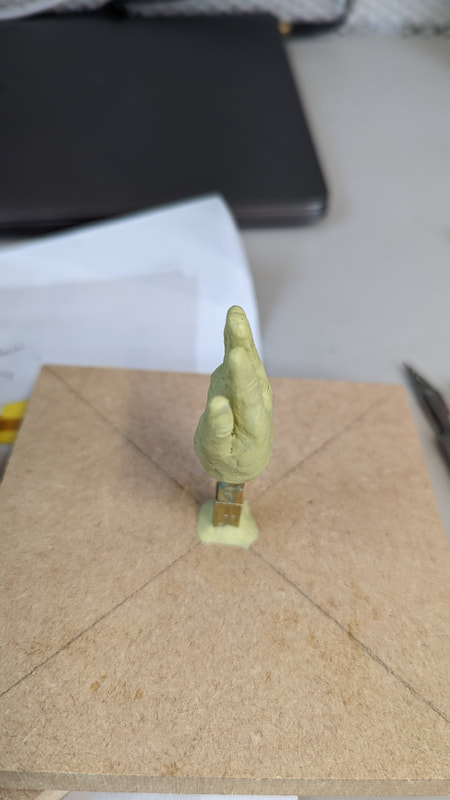
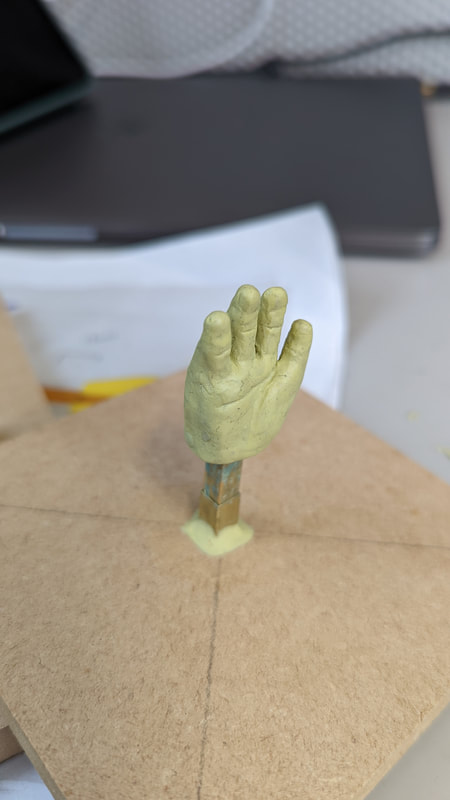
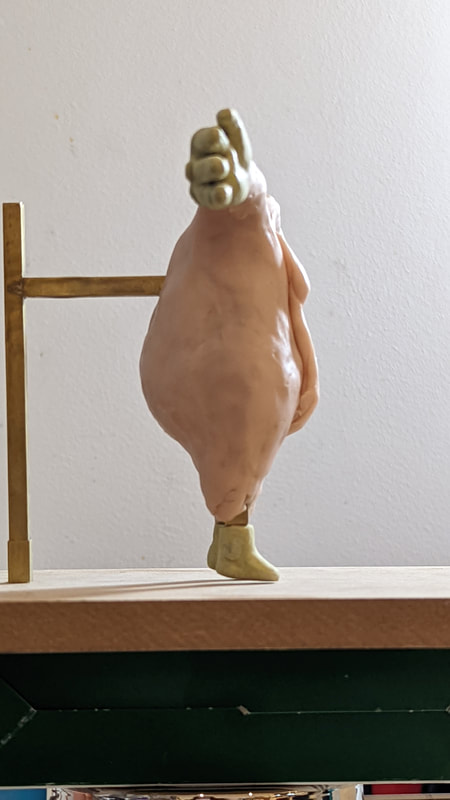
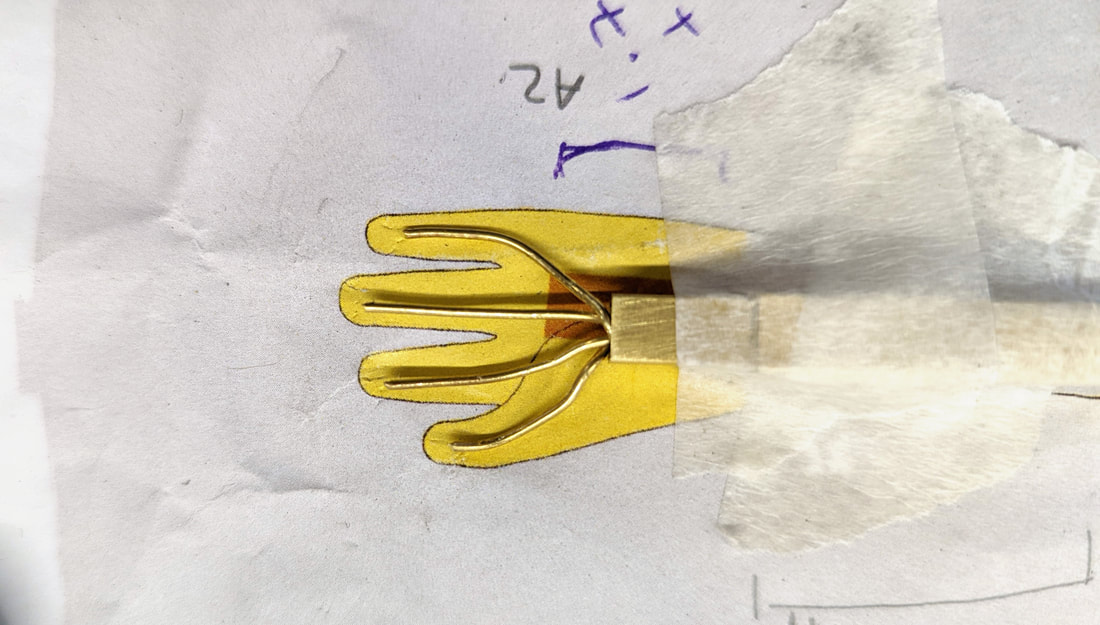
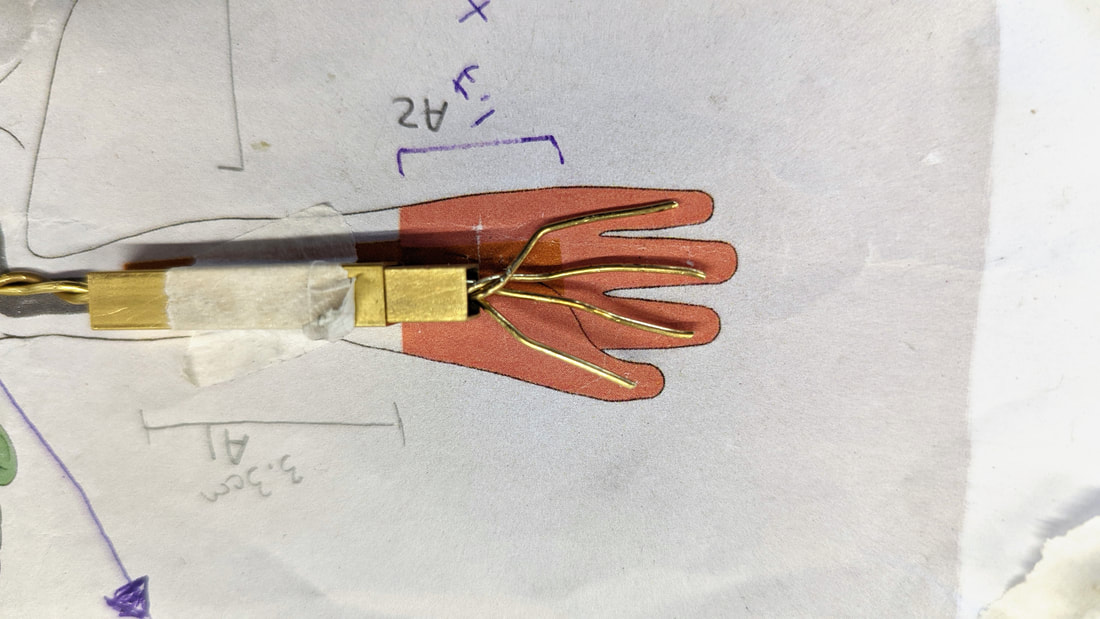
The hand sculpture below was made by layering the clay up and letting it cure to give it stability. The fingers were particularity tricky to do as the milliput wanted to come away from the wire. 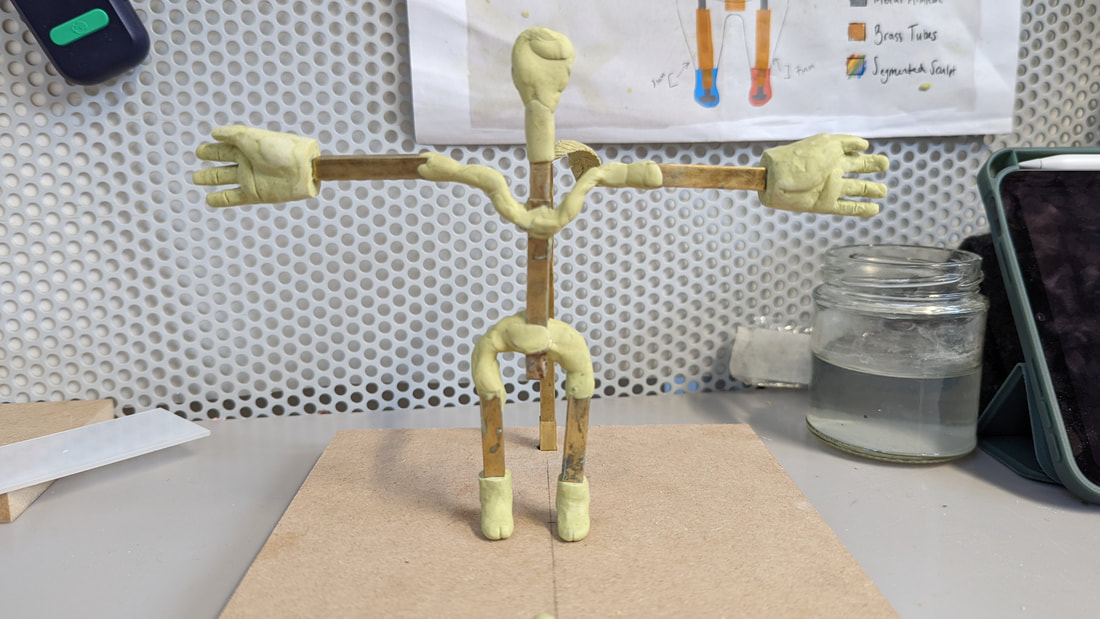
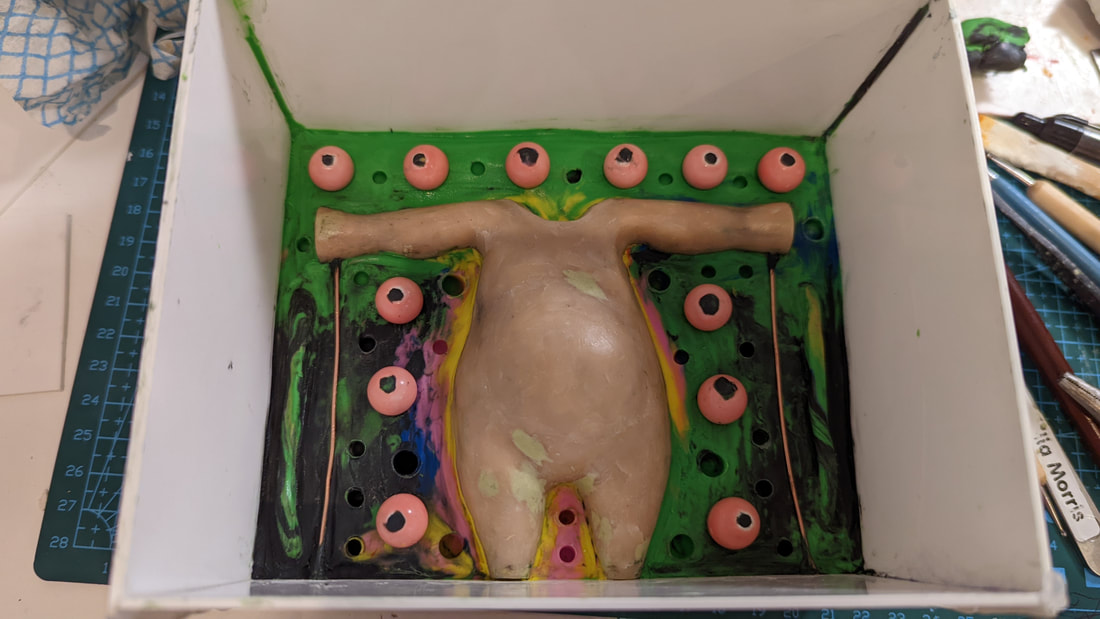
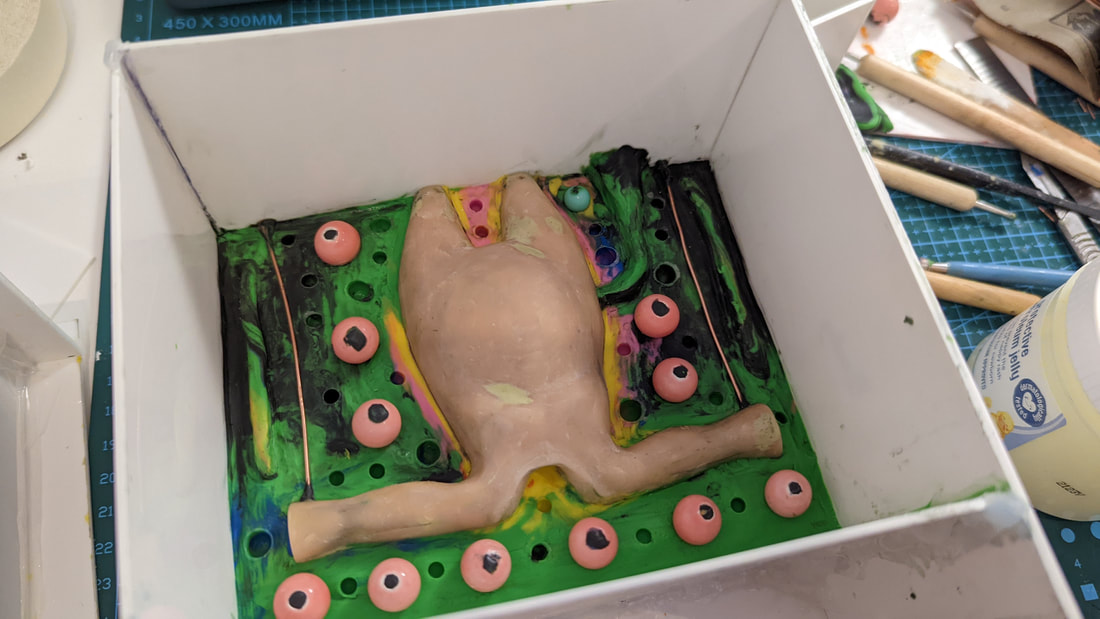
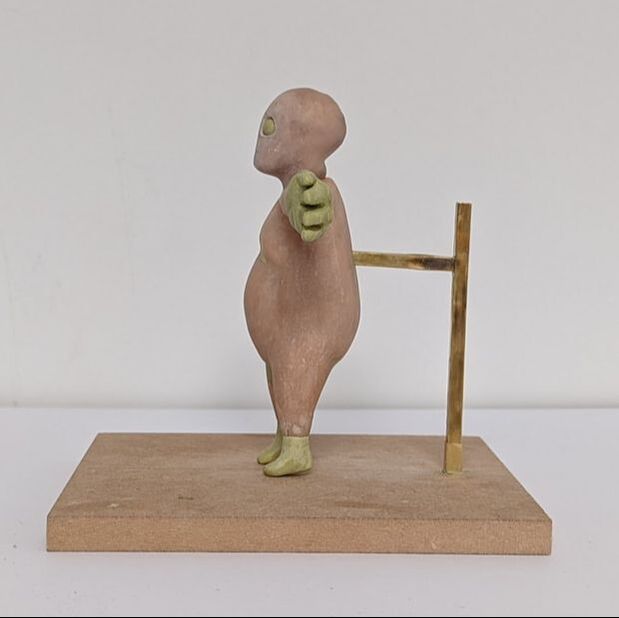
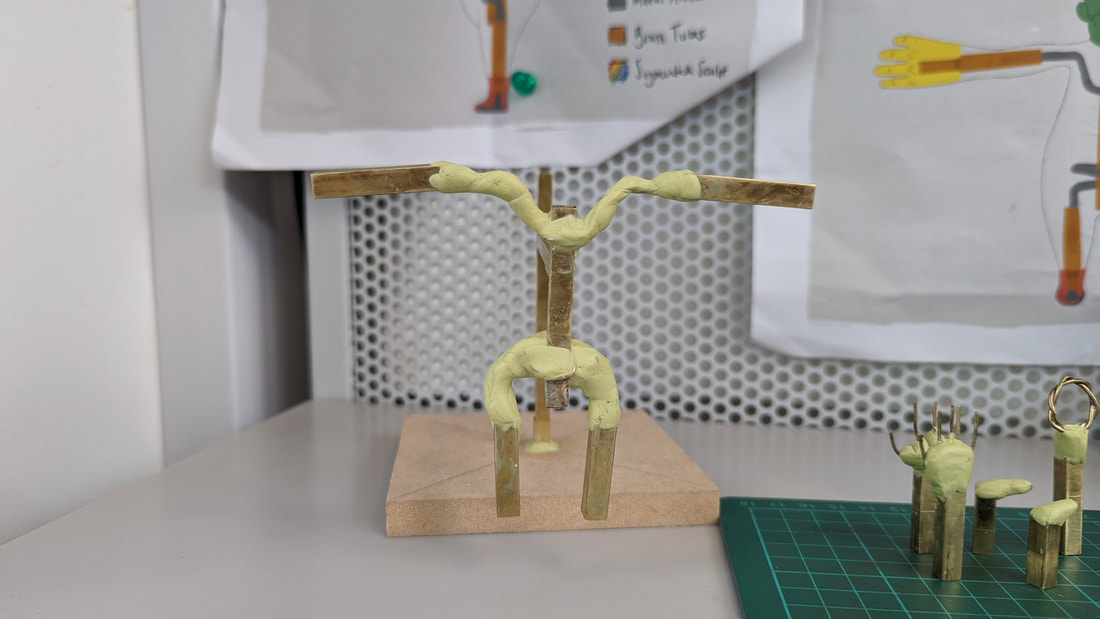
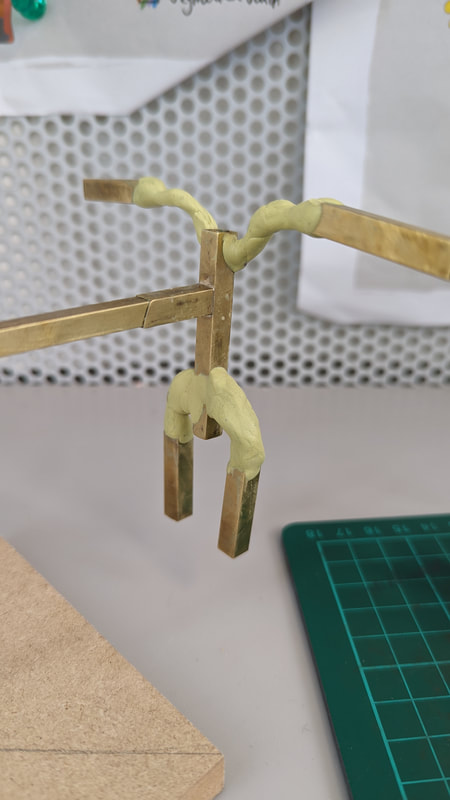
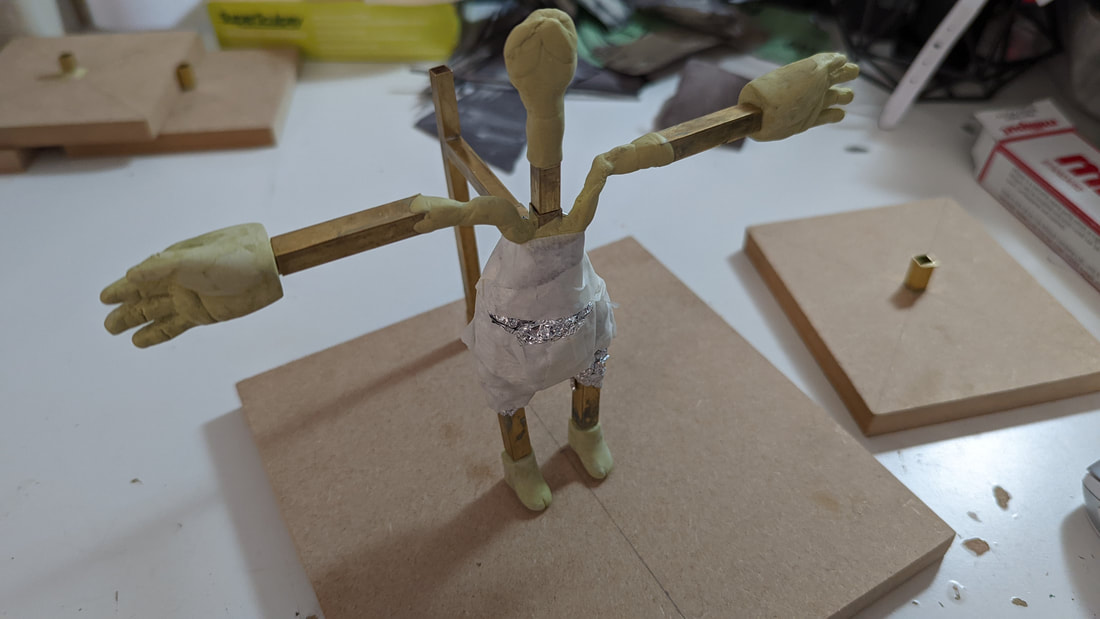
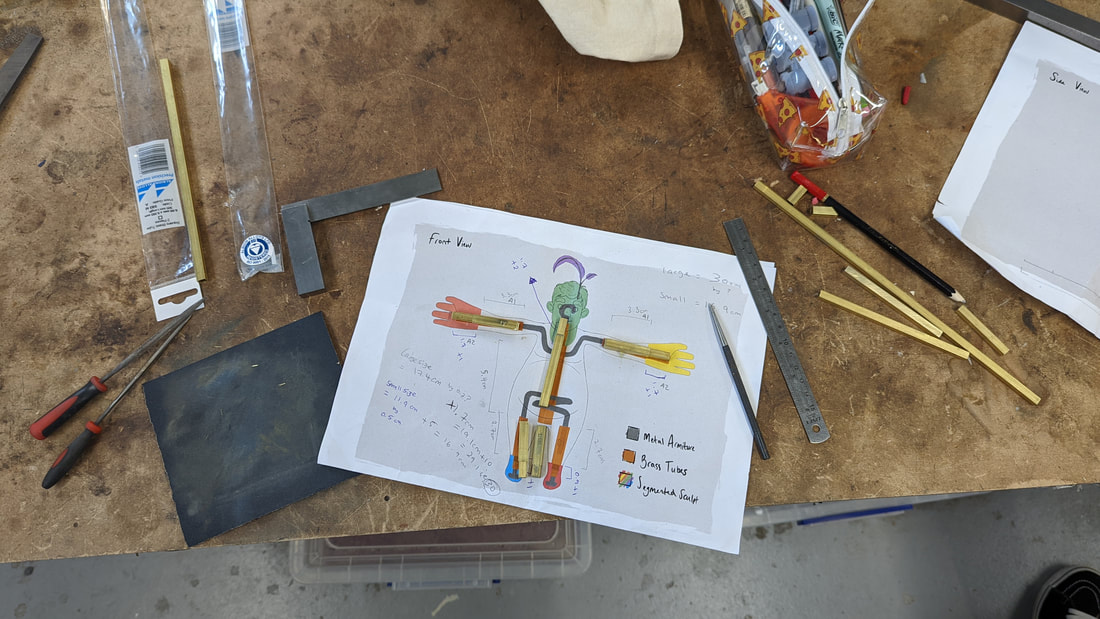
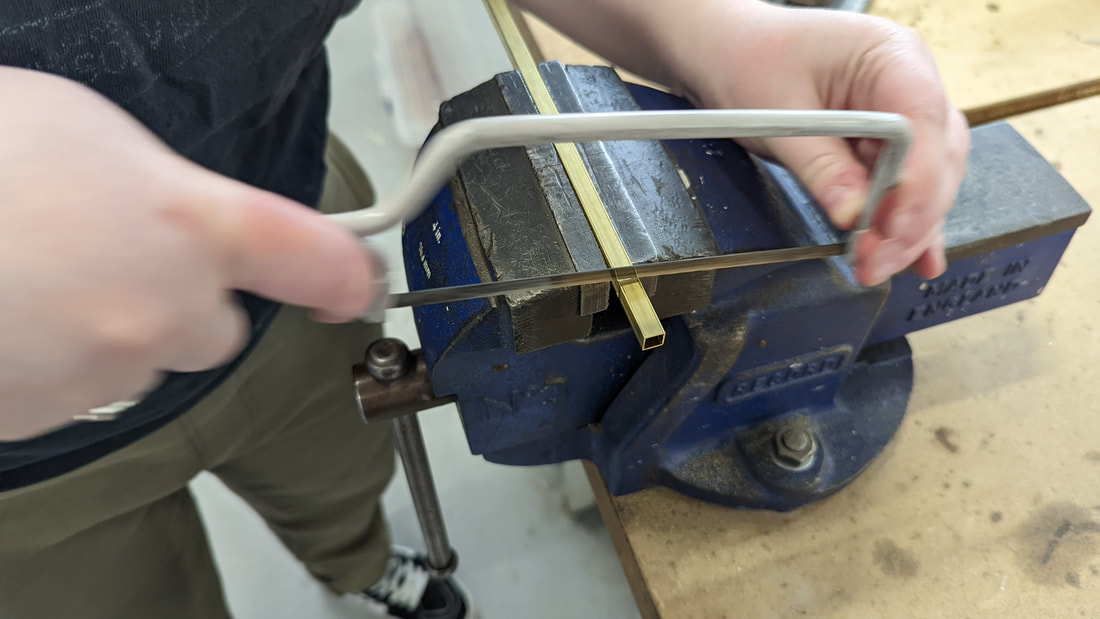
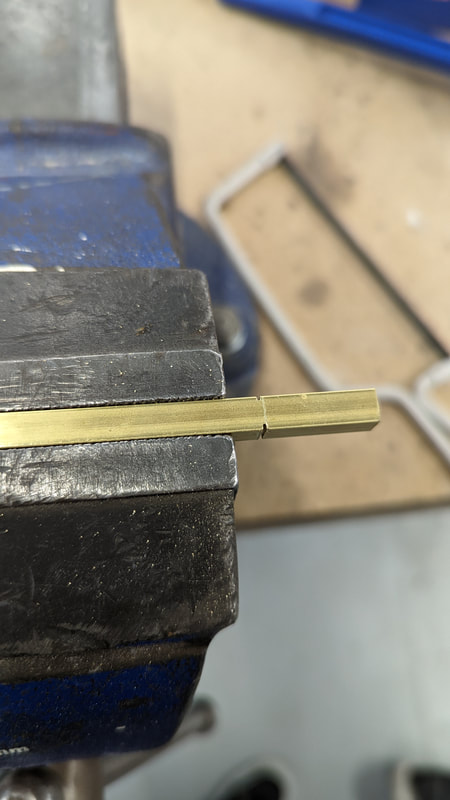
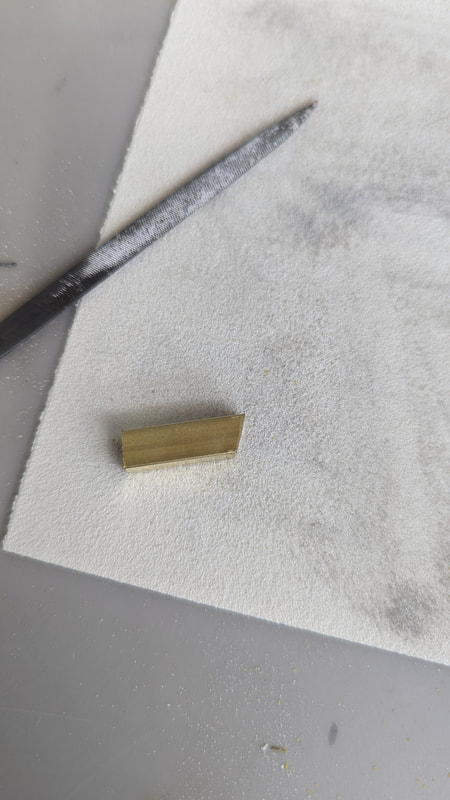
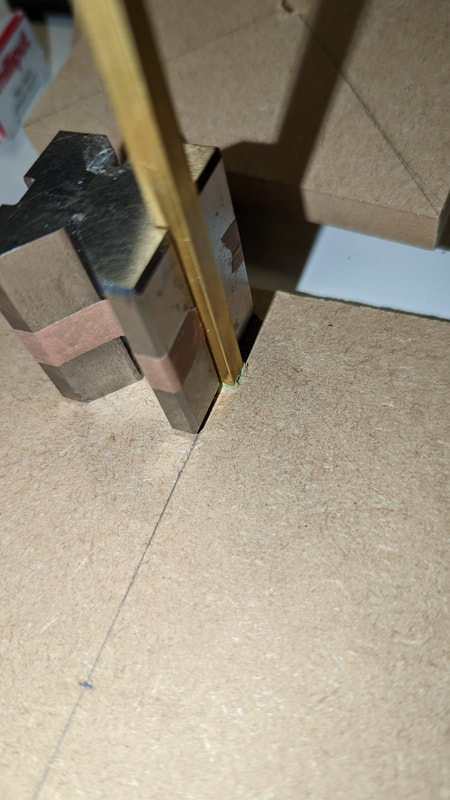
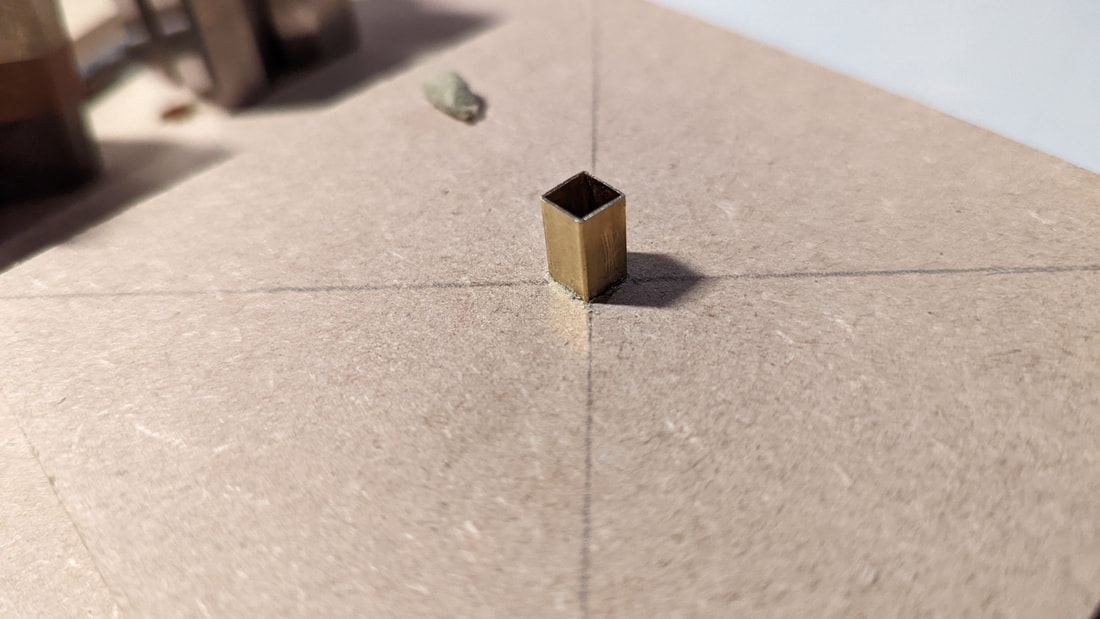
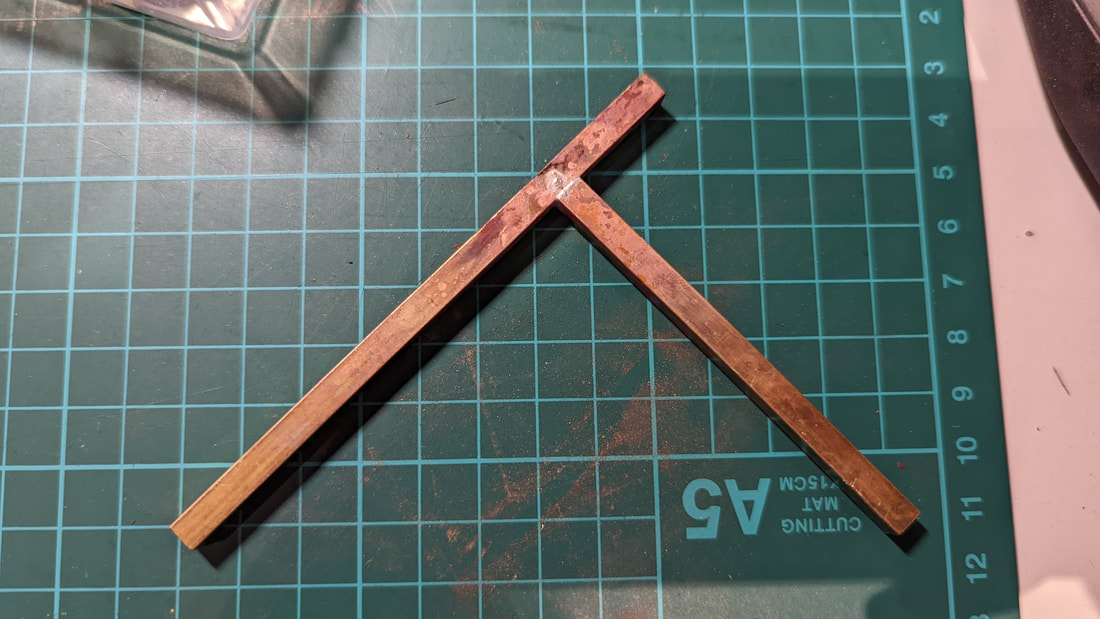
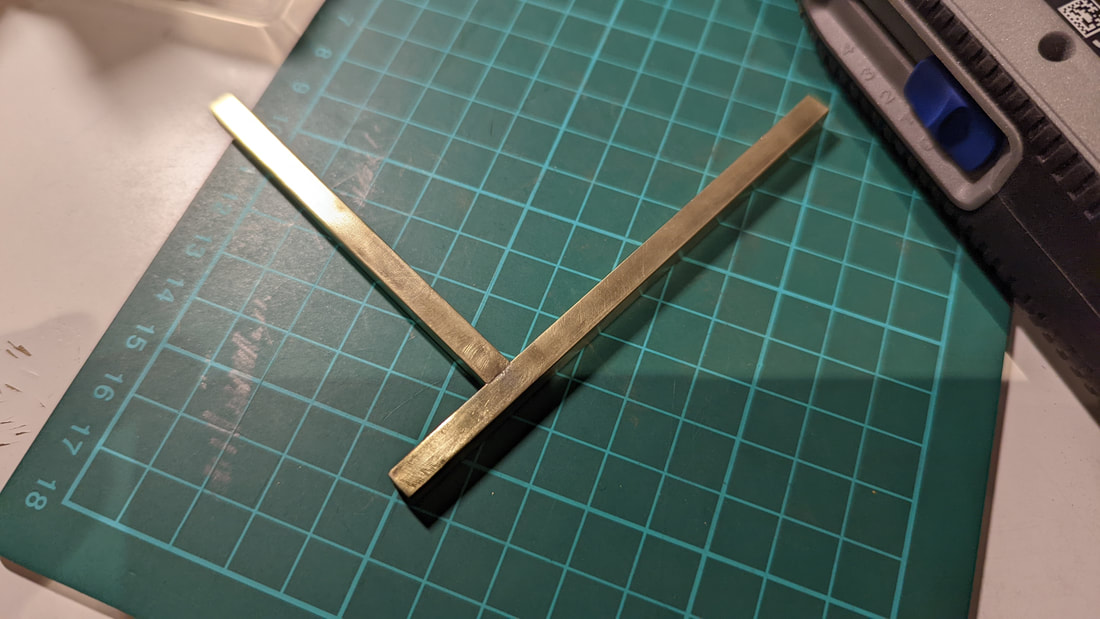
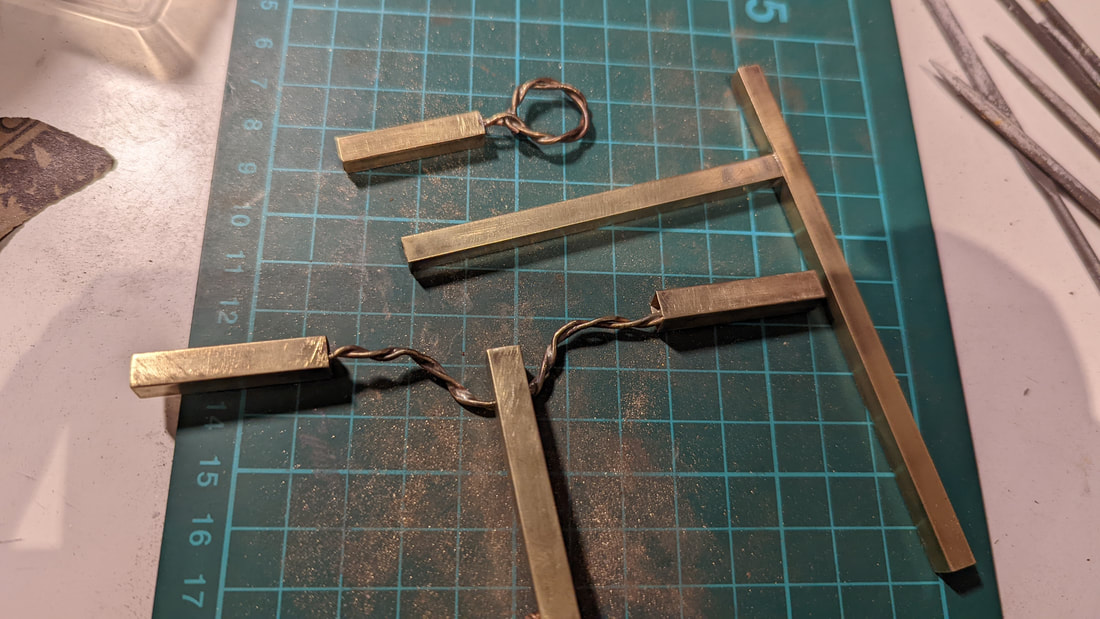
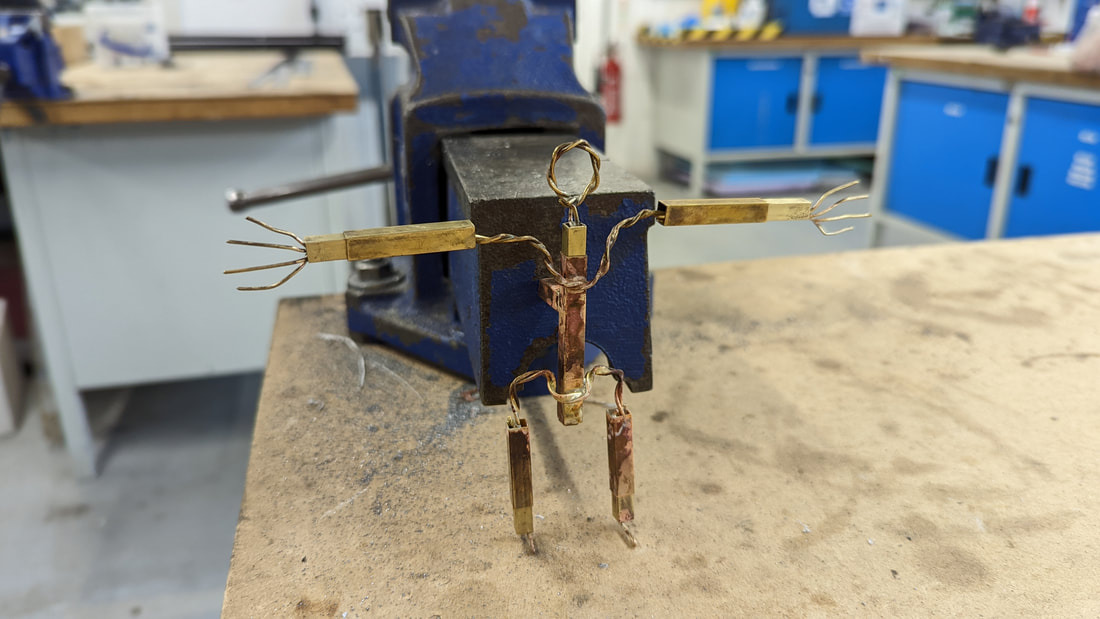
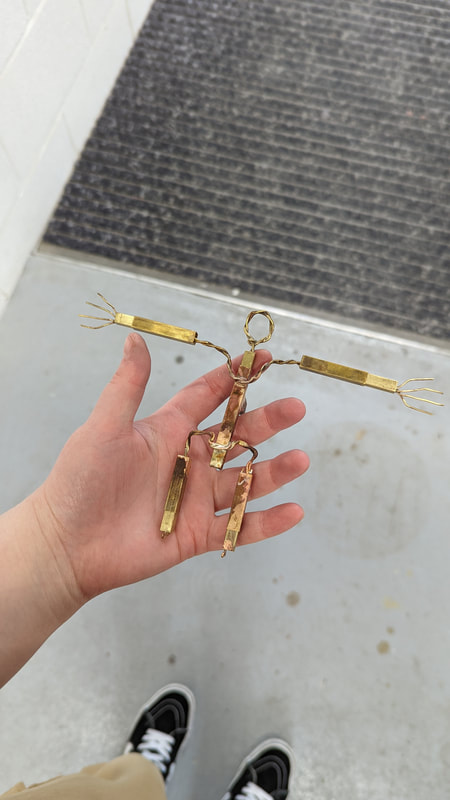
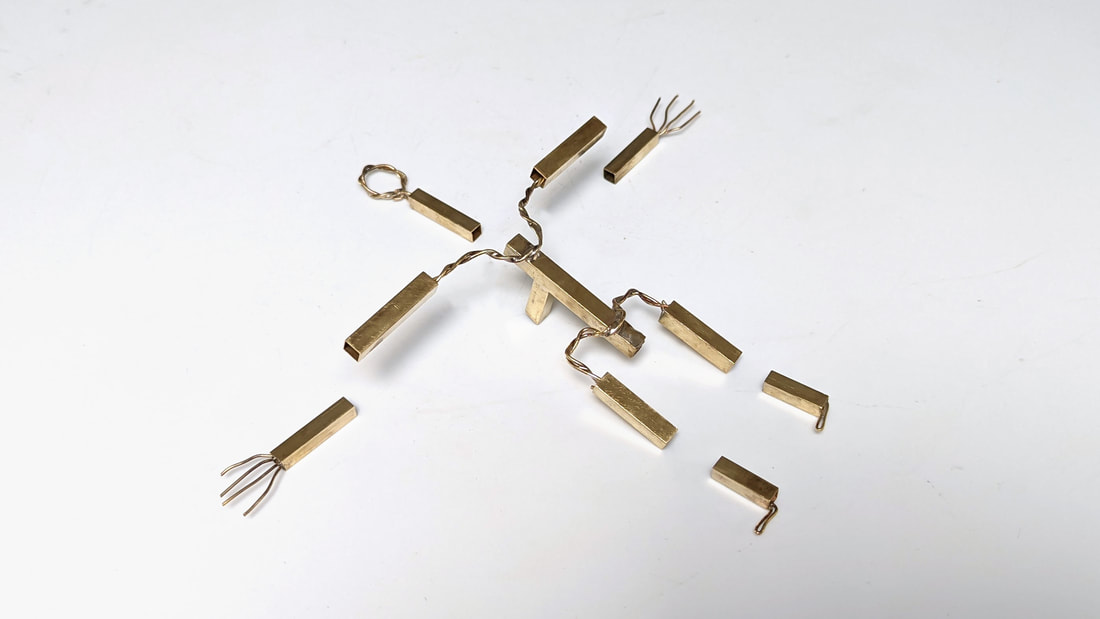
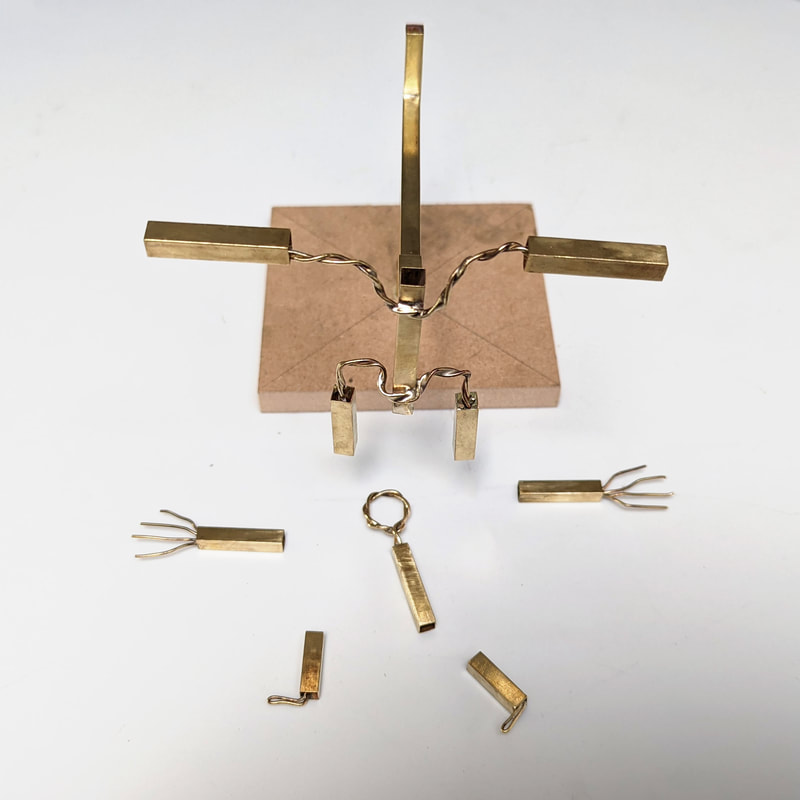
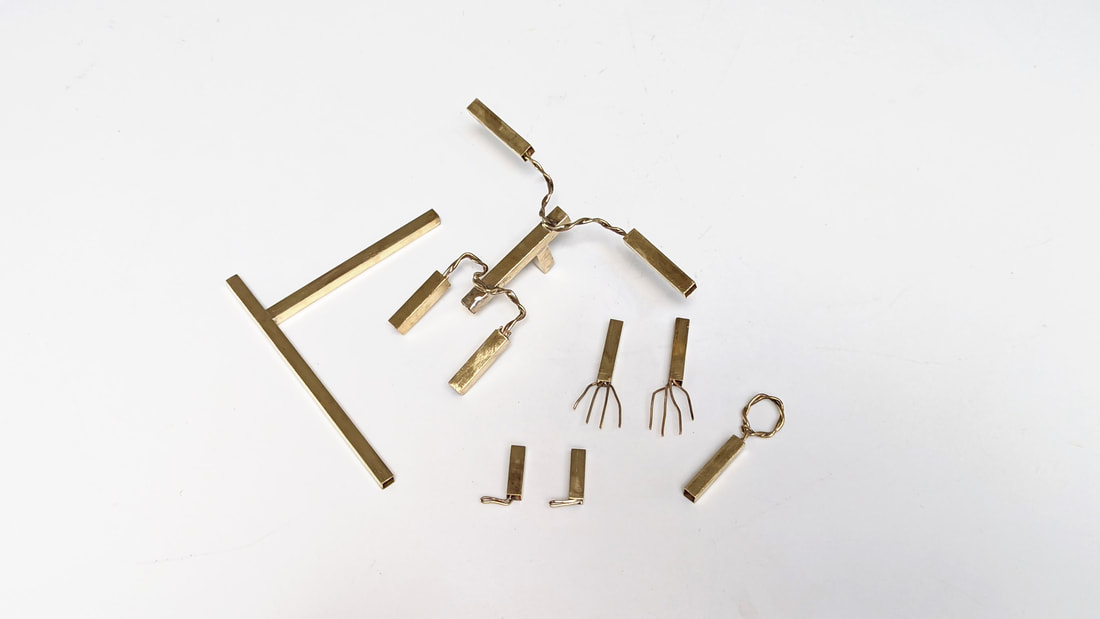
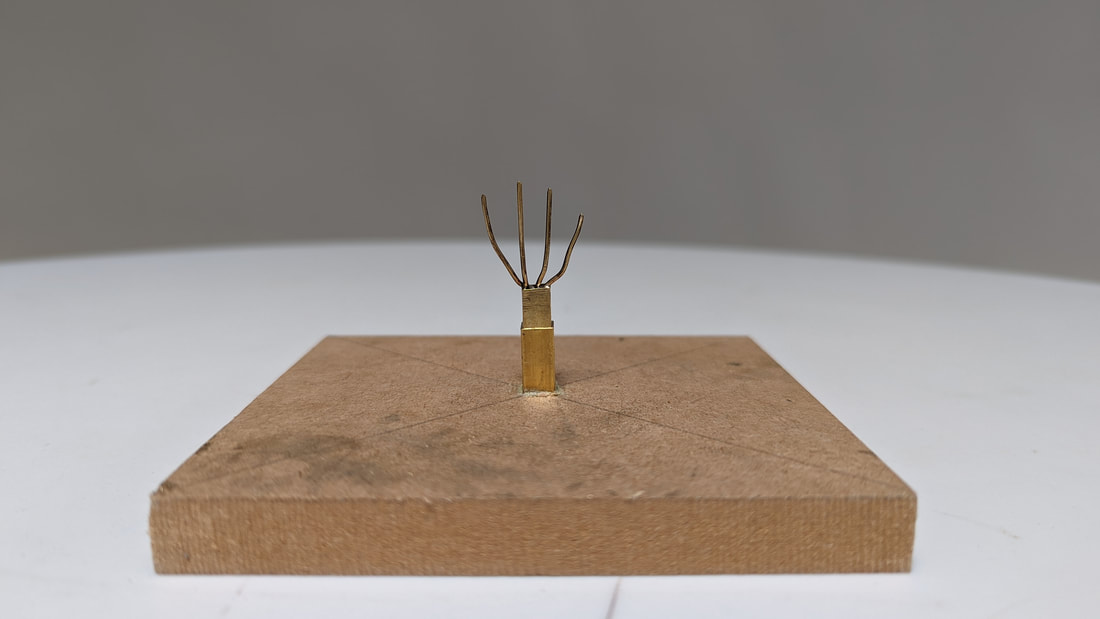
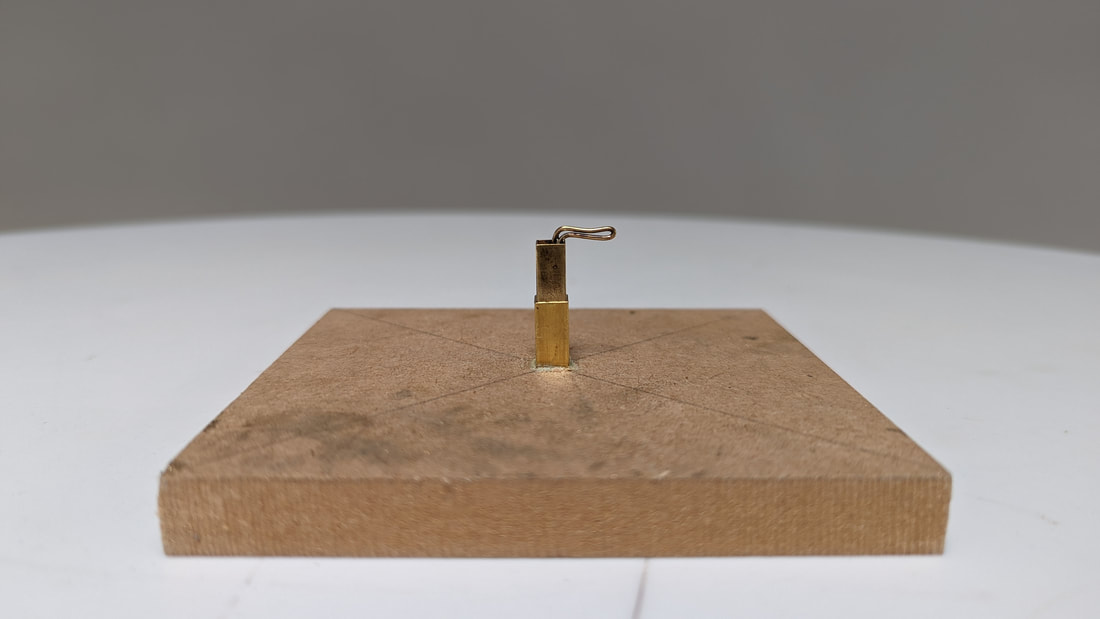
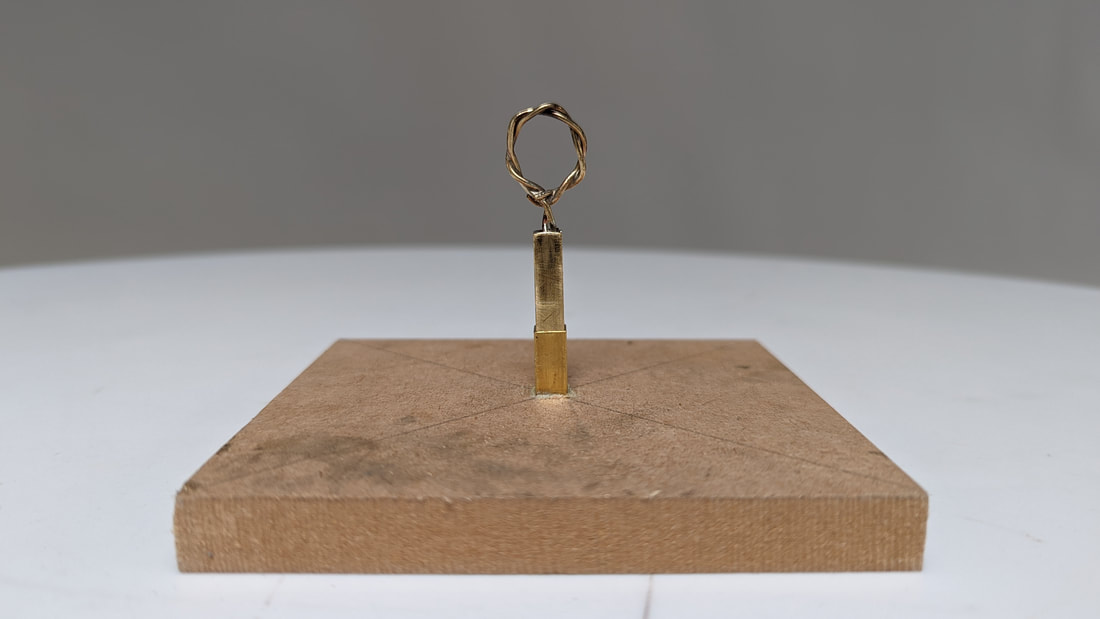
For the foundations of the sculpture I constructed the brass armature using twisted wire and K&S square tubes that interlock for each separating part.
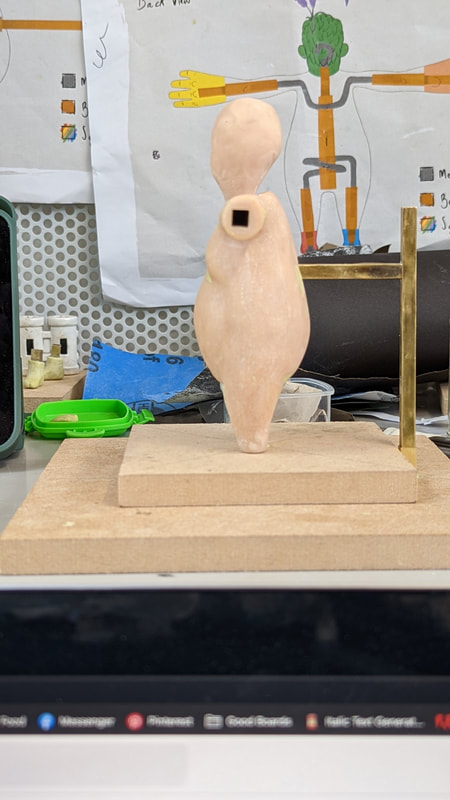
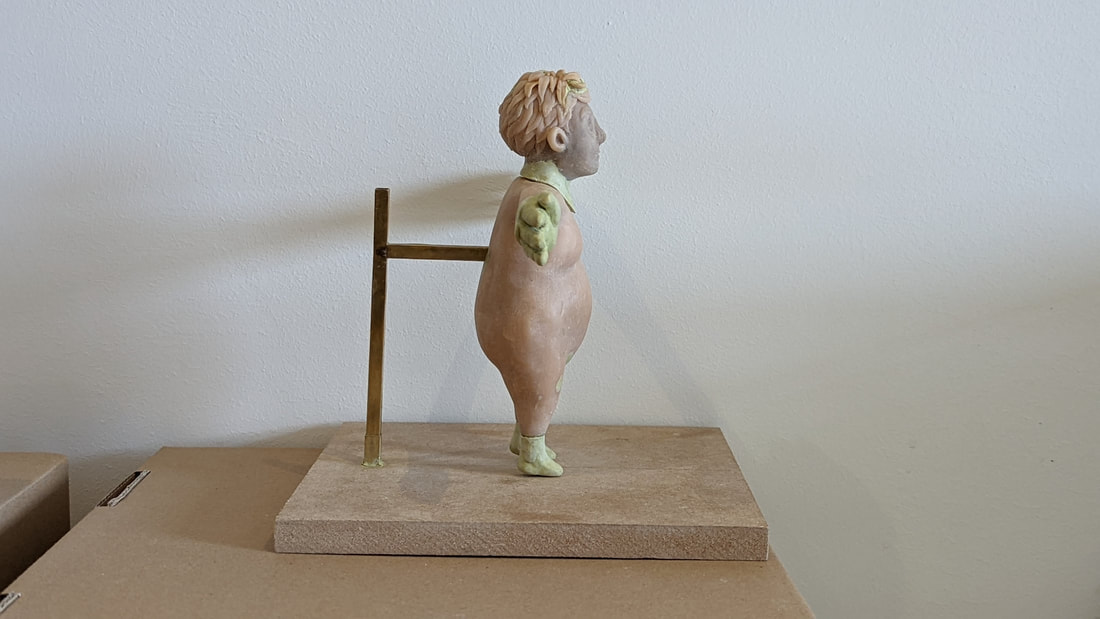
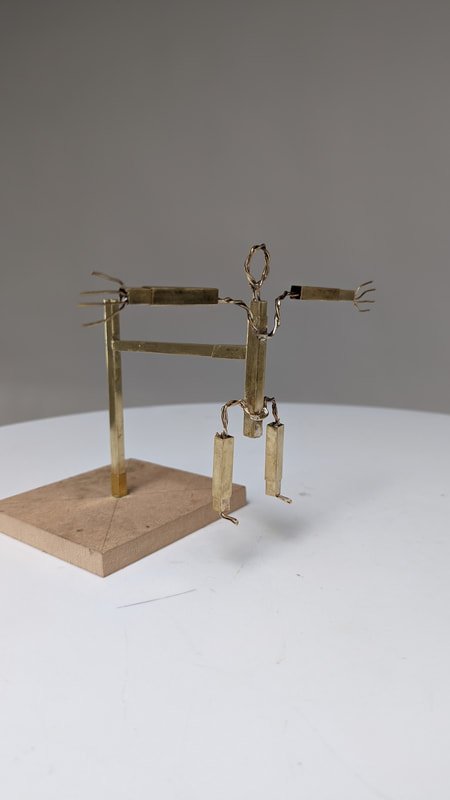
The ’T’ shape here is for holding up the model from the back rigging point. The model here is being sanded and polished The final images of the silver soldered and polished armature: 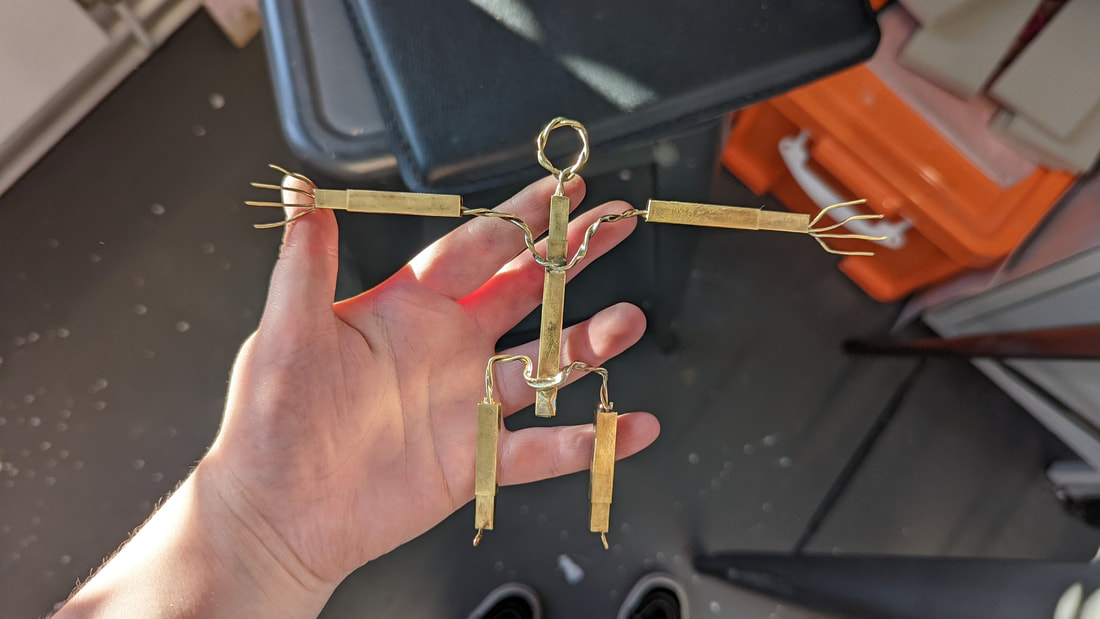 It took me some time to practice soldering again but after some failed experiments I am pleased with how this went & feel like I gained much more understanding of the process and the design necessities for silver soldering. The end result is something I am proud of and hope will be a useful example of my work in my portfolio in the future.
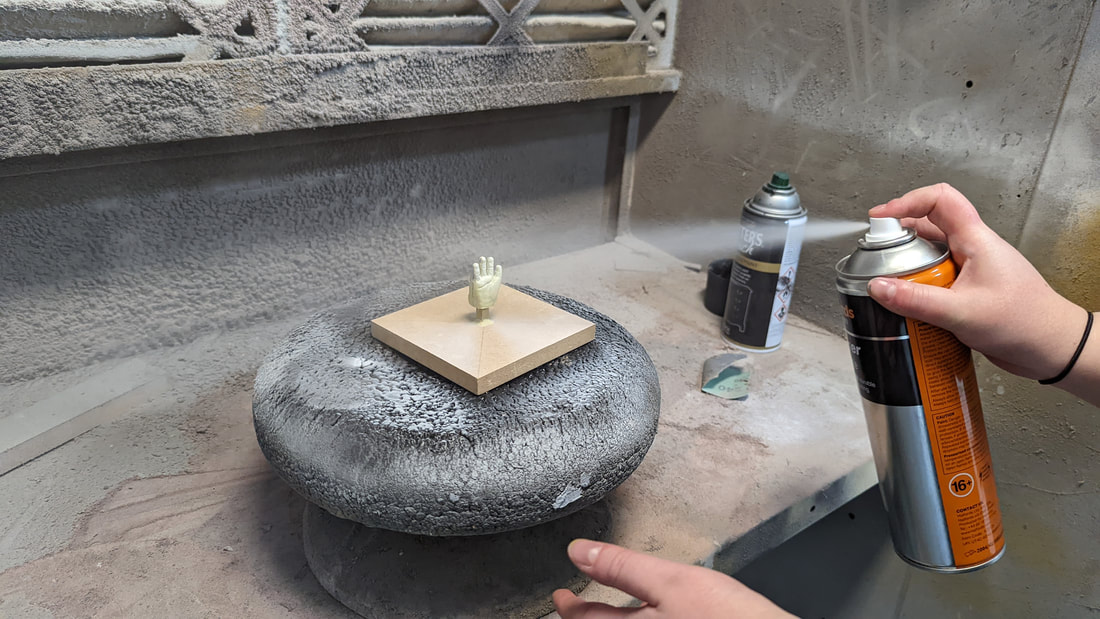
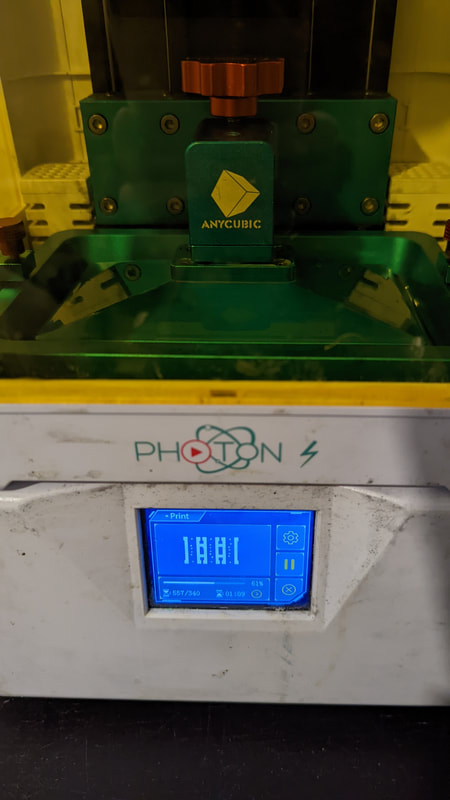
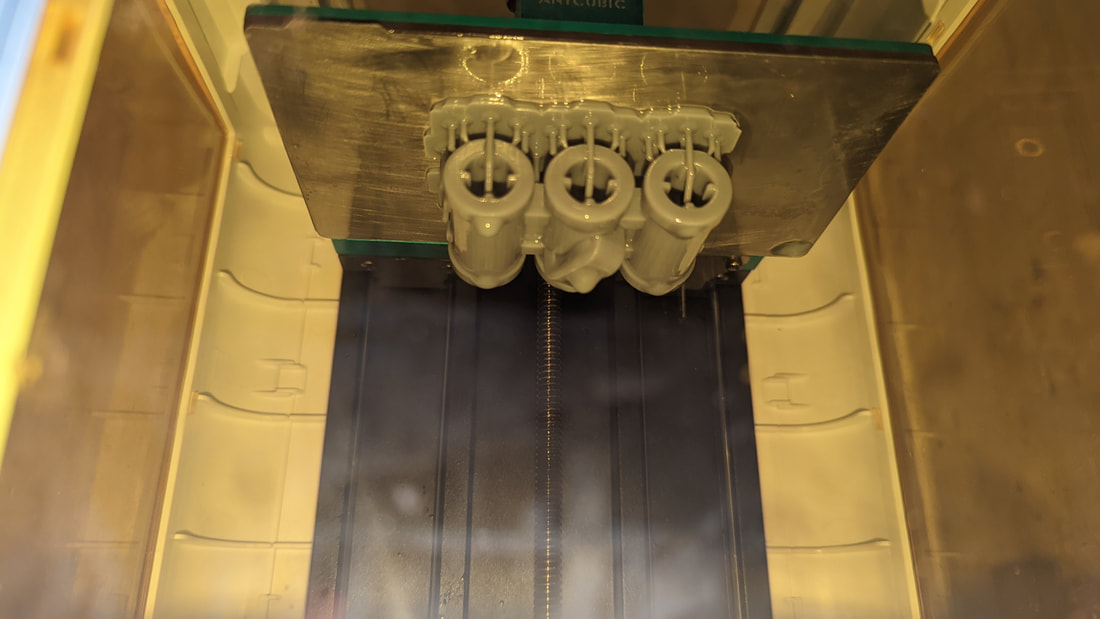
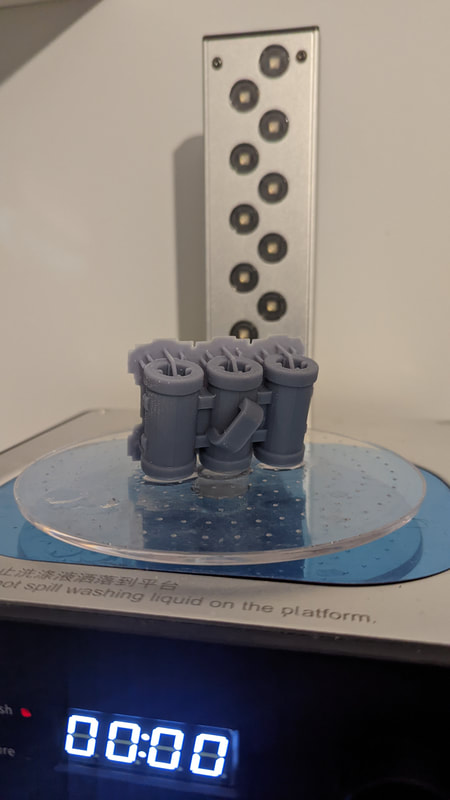
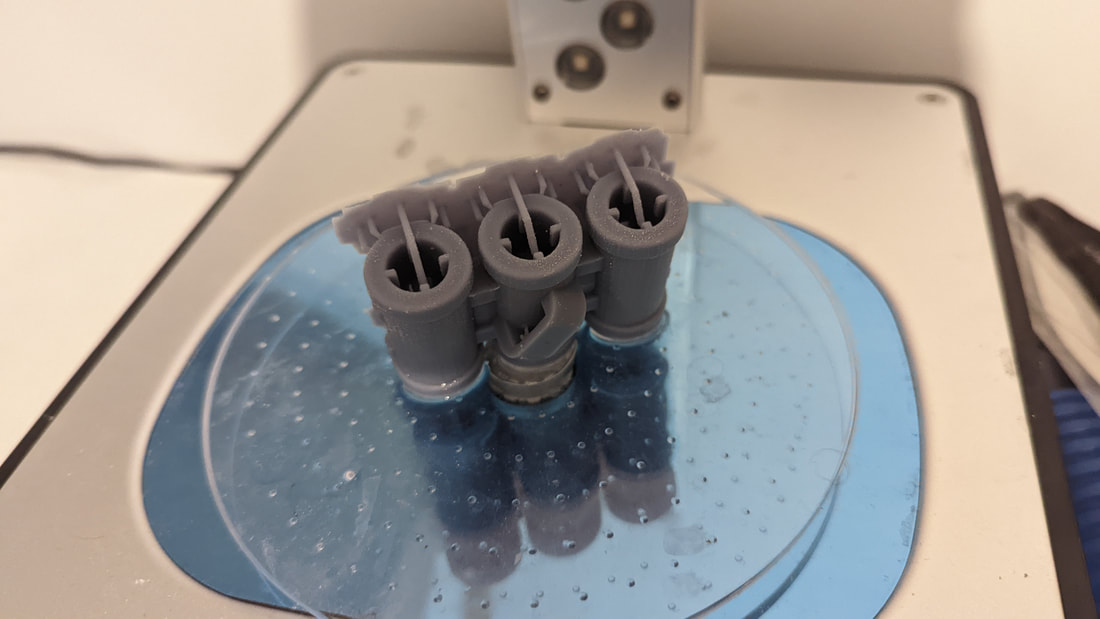
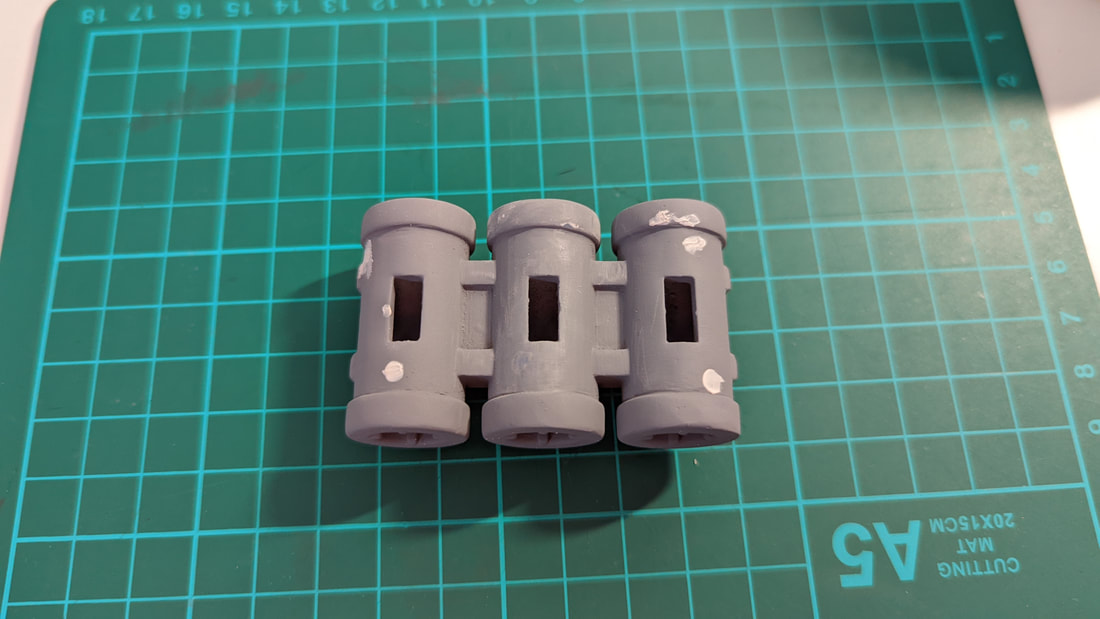
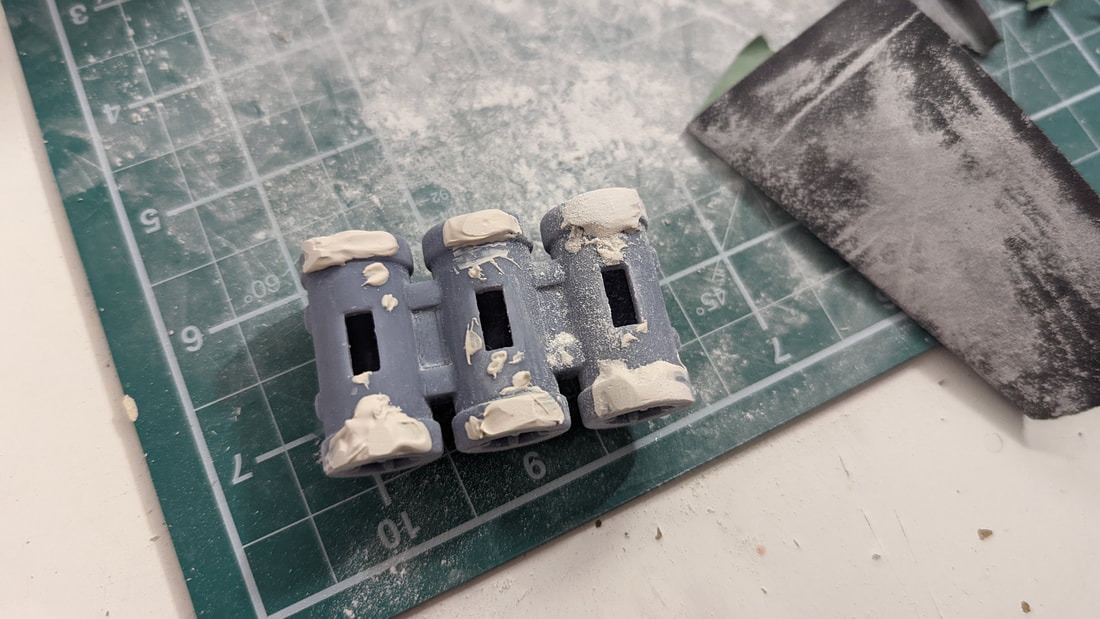
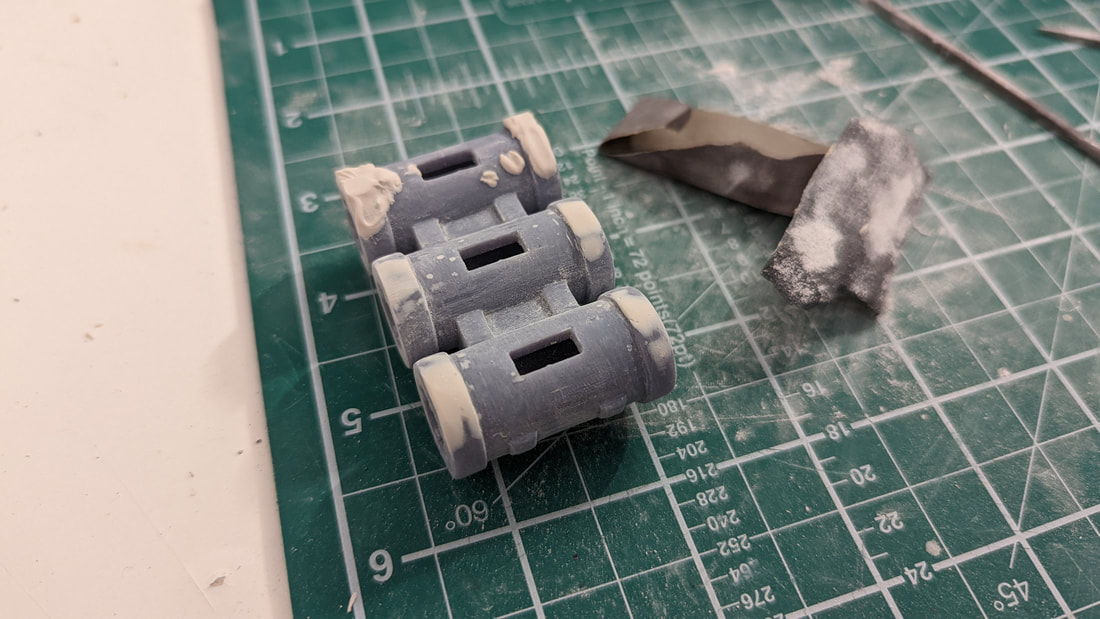
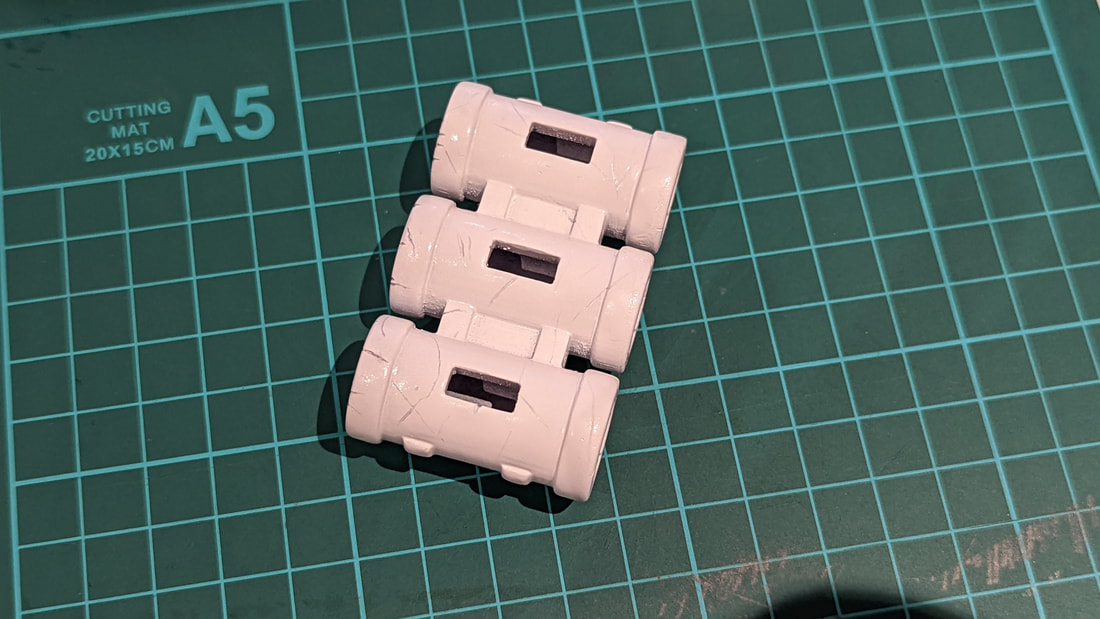
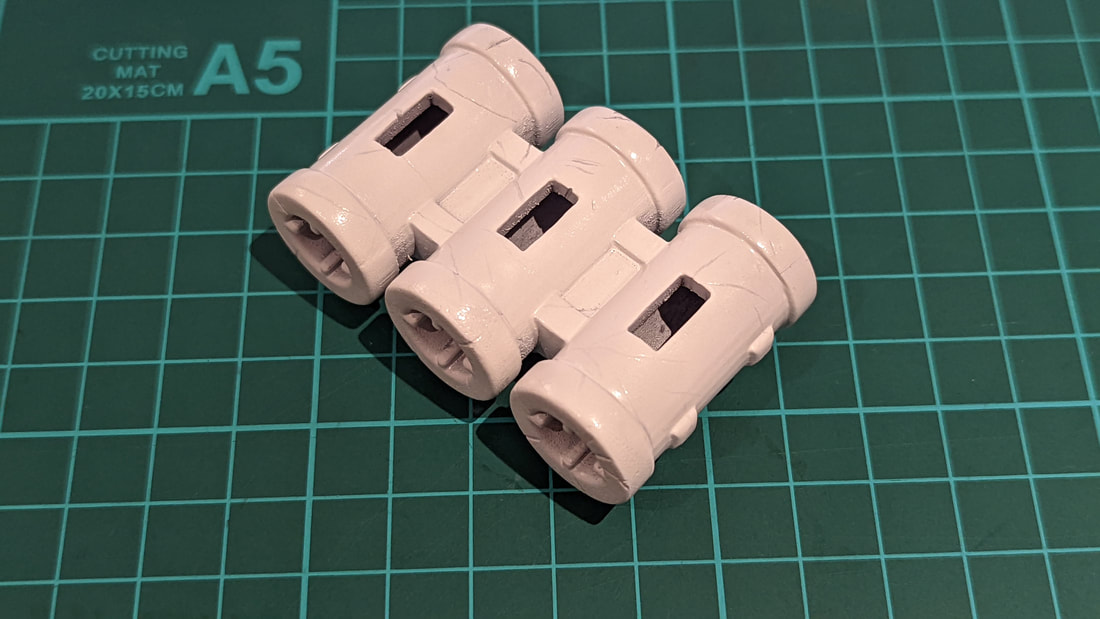
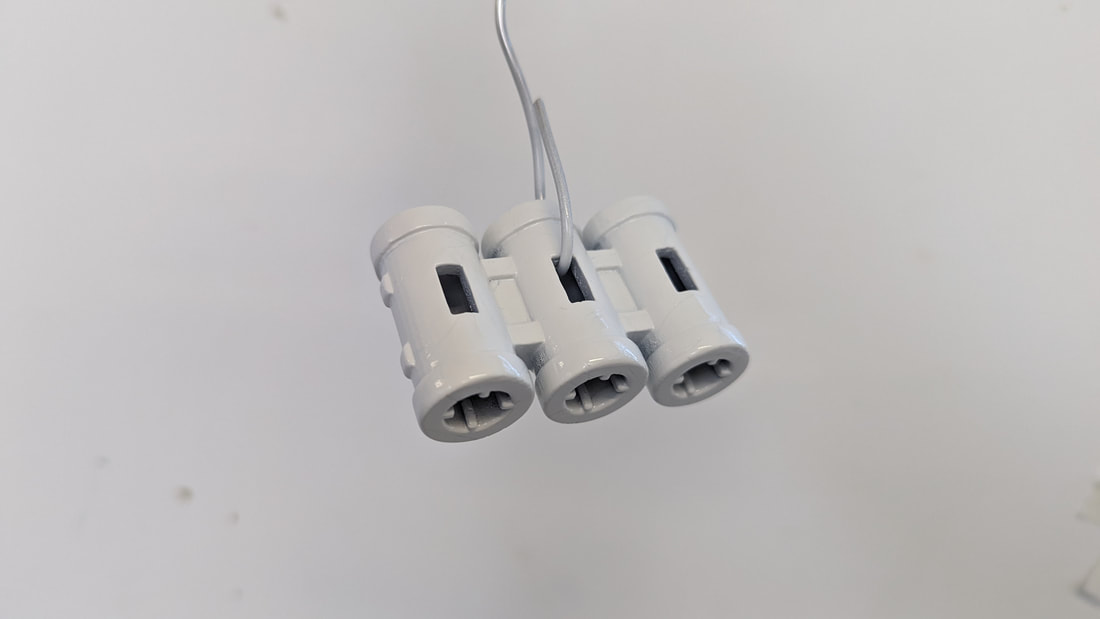
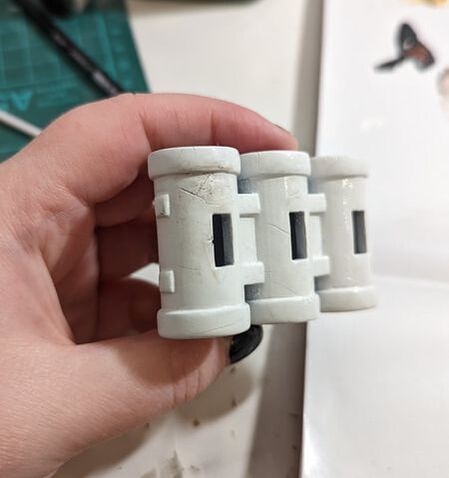
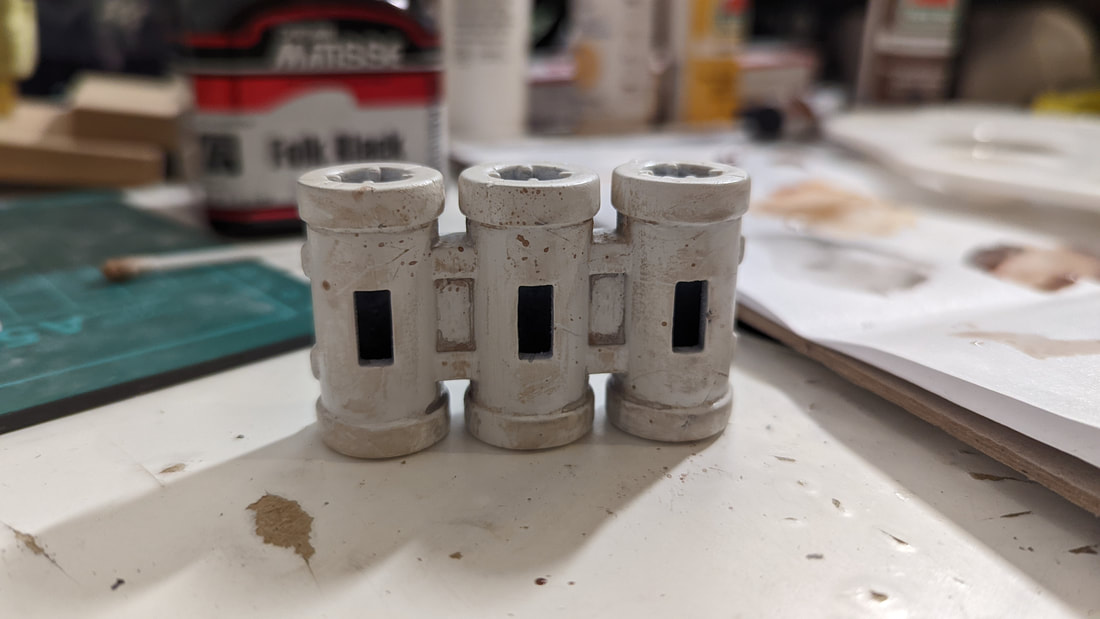
Here is the holster in the printer and on the was and cure machine with its supports still present. The scaring from the supports can be sanded away and any pitting made by them filled with filler. I was really pleased with the look of the model and the general print quality with one exception being the side that was closest to the bed was flattened slightly and therefore required some filler to correct the arc of the top and bottom rings. With the body fully sanded I moved on to priming and adding in the deliberate damage to match that of the game model. I added another layer of primer to seal the scratches. After the priming I used a slightly off white shade that gives the model a unified look; but it kept the scratch marks for my weathering paints to flow into and collect naturally. Spraying the model was tricky due to its shape but I found the hanging on wire technique particularly effective.
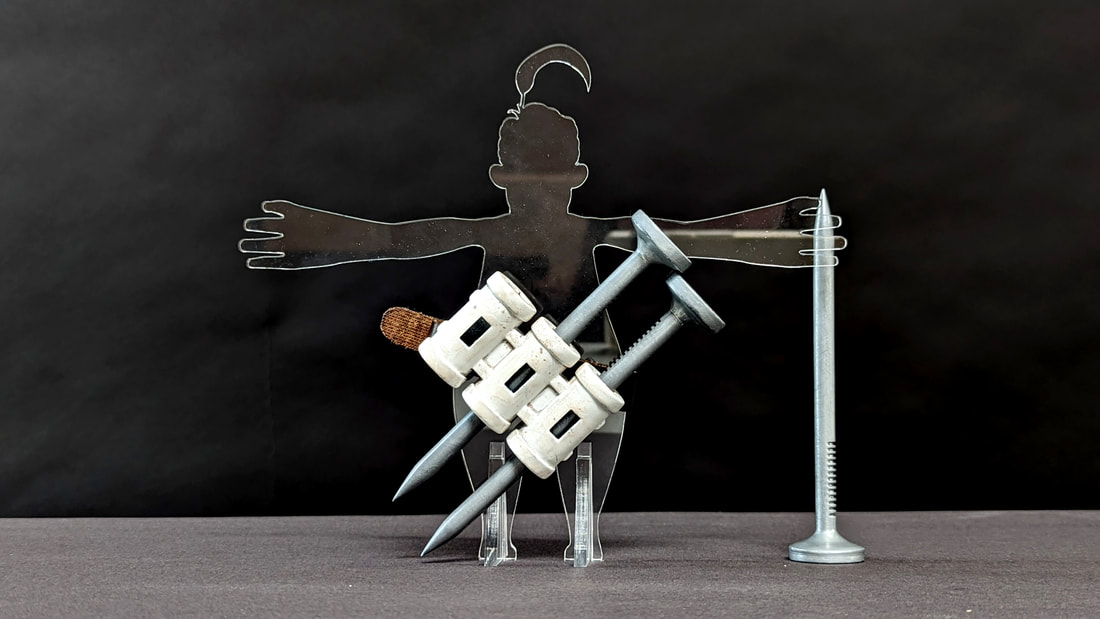
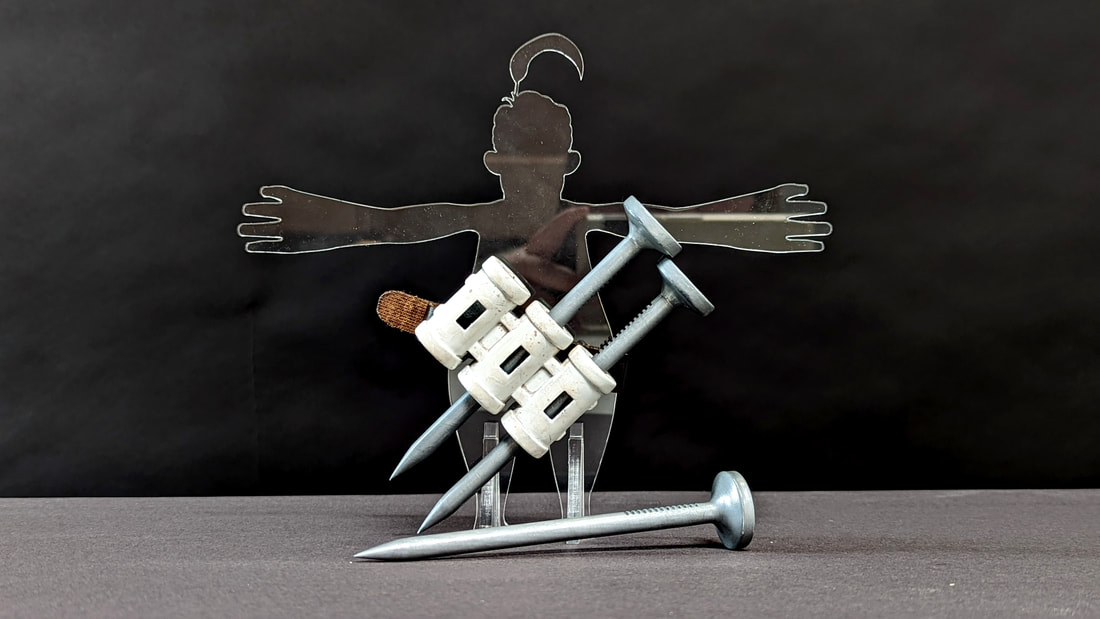
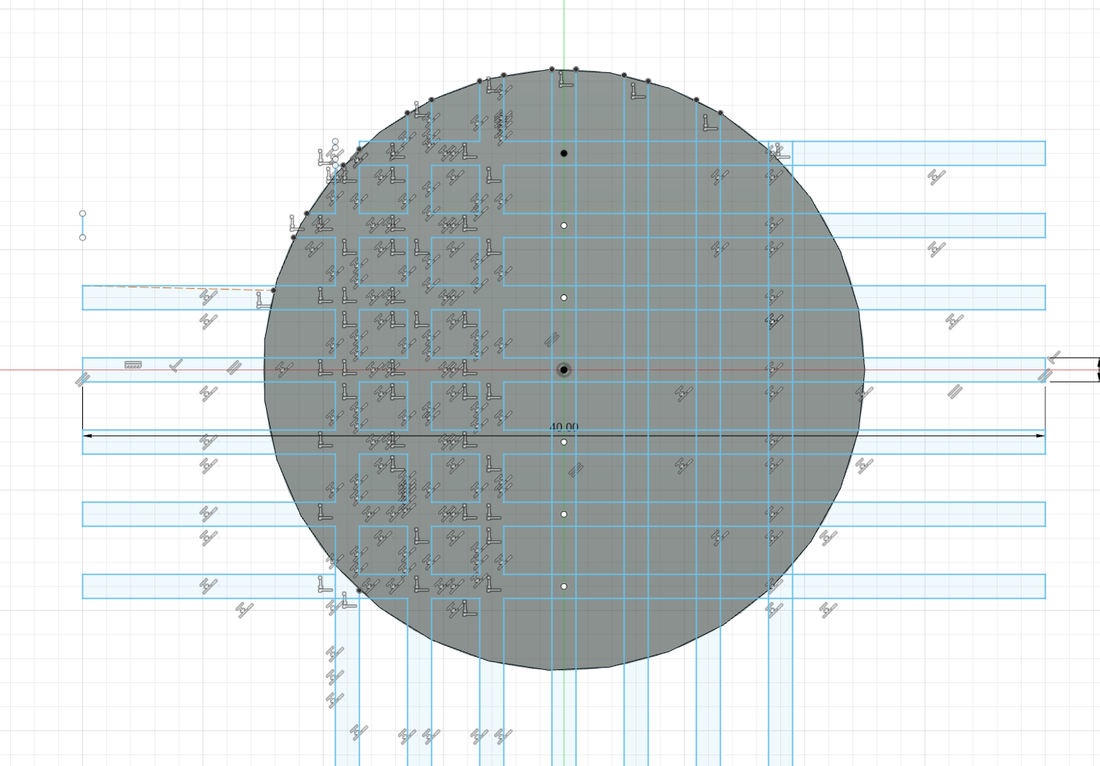
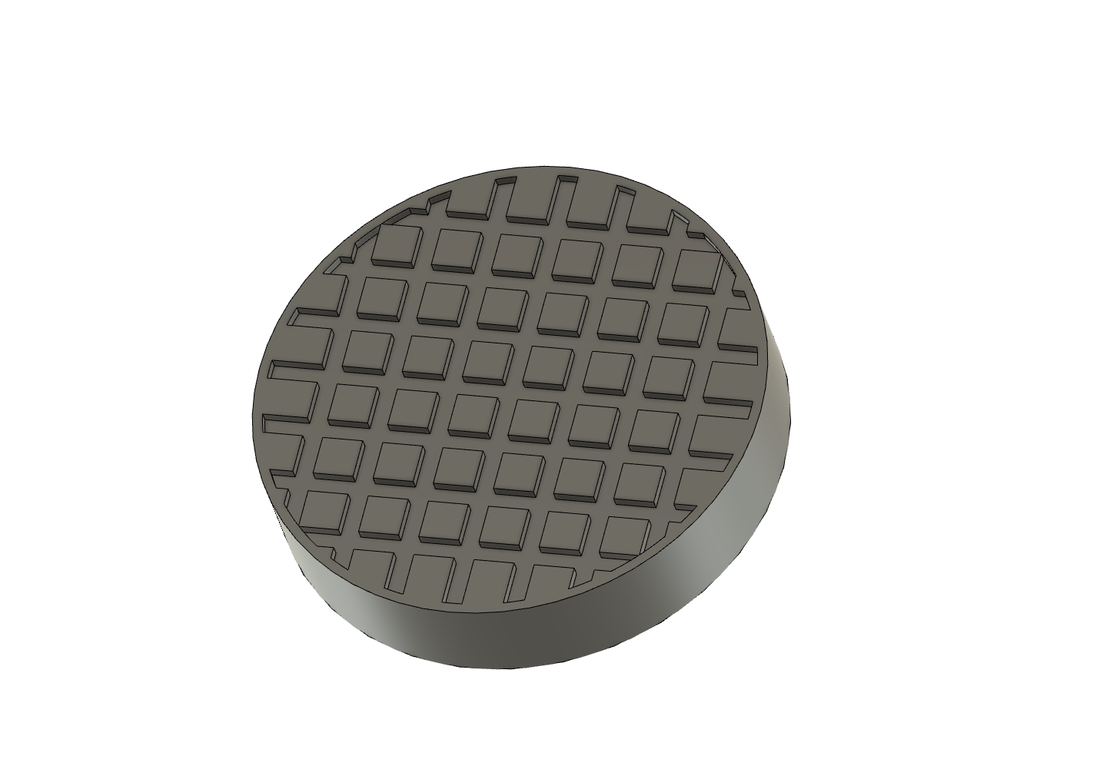
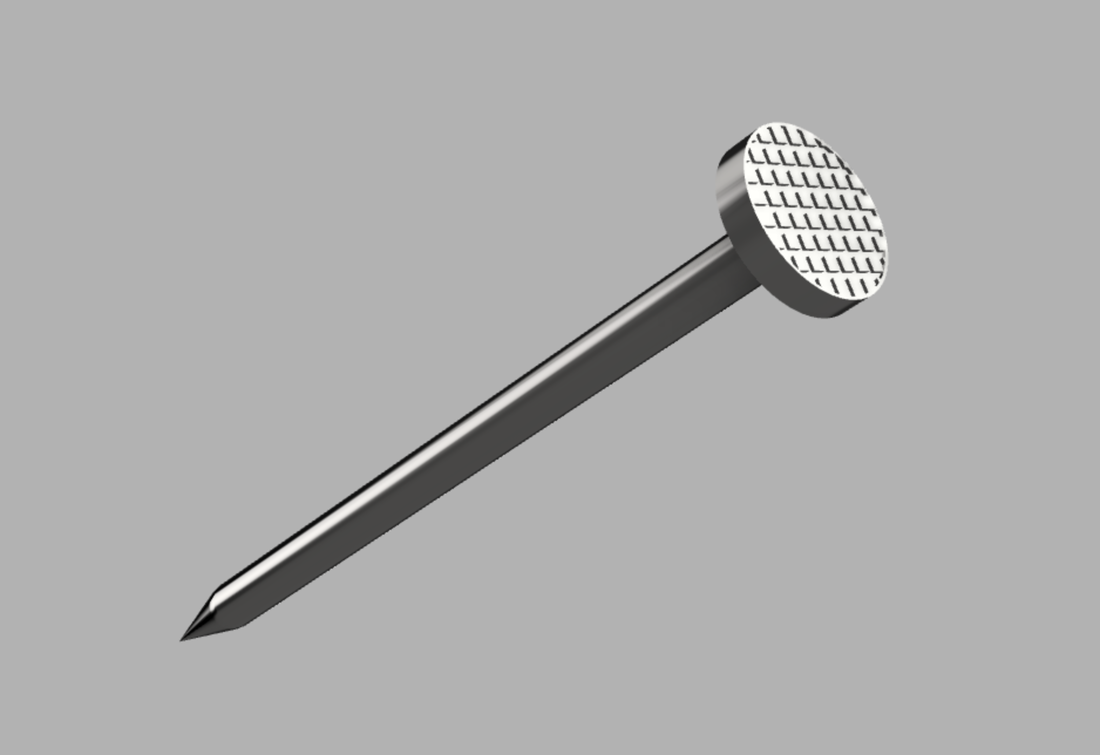
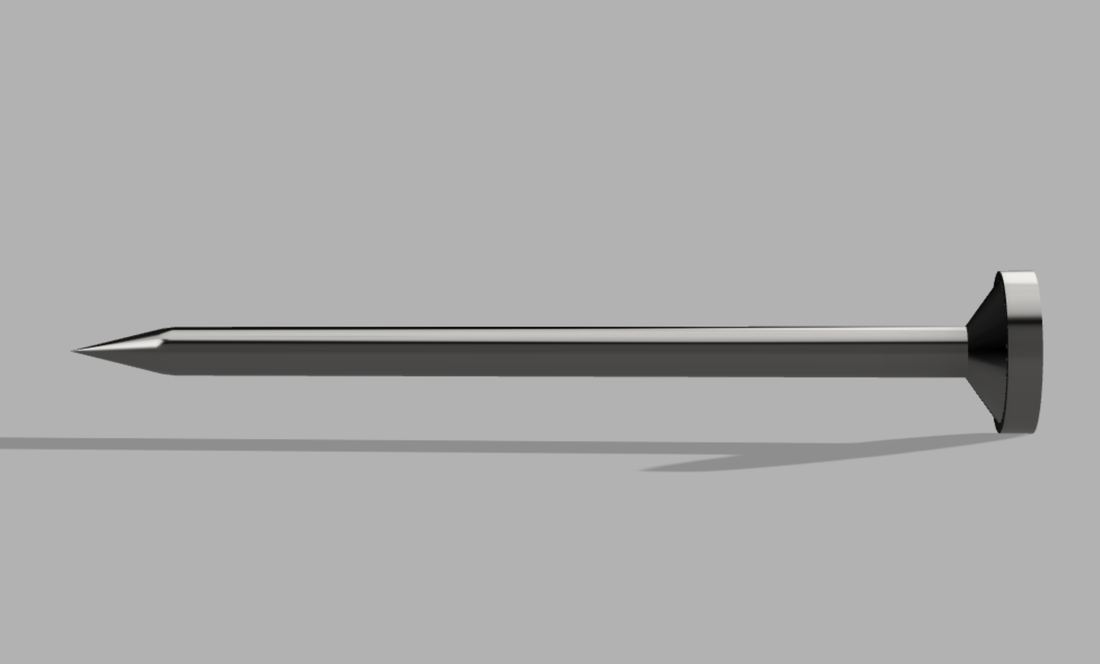
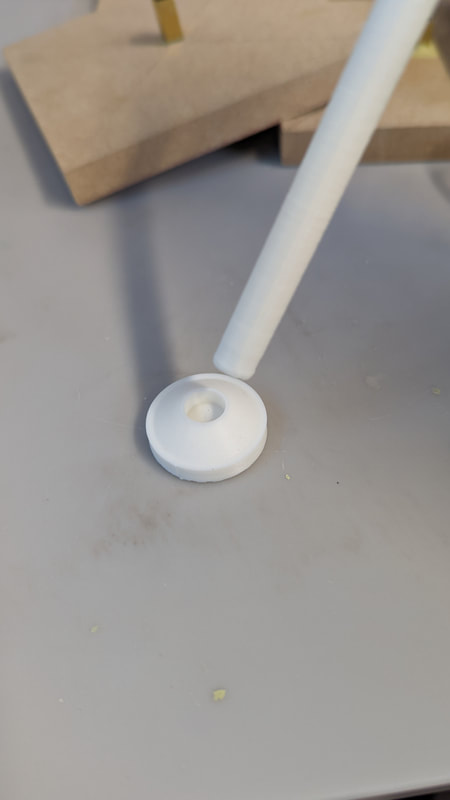
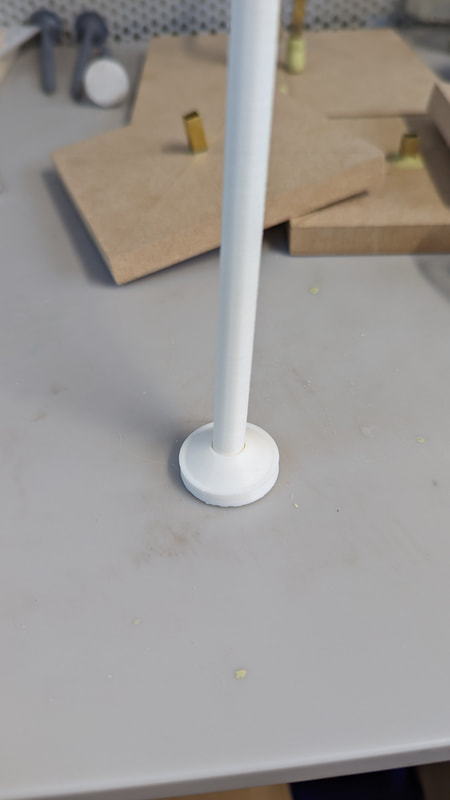
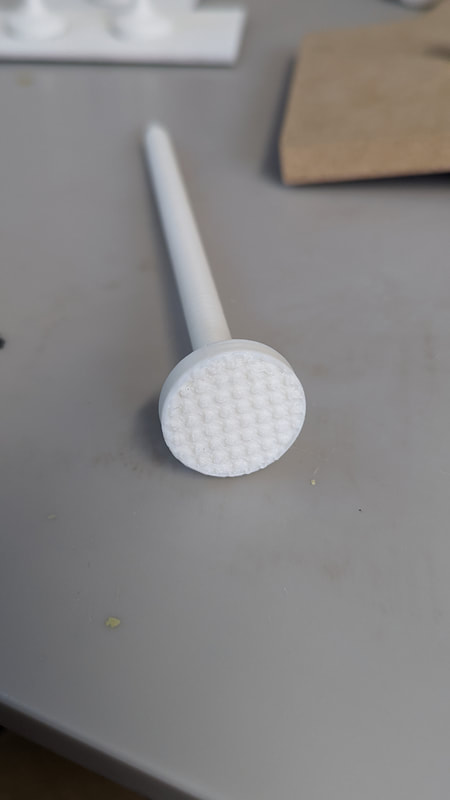
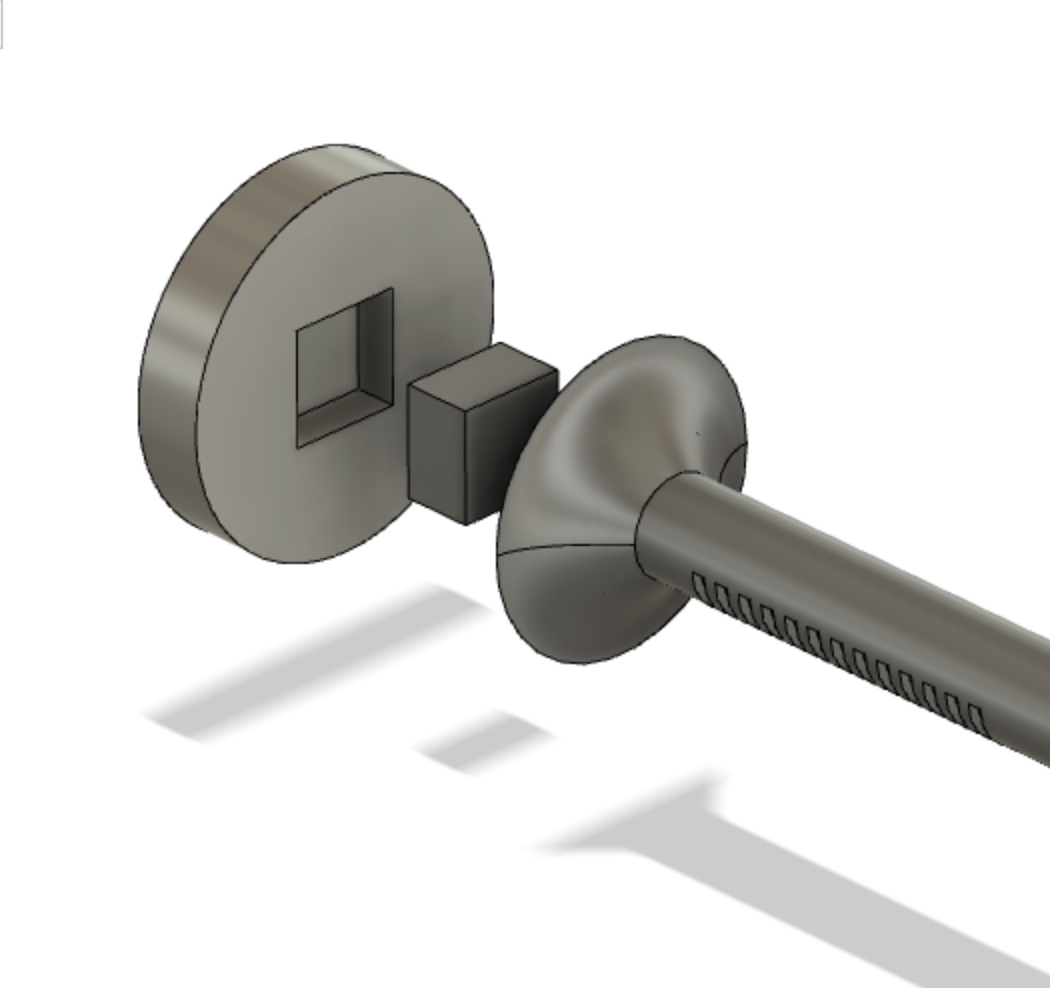
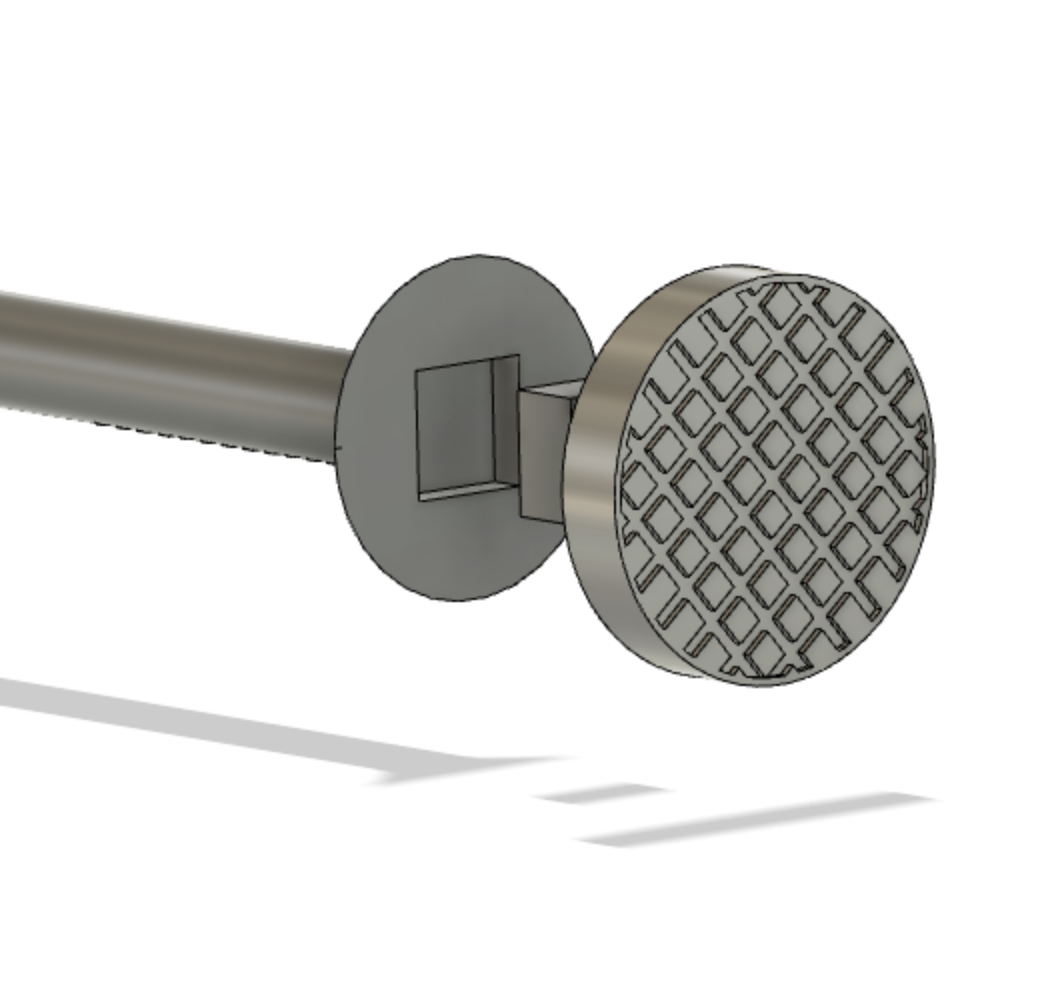
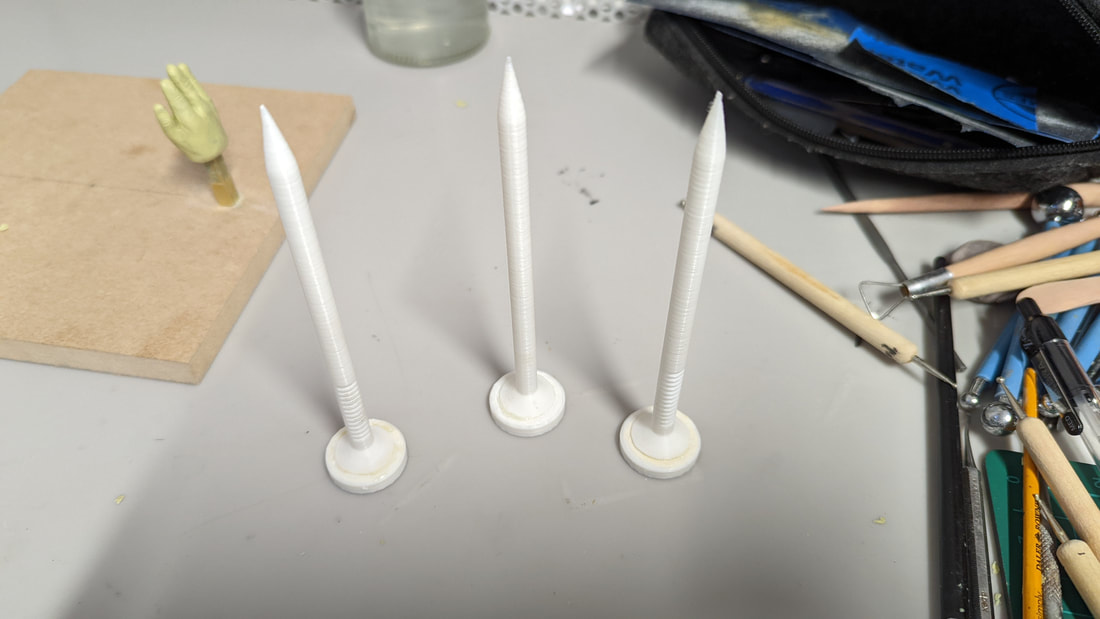
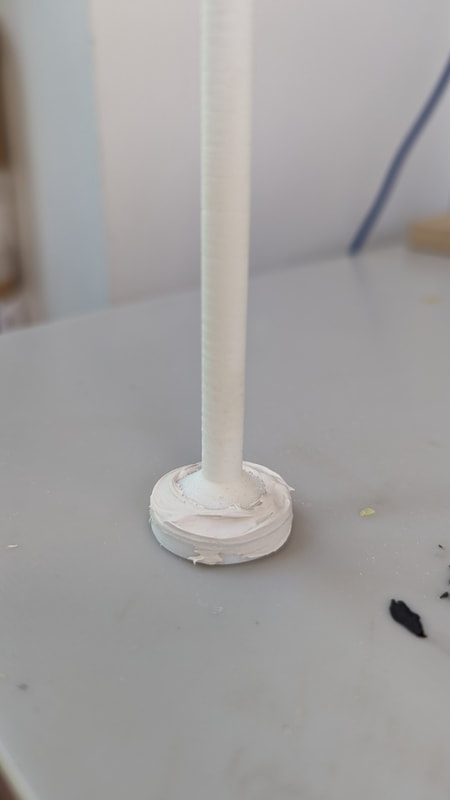
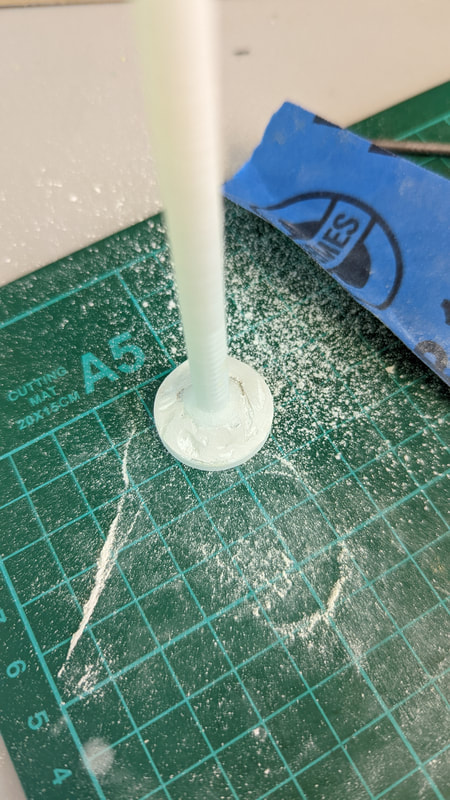
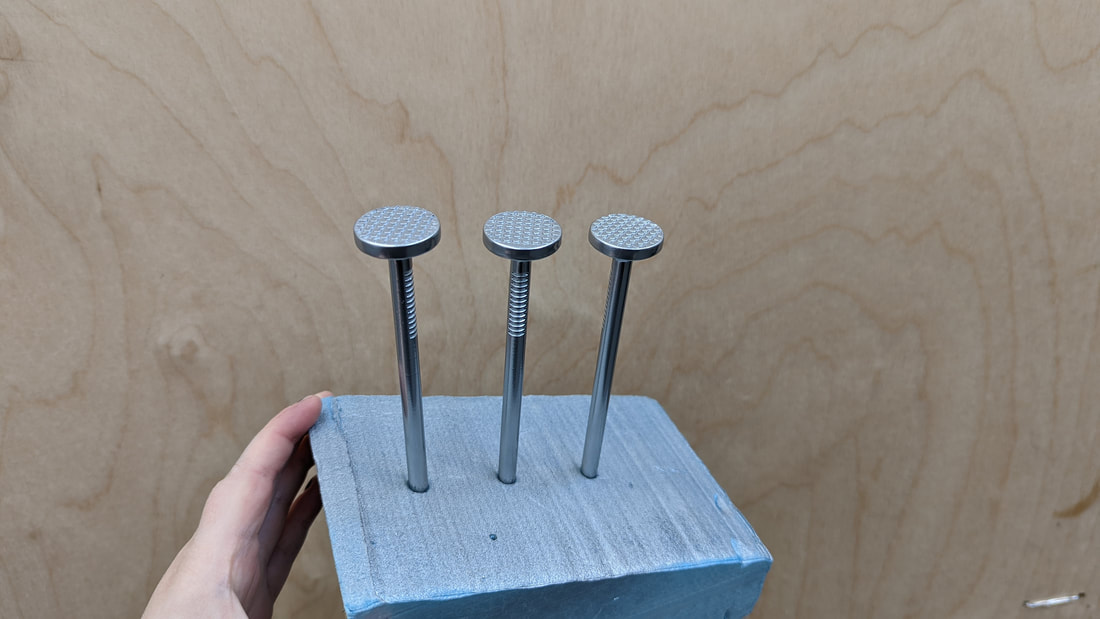
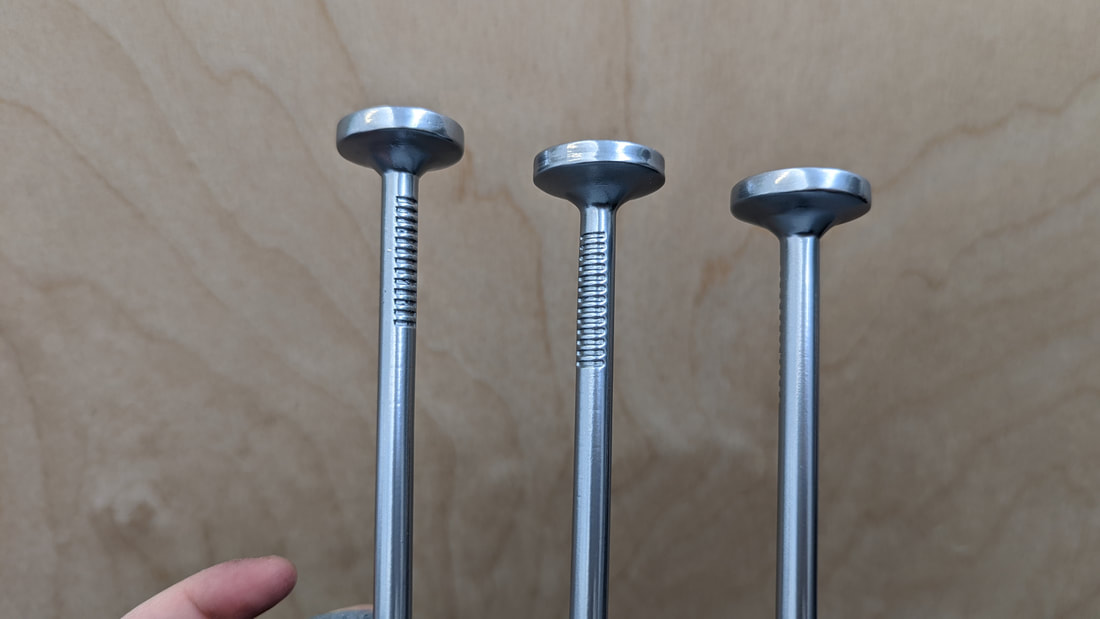
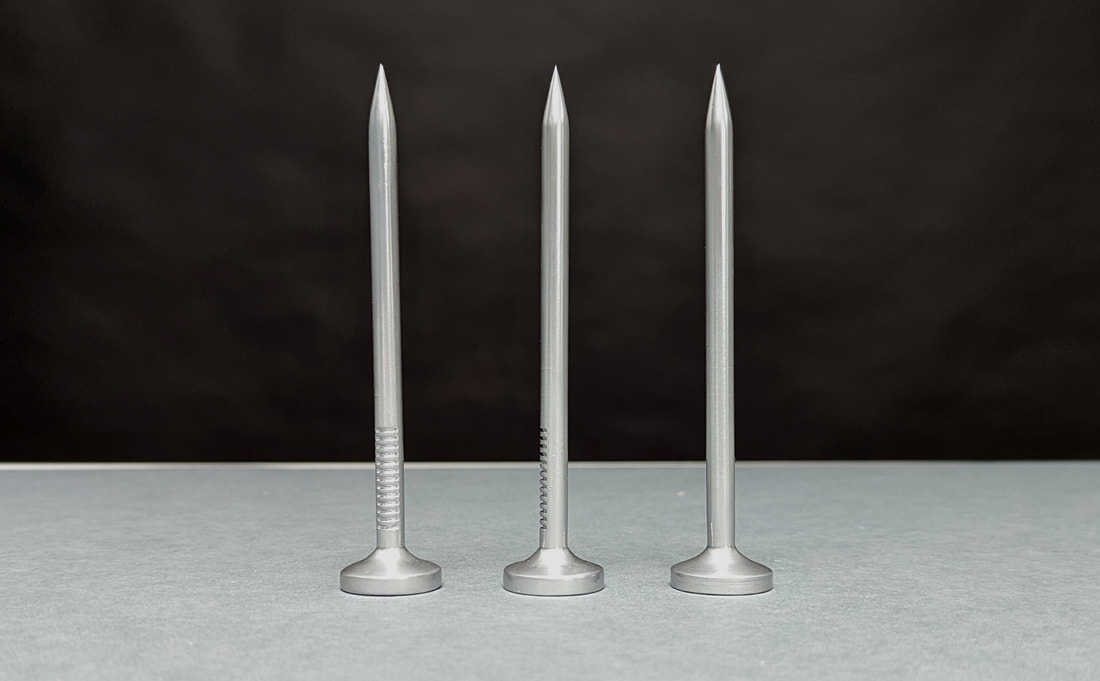
The next stage to finish the model was buff the clear satin finish sealant coat on the holster to allow acrylic paints to adhere. I used brown tones and watered them down to a wash which I brushed on and dabbed the excess away. I added a gel medium to some higher pigment brown paint and created splattering dots that stood embossed against the model. 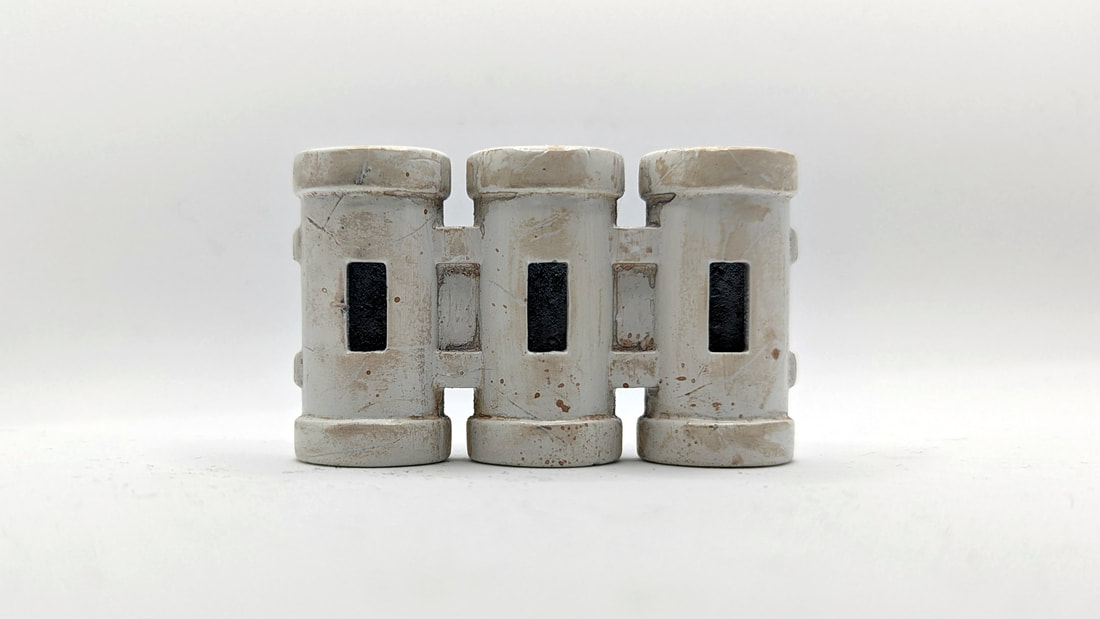 Test One I used Solidworks to cad the nail as one shape planning to use the flat top as the printing face - printing in PLA-ST on an FGDM printer. The lines I planned were to be used as a reference for later creating. Unfortunately, the height of the nails was too much and they eventually failed as the head of the printer moved them too much.  To fix this I added a raft to give the prints more stability on the bed so they are steady as the head gets higher. For the head I wanted to use filler and carve the marks in like this (below) but the issue was doing it the same on all three heads so I moved on to a new plan. 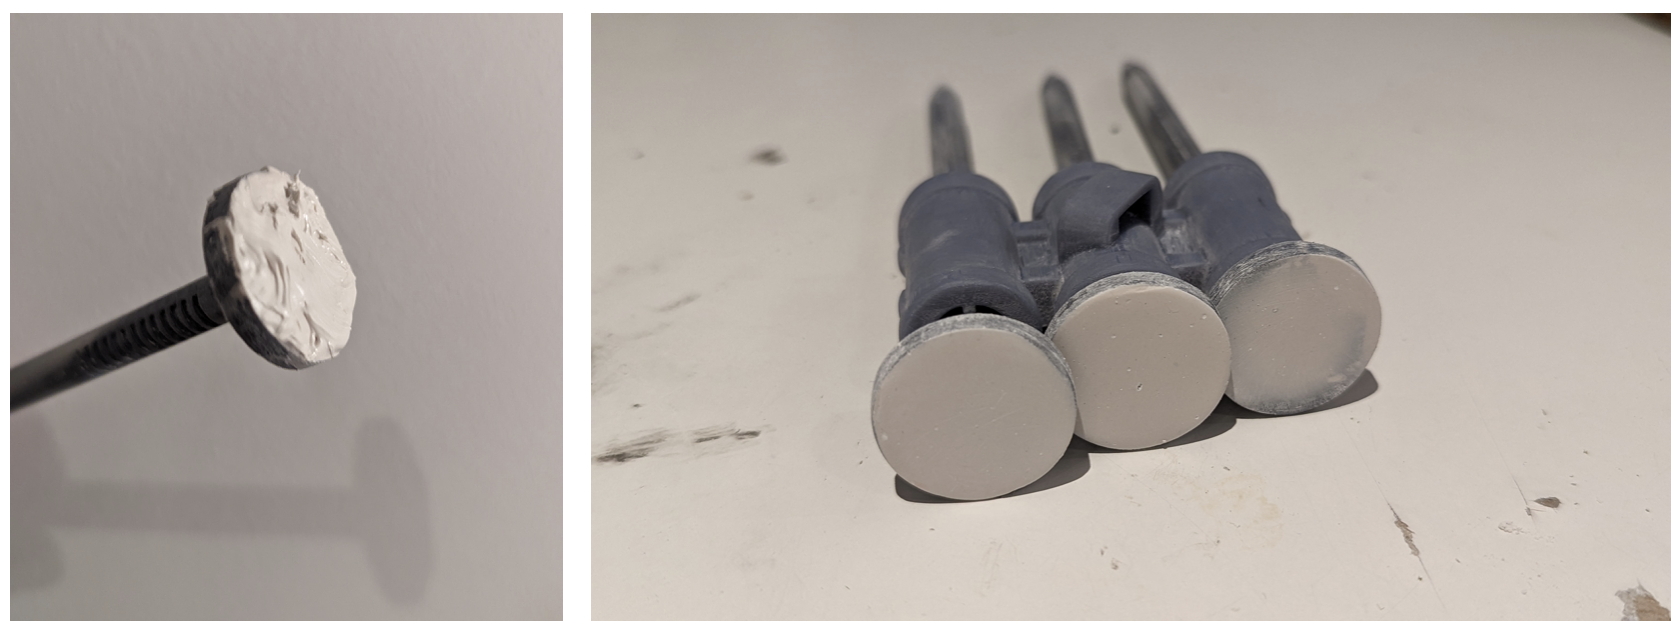 filler sanded before and after 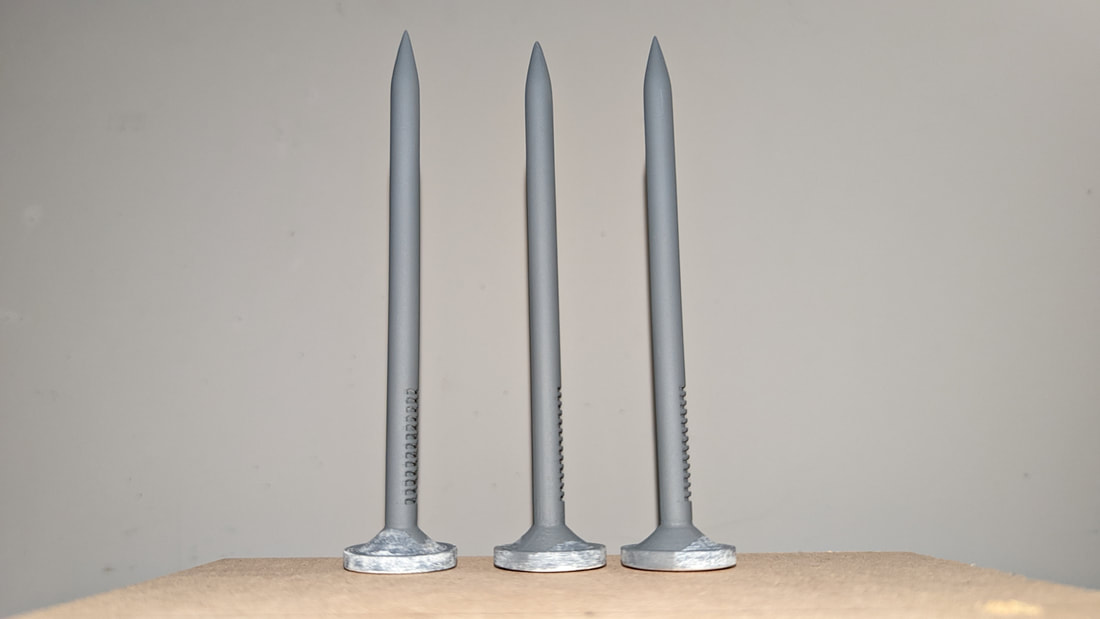 primed Test Two For this test I tried printing the detail I made (on Fusion 360 rather than Solidworks, as that software handled the actions better) face down on the bed. As I couldn’t have a raft, I made the model key together in two pieces - the shafts could have rafts. I wasn’t completely happy with this either as the pattern wasn’t as crisp as I intended it to be.
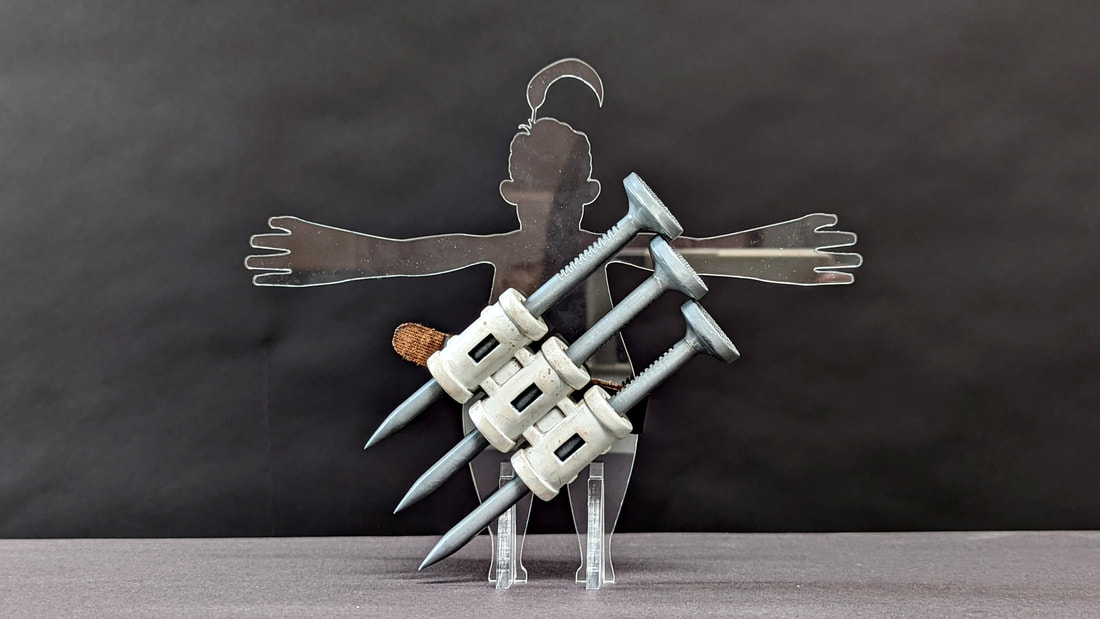
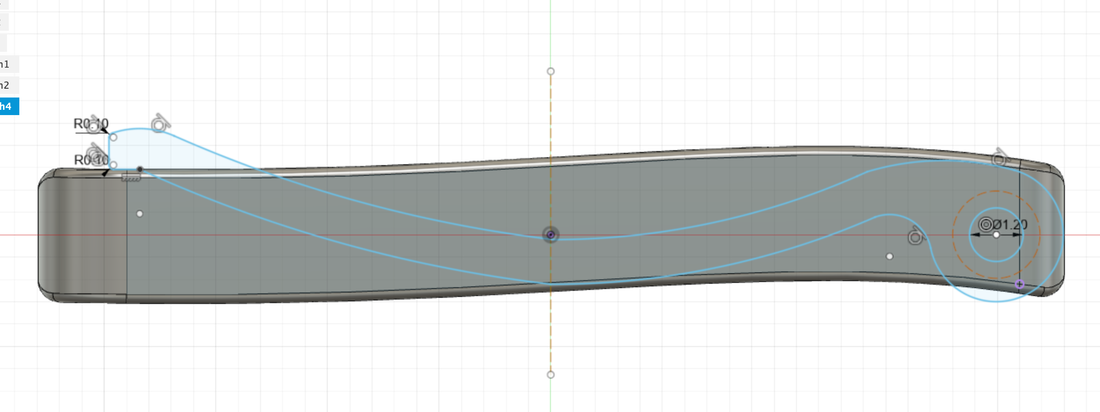
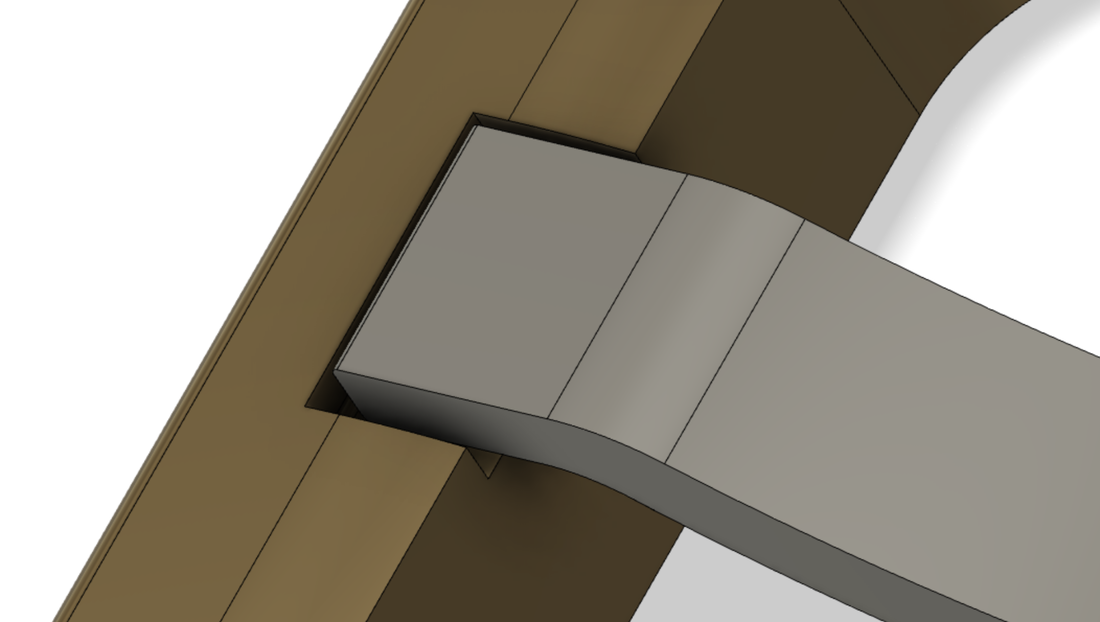
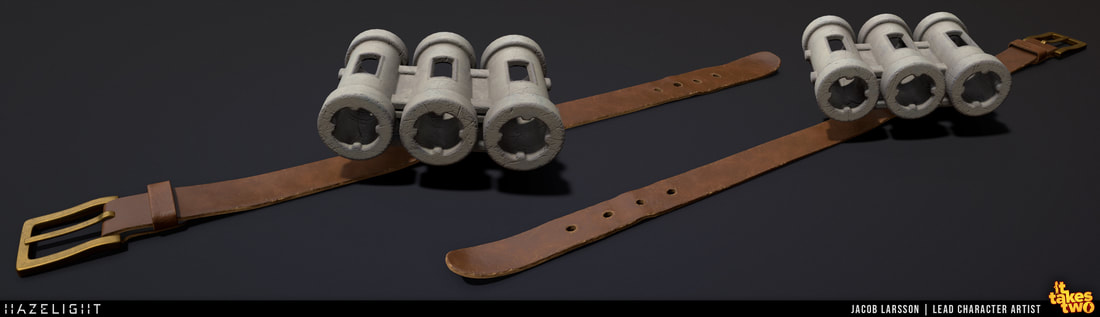
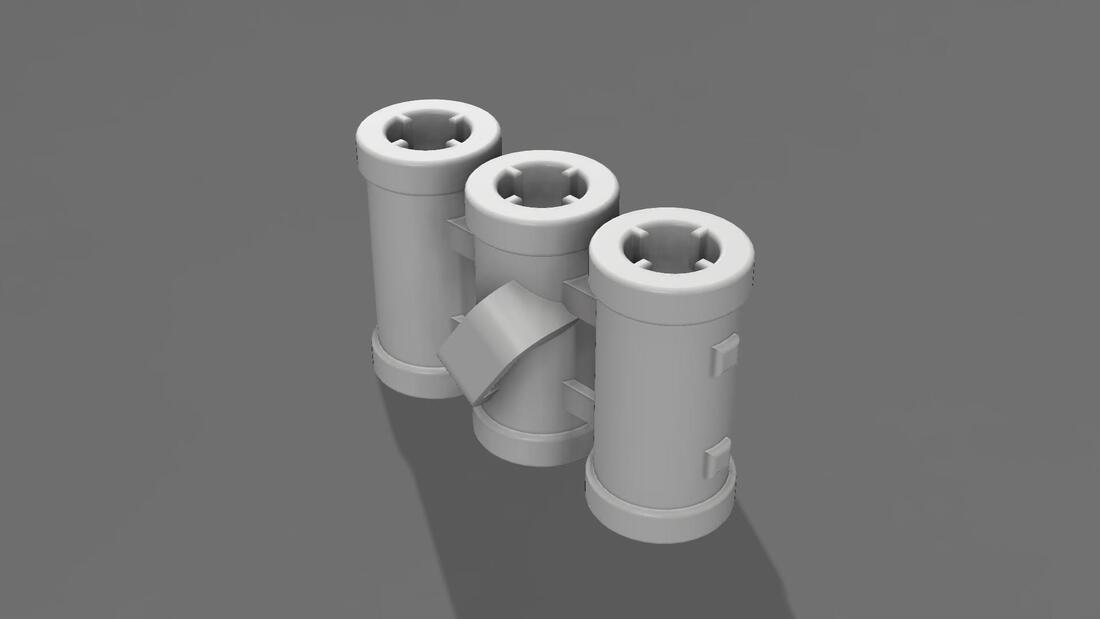
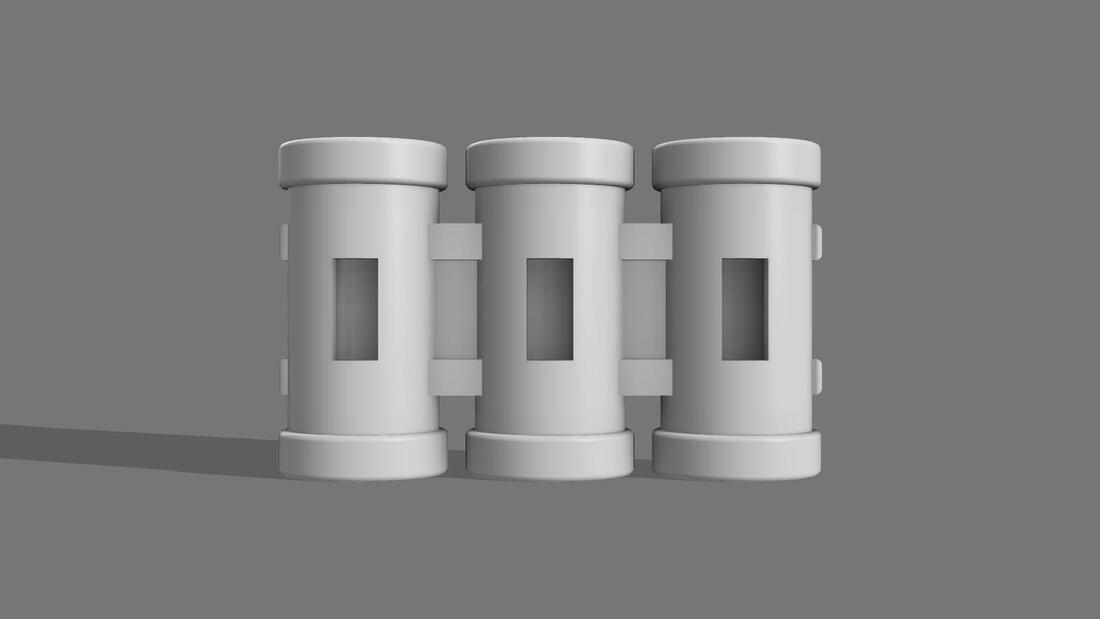
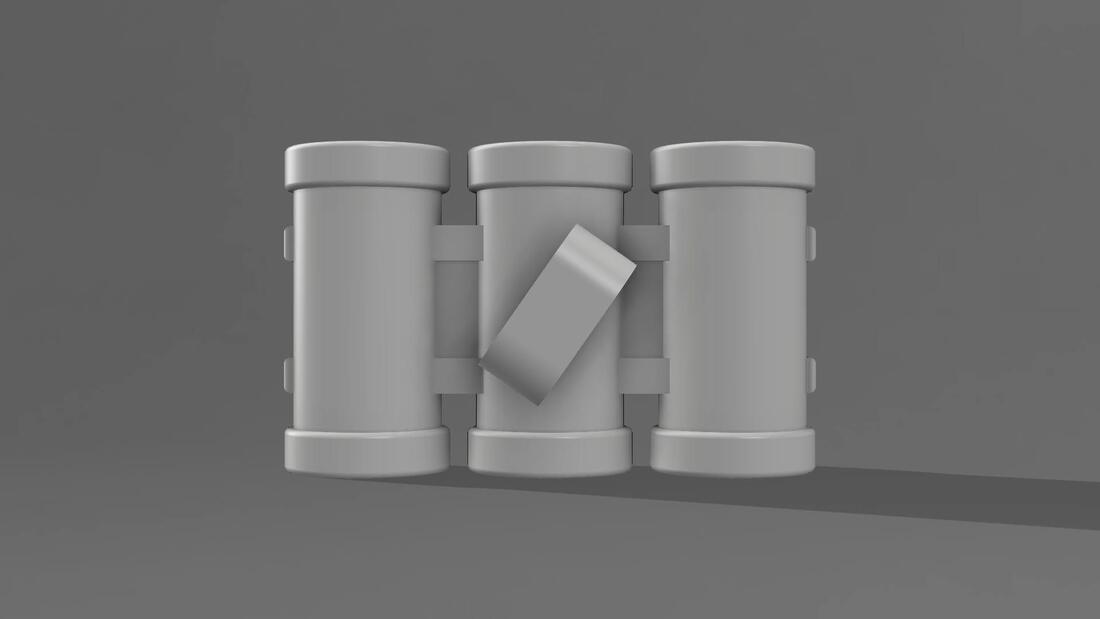
For the nail holster I designed it based on the images I could capture from the game and this image from the creator on Art Station: https://www.artstation.com/artwork/nYPkeO
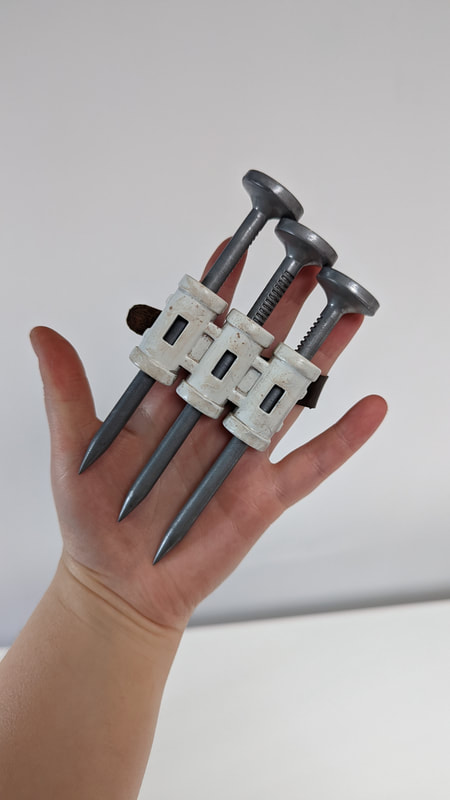
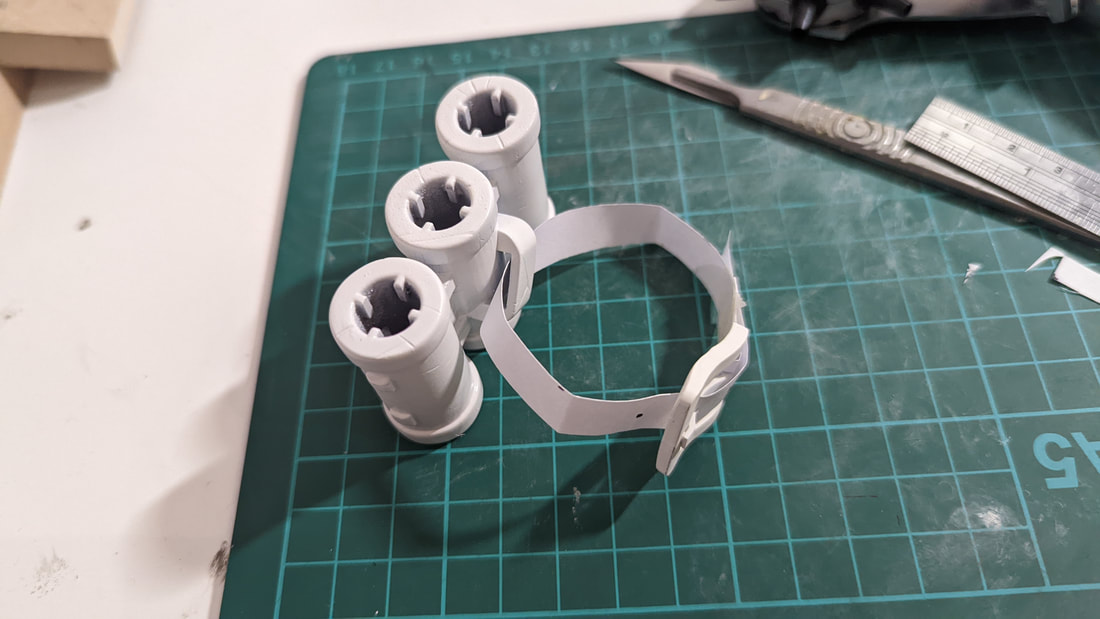
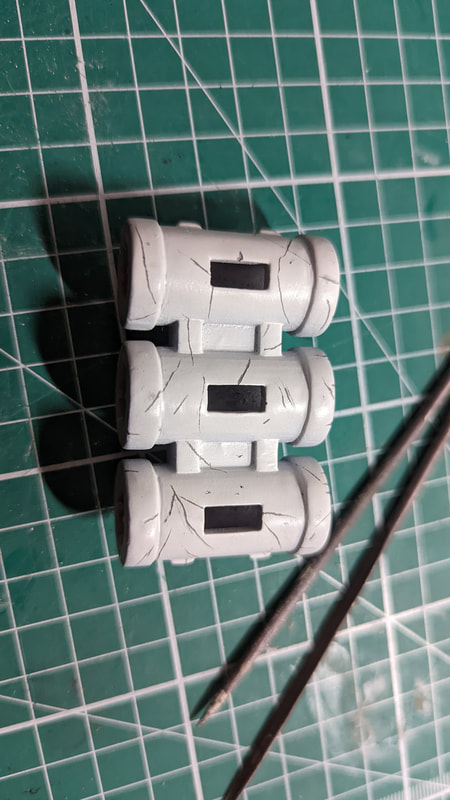
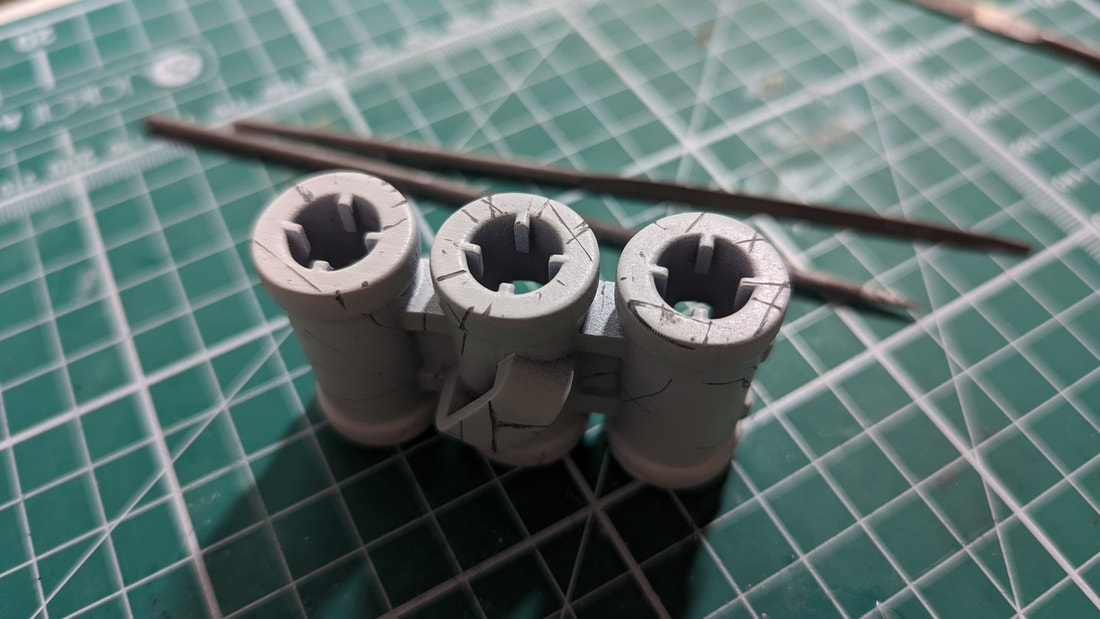
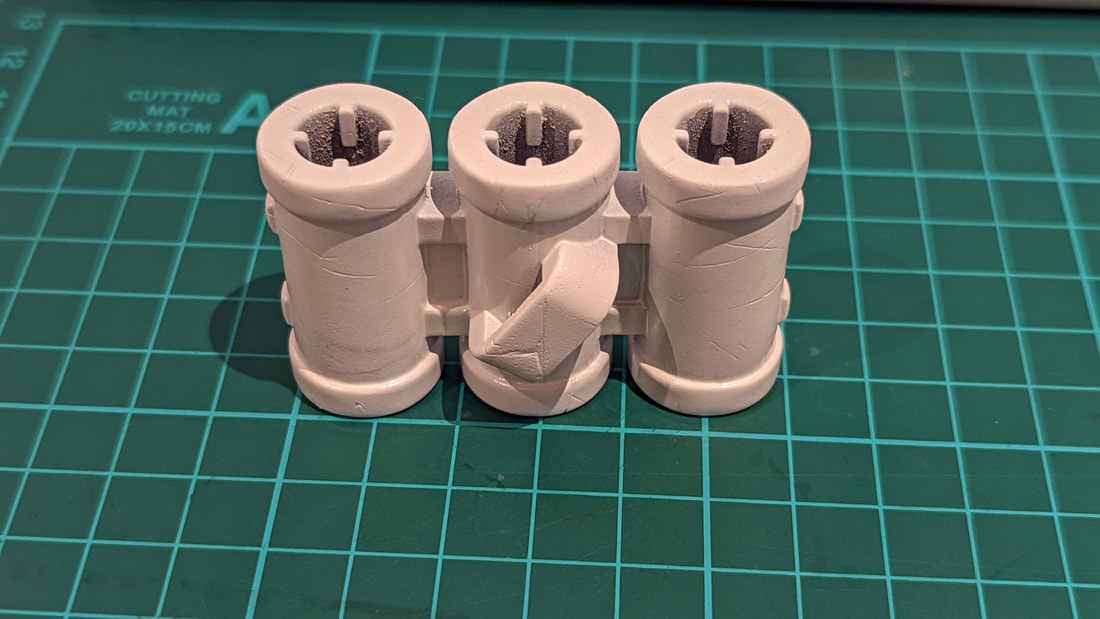
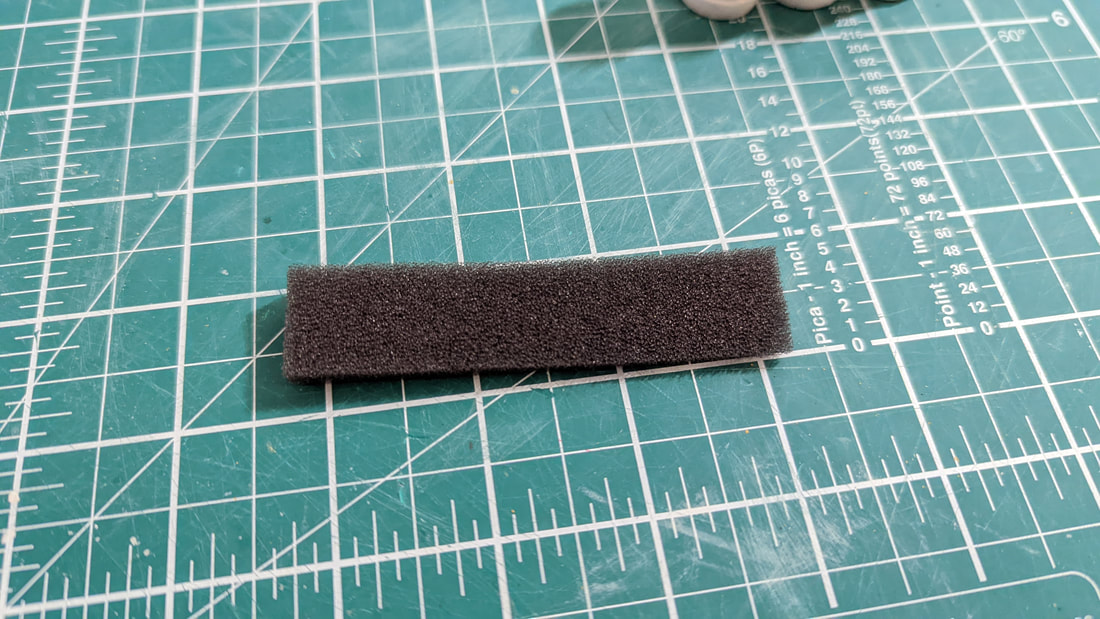
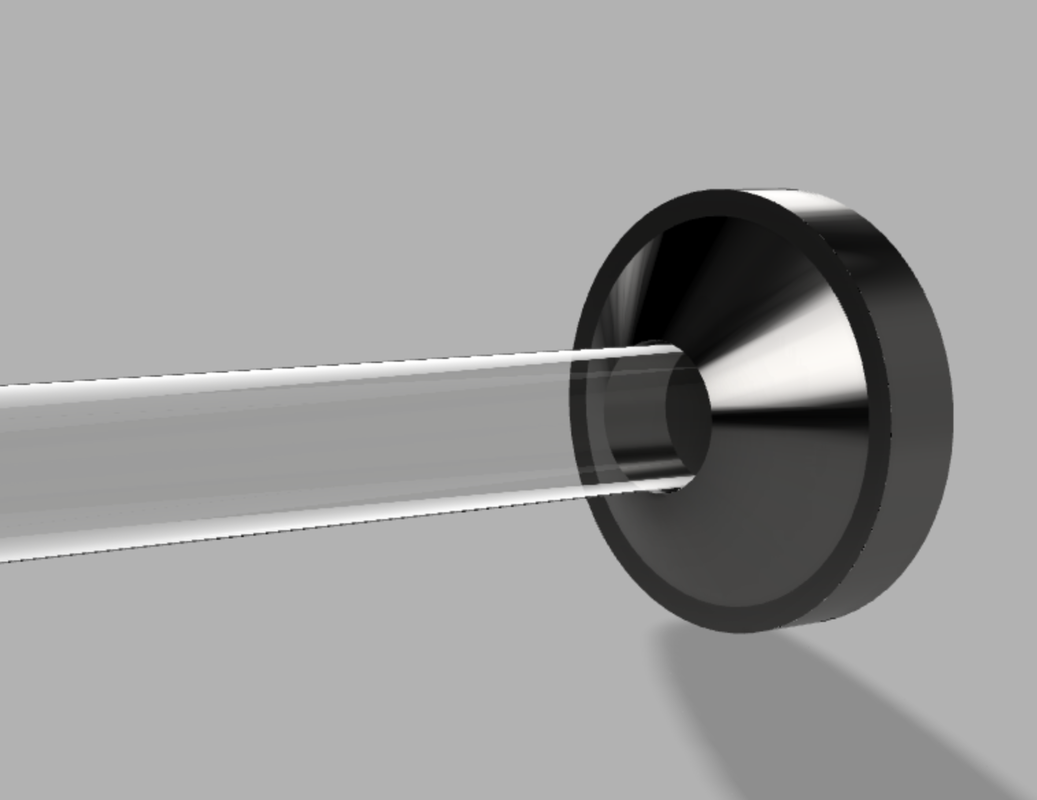
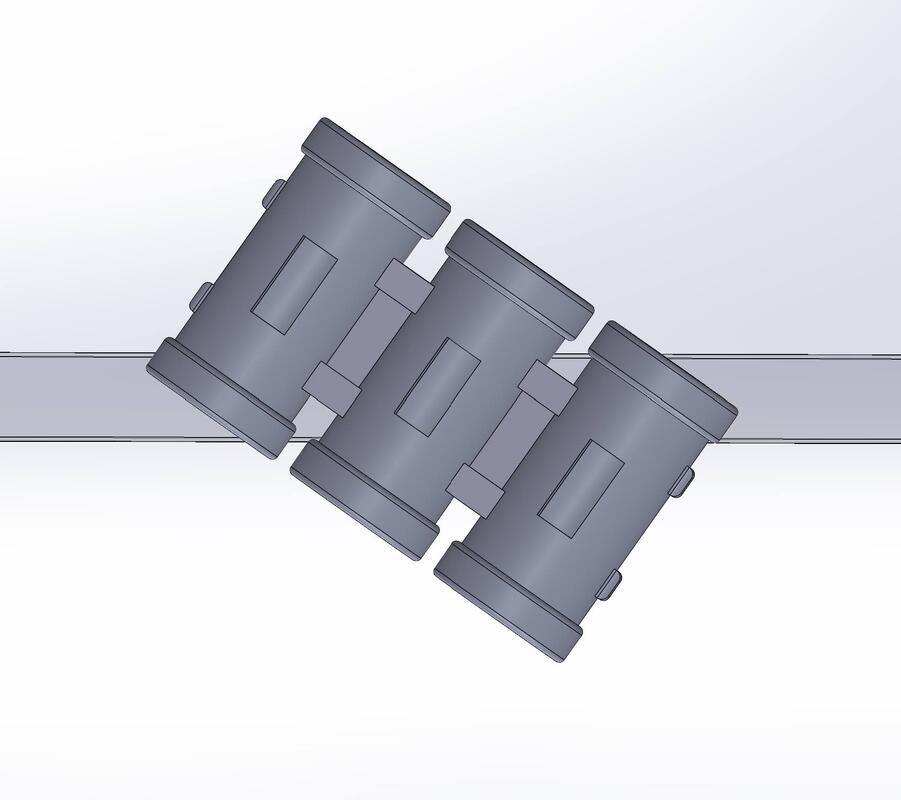
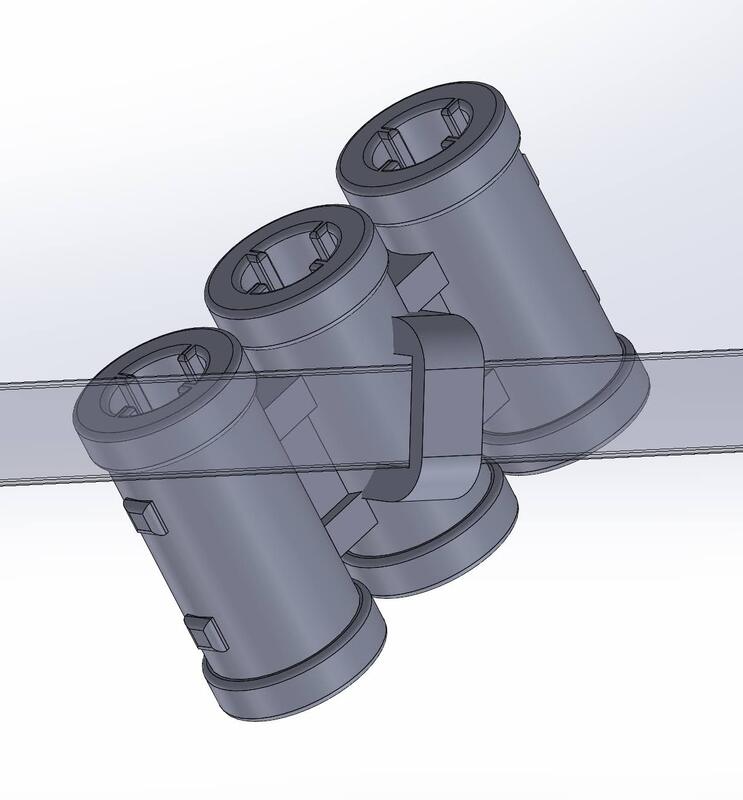
Below is my solidworks CAD model, the angled slot at the back holds the nails at the angle seen above. The key parts I noted is the off-white colour, weathered and scratched finish that would need to be recreated in the final steps of production. Another thing I want to include is a way to hold the nails at the correct hight in the holster - foam could press gently on the nail inside the holster with out leaving marks. Above model compared to mock-up belt.
The final design is close to true to the one in the game and to create it I chose resin printing for the smoother more detailed finish. The curved surfaces would have made it hard to sand layer the lines of an FDM print. |
Third Year
|


 RSS Feed
