
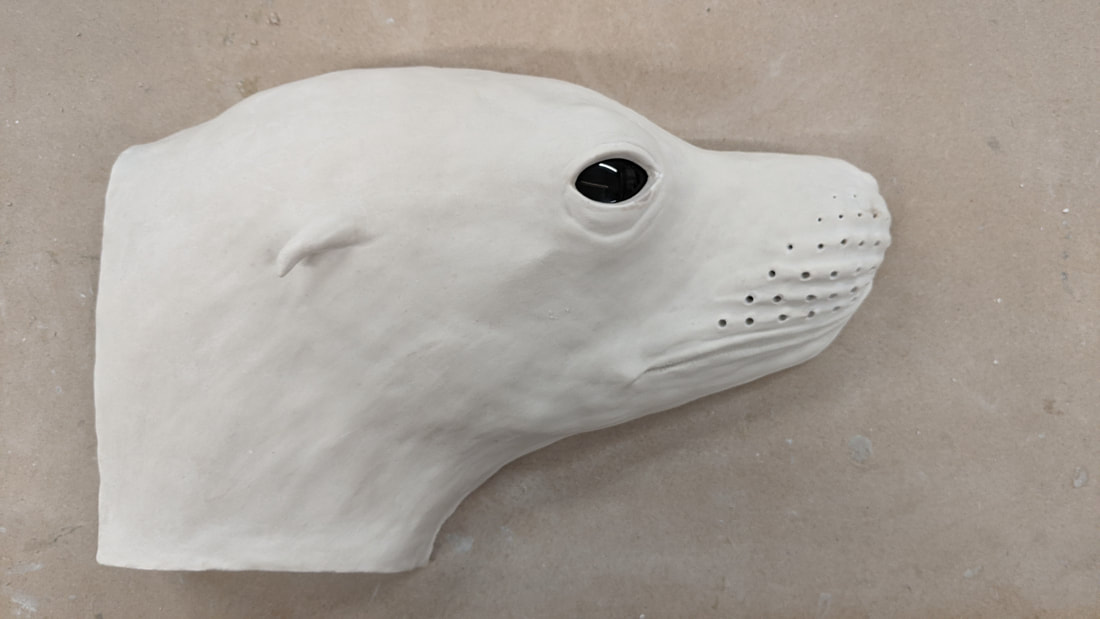
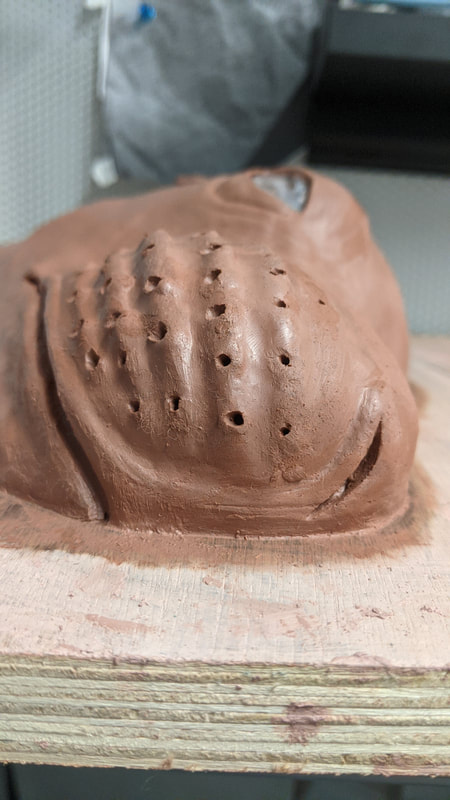
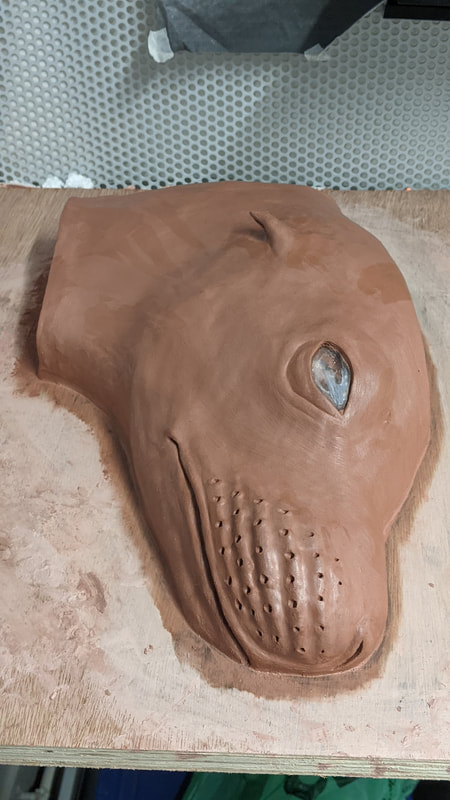
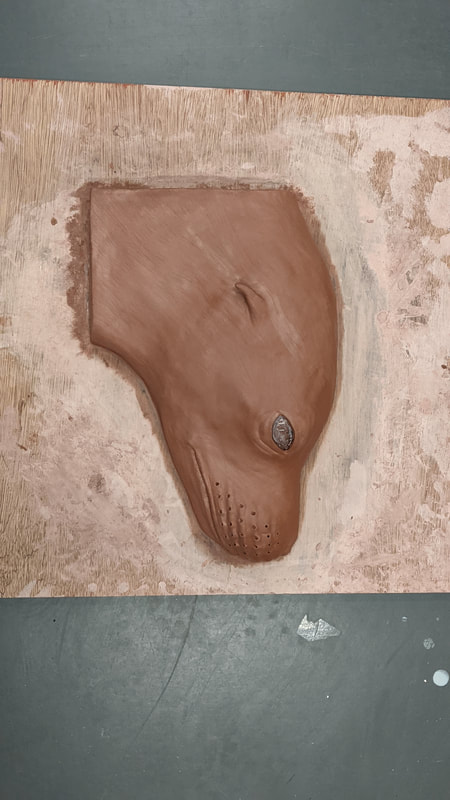
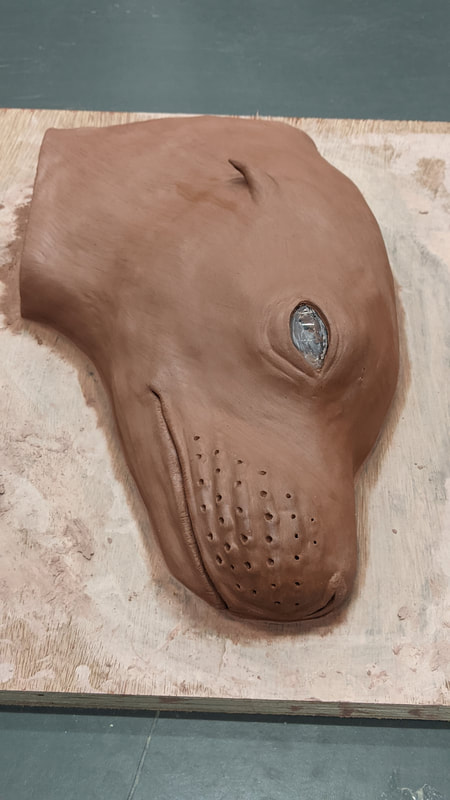
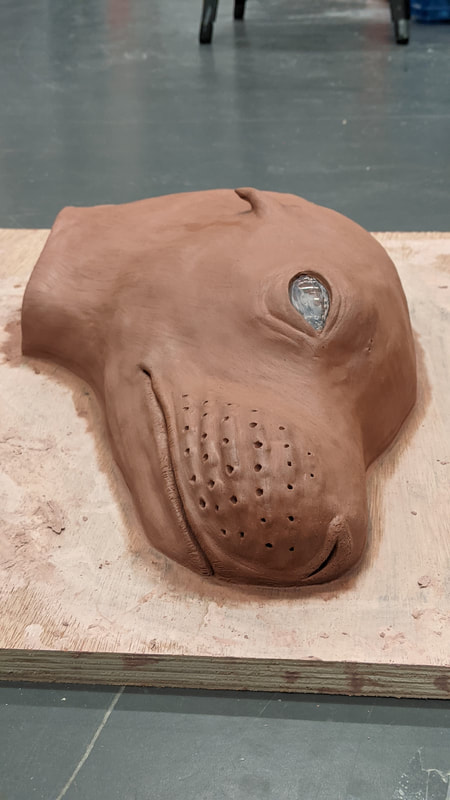
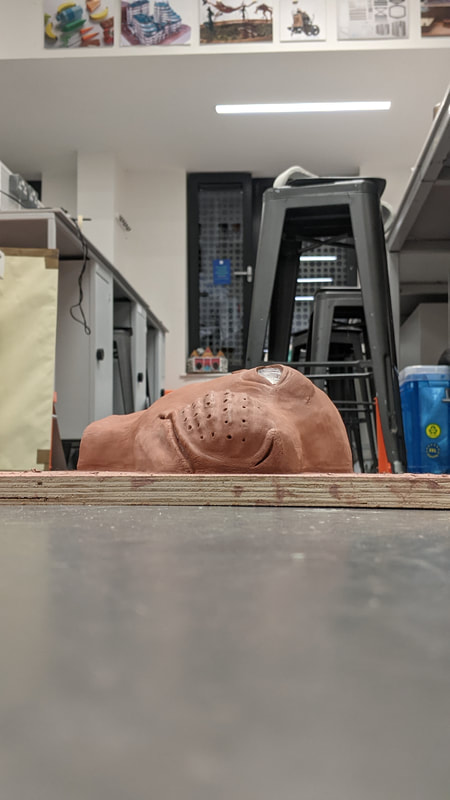
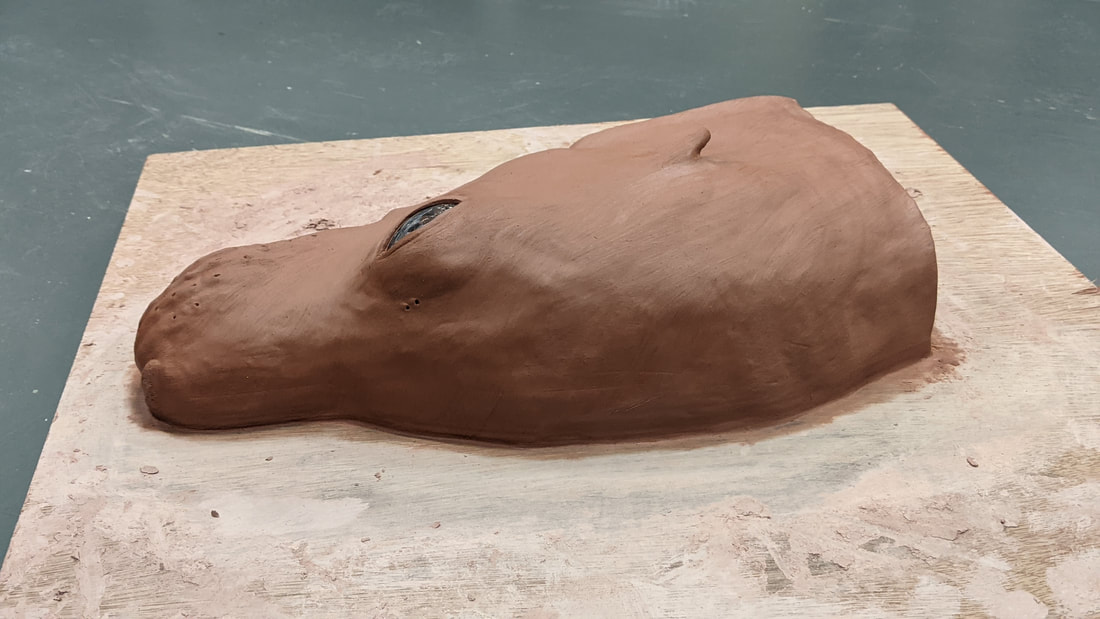
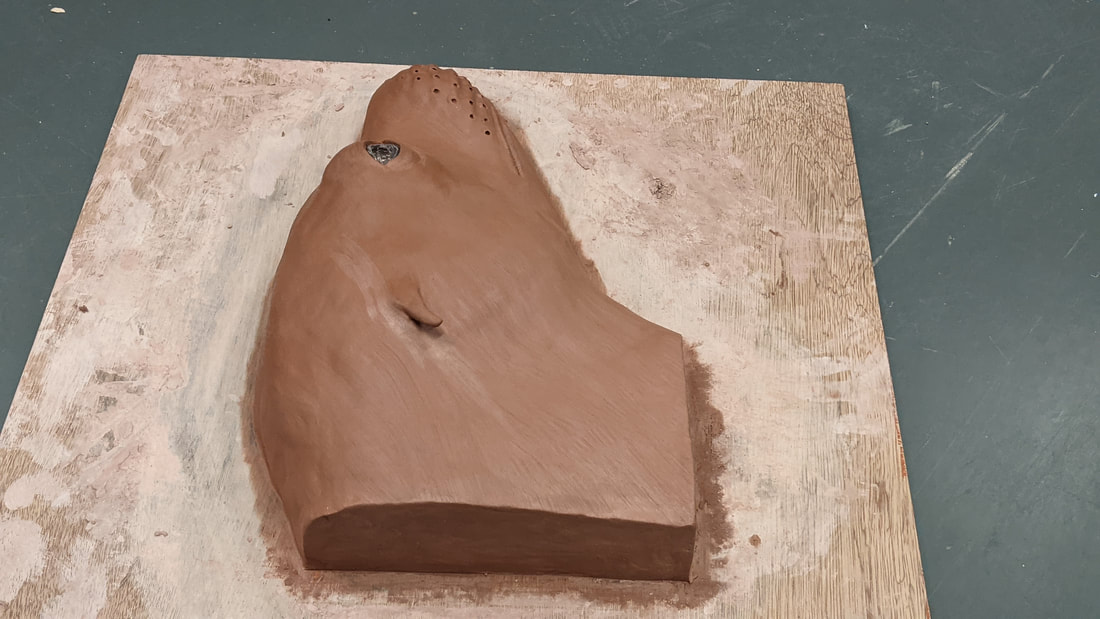
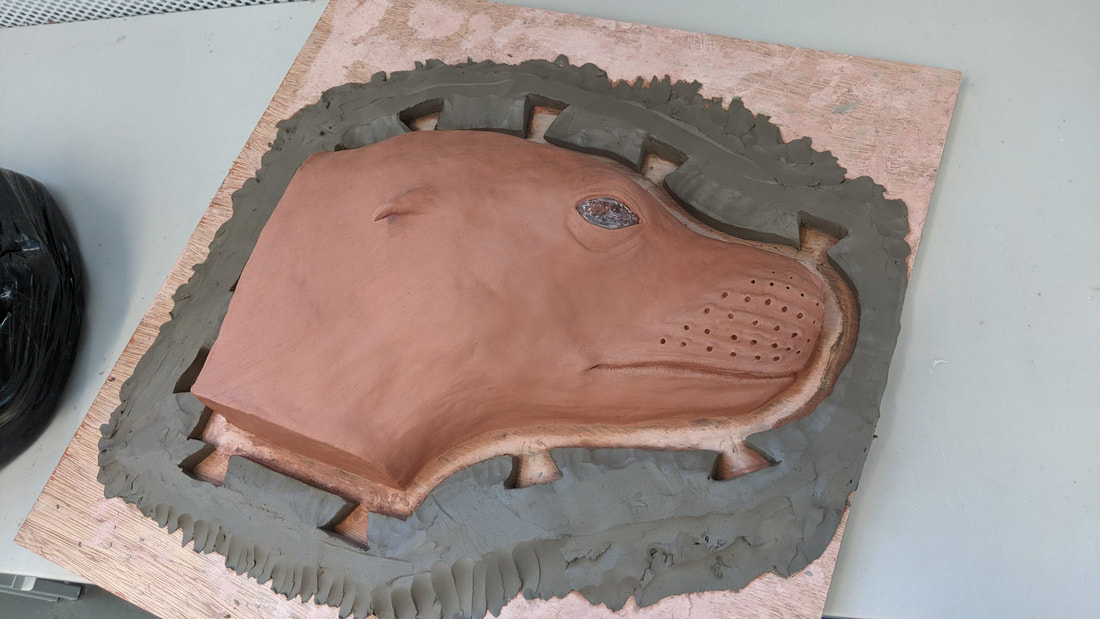
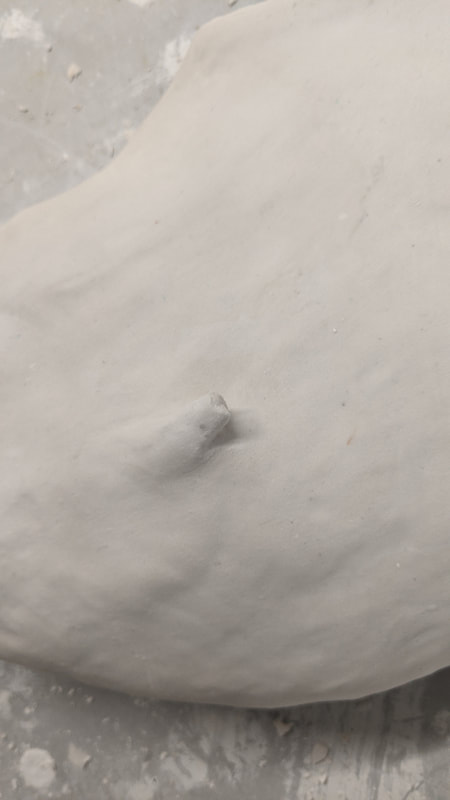
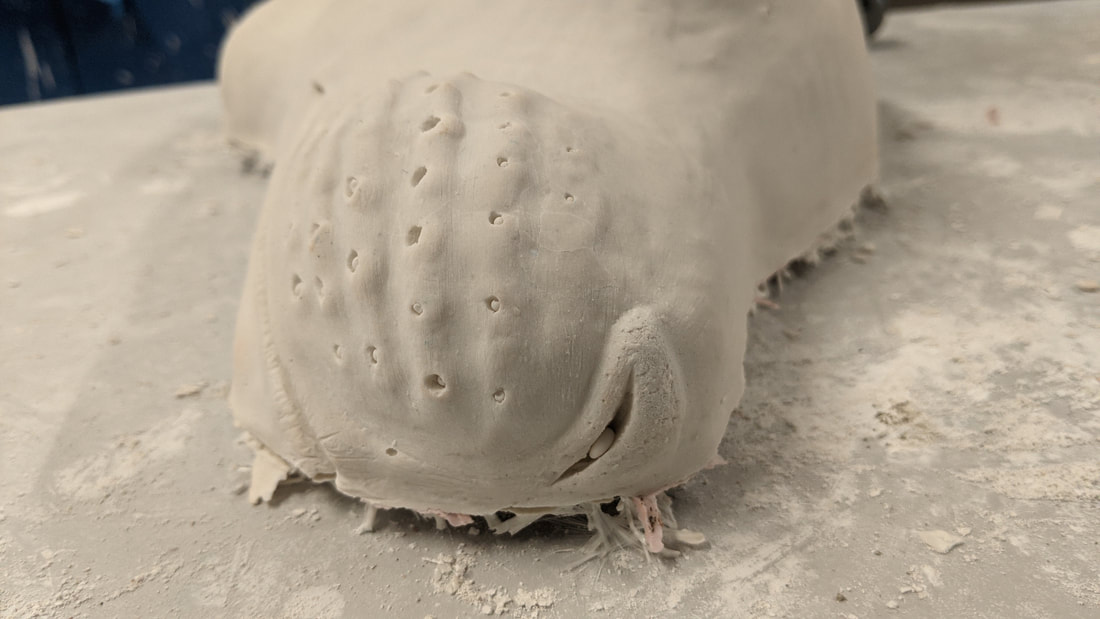
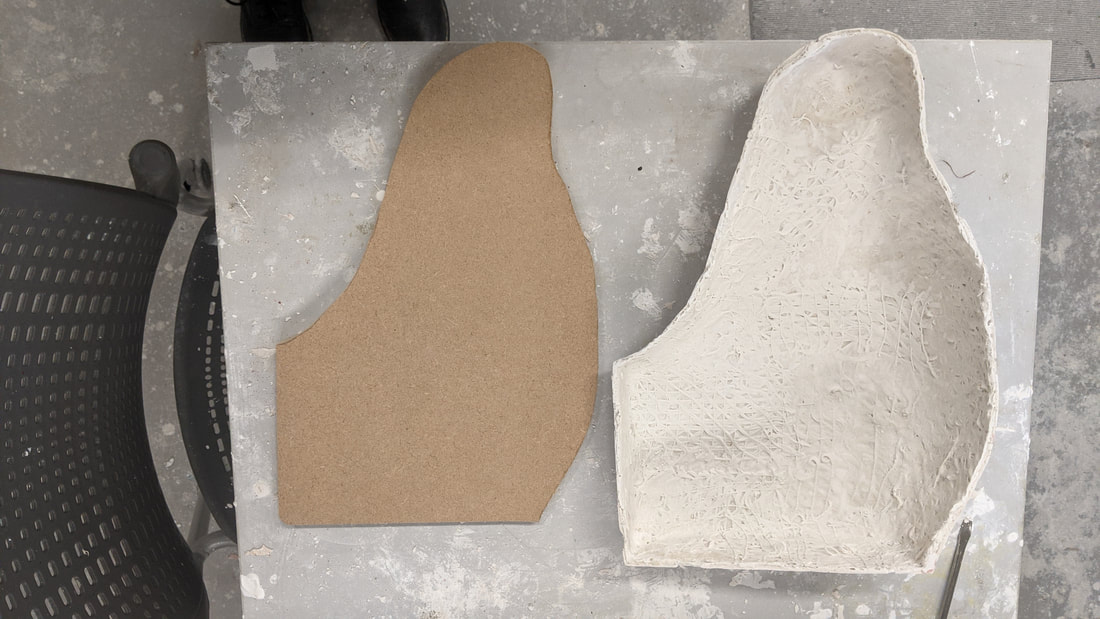
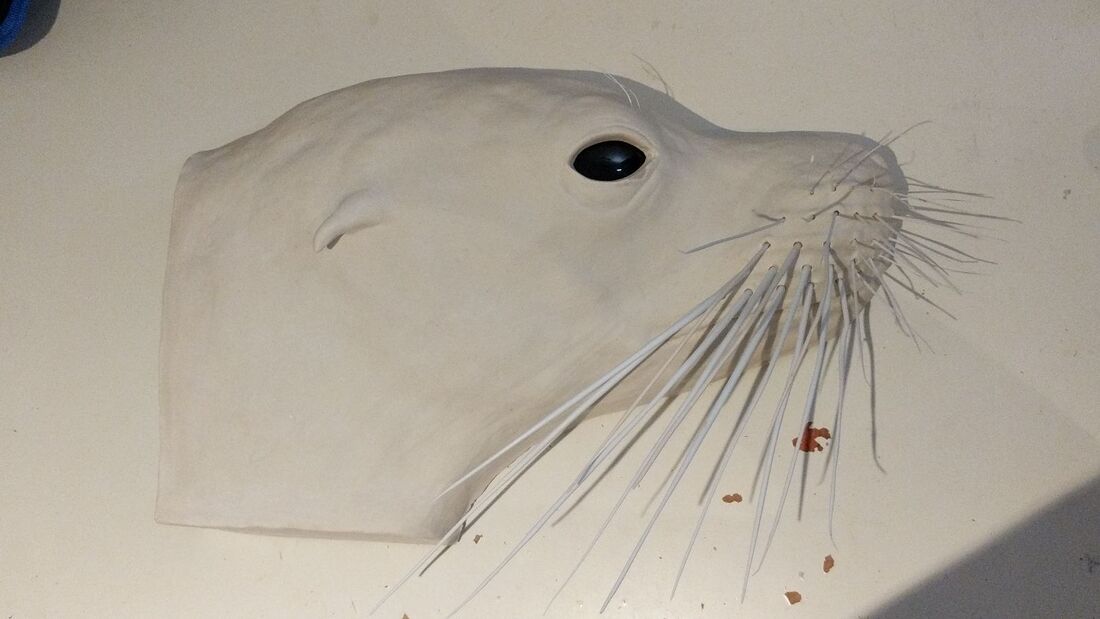
Finished Clay SculptureI'm pleased with the outcome of the model; ideally a smoother finish on the flat areas would be better but due to time to getting on I needed to progress onto the next stages.
Moulding Stages
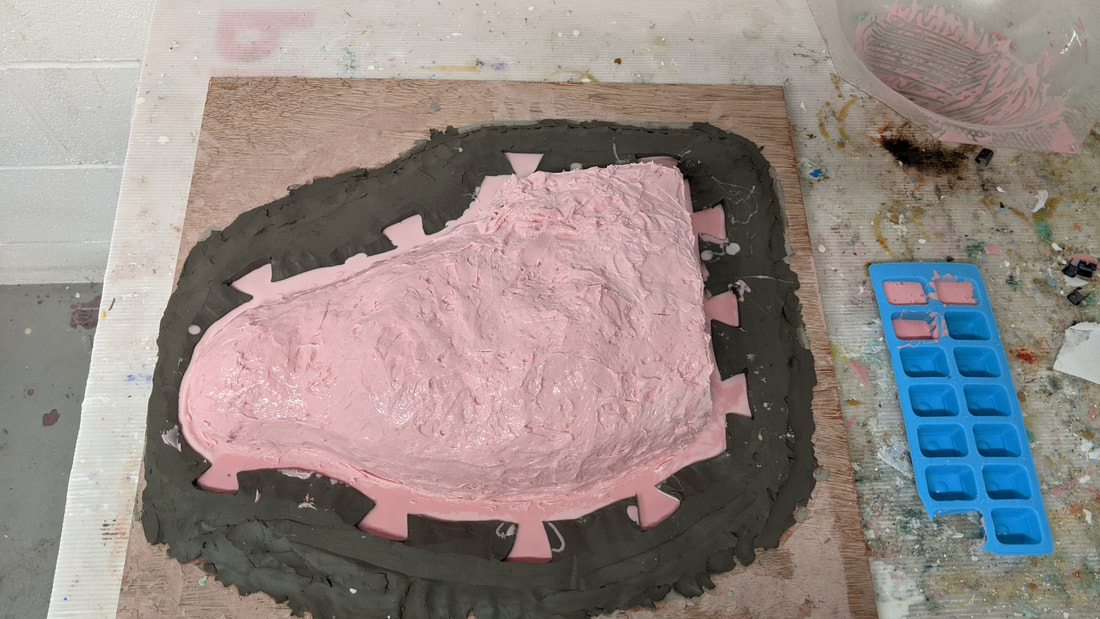
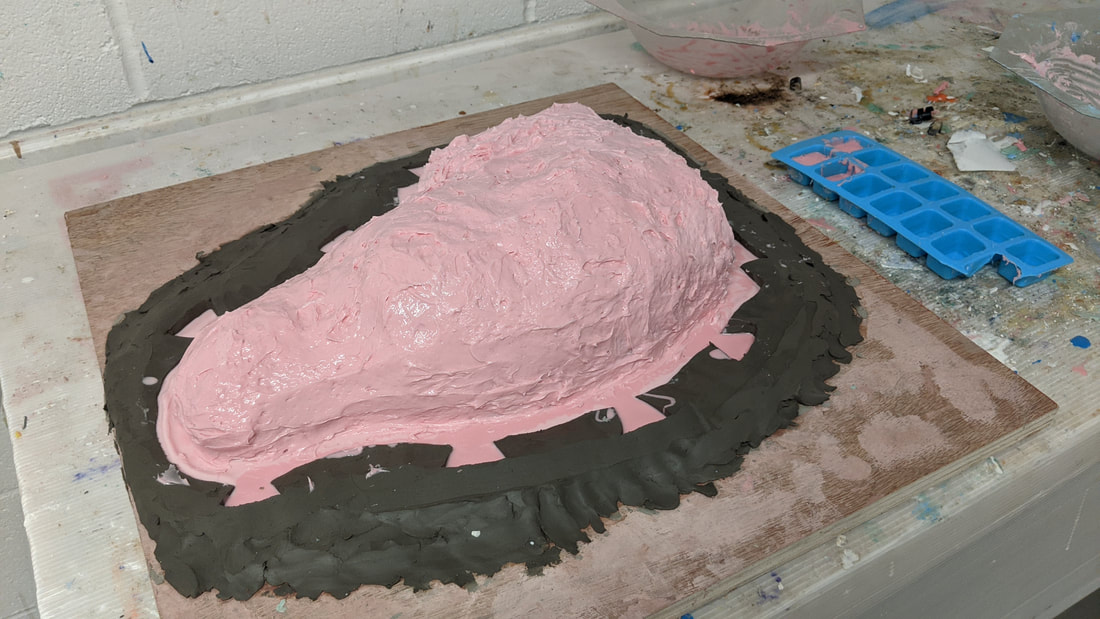
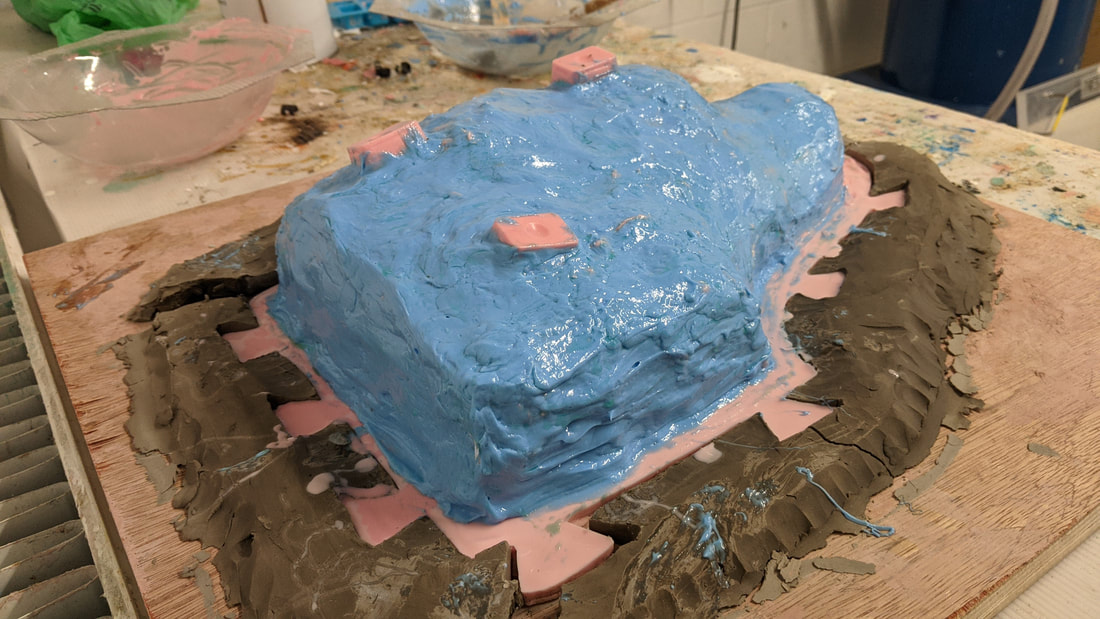
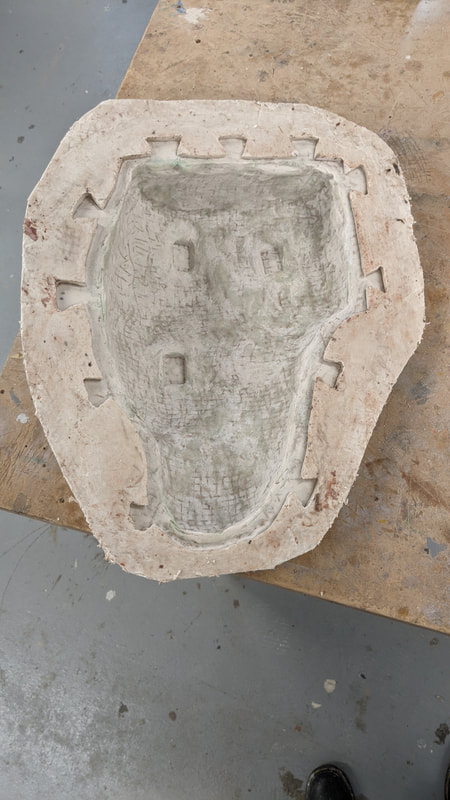
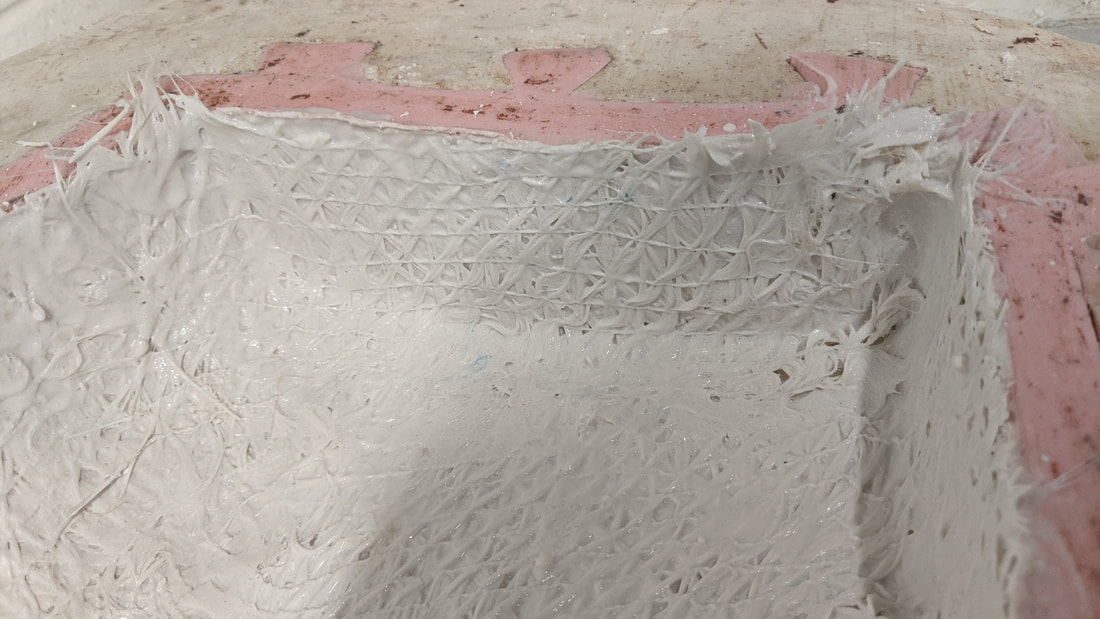
Thixotropic layers added and locators on top to help align the silicon in the shell layer next. The key part here was covering the whole ear so that it will be protected and supported by solid silicone.
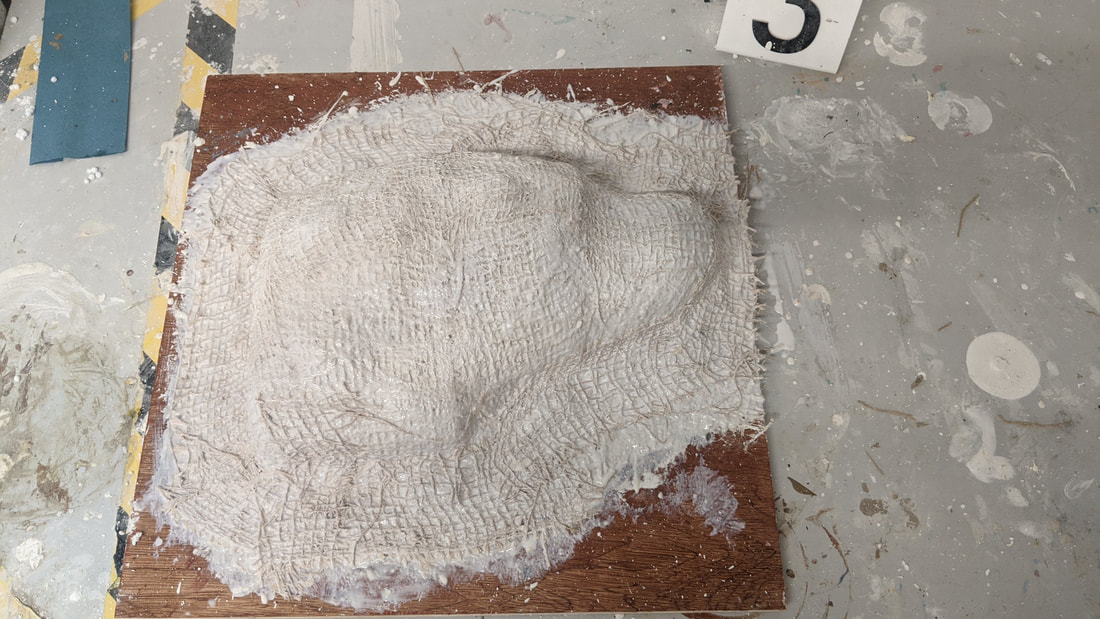
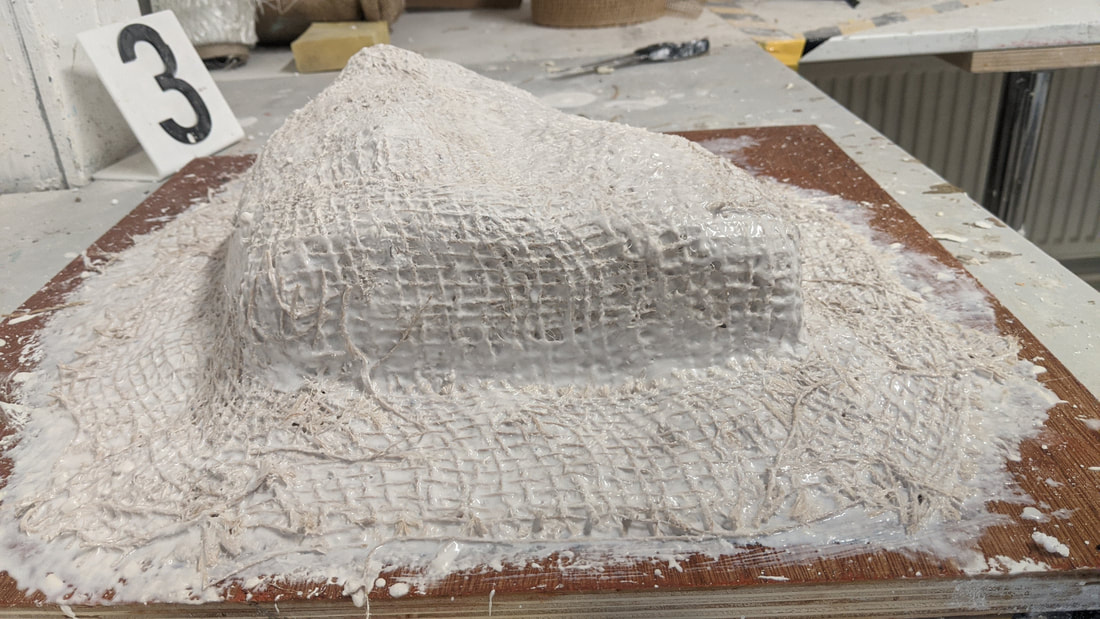
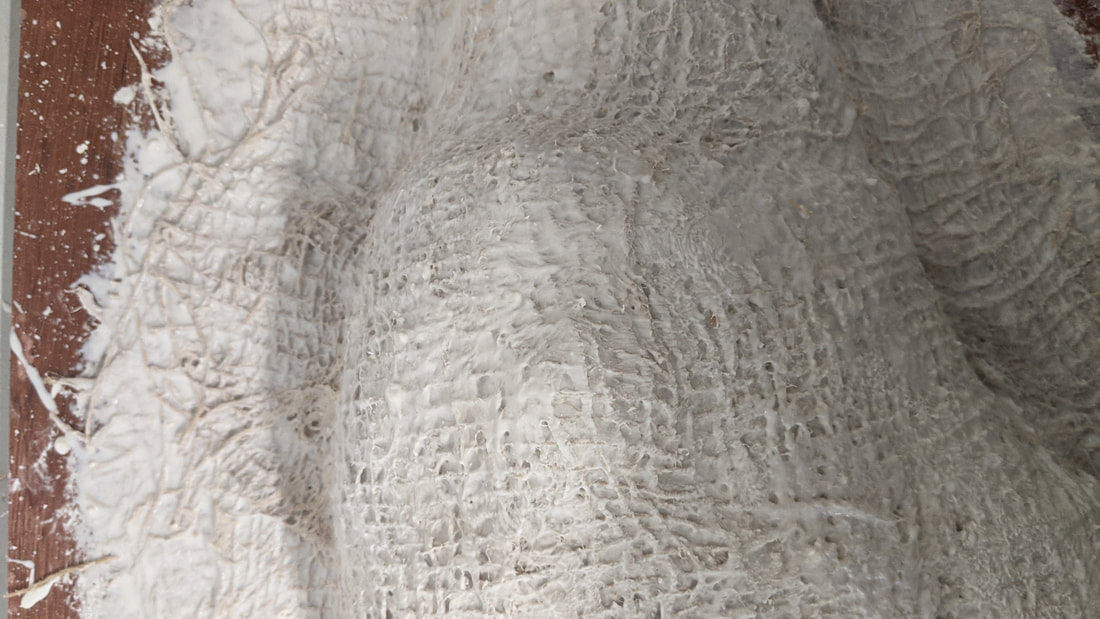
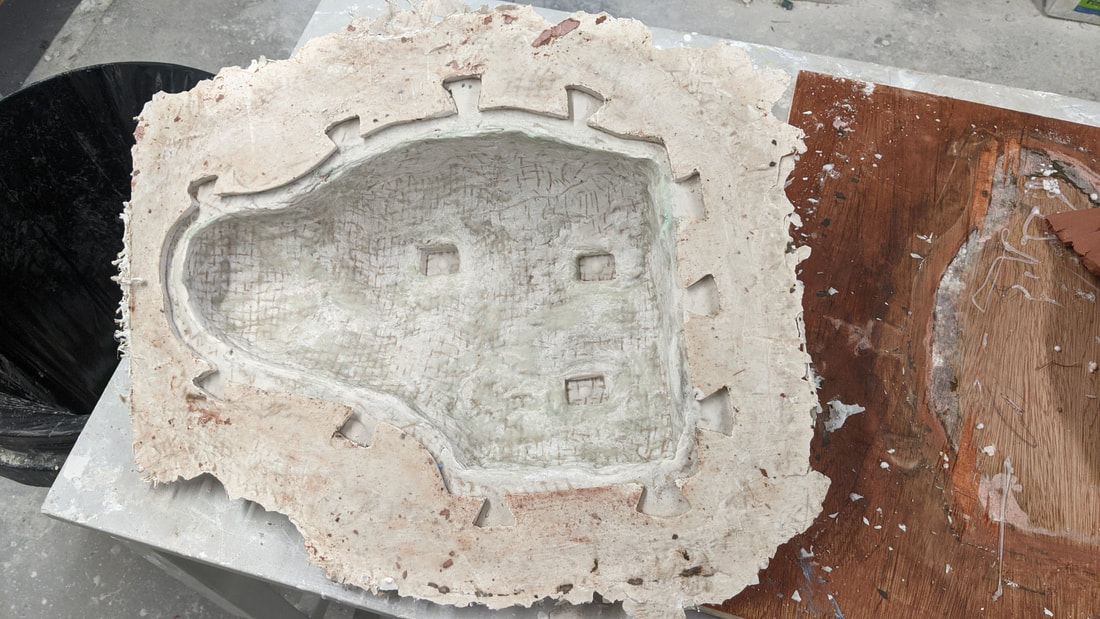
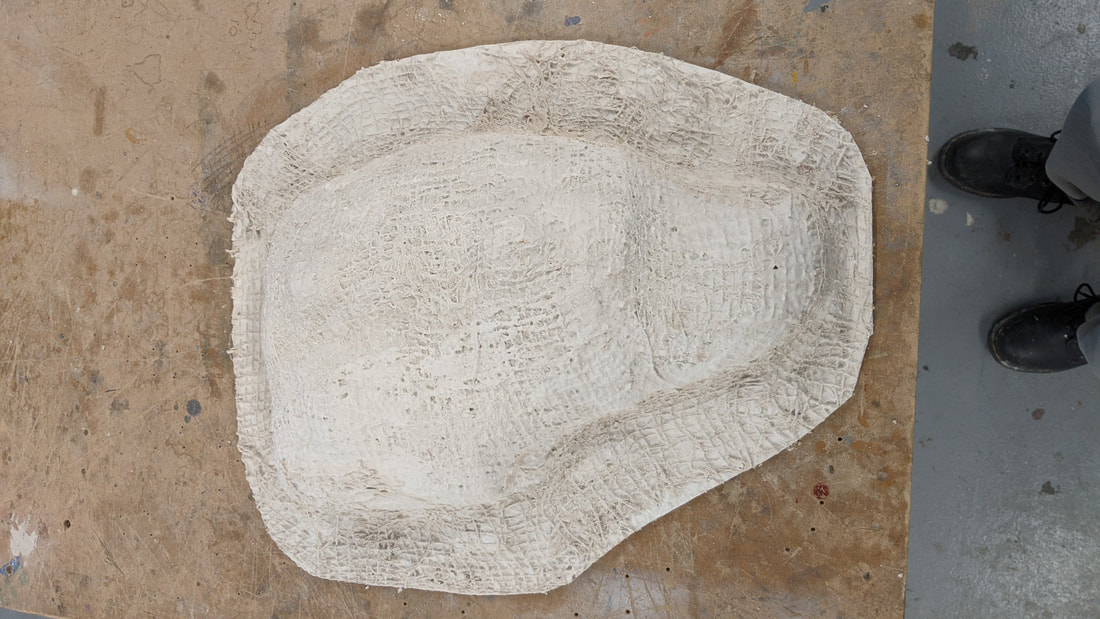
Jesmonite shell jacket with layers of hessian fabric.
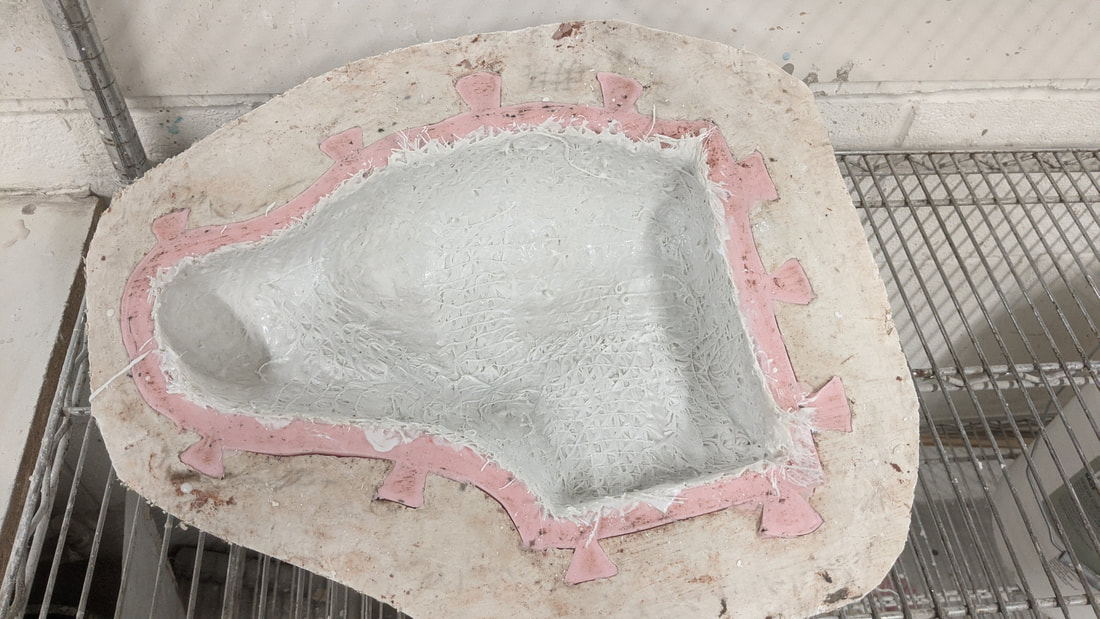
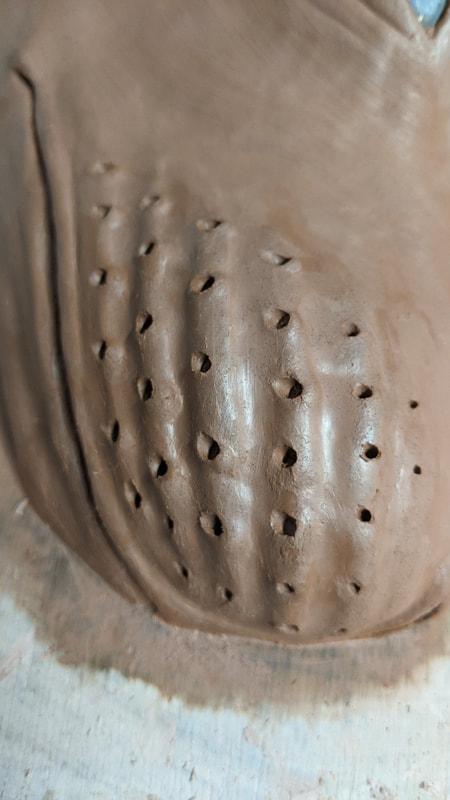
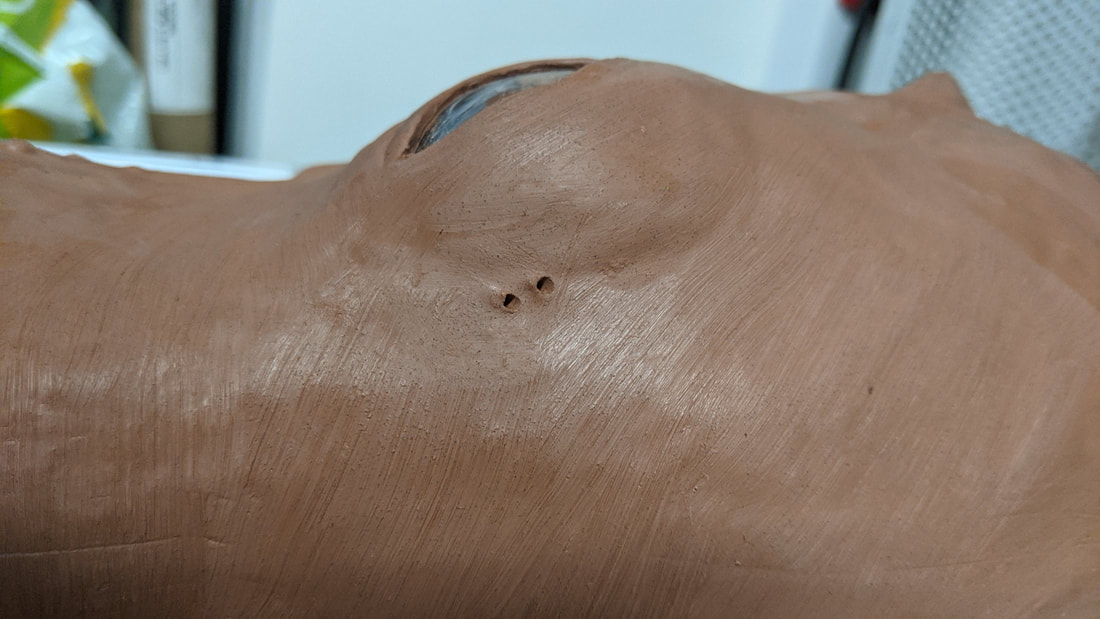
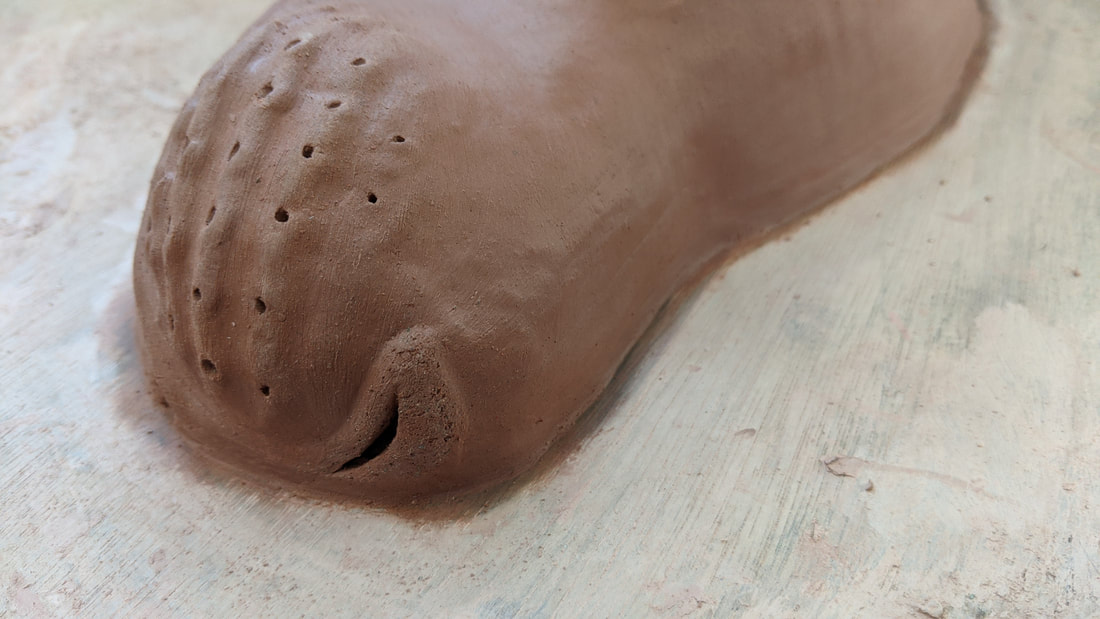
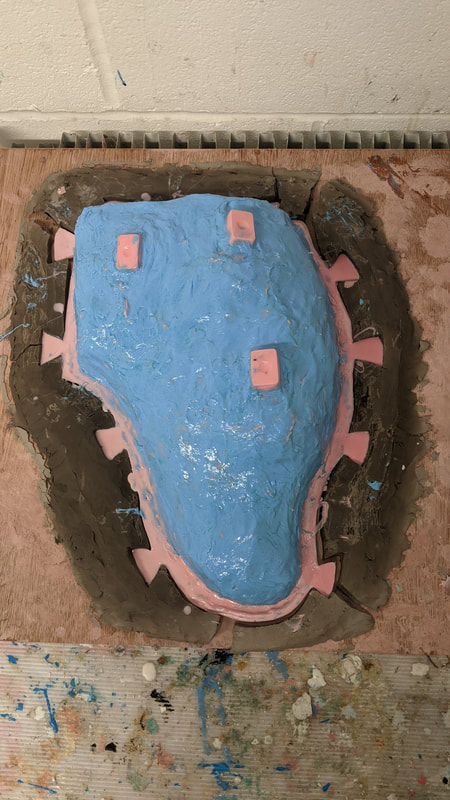
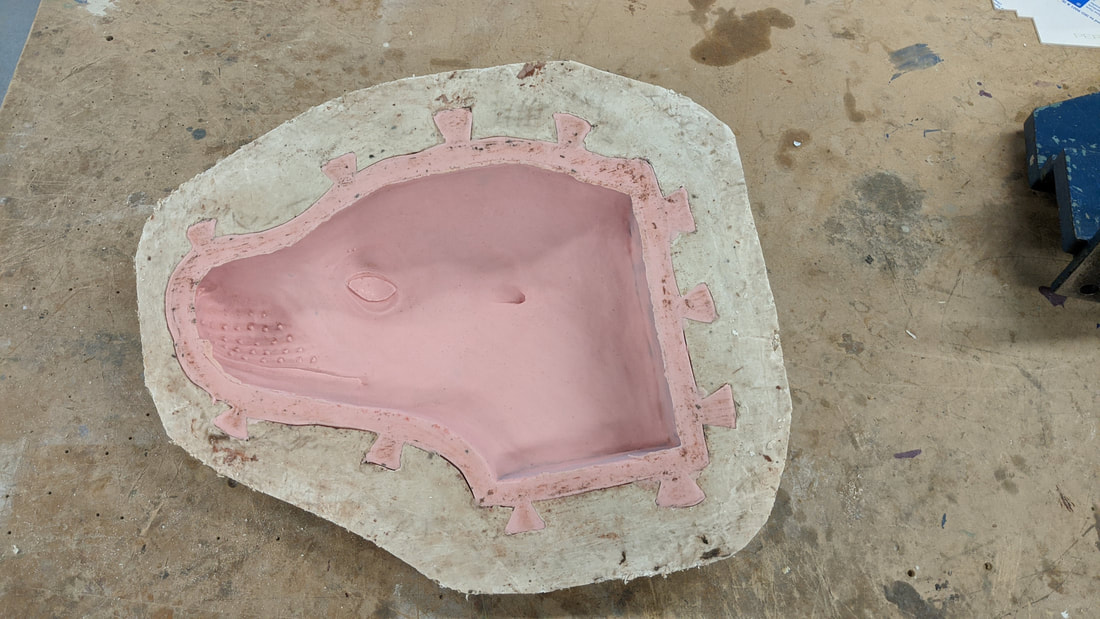
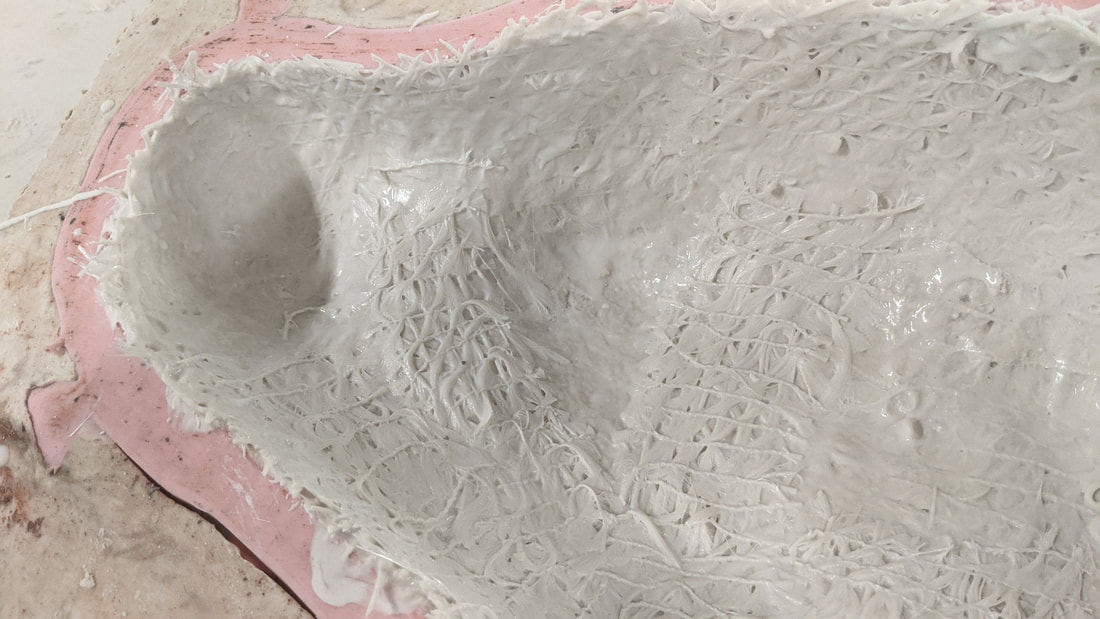
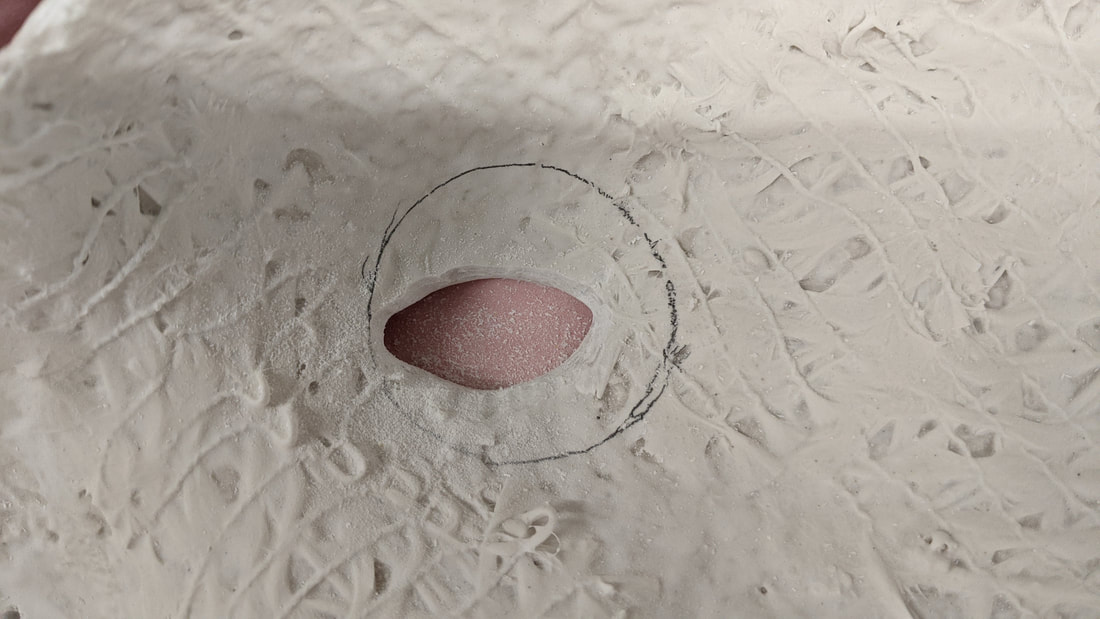
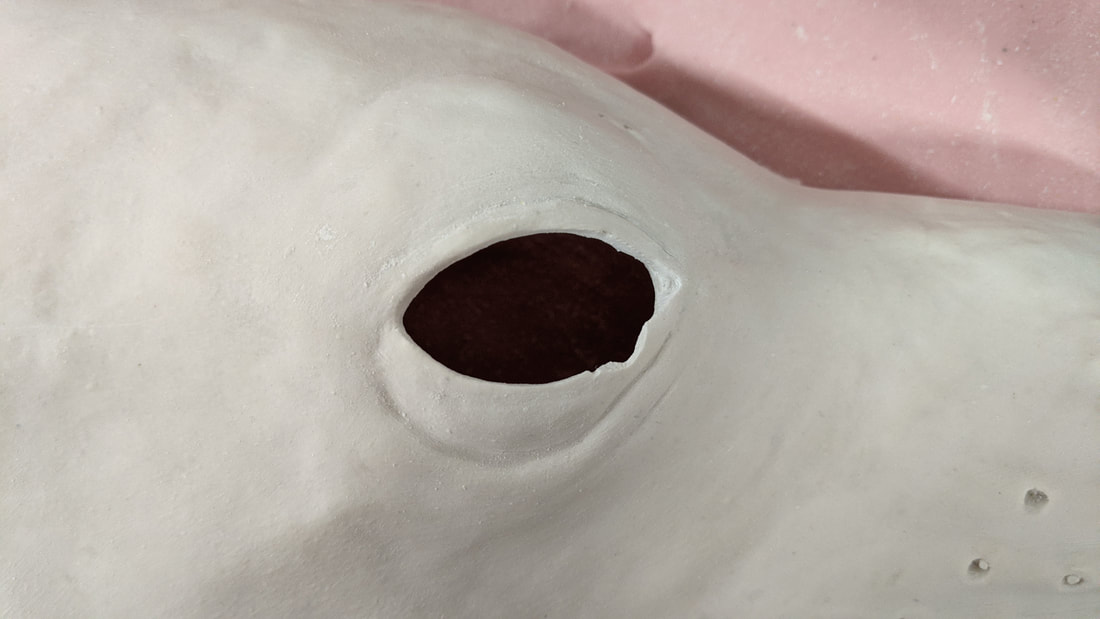
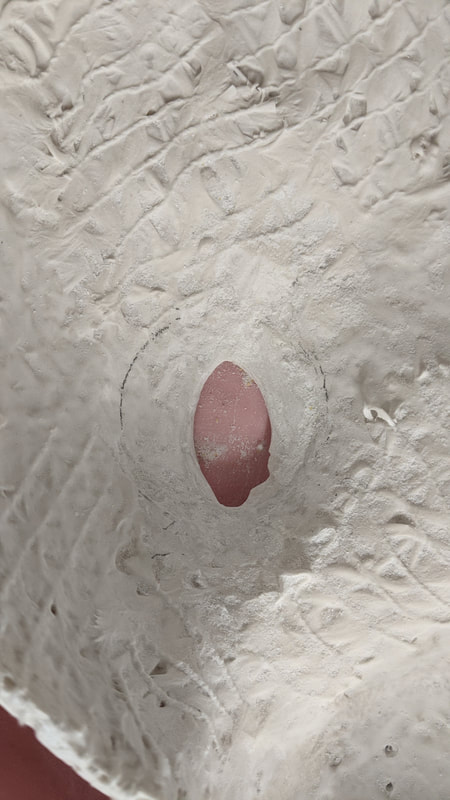
Here is the silicon jacket with the clay all removed and the jacket washed. These close up images show the areas of the model that will be cut out of the final cast: holes for the whiskers drilled and a hole for the glass eye.
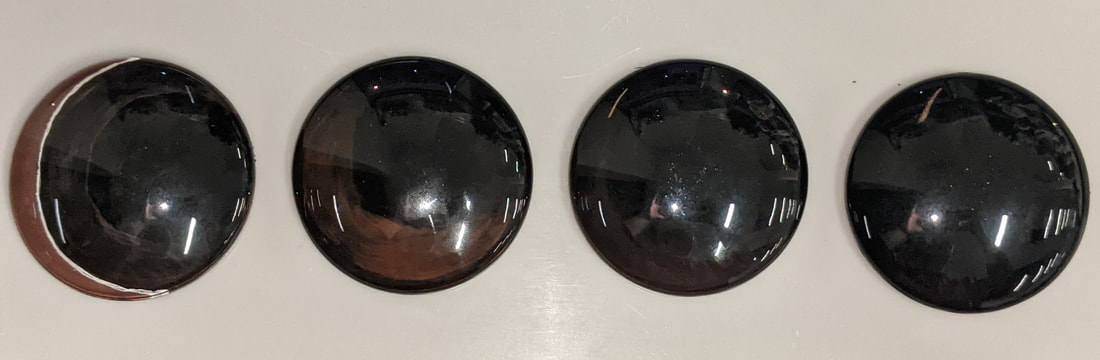
I am really pleased with how the moulding stages went: particularly how fast I was able to get the jacket done and cleaned up ready for casting. The silicon layer also worked out as planned and captured all the details nicely. Here is the work I was doing in-between my stages of moulding ot use my time effectively: Eyes
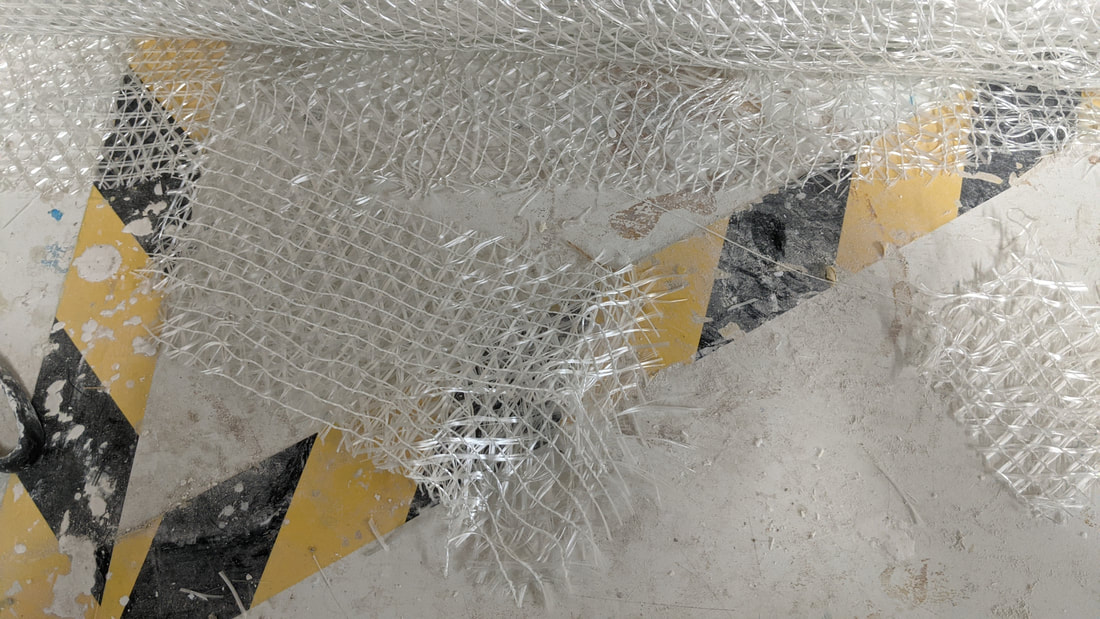
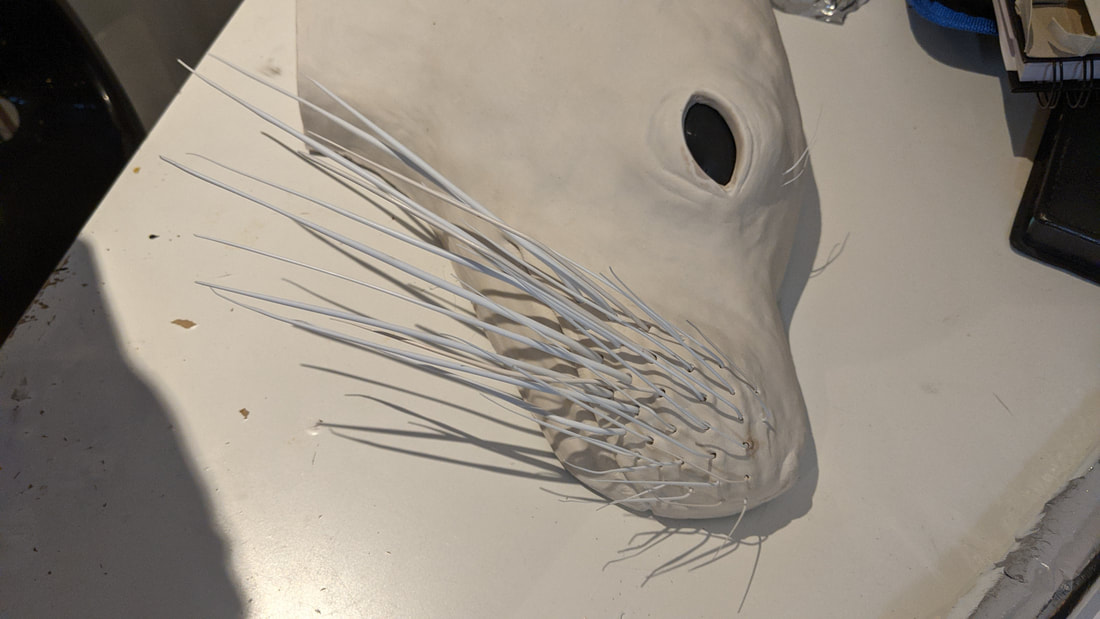
 Whiskers For the whiskers I used various sizes of round styrene rods, heated and stretched to shape. This was hard to perfect to begin with resulting in some deformed pieces, curing, and complete melting in some cases. To fix this I found applying regular downwards weight on one end with the other clamped and carefully heating from a distance gives me more control over how much the plastic stretches and where. All i needed to do was suspend the styrene between a desk clamp and a taped on piece of steel for a weight. A s it stretched i could pull on it gently to manipulate how thin I wanted it to go and simply cut off any excess. Using this method allowed me to maximise use of the material and resulted in almost all of it used to make varying sizes of whiskers. Casting StagesMoulding process with the same Jesmonite but this time laid-up with a loosely woven glass fiber material (left).
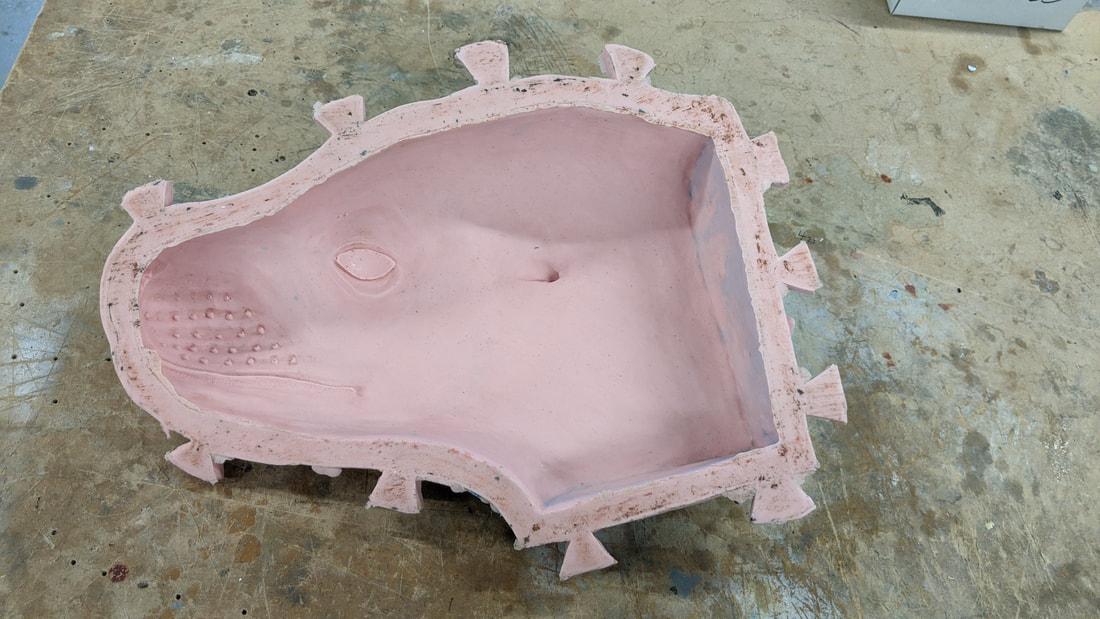
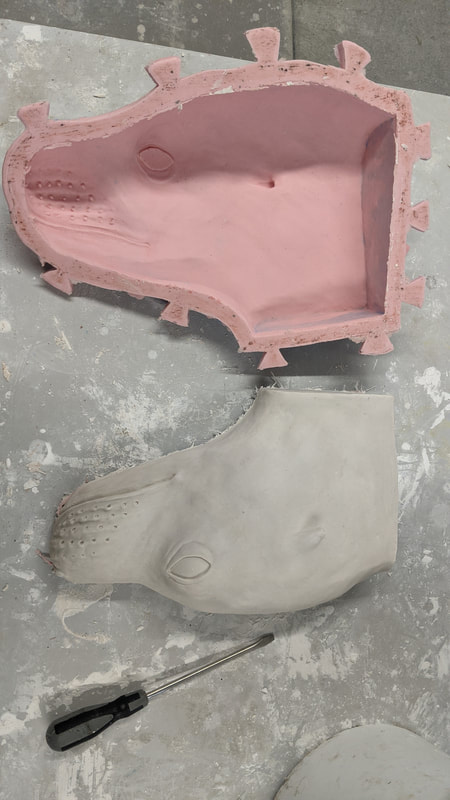
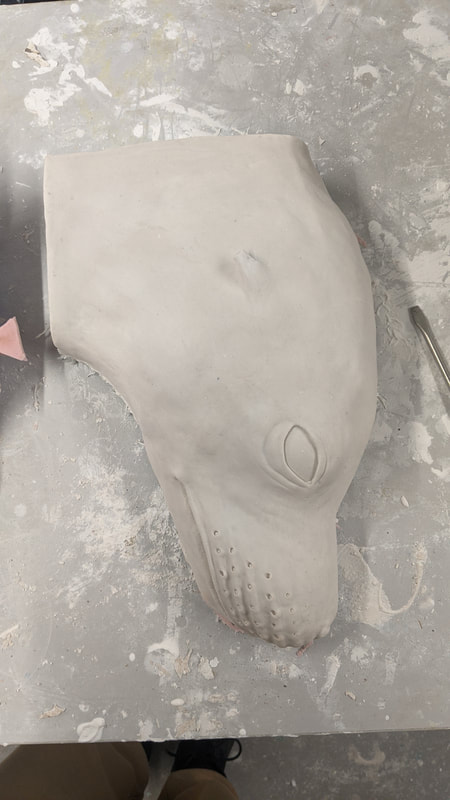
 Fresh out of the mould: although it was tricky to pull it out of the hard jacket the cast came out of the silicone easily. For a first attempt at all of these techniques I am pretty pleased generally with the result. A small air bubble had formed in the silicone jacket resulting in a bubble translated into the nose slit of the cast but with a scalpel blade this should come out seamlessly. The other issue with the cast was not unanticipated. The ear had been poured thinly and then tapped to release the air bubbles, but due to this being a slower drying area it hadn't set fully when I removed it from the mould resulting in the break pictured below. I laid-up a new cast and worked on the next stages of the model.
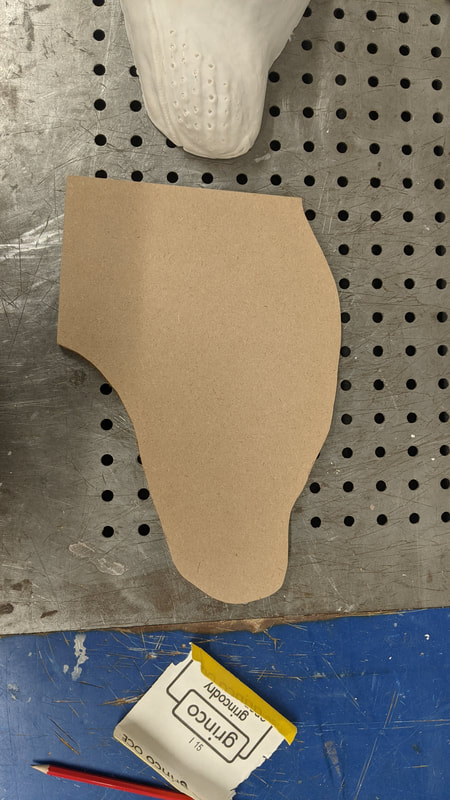
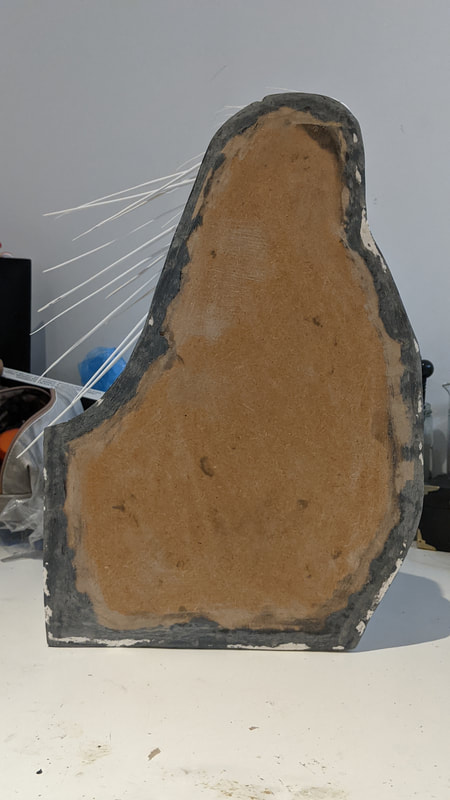
This is how I made the back for the Sea Lion head. The idea being that the model can be attached by drilling though into it as Blackpool Zoo were flexible about how it can be mounted to their exhibit. I used the first attempt cast to create an outline after sanding down the rough edges. This can then be slotted in the back and Jesmonite mix can act as an adhesive to seal it in place. The only issues with this plan is the attachment of the eye and whiskers: I wanted them to go in after the painting so they aren't in the way, but the back needs to be in before painting to Jesmonite it in place, I need the back open to glue the eye and whiskers securely... To solve this problem I decided to have the eye and whiskers in before the back and then paint the whole assembly (masking off the eye).
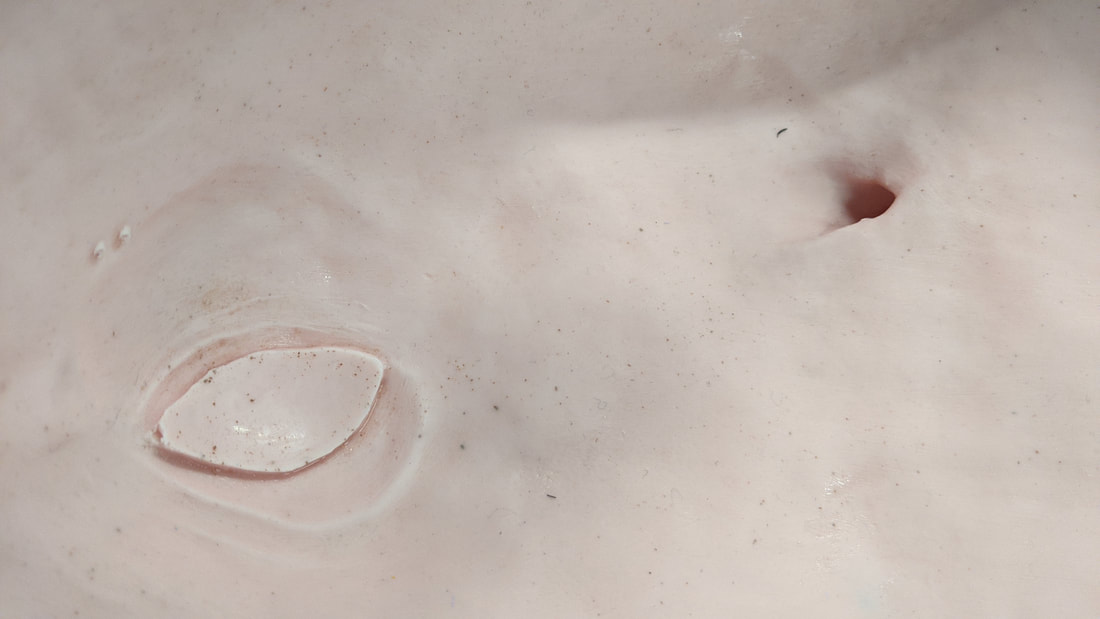
Drilling out the eye on my first test cast to practice the technique.
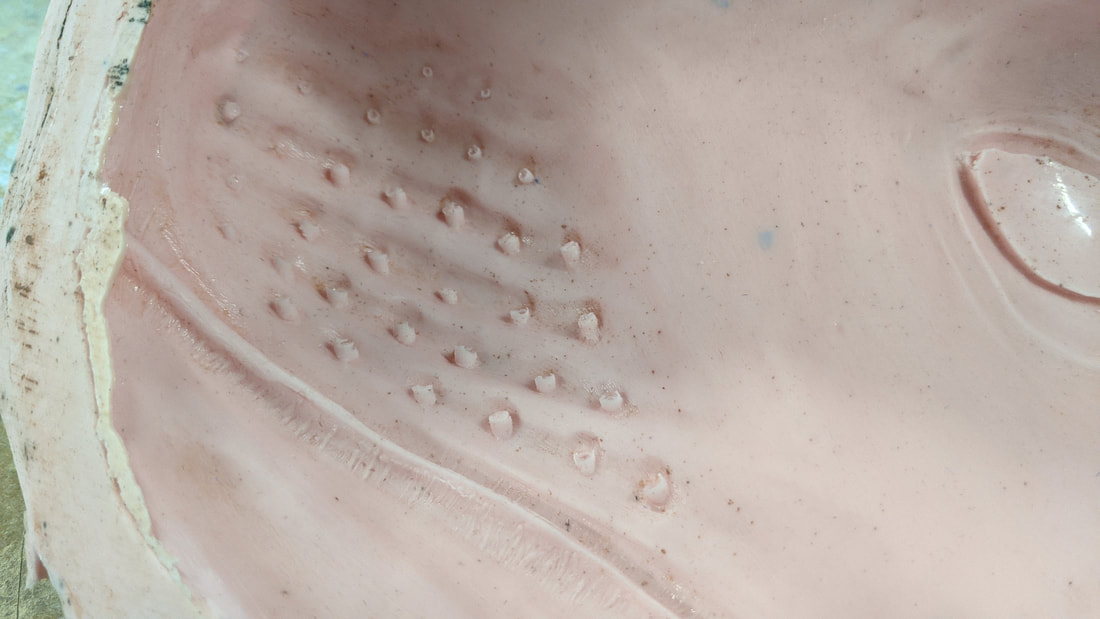
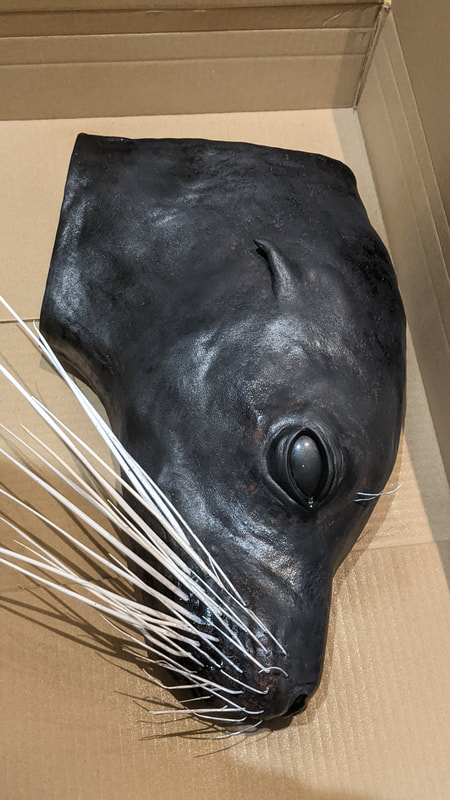
The whiskers were drilled out with various size bits to match the styrene rods.
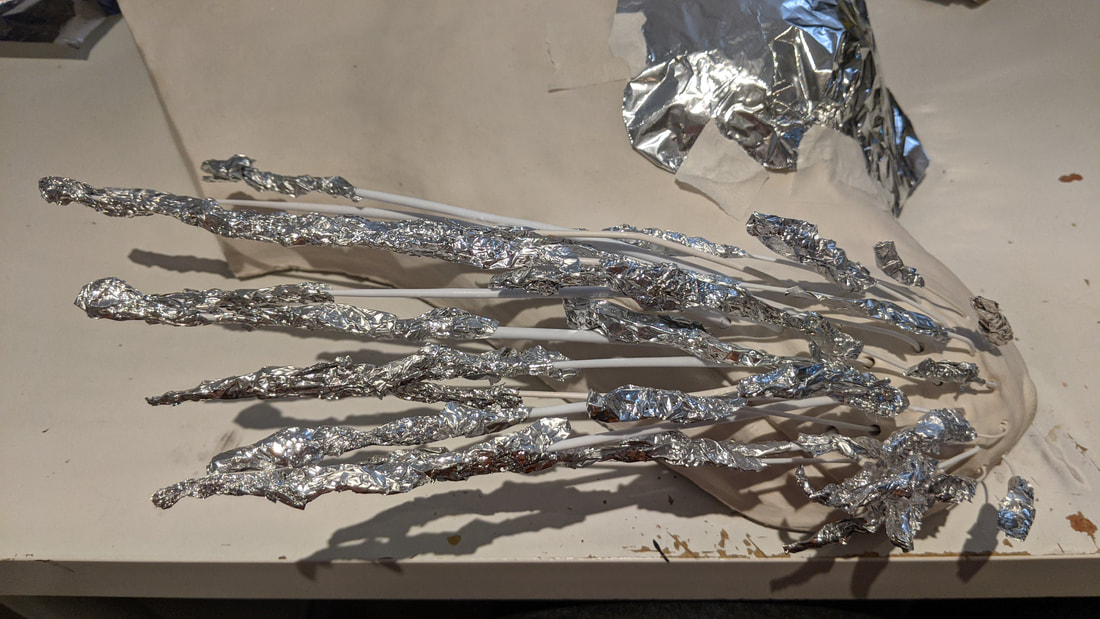
 The whiskers where placed in these holes and glued in place, each trimmed down on the inside. The foil was used to stop the ends curing as i heated them up to shape them backwards.
Filling in the back piece and the whisker holes. The back piece of wood can be used as a mounting solution as it can be drilled into form the back of the information board
Finishing
0 Comments
|
Third Year
|


 RSS Feed
