
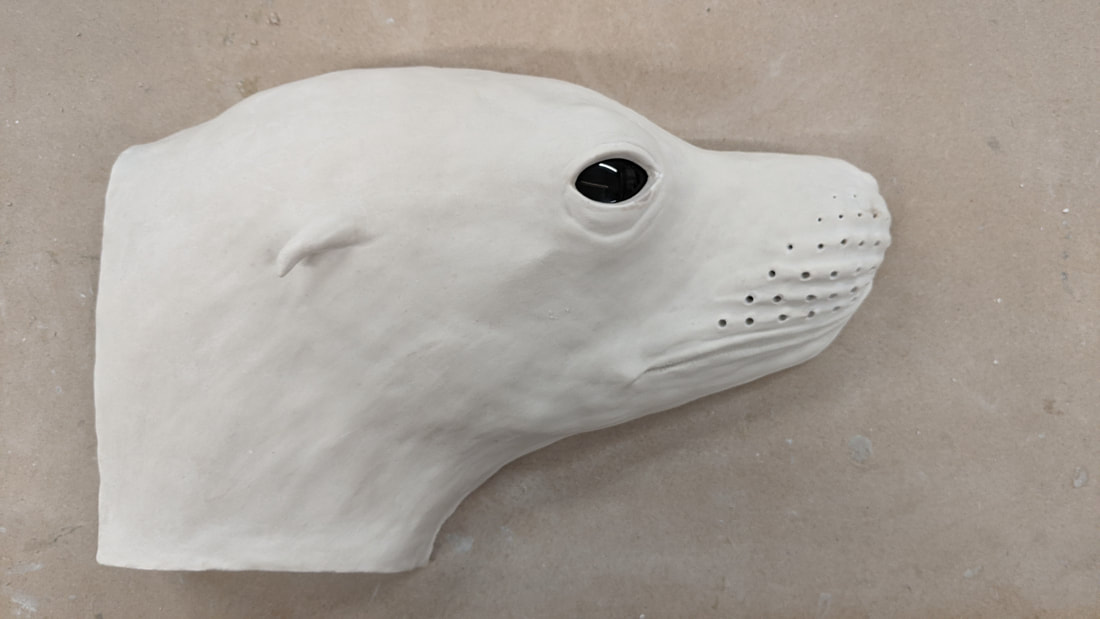
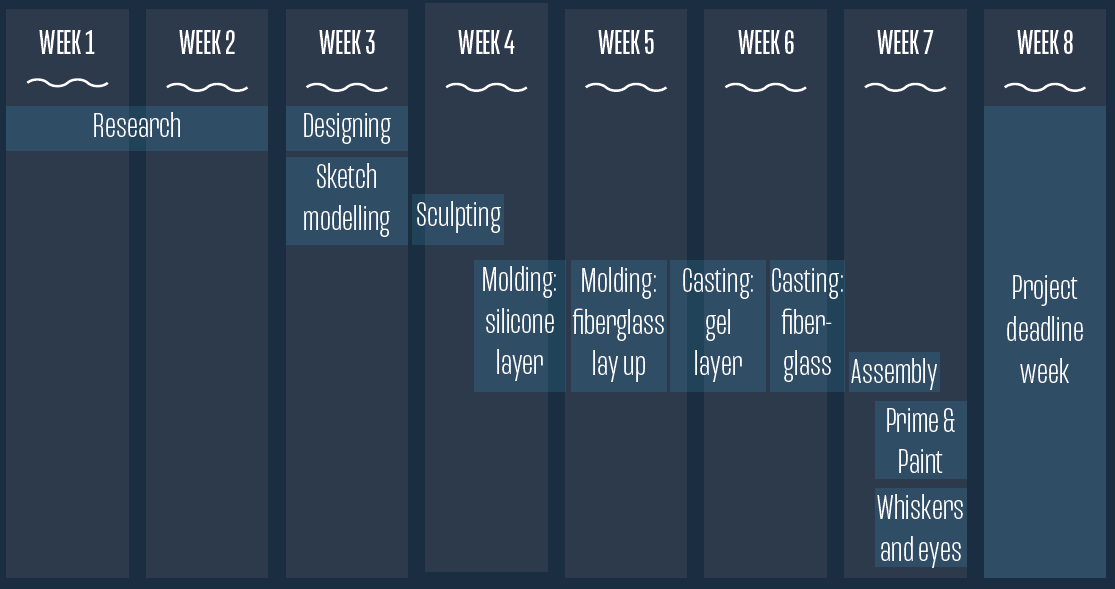
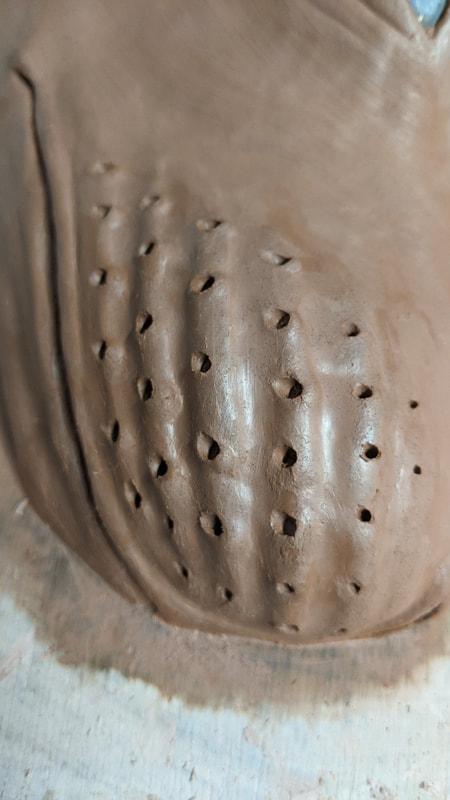
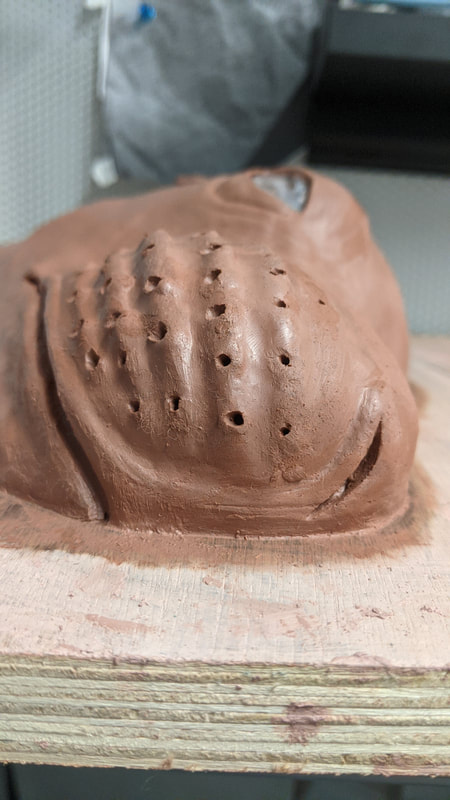
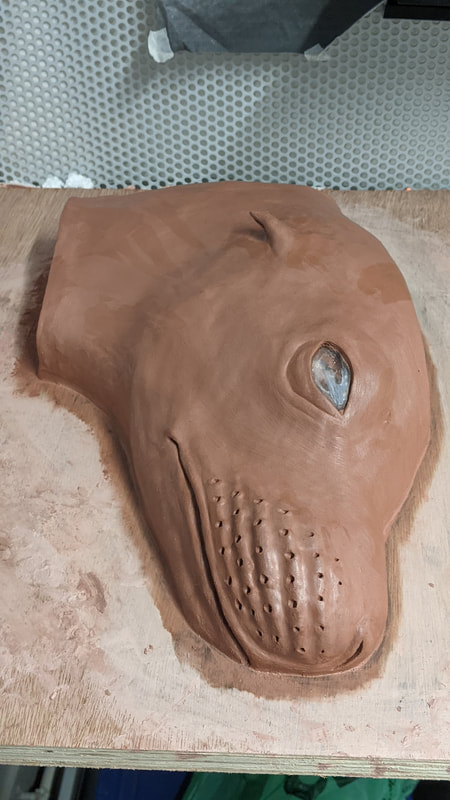
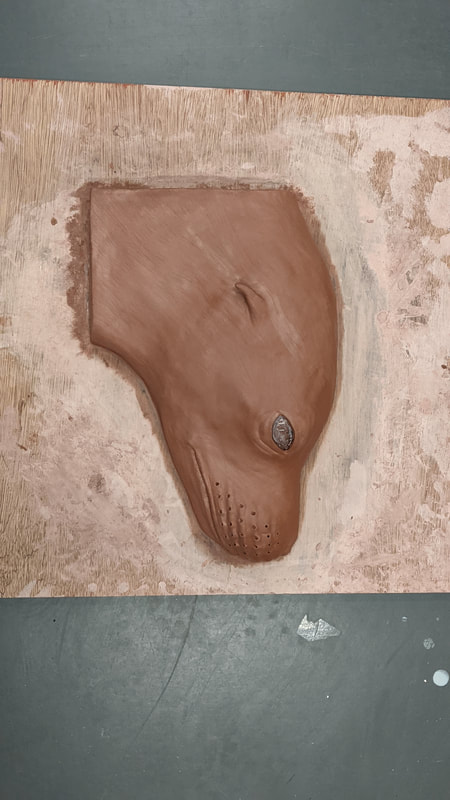
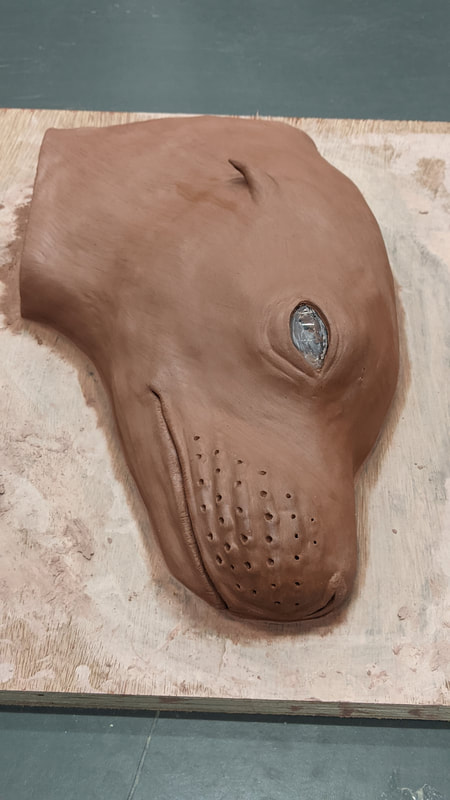
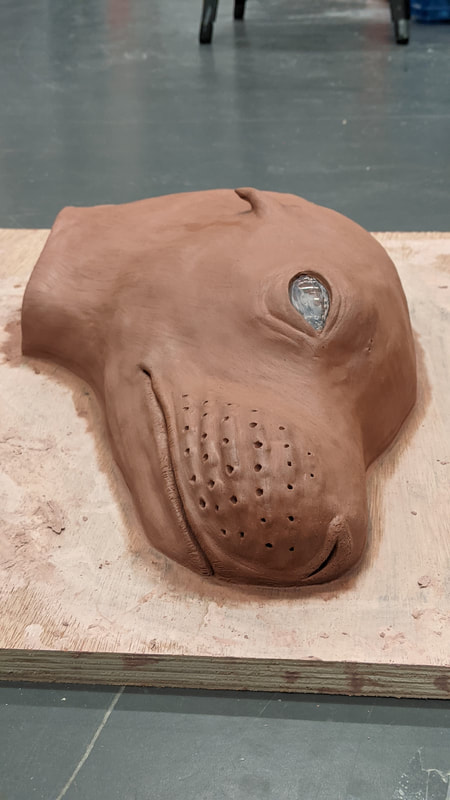
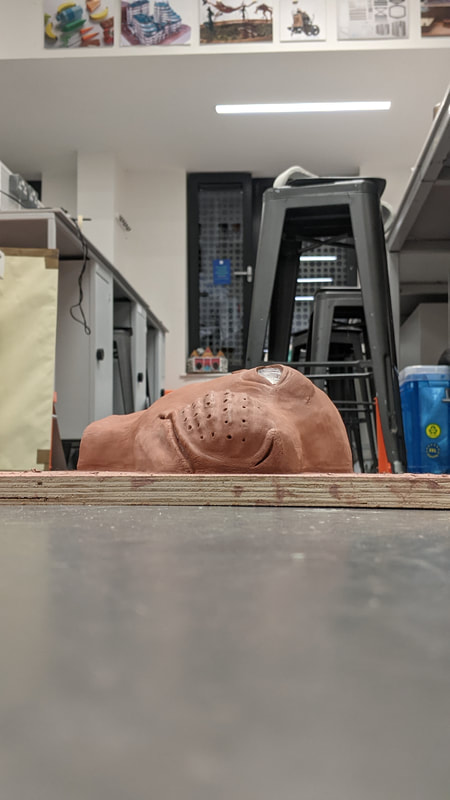
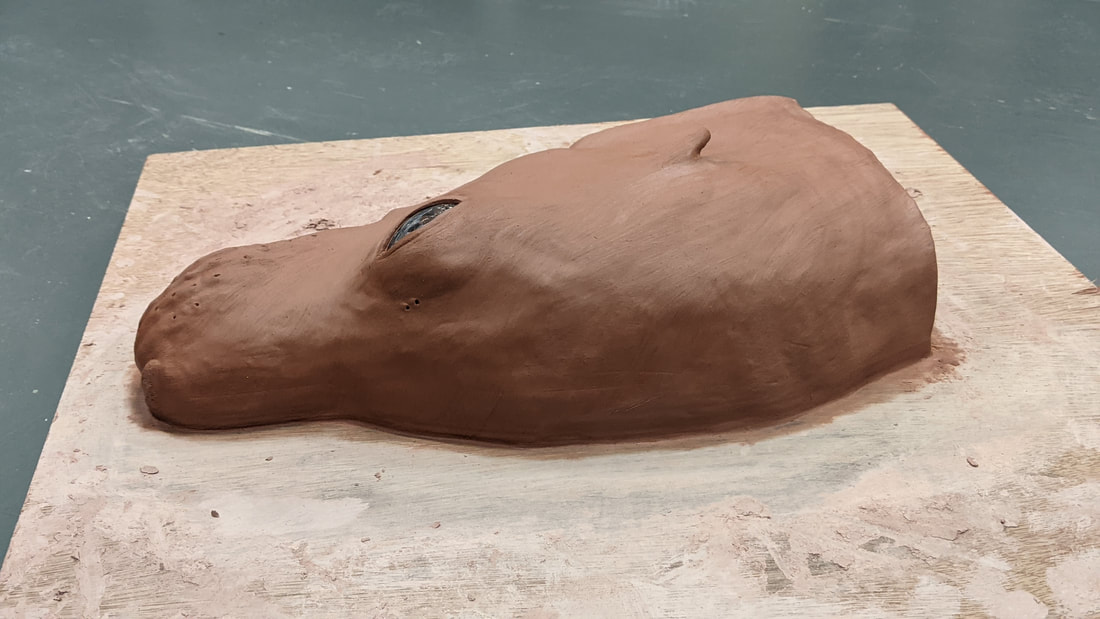
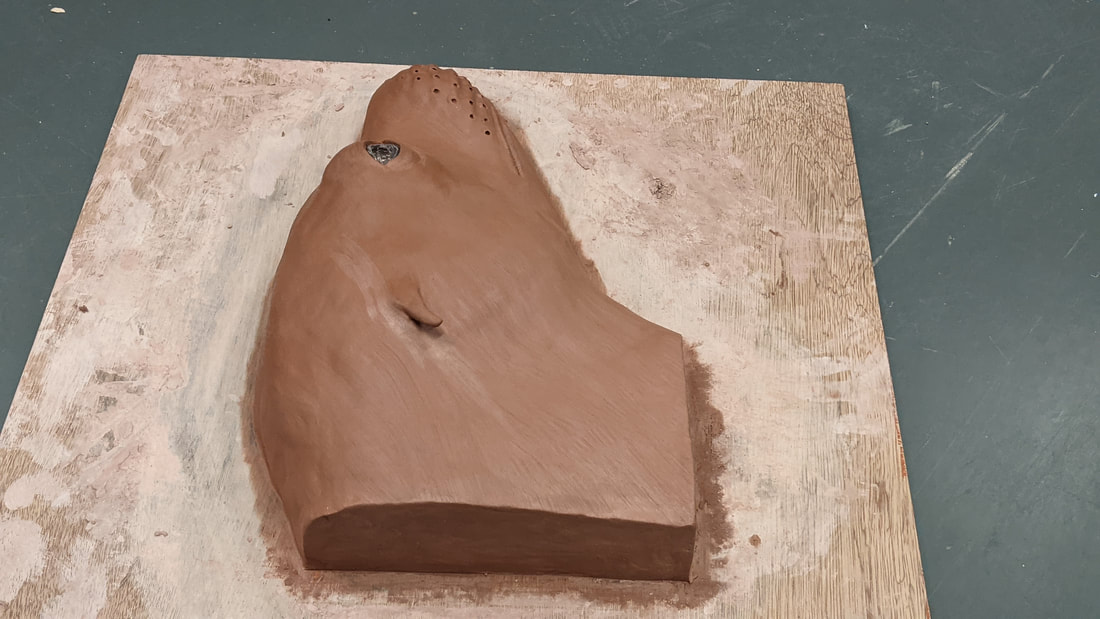
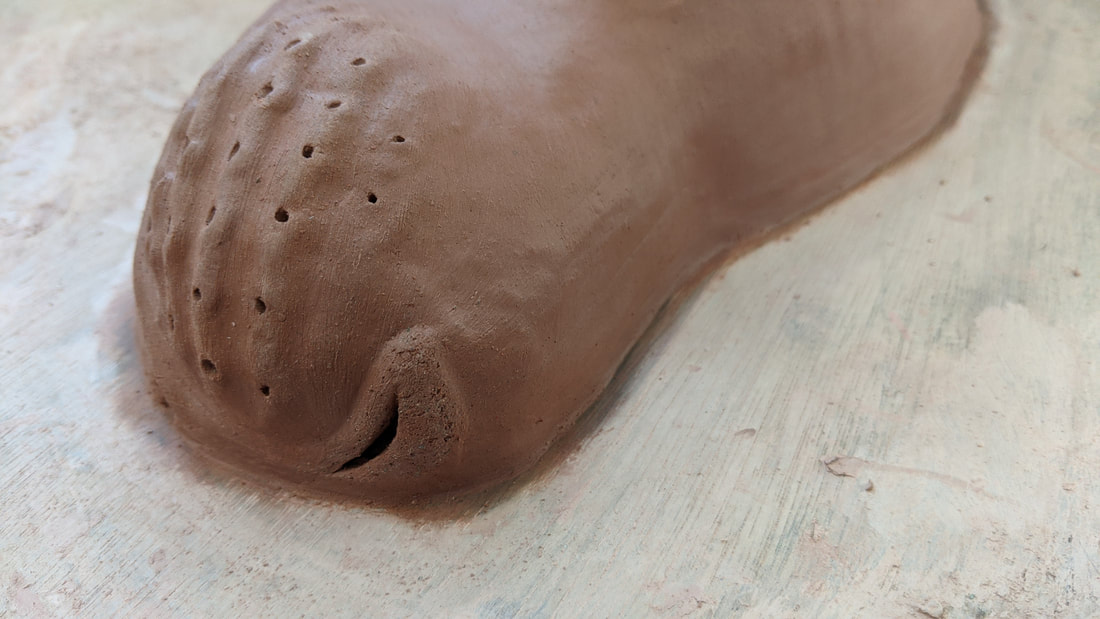
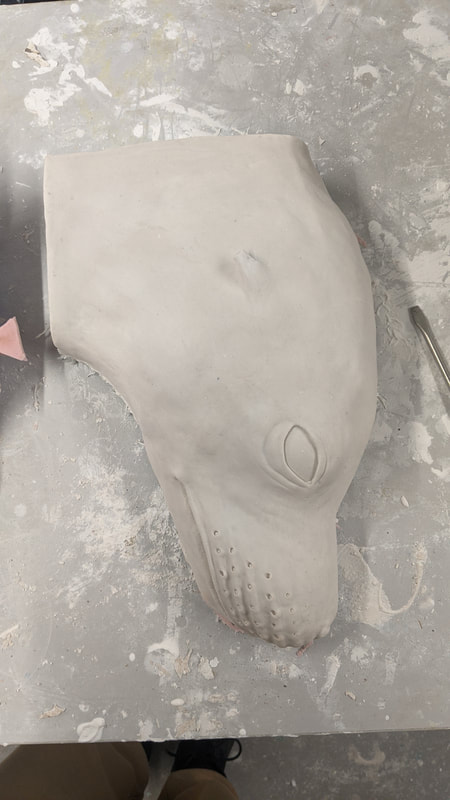
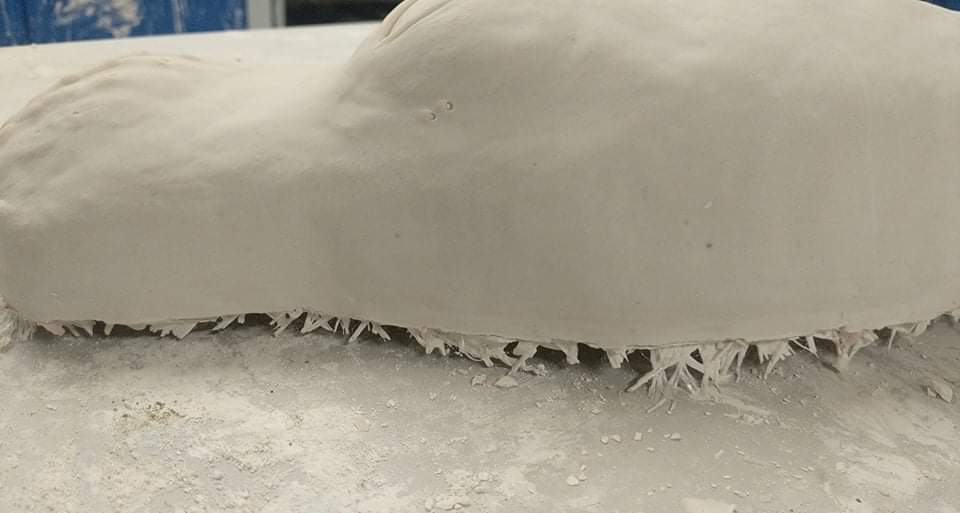
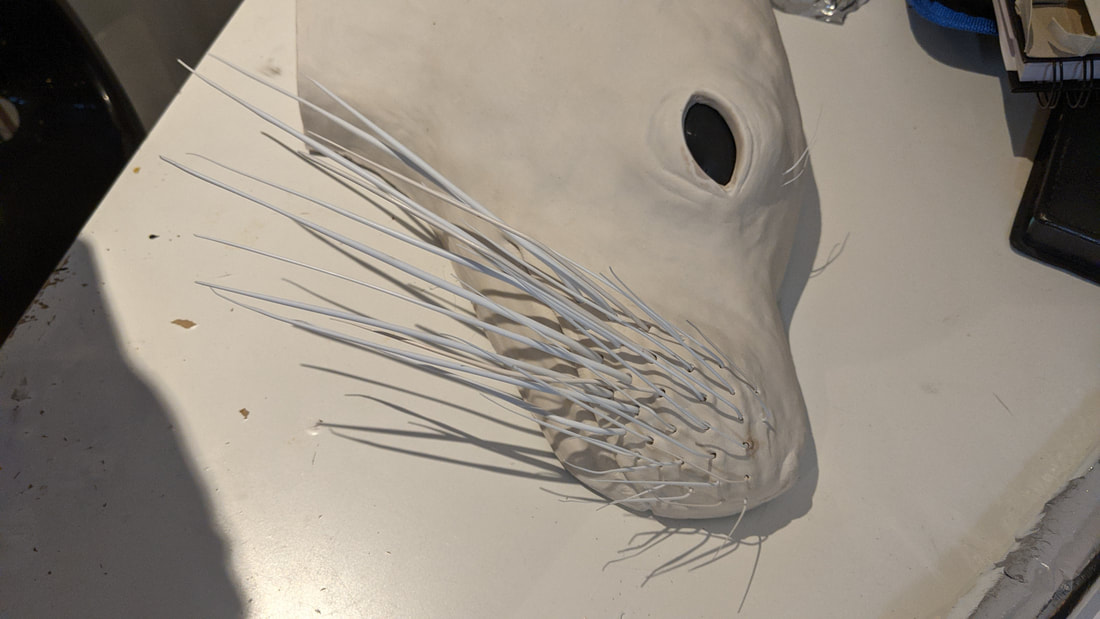
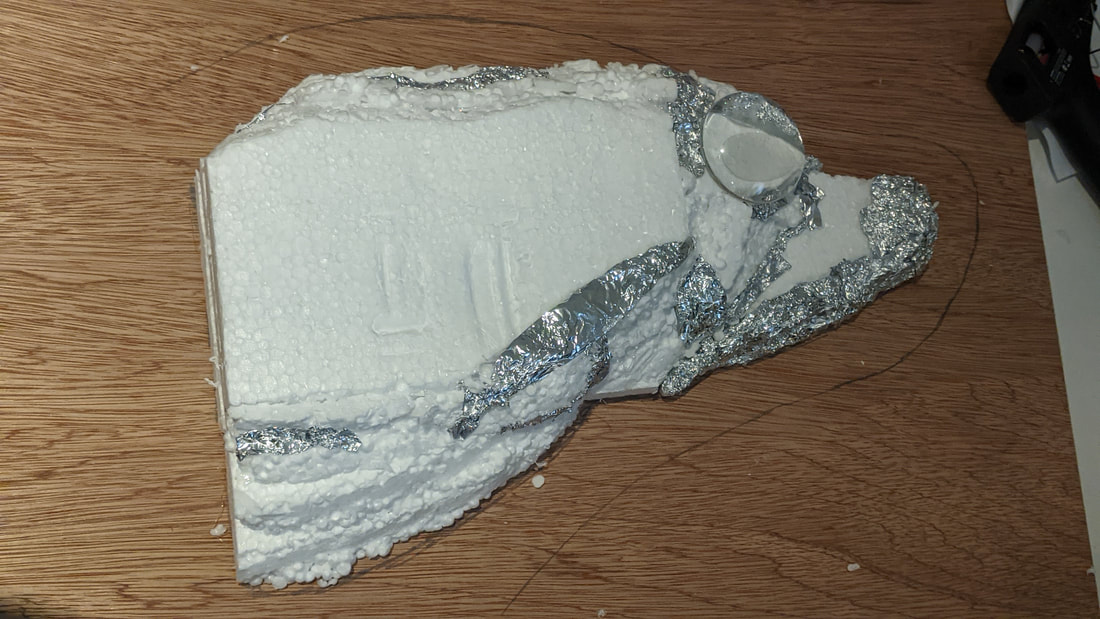
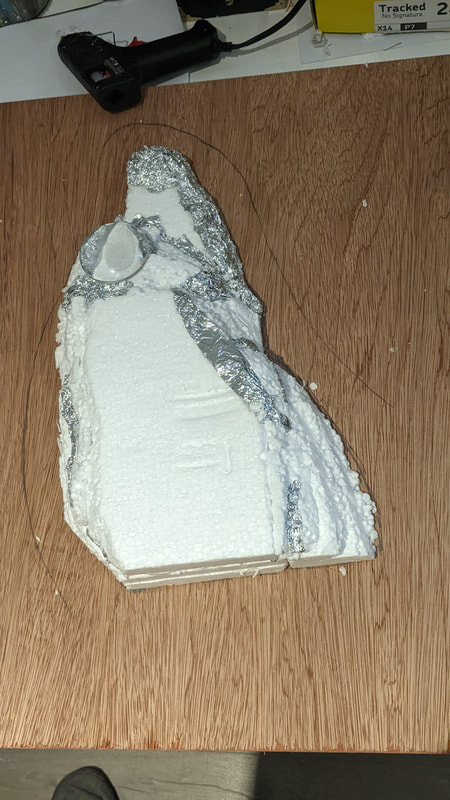
Finished Clay SculptureI'm pleased with the outcome of the model; ideally a smoother finish on the flat areas would be better but due to time to getting on I needed to progress onto the next stages.
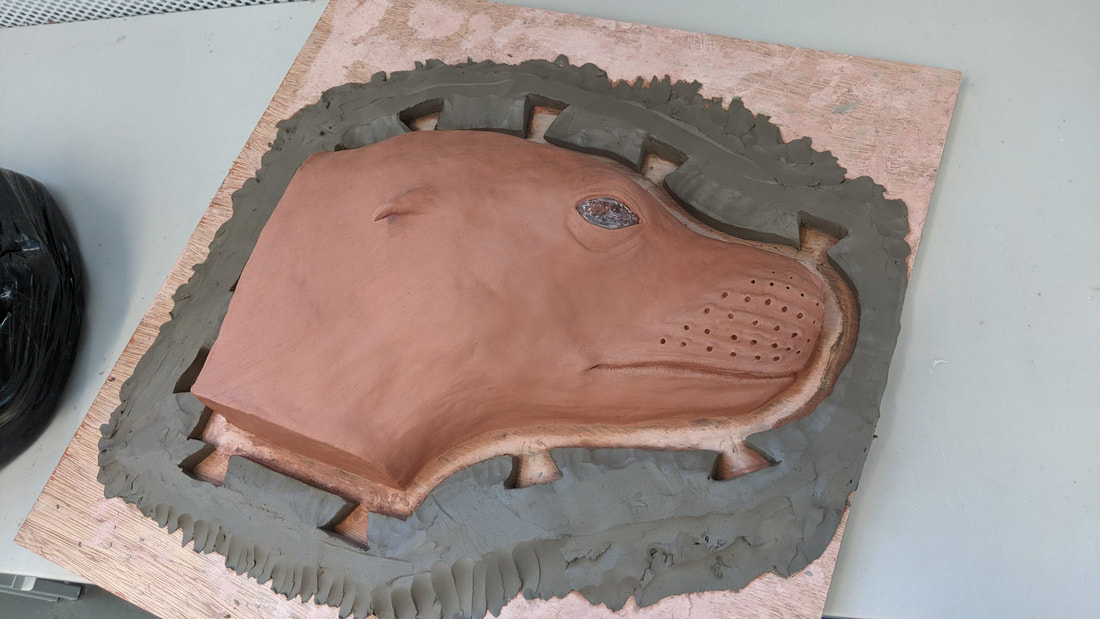
Moulding Stages
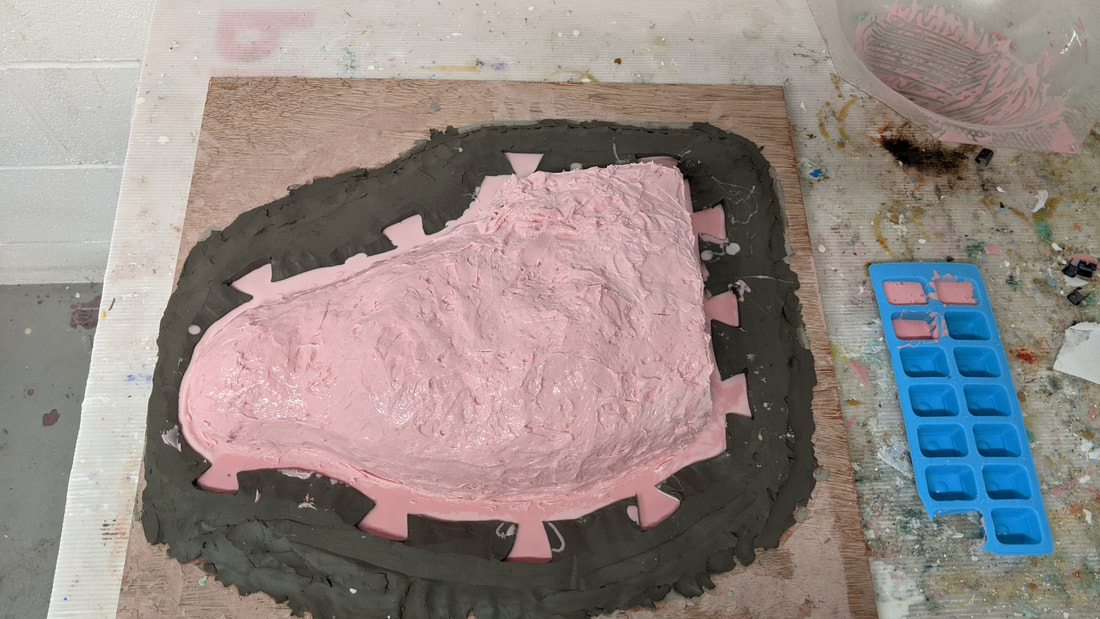
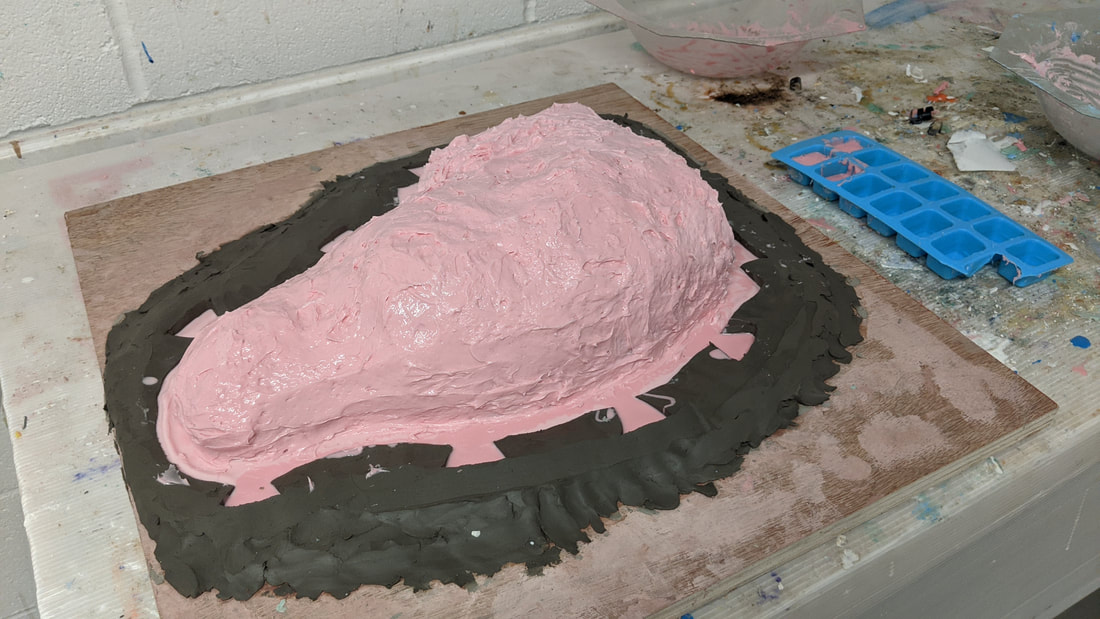
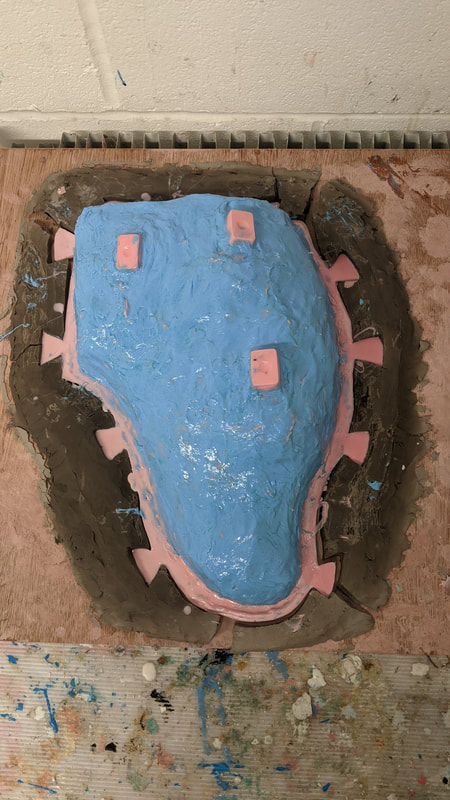
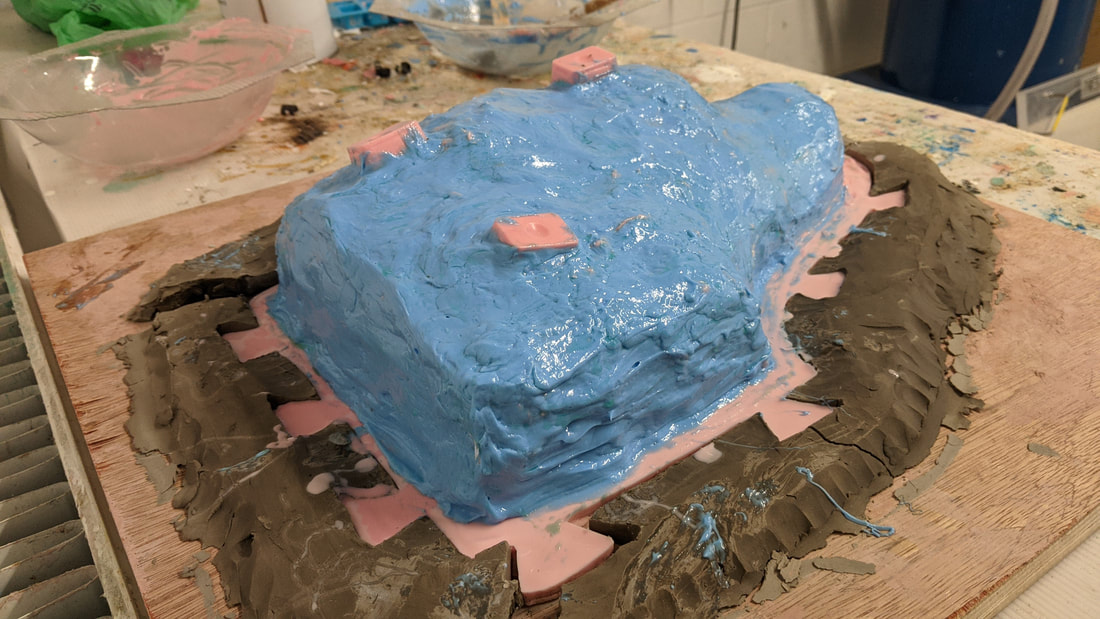
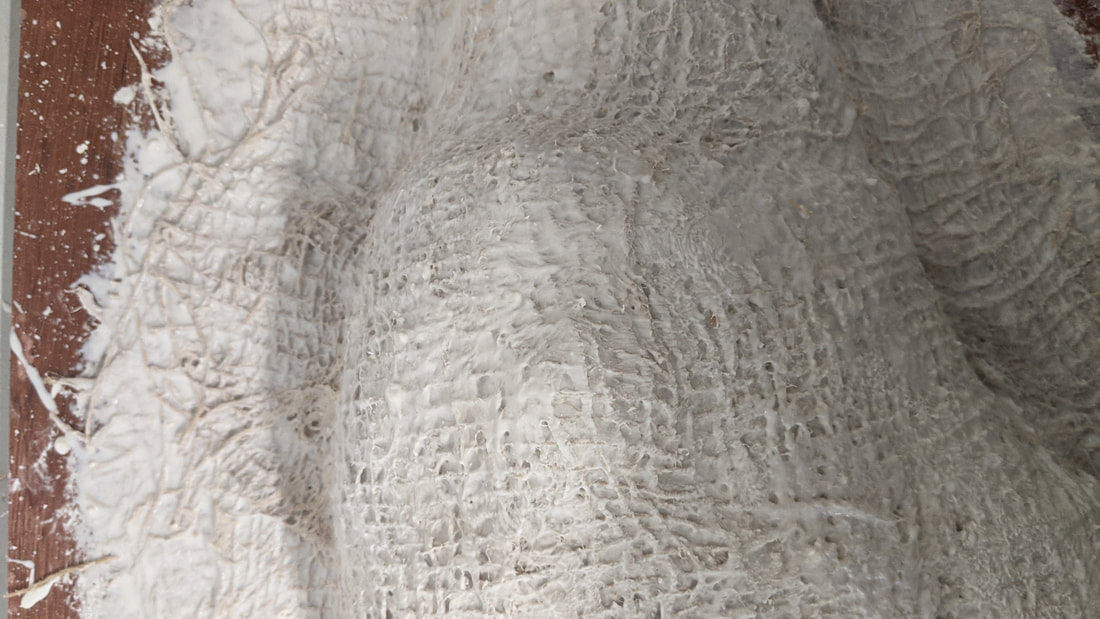
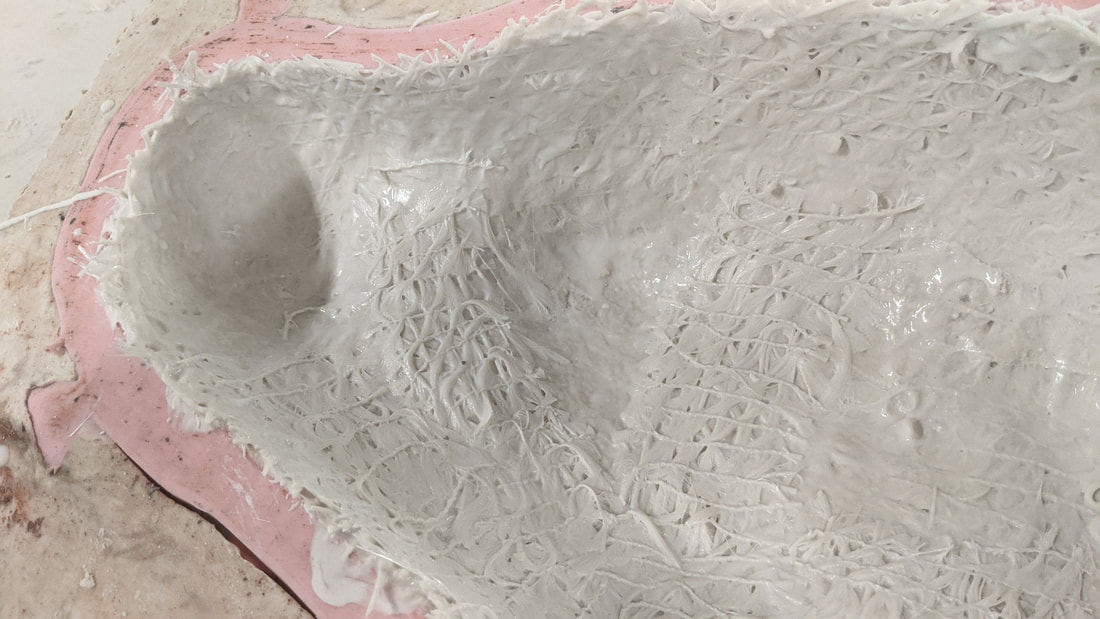
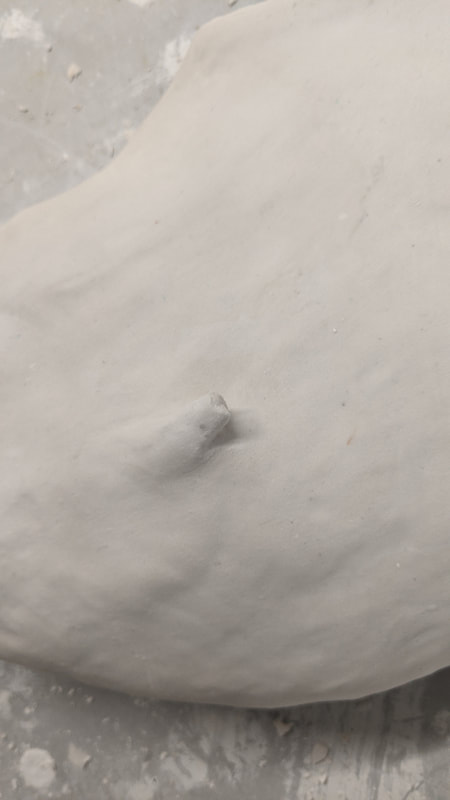
Thixotropic layers added and locators on top to help align the silicon in the shell layer next. The key part here was covering the whole ear so that it will be protected and supported by solid silicone.
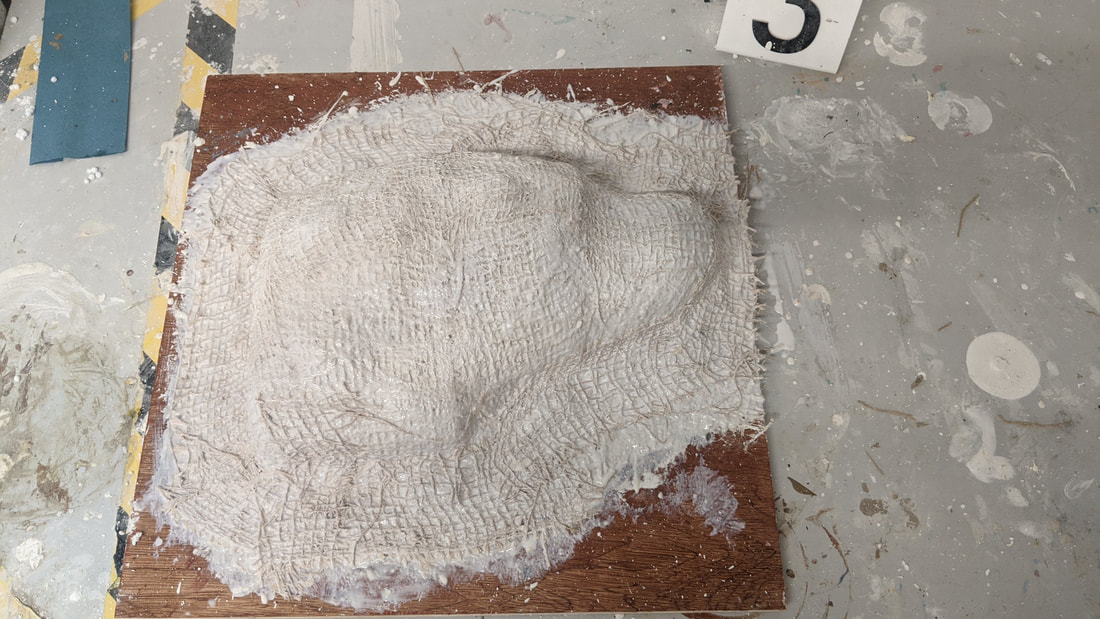
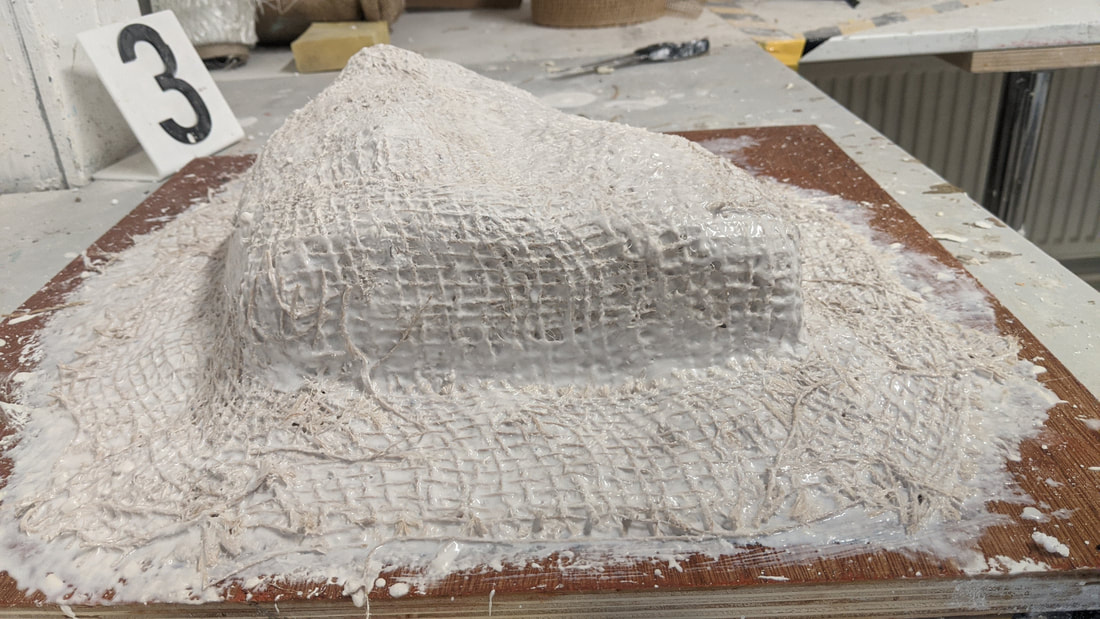
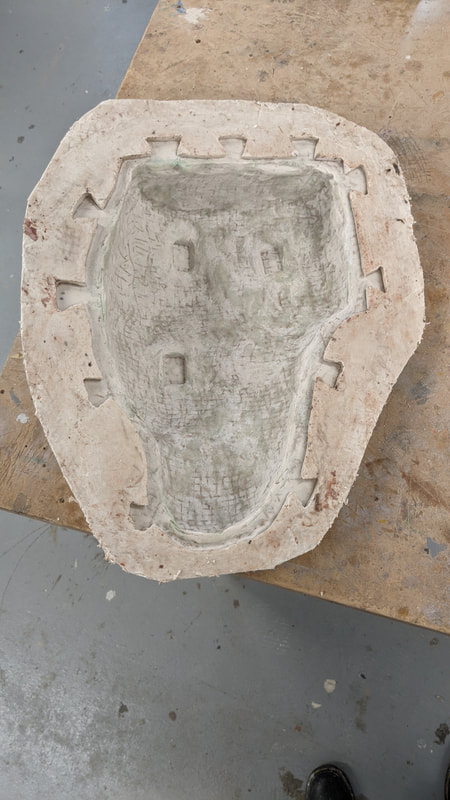
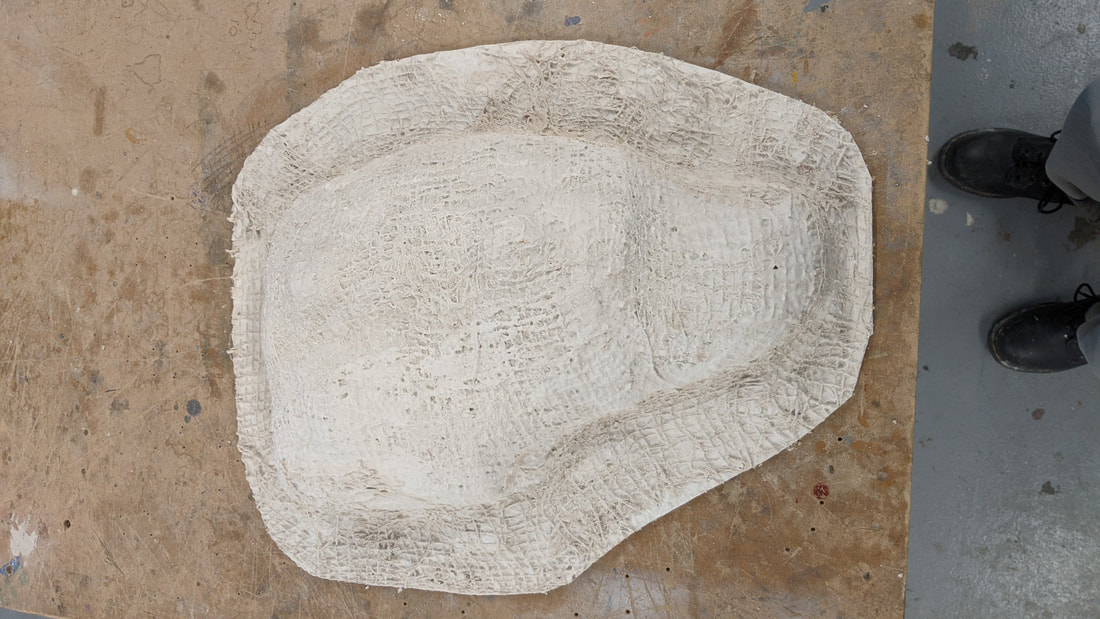
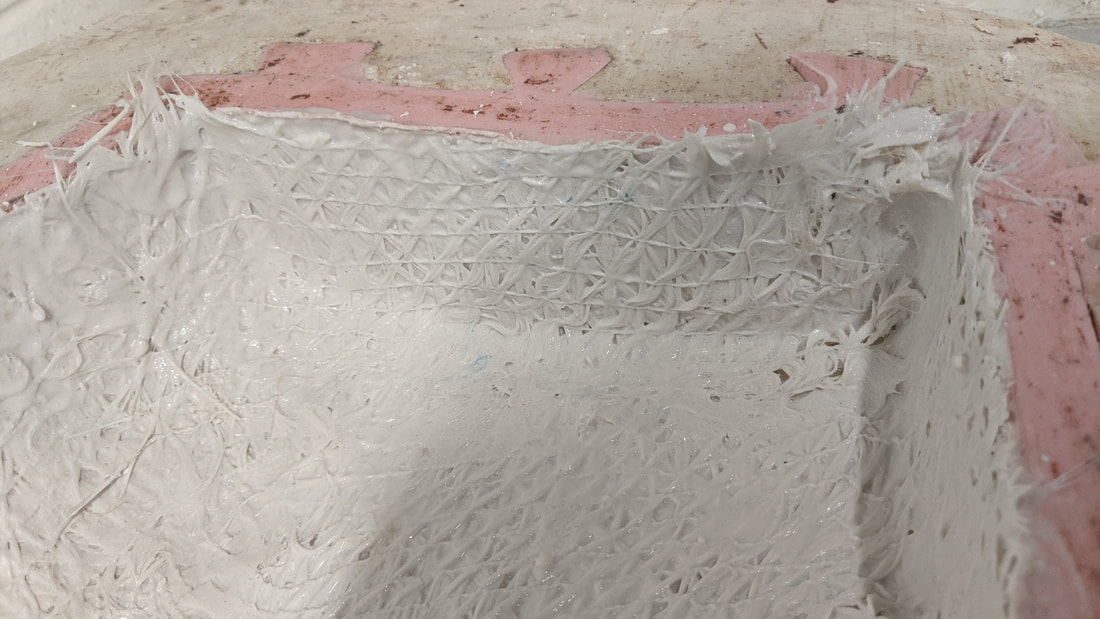
Jesmonite shell jacket with layers of hessian fabric.
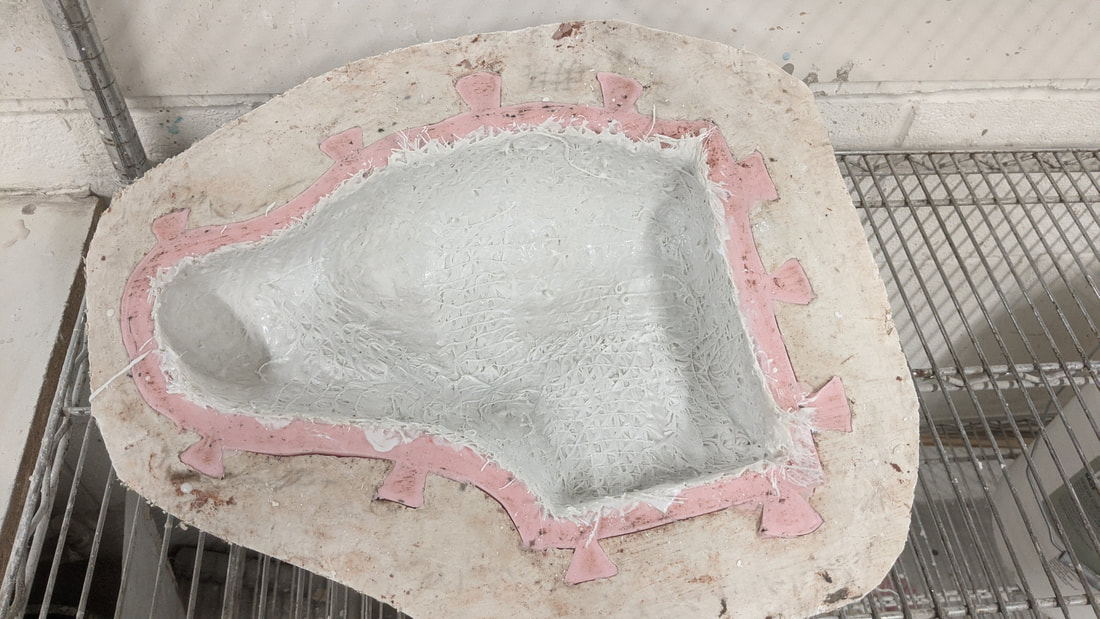
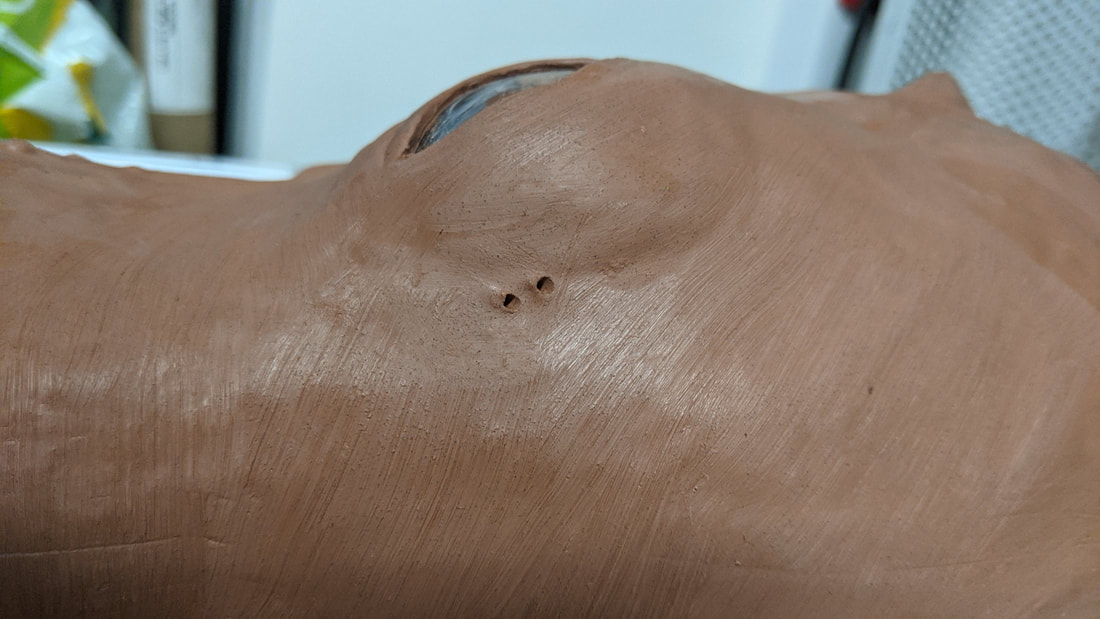
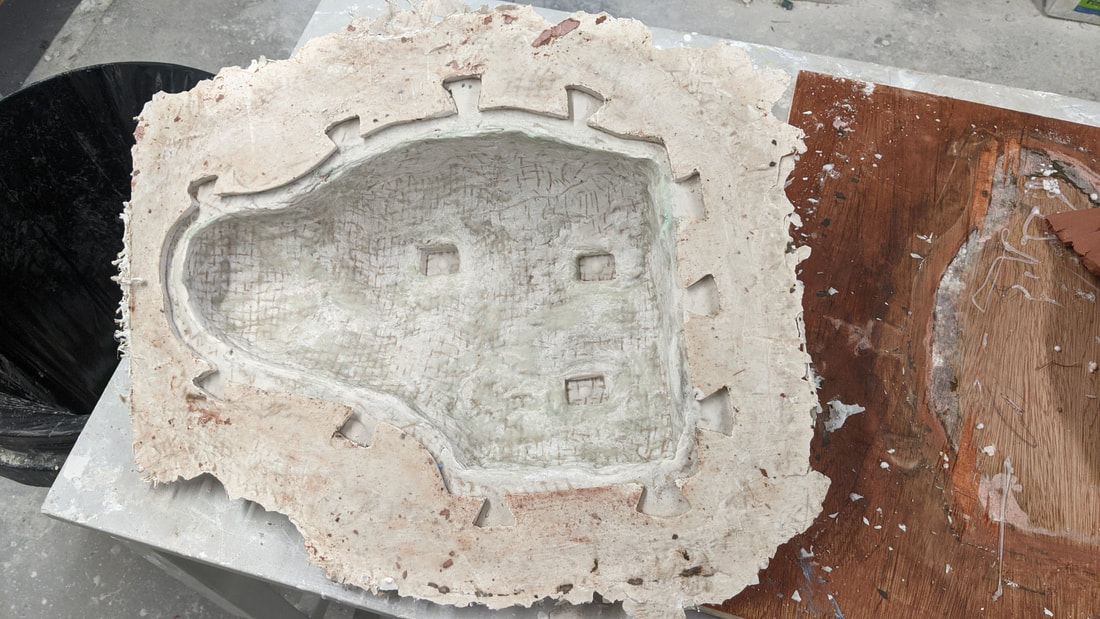
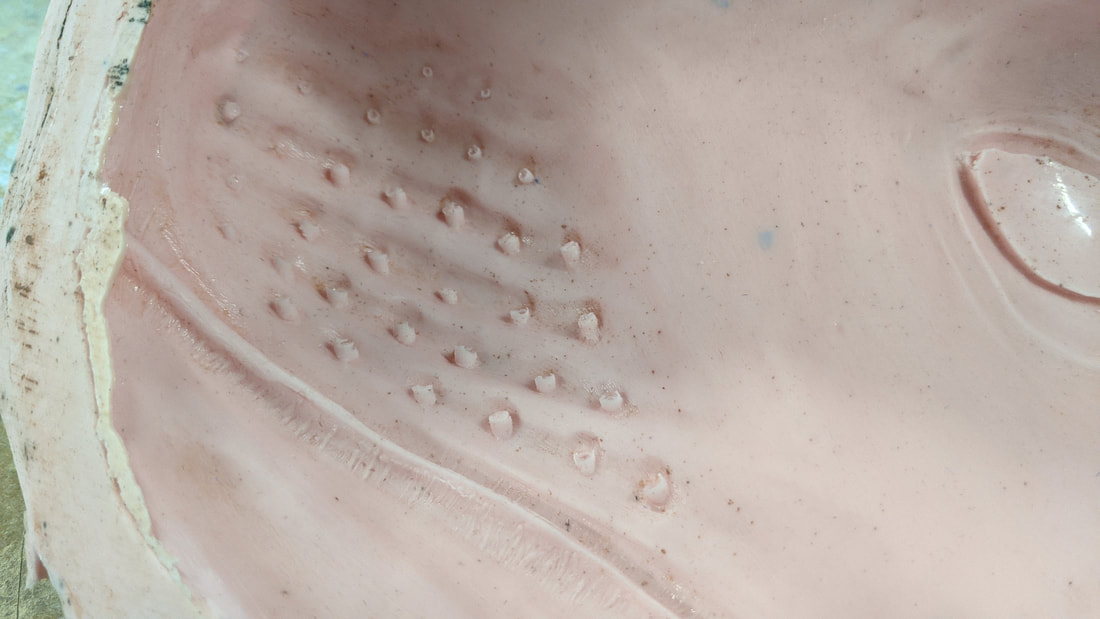
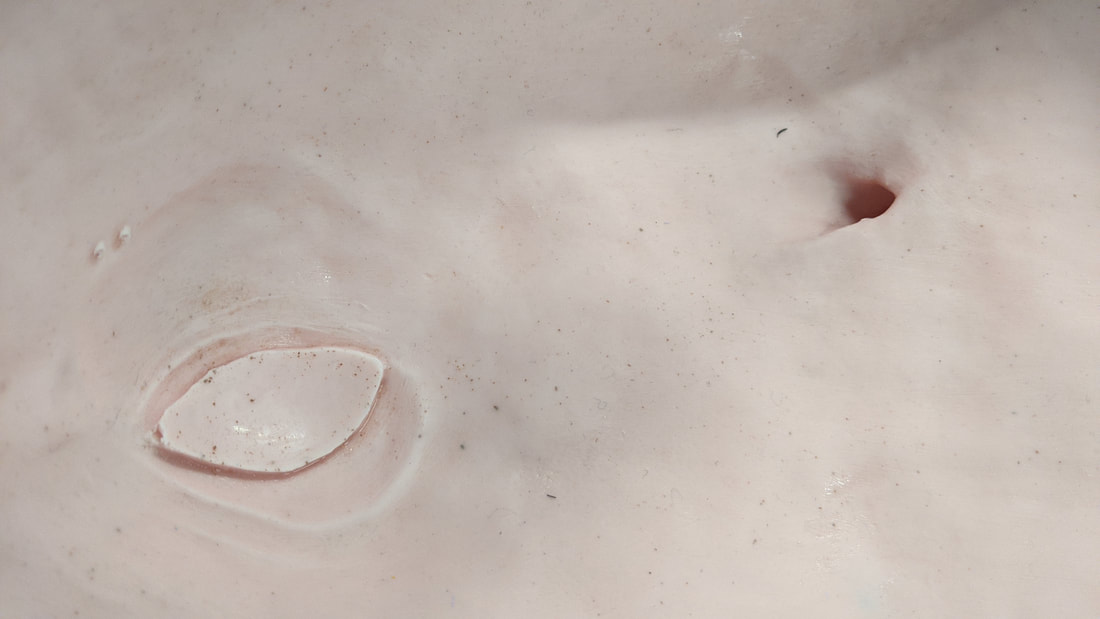
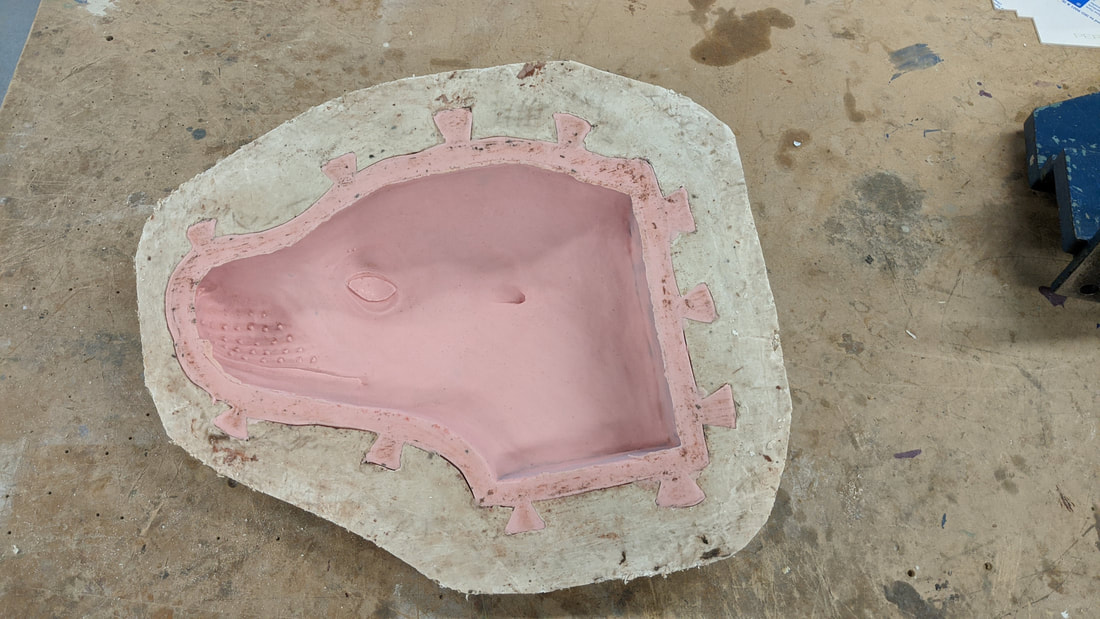
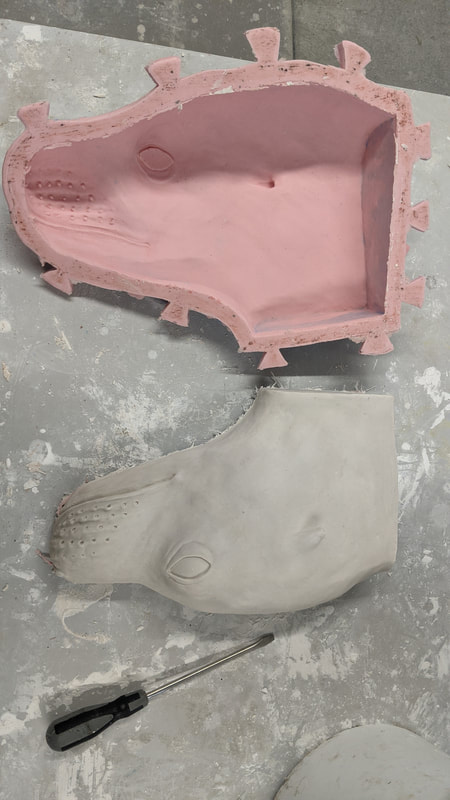
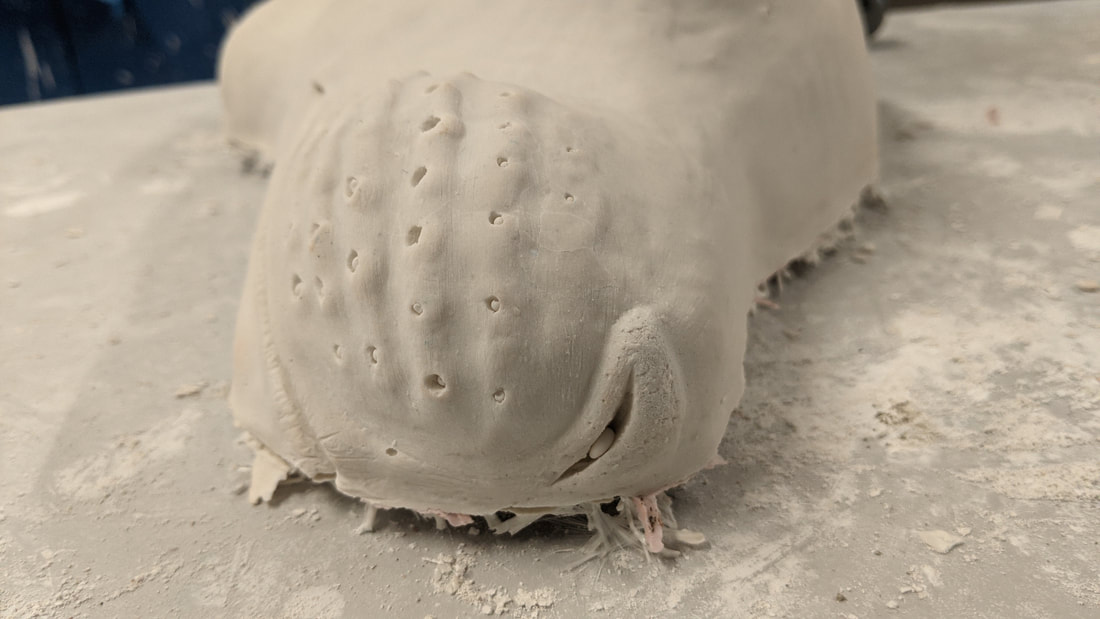
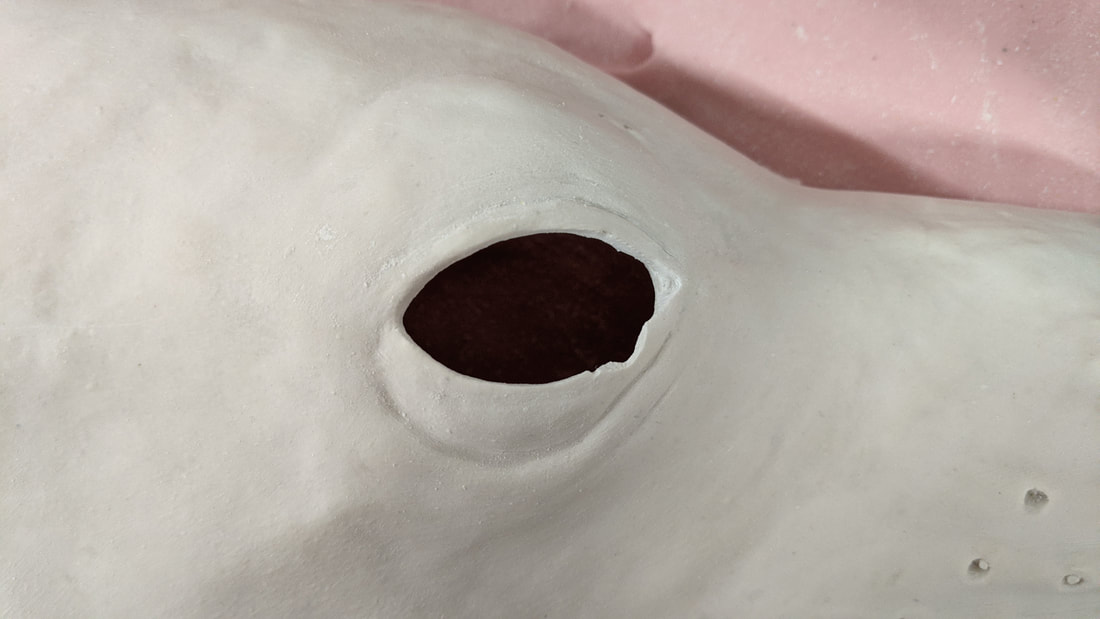
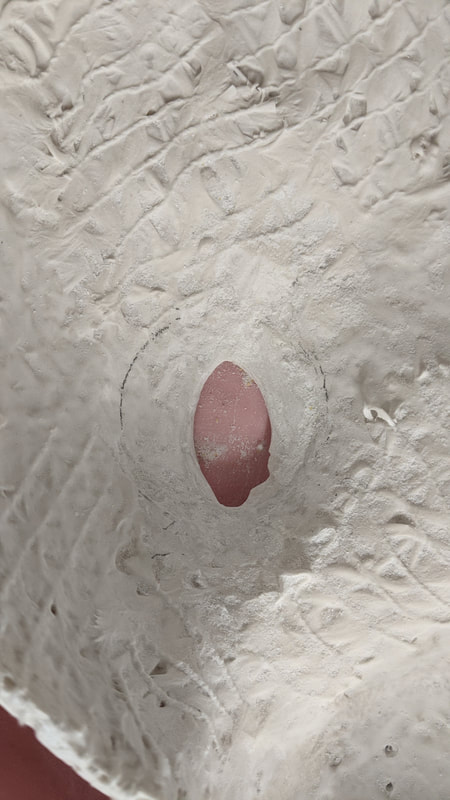
Here is the silicon jacket with the clay all removed and the jacket washed. These close up images show the areas of the model that will be cut out of the final cast: holes for the whiskers drilled and a hole for the glass eye.
I am really pleased with how the moulding stages went: particularly how fast I was able to get the jacket done and cleaned up ready for casting. The silicon layer also worked out as planned and captured all the details nicely. Here is the work I was doing in-between my stages of moulding ot use my time effectively: Eyes
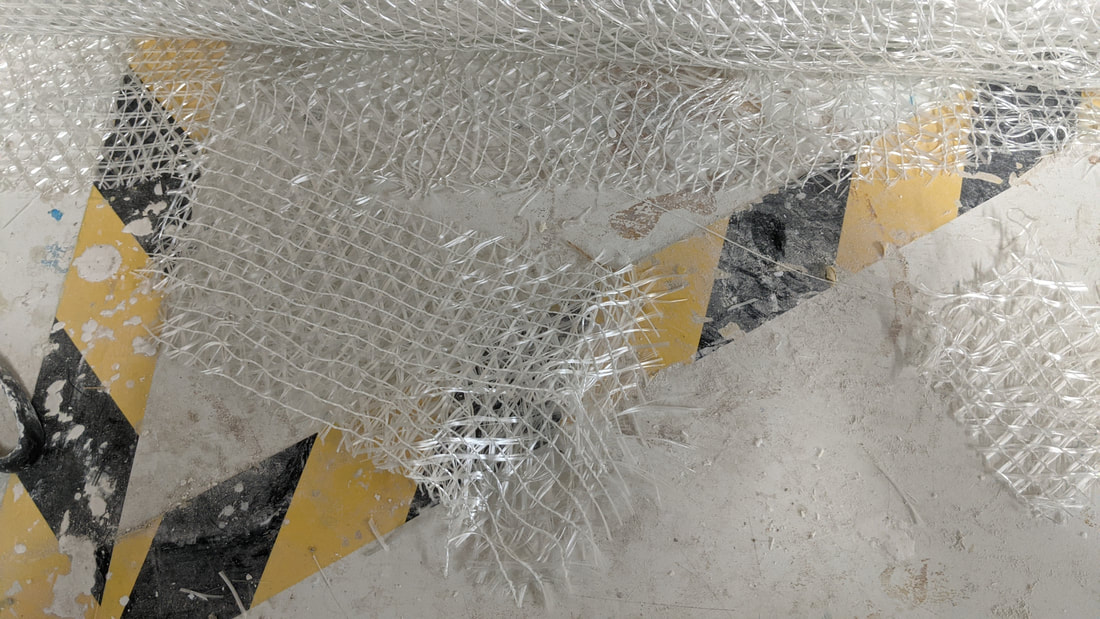
 Whiskers For the whiskers I used various sizes of round styrene rods, heated and stretched to shape. This was hard to perfect to begin with resulting in some deformed pieces, curing, and complete melting in some cases. To fix this I found applying regular downwards weight on one end with the other clamped and carefully heating from a distance gives me more control over how much the plastic stretches and where. All i needed to do was suspend the styrene between a desk clamp and a taped on piece of steel for a weight. A s it stretched i could pull on it gently to manipulate how thin I wanted it to go and simply cut off any excess. Using this method allowed me to maximise use of the material and resulted in almost all of it used to make varying sizes of whiskers. Casting StagesMoulding process with the same Jesmonite but this time laid-up with a loosely woven glass fiber material (left).
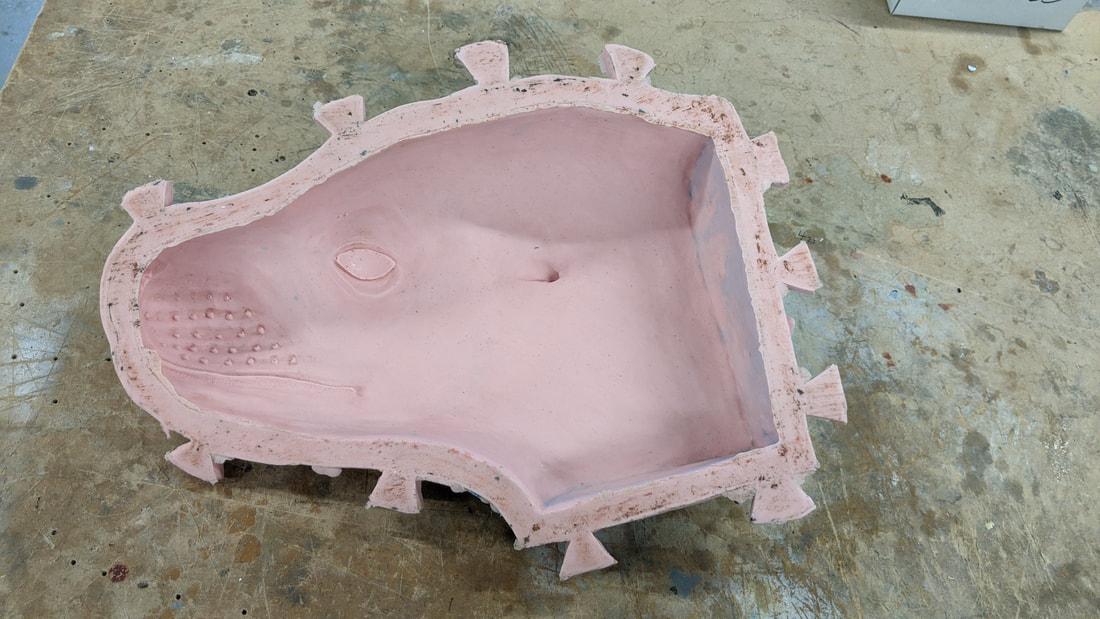
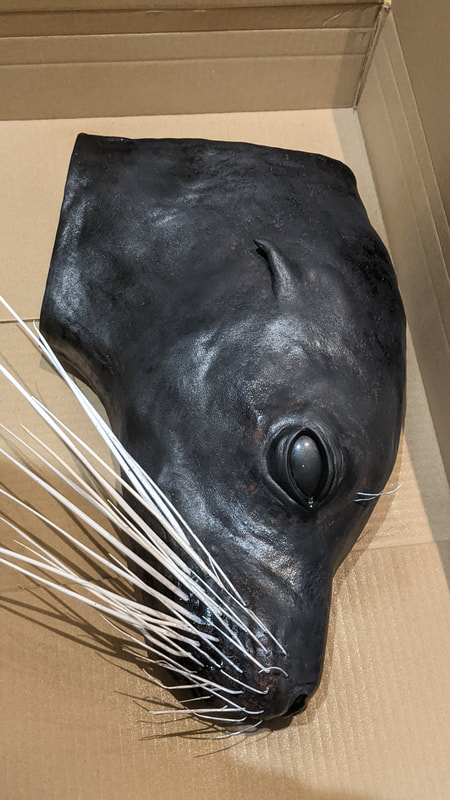
 Fresh out of the mould: although it was tricky to pull it out of the hard jacket the cast came out of the silicone easily. For a first attempt at all of these techniques I am pretty pleased generally with the result. A small air bubble had formed in the silicone jacket resulting in a bubble translated into the nose slit of the cast but with a scalpel blade this should come out seamlessly. The other issue with the cast was not unanticipated. The ear had been poured thinly and then tapped to release the air bubbles, but due to this being a slower drying area it hadn't set fully when I removed it from the mould resulting in the break pictured below. I laid-up a new cast and worked on the next stages of the model.
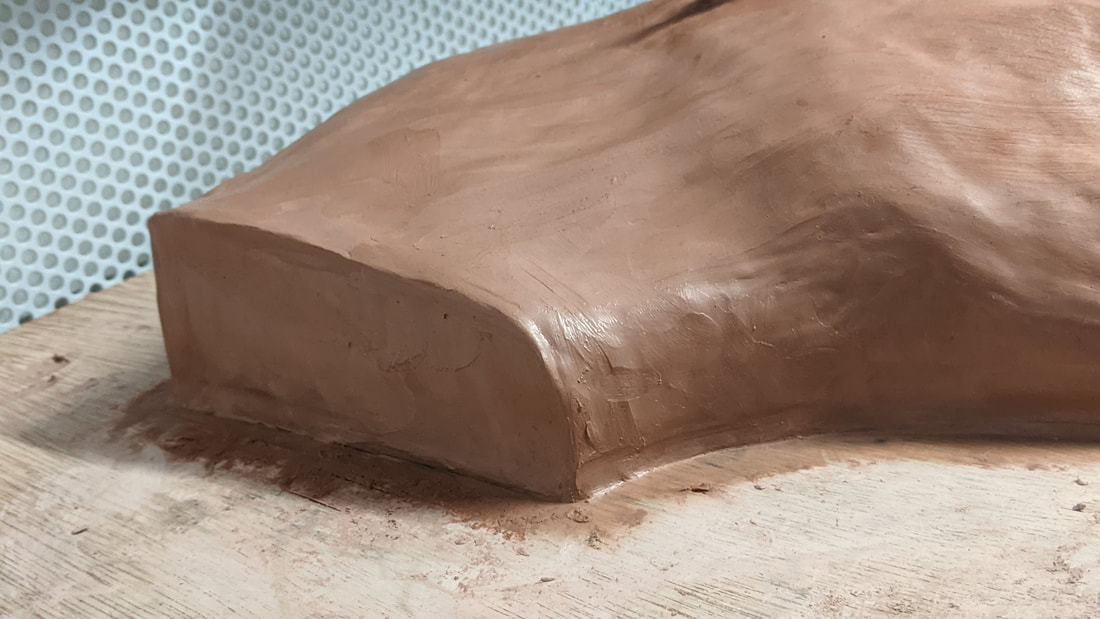
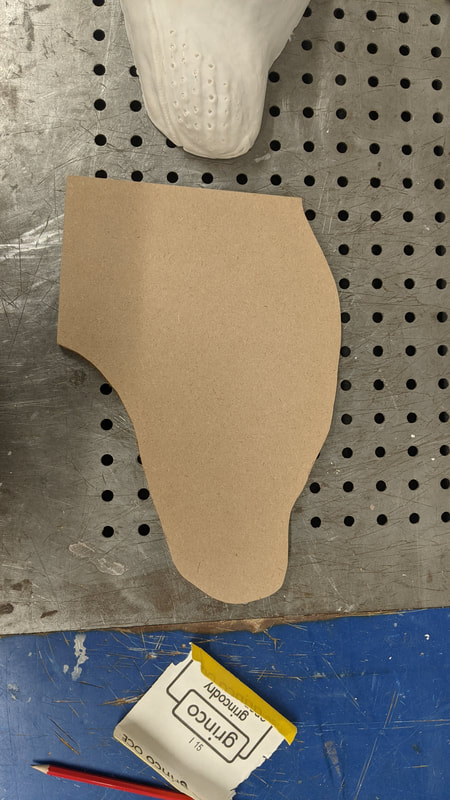
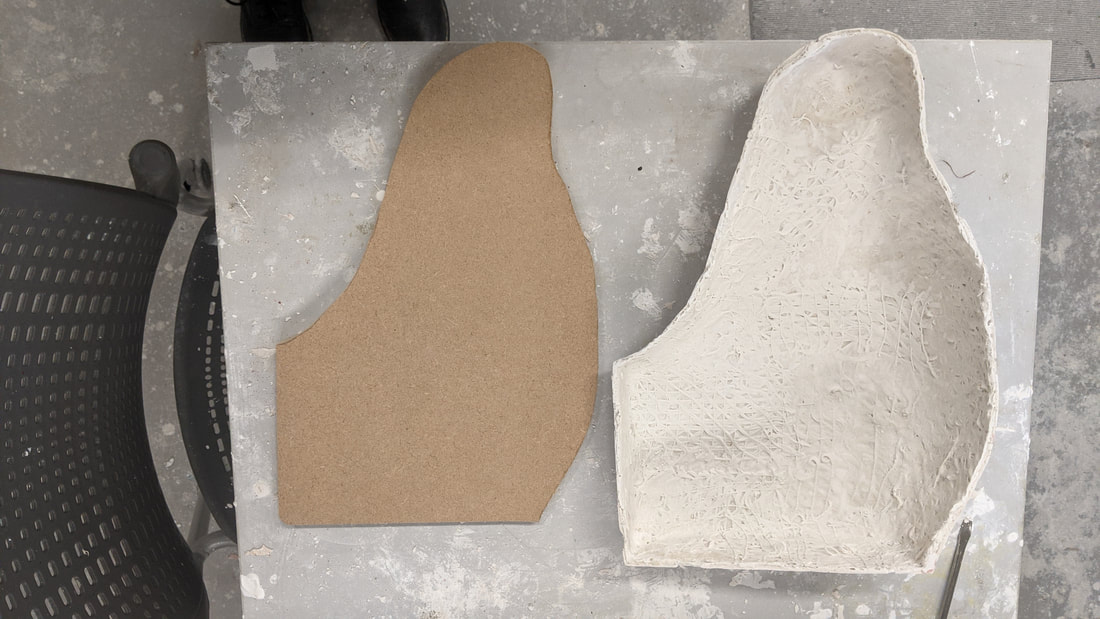
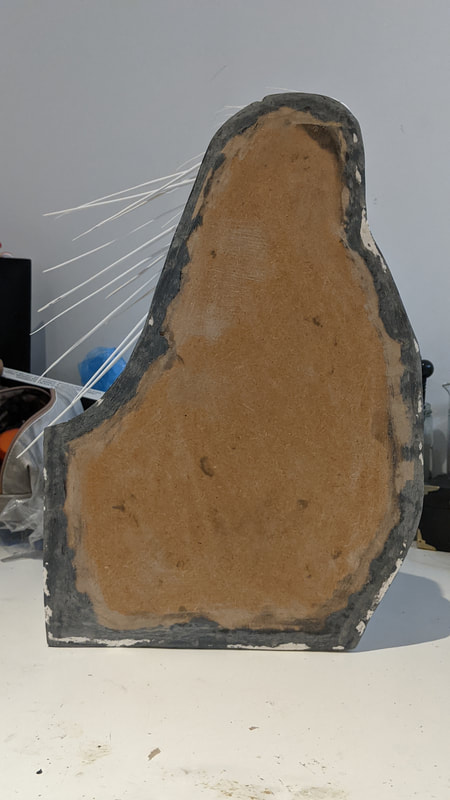
This is how I made the back for the Sea Lion head. The idea being that the model can be attached by drilling though into it as Blackpool Zoo were flexible about how it can be mounted to their exhibit. I used the first attempt cast to create an outline after sanding down the rough edges. This can then be slotted in the back and Jesmonite mix can act as an adhesive to seal it in place. The only issues with this plan is the attachment of the eye and whiskers: I wanted them to go in after the painting so they aren't in the way, but the back needs to be in before painting to Jesmonite it in place, I need the back open to glue the eye and whiskers securely... To solve this problem I decided to have the eye and whiskers in before the back and then paint the whole assembly (masking off the eye).
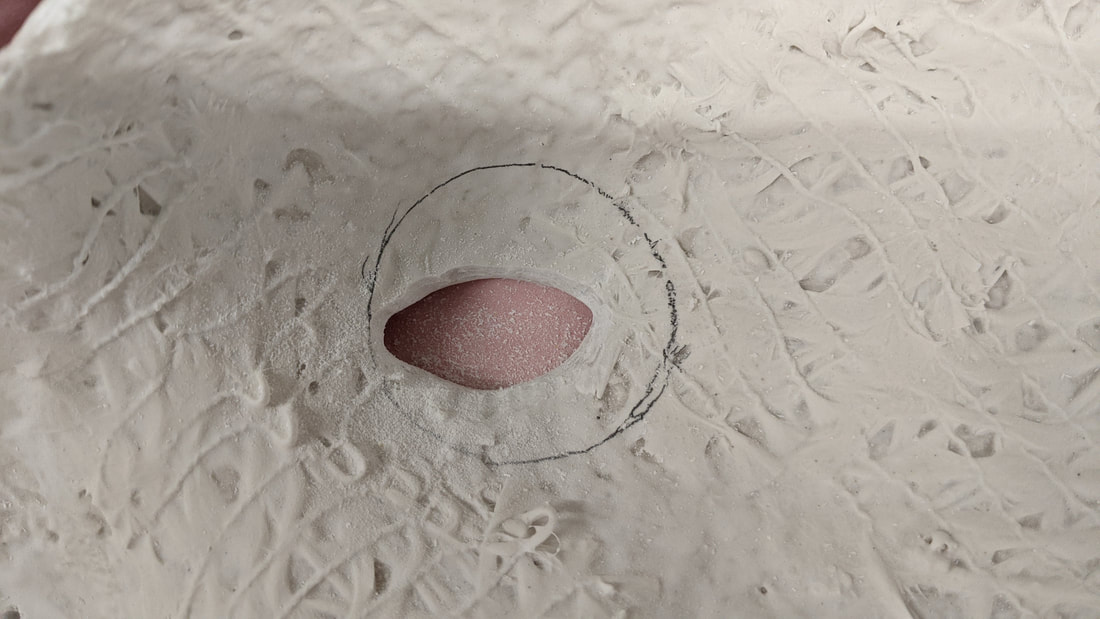
Drilling out the eye on my first test cast to practice the technique.
The whiskers were drilled out with various size bits to match the styrene rods.
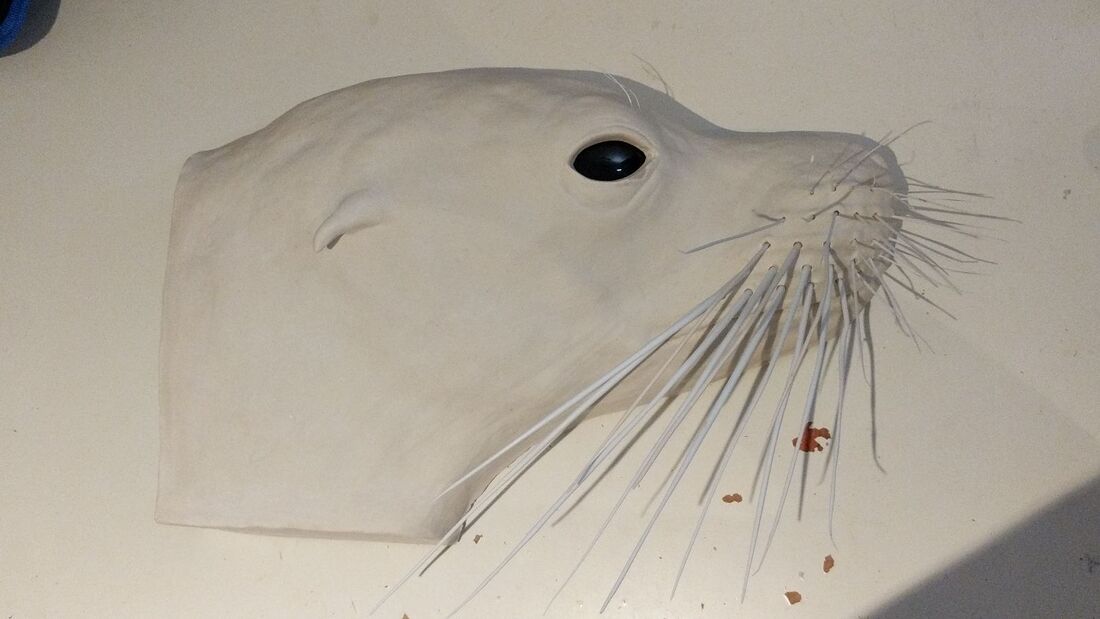
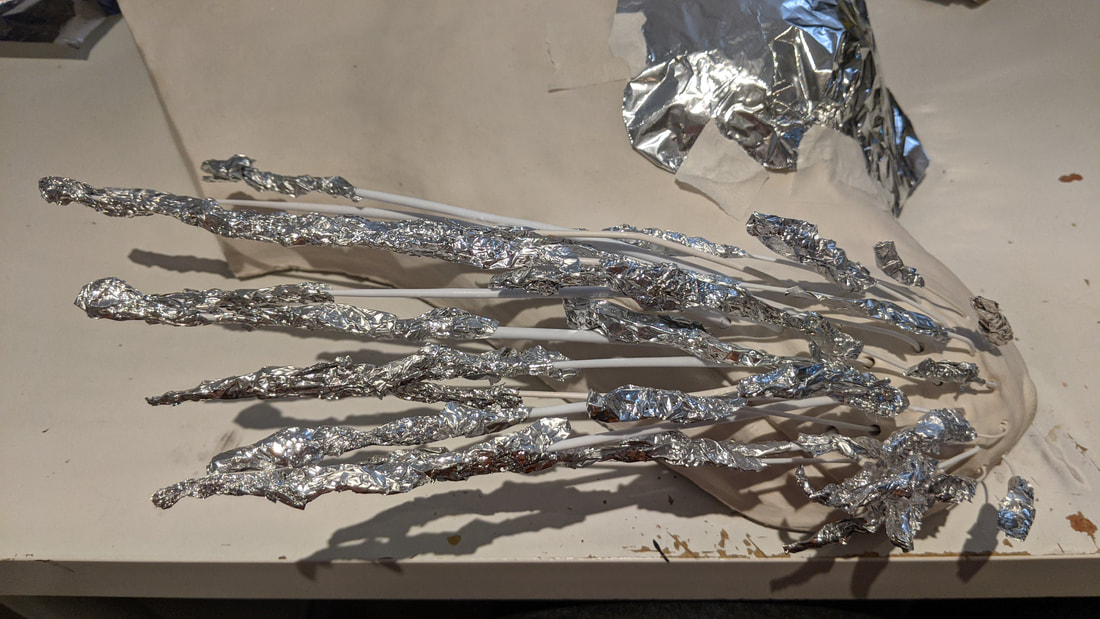
 The whiskers where placed in these holes and glued in place, each trimmed down on the inside. The foil was used to stop the ends curing as i heated them up to shape them backwards.
Filling in the back piece and the whisker holes. The back piece of wood can be used as a mounting solution as it can be drilled into form the back of the information board
Finishing
0 Comments
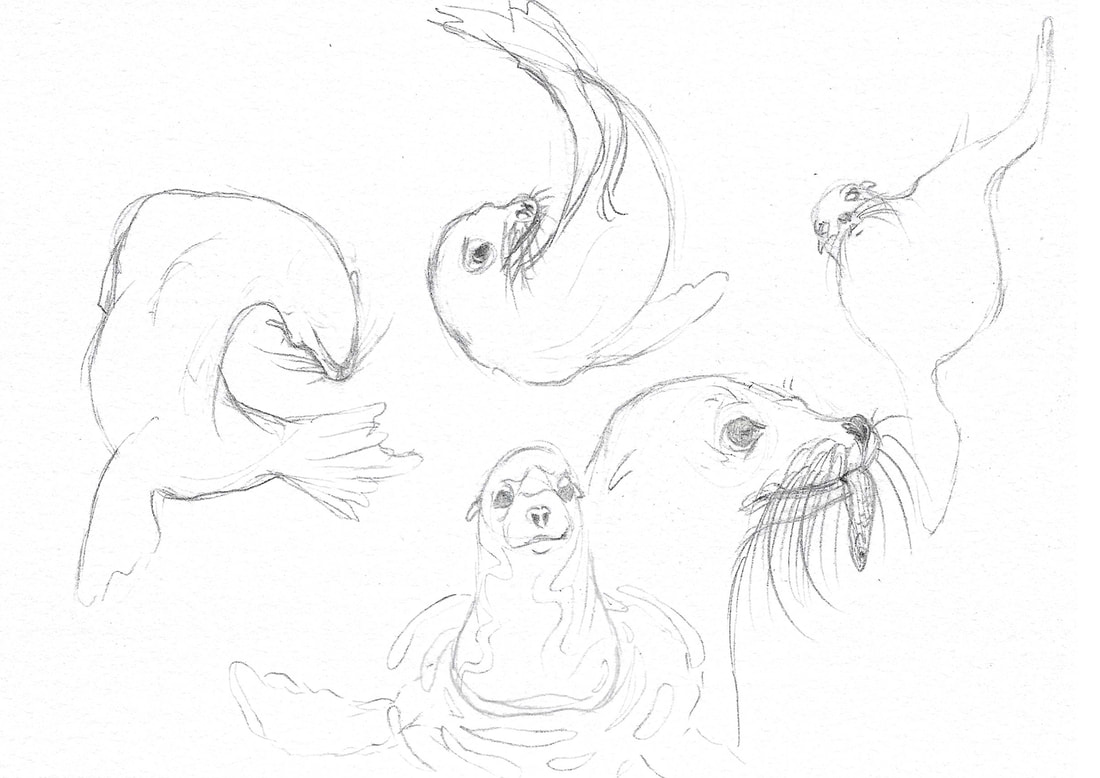
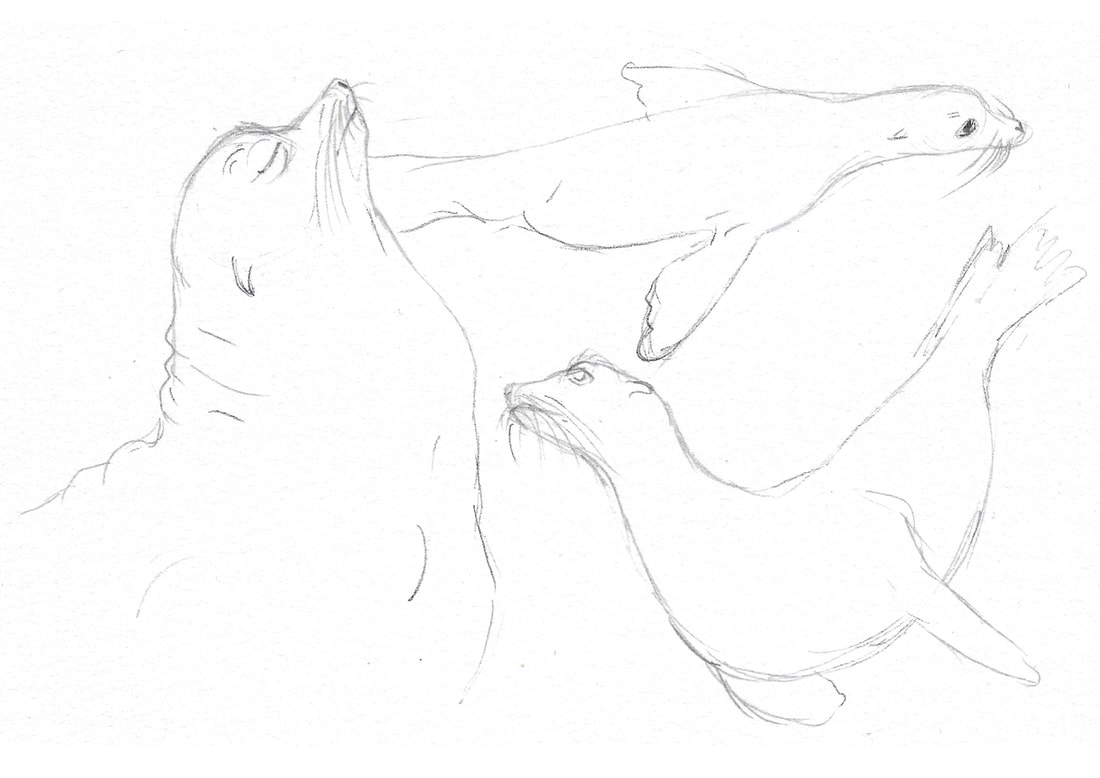
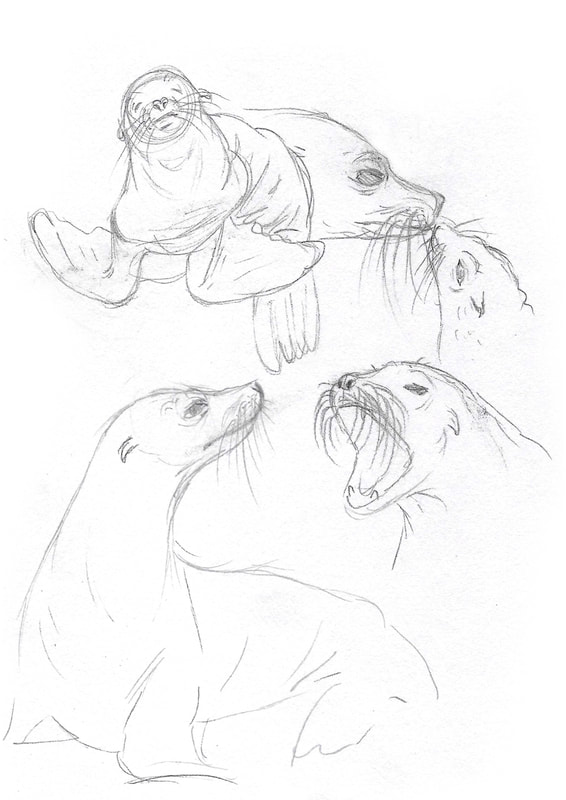
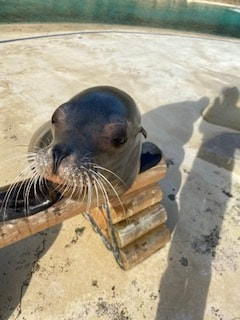
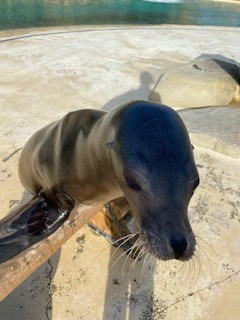
Here are some early sketches of Californian Sea Lions so I could become more familiar with their form and work on their likenesses.
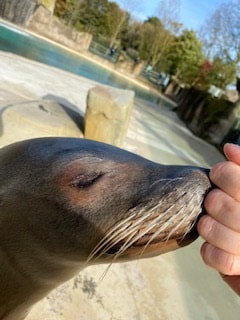
Thinking about my model and Sea Lions in general I had some questions for my client; my contact at the zoo arranged a video meeting with their resident Sea Lion expert and the animals and what the zoo would specifically want the public to see in a model. Here are my key take-aways from the meeting about the model and some issues that needed addressing: Interesting parts of a Sea Lion you wish to display? People may not know that Sea Lions have no eyelashes but instead have whisker ‘eyebrows’. Their little ears are a key way of differentiating between Sea Lions and Seals (which don't have any). The whiskers are very powerful and key to the Sea Lion - they could be blind and still survive because of them. Their thoughts on my Ideas for the model at the moment? As the model is going to be 1:1 scale just the head would work and display the key features of the Sea Lions head. We agreed the risk with this would be the ‘hunting trophy’ connotations if the Sea Lion’s head was mounted by the neck. To avoid this we agreed half of the head - a profile - would be sufficient, and reduce my workload to a more manageable amount for my university project deadline. This design idea would also provide a large mounting space for the model which is important for the zoo as the public will be interacting with the model. Where is the model likely to end up? Plinth? Table? Wall? Near the outdoor seal enclosure, in which case mounting it to the information board or similar vertical surface makes sense. Texture and finish of the model? As the model is outdoors a hard shell finish, sculpted textures rather than flocking, is the right way to go. This means it can be weather resistant and easier for the zoo to clean and maintain. How will I get references and measurements of the Sea Lion? As Blackpool Zoo is so far away, I’ve only visited for one in-person meeting at the start of the unit, before we decided on the animal I will be making. For references we agreed it would be easier for the Sea Lion’s trainers to get the pictures and measurements I need. Unfortunately, as I was working through the later design stages I lost two weeks due to a severe sickness. As I was ill for a substantial part of the project it became clear I was going to need an extension to make up for the lost time. With this in mind I continued my project and I was able to get to uni finally to discuss my project plan with our molding and casting specialist so he could advise me on my next steps with materials and techniques. Here are some designs I drew to illustrate the model plan.
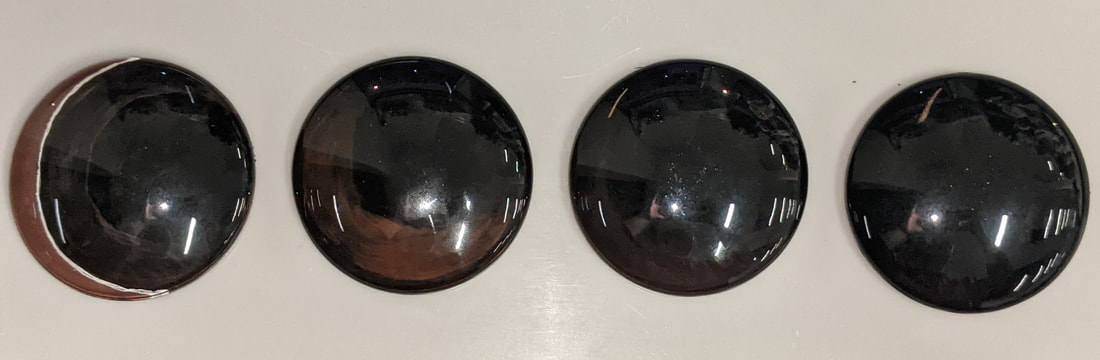
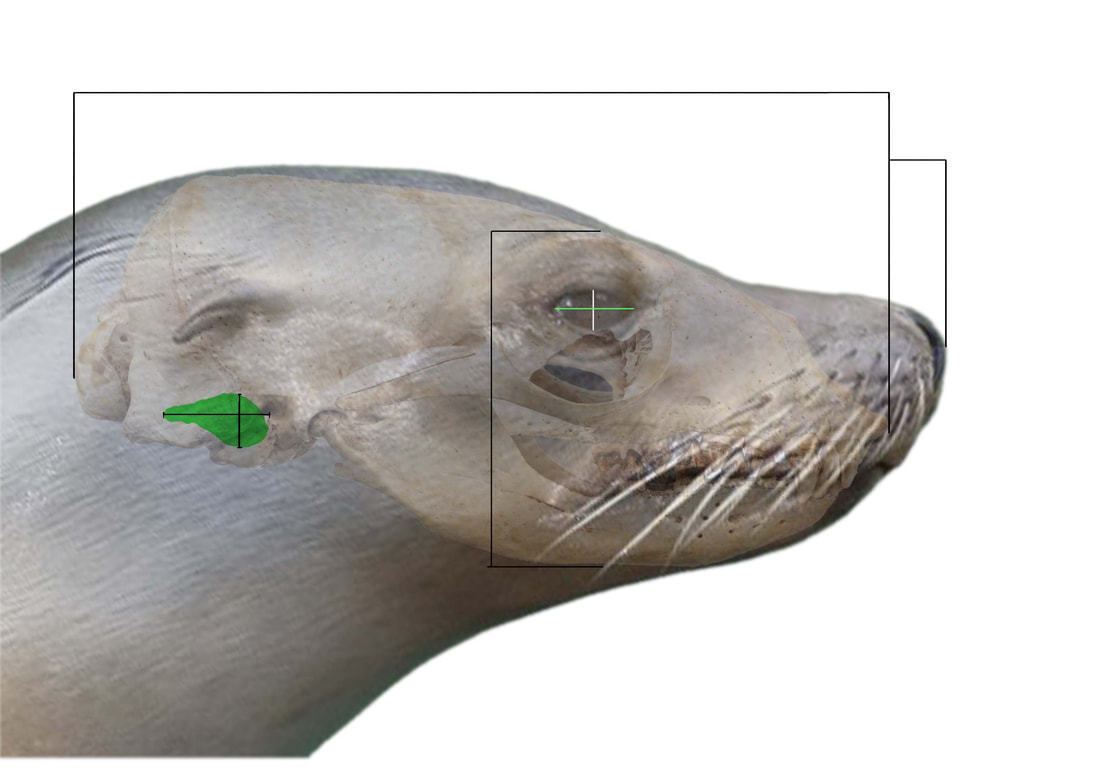
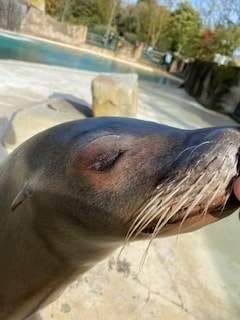
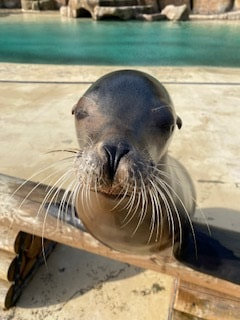
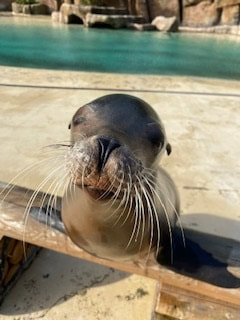
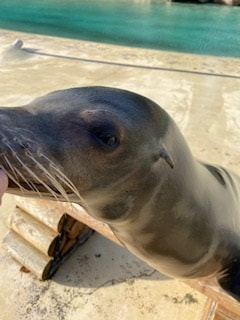
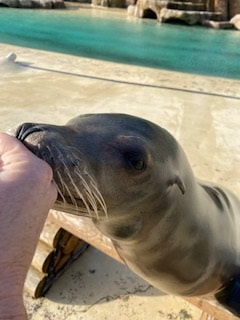
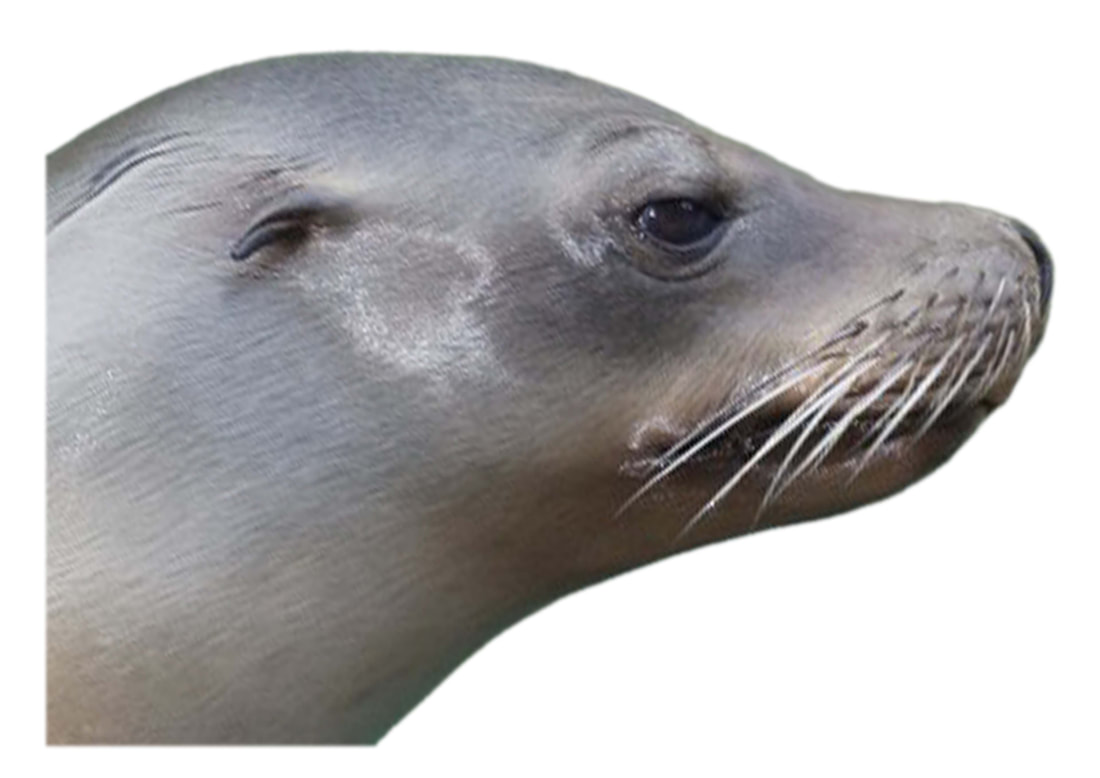
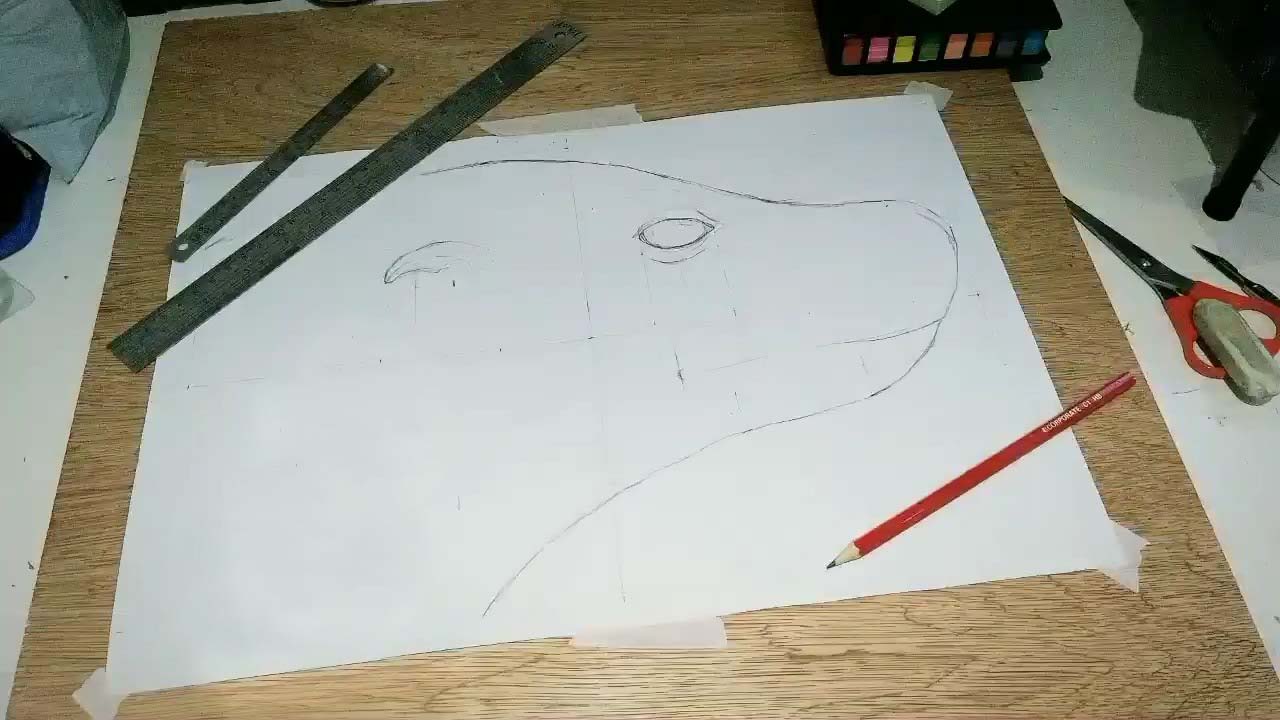
The model will need a silicon jacket mould and a two or three part fiberglass shell to hold it rigid. The model can then be cast in a tinted fiberglass ready for painting. The back of the model will have an integrated mounting system so it can be bolted securely. The two other key parts of the model are the whiskers and the eye. The whiskers are important to get right and I looked into materials like nylon wire. After speaking with my tutor she suggested using round rods of styrene plastic and stretching it to thin it out. The benefit of these is the tapering effect I wouldn’t get with the nylon and the extra control over the individual sizes of whiskers. The eye offers its own challenges - one option is to sculpt an eye in place and use a glossy finish paint or clear resin to mimic the eye. However, as I am keen to create a very glassy realistic eye I chose to use a flat back glass dome; the eye colouration goes behind it and then all placed in the shell, visible through a hole cut out for the eye in the fiberglass. Afterwards it can be glued securely in place. To ensure it is the same as the clay model I will use an identical dome in the sculpture. Once I received the images of a Blackpool Zoo Sea Lion and began working on the model, I knew I needed a near perfect profile photo so I used this image below.
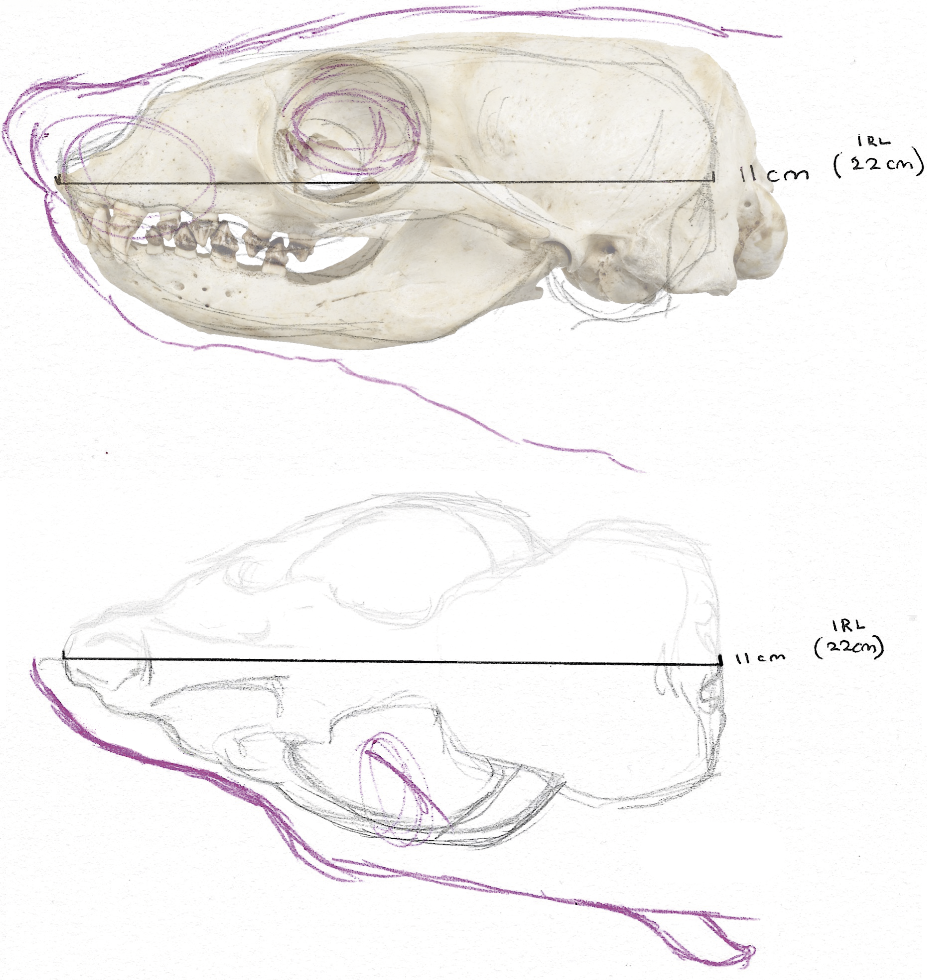
These are the measurements provided by Blackpool Zoo (after they trained their Sea Lions to get used to the tape measure):
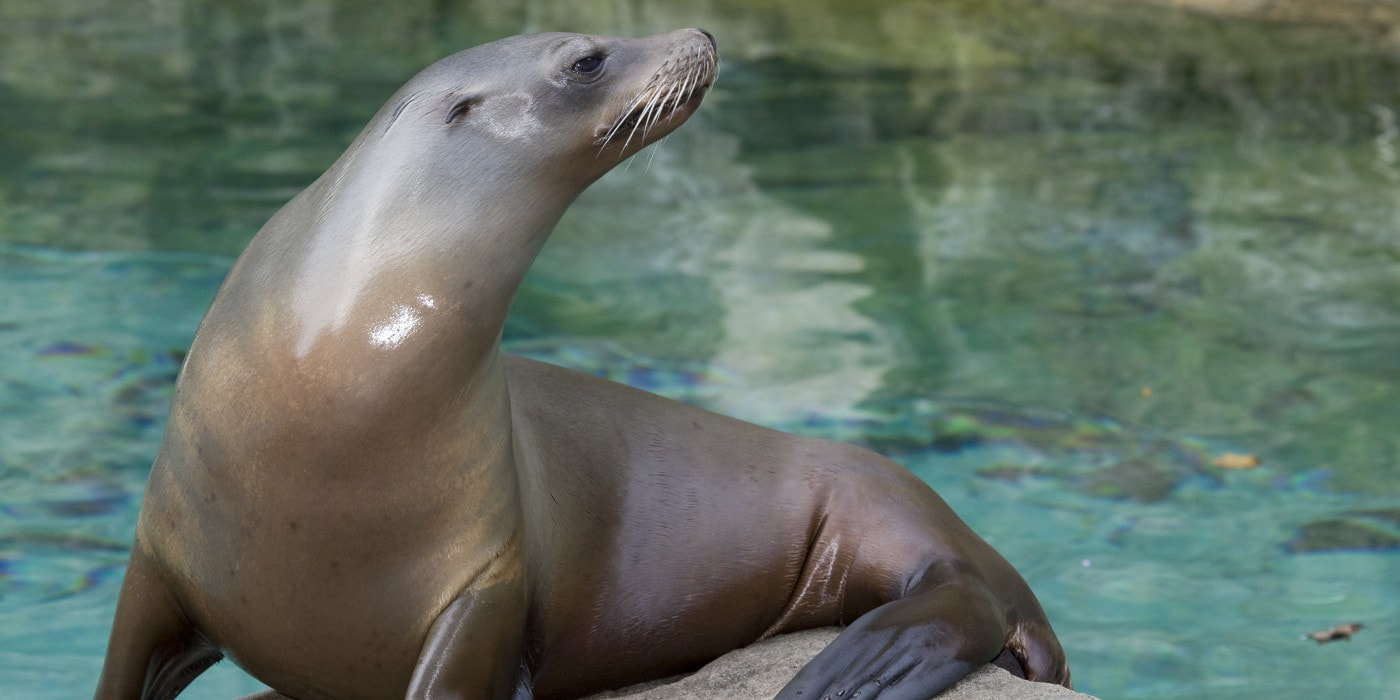 stock image with an almost perfect side on view for reference Alamy Stock Photo. (2009). California Sea Lion. [online image]. Available from: Here [Accessed on 1 November 2021] Staring Model Construction Here is the documentation of the initial model construction:
For External Brief unit I will be working with a live client. The project will be lead by what the client wants and needs which will be outlined in an agreed upon project brief. From there, it is my responsibility to organise the project making and further client communication in a professional manner. Below is an overview of the project developments so far:
For my model I will be replicating the subtle fur of the Sea Lion through sculpting rather than a flocking technique, as shown in the Blue Rhino Studio examples below. This is beneficial for a model that will likely get wet, will need cleaning and it needs to be low maintenance.
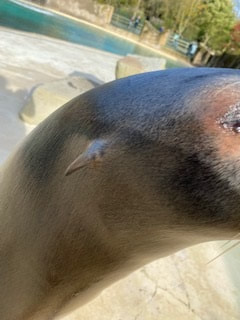
- As marine mammals they have a thick layer of blubber and thick short fur to keep them warm. - Unlike Seals they have small ear flaps. - They also have a nictitating membrane on their eyes to keep out debris as they have no eyelashes. - Sea Lions have 36 whiskers on each side called vibrissae; and these whiskers are also above the eyes, rather than eyebrows. Blackpool Zoo writes about their California Sea Lions (, “[they] have long whiskers on their noses which are attached to highly sensitive pressure and touch receptors in the skin which help the sea lion to catch fish and detect the movement of predators such as sharks in the water.” Blackpool Zoo. (n.d.). Californian Sealion. [online]. Available from: https://www.blackpoolzoo.org.uk/animals/californian-sealion [Accessed 29 October 2021]
 |
Third Year
|


 RSS Feed
