
|
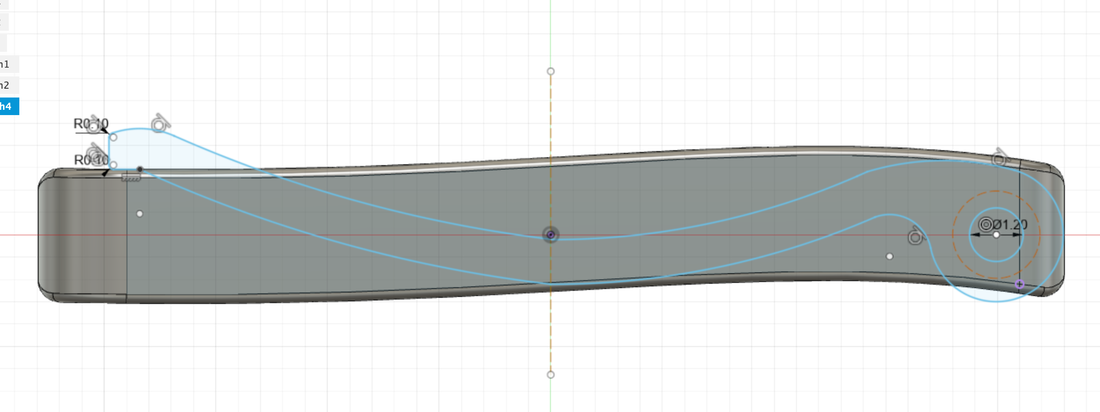
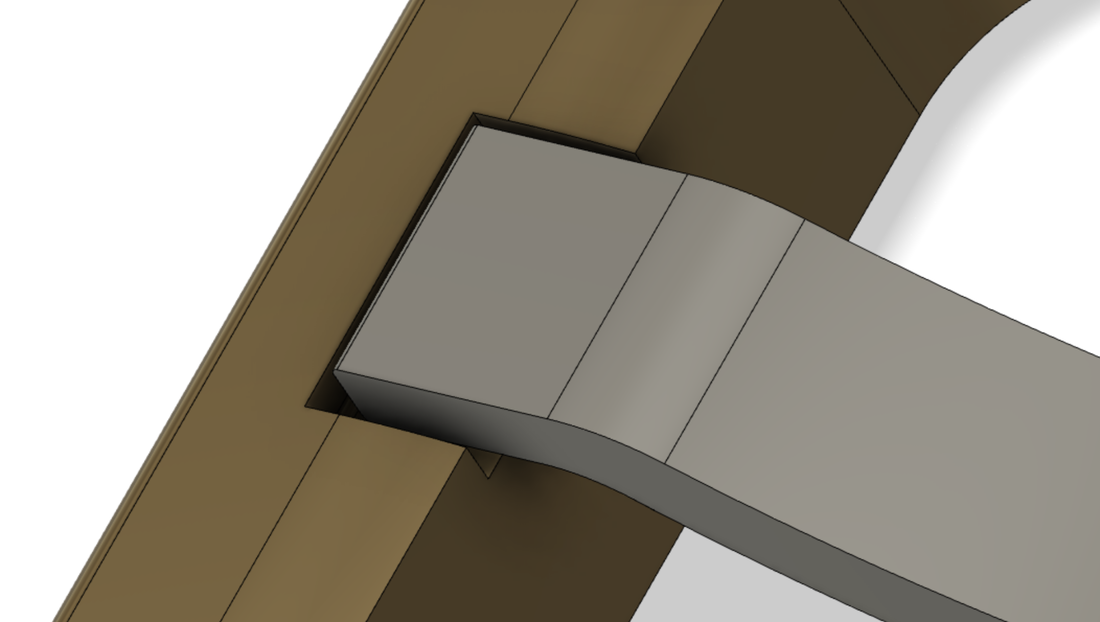
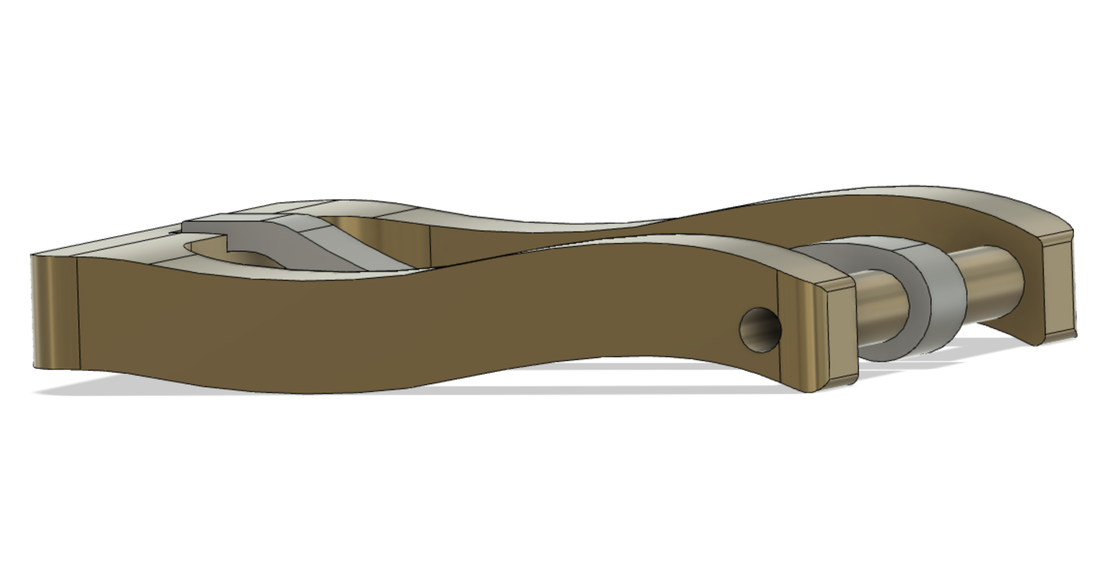
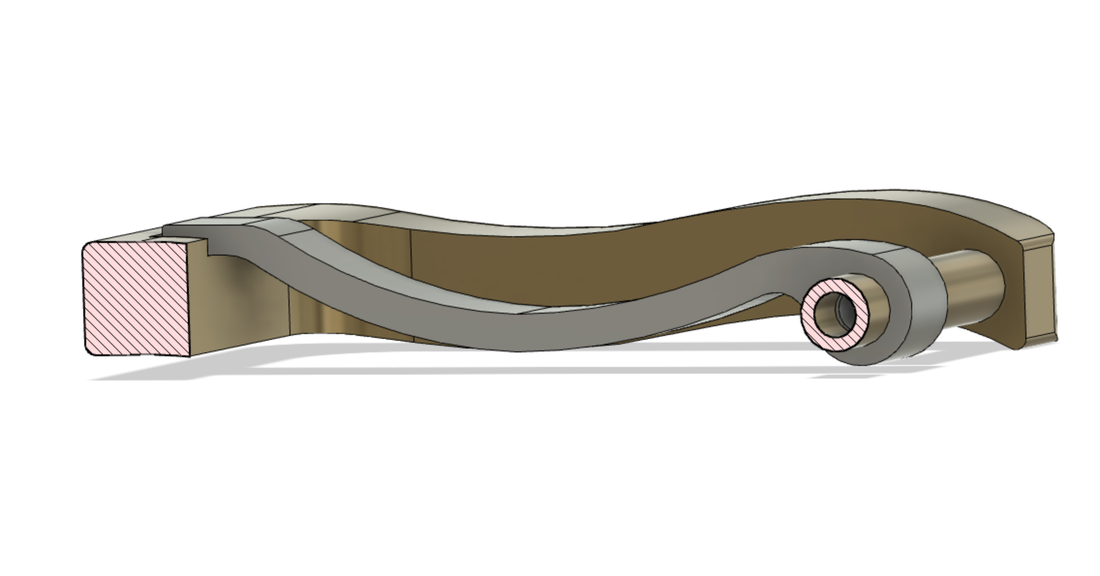
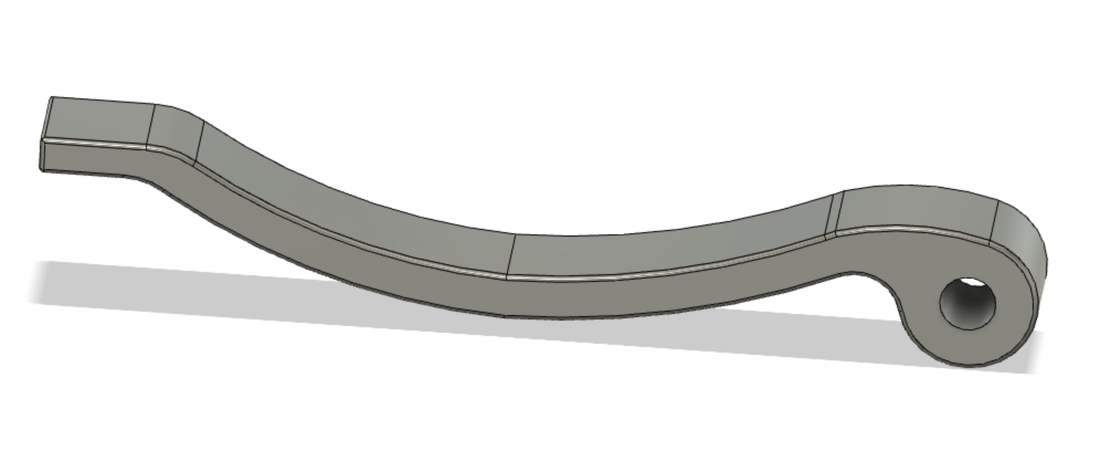
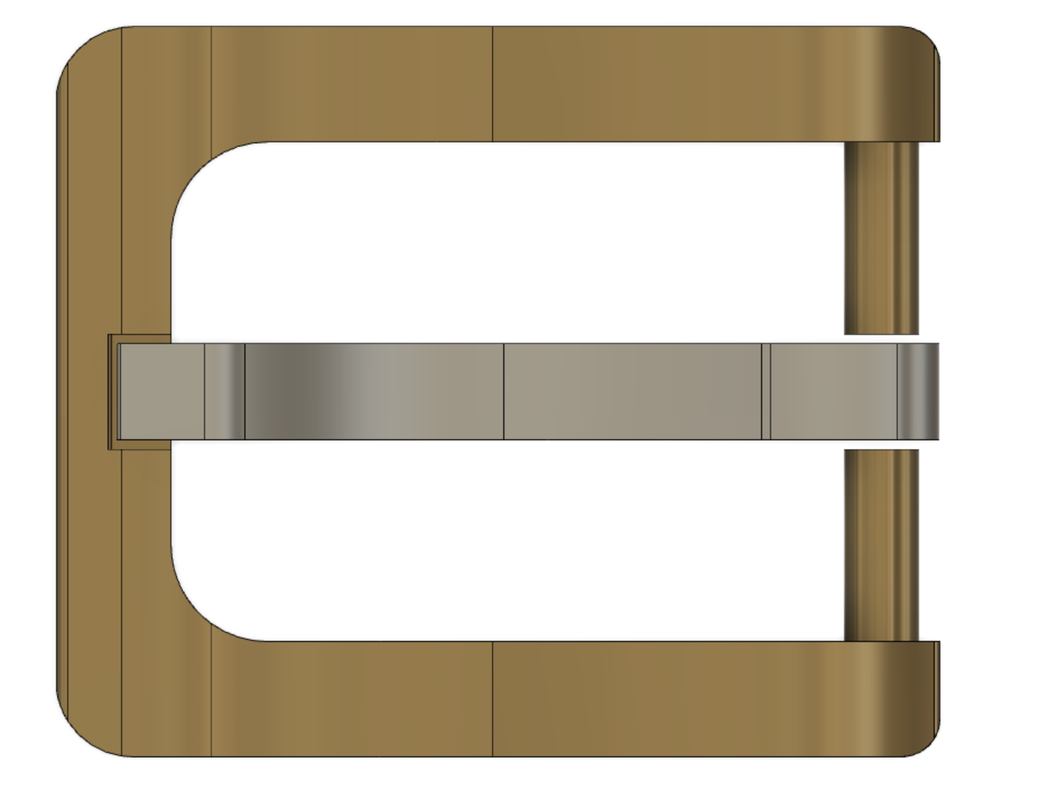
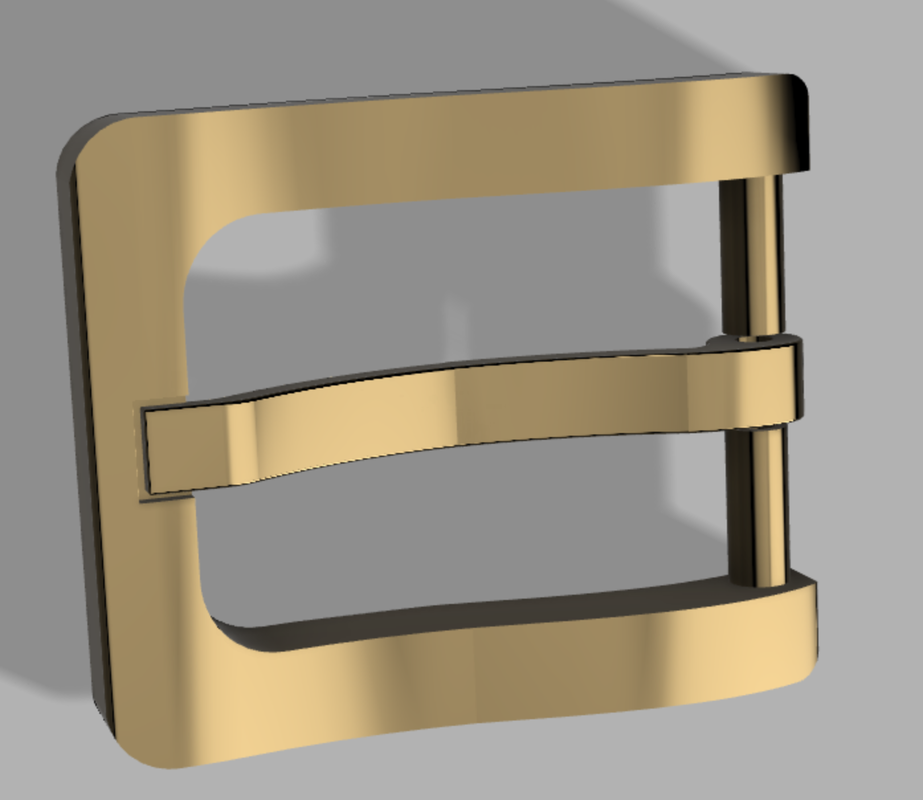
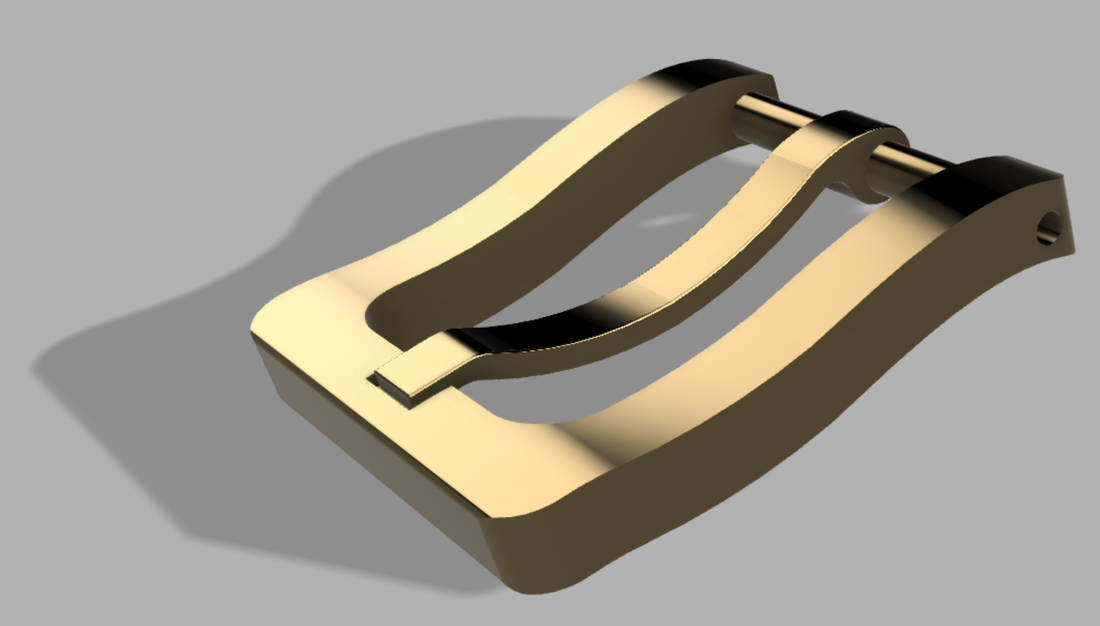
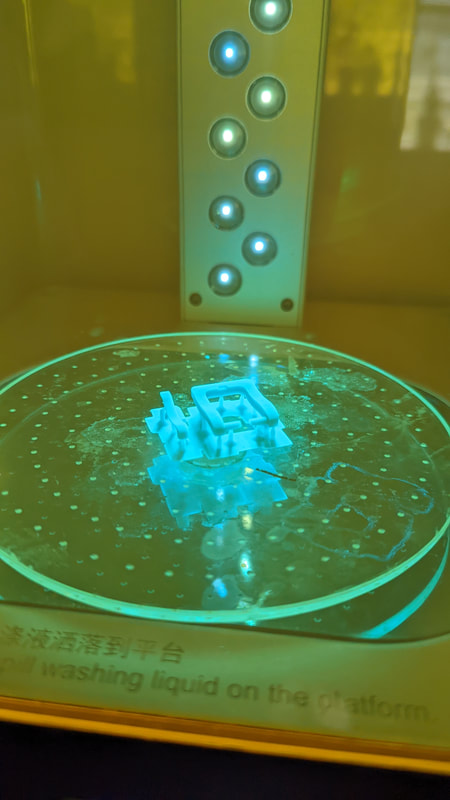
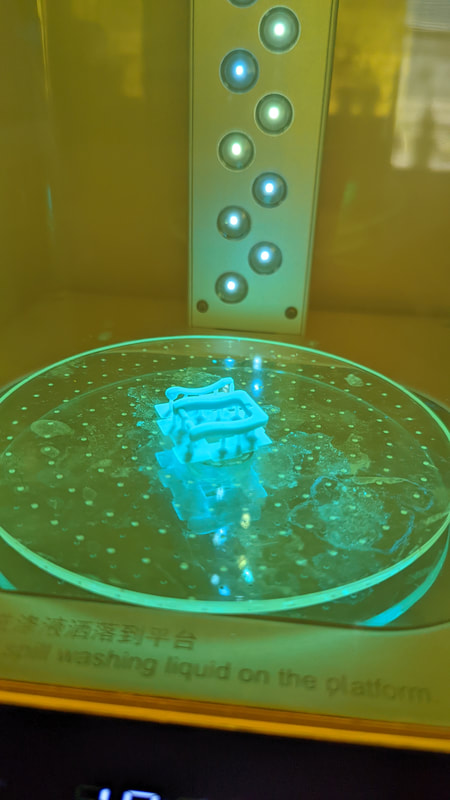
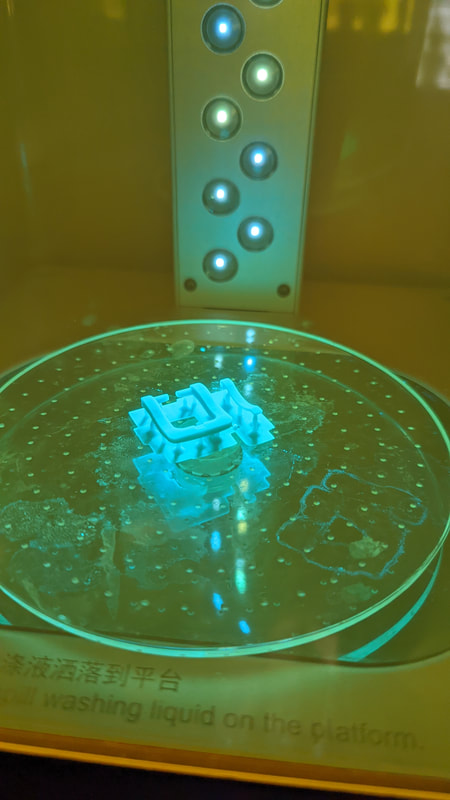
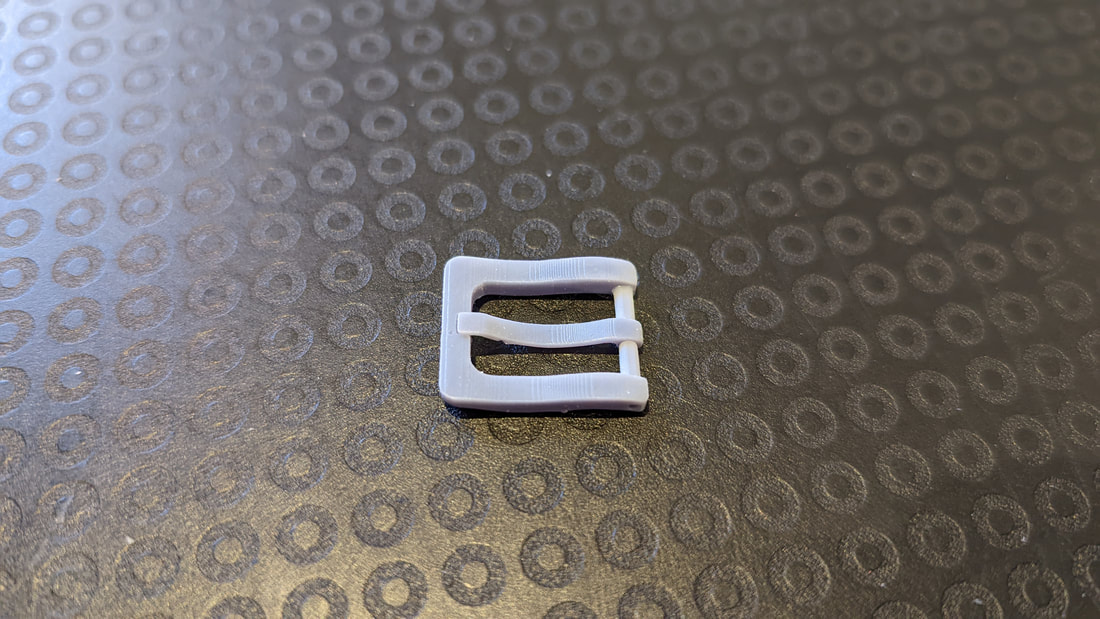
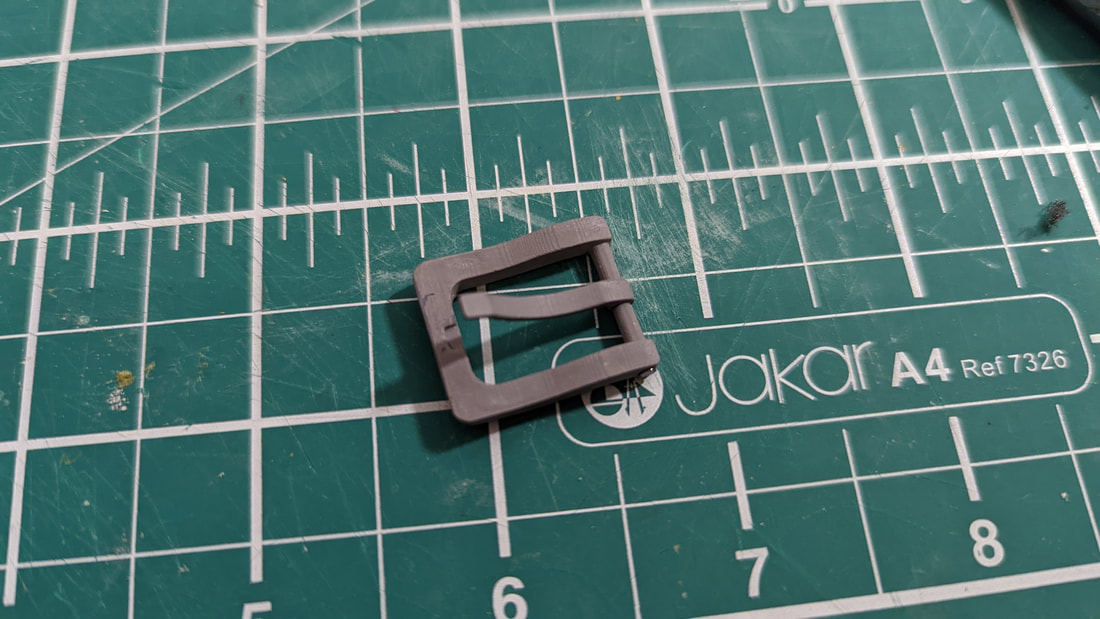
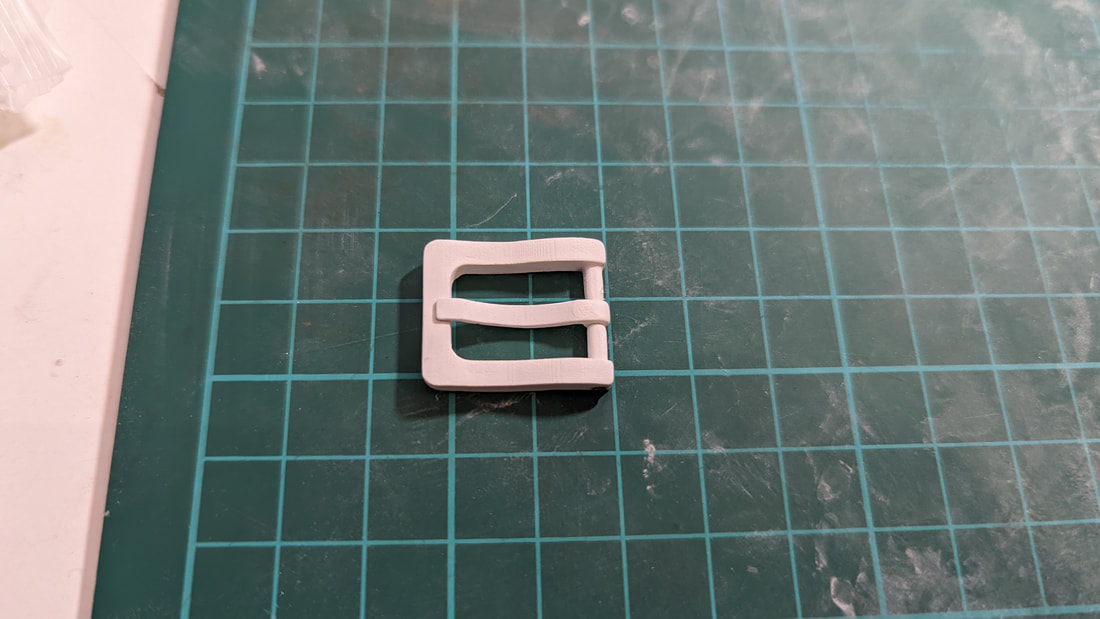
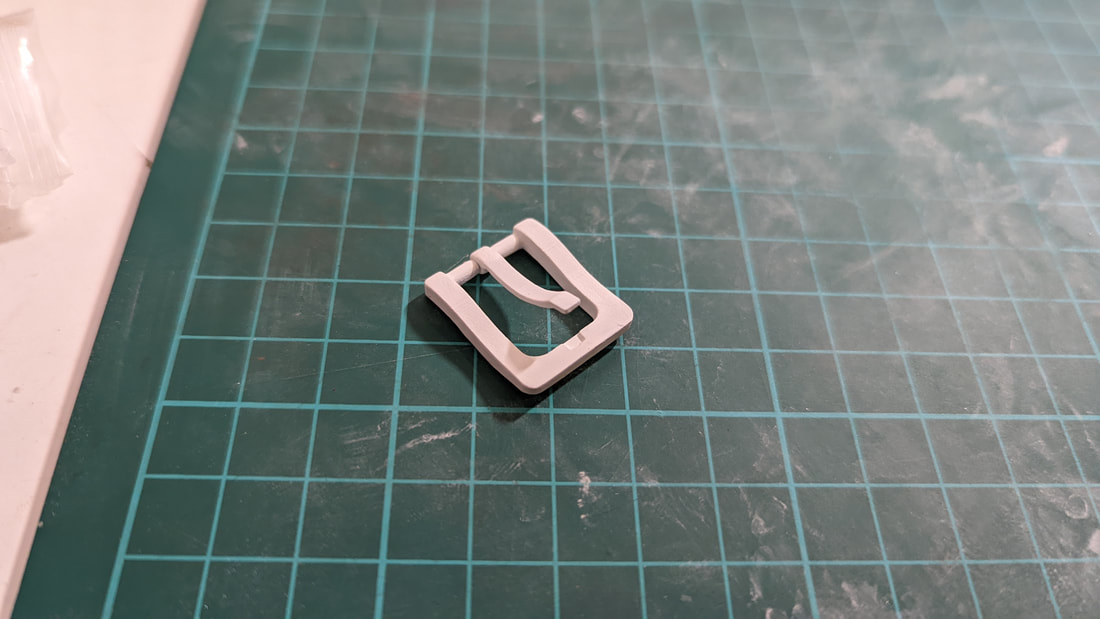
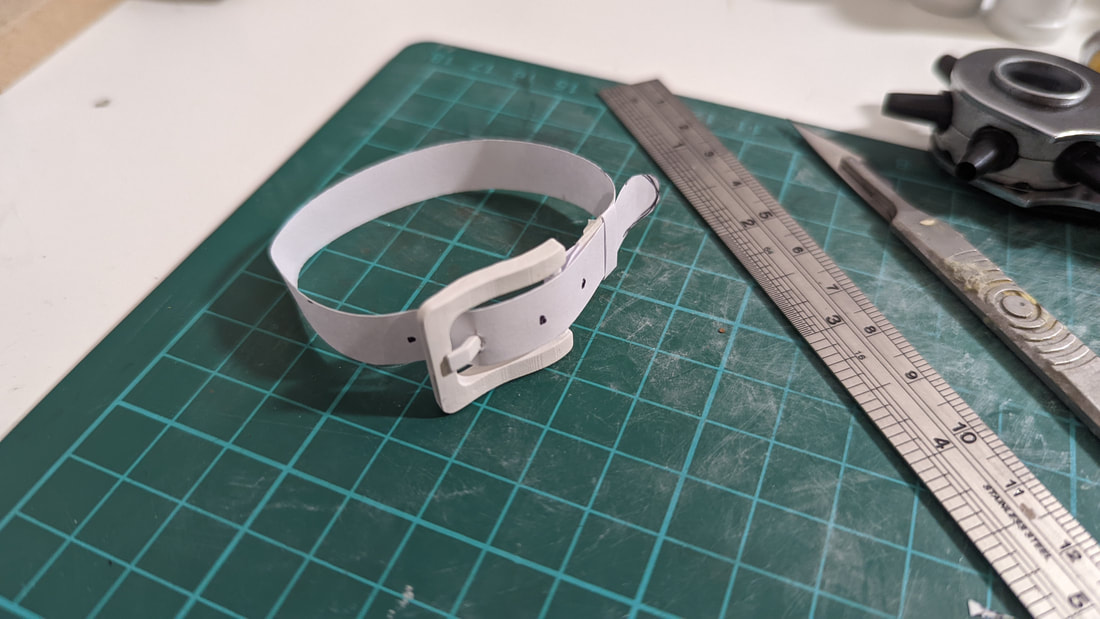
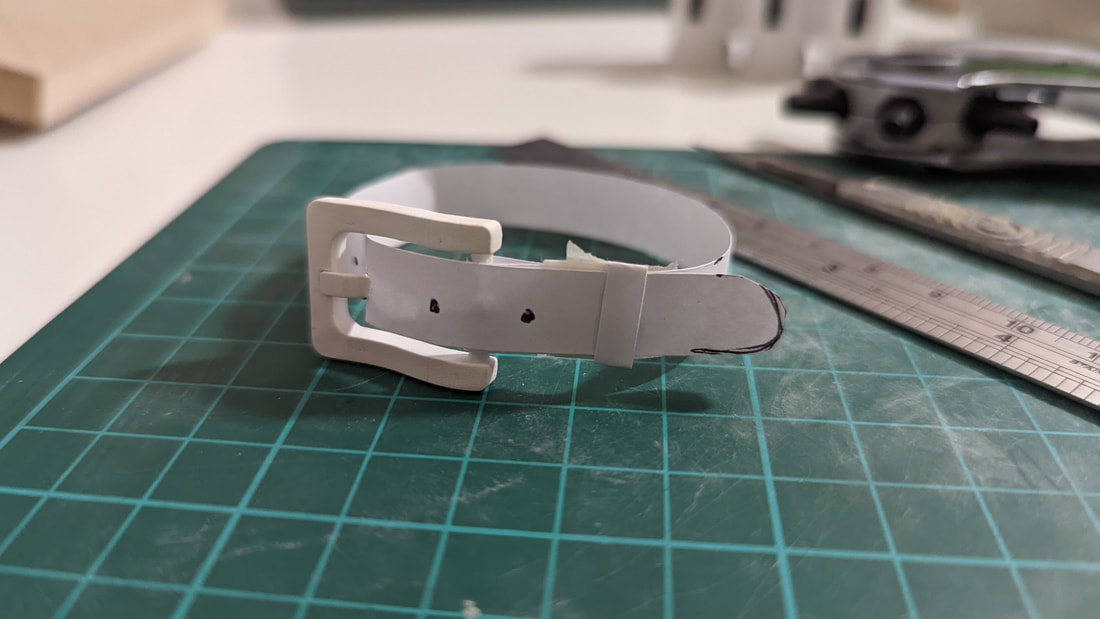
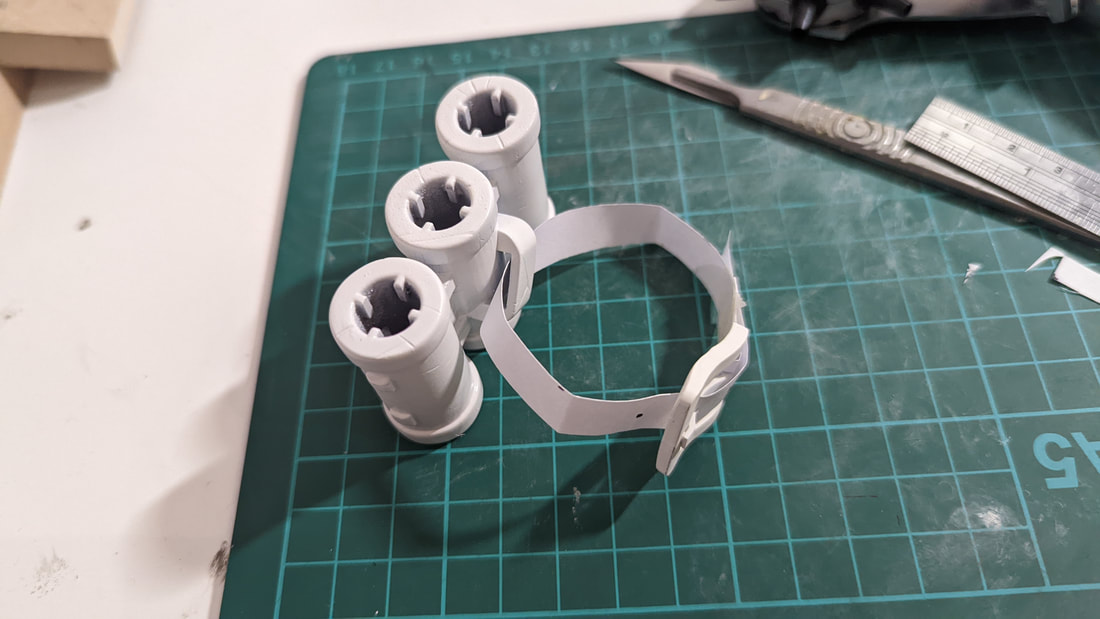
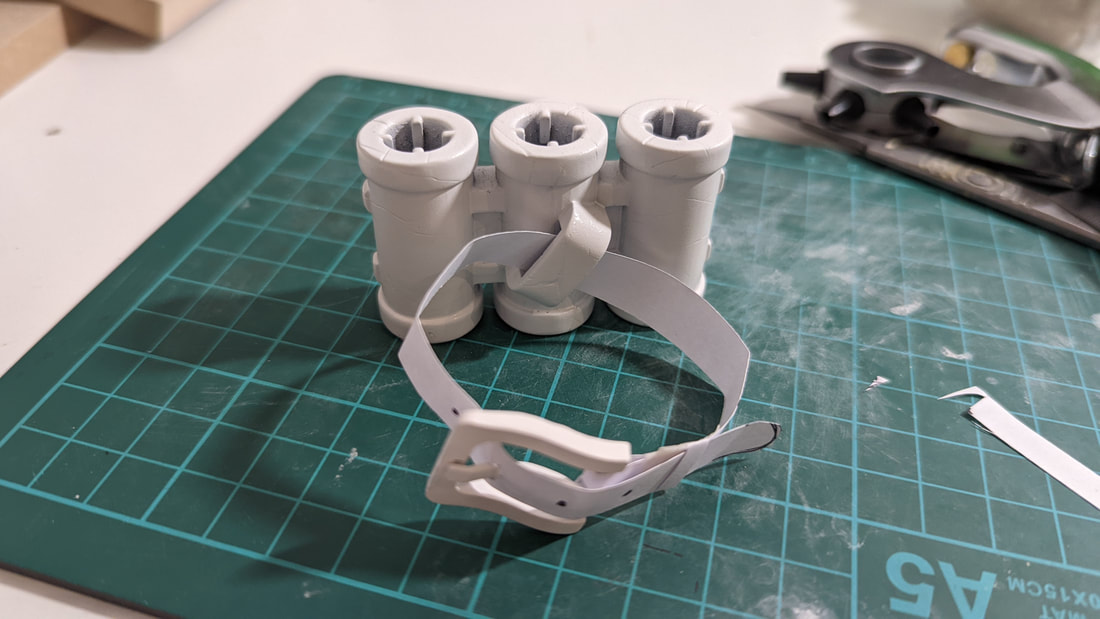
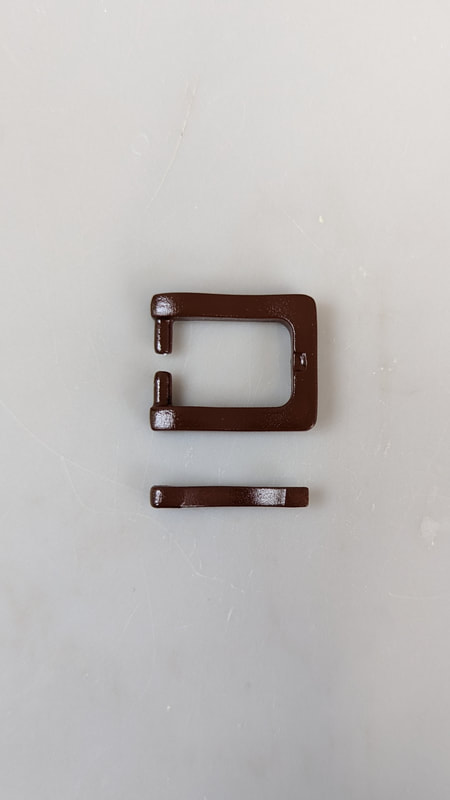
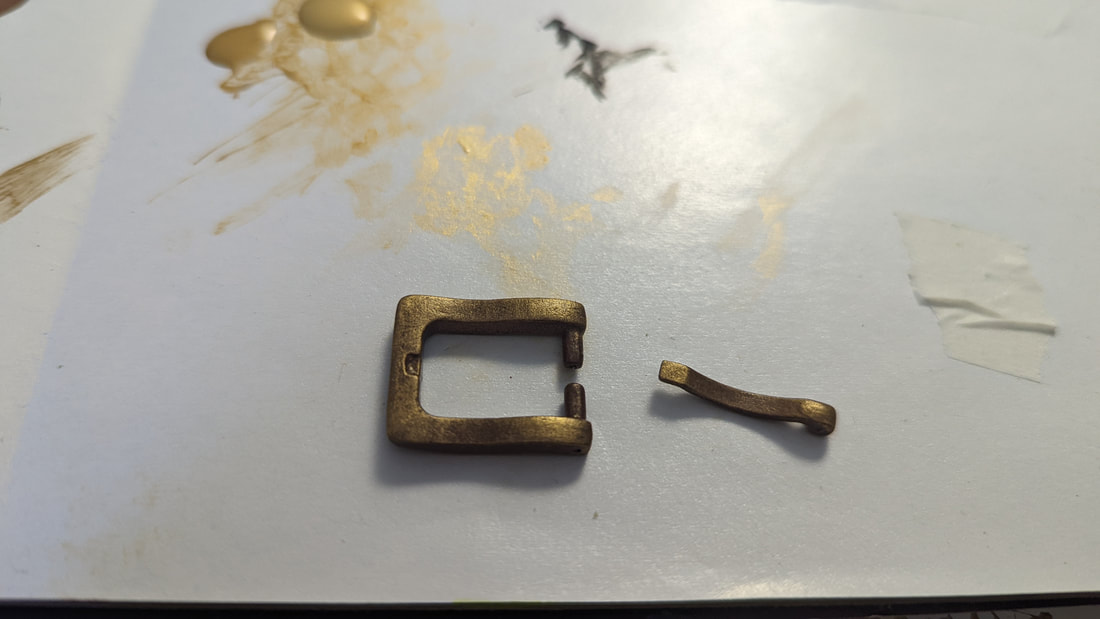
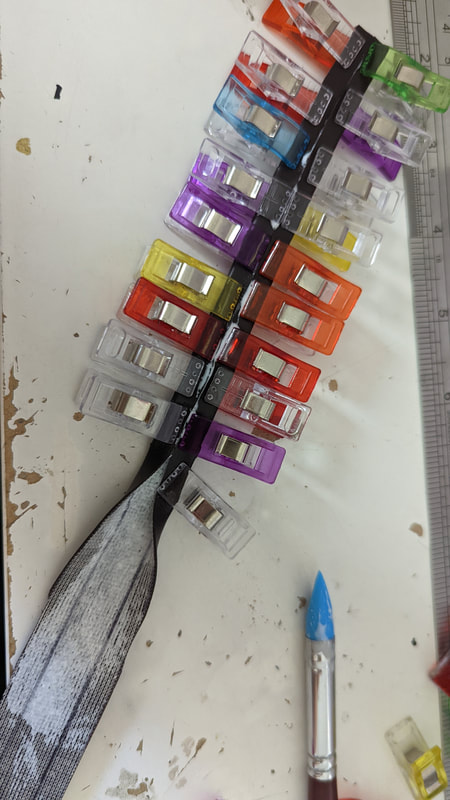
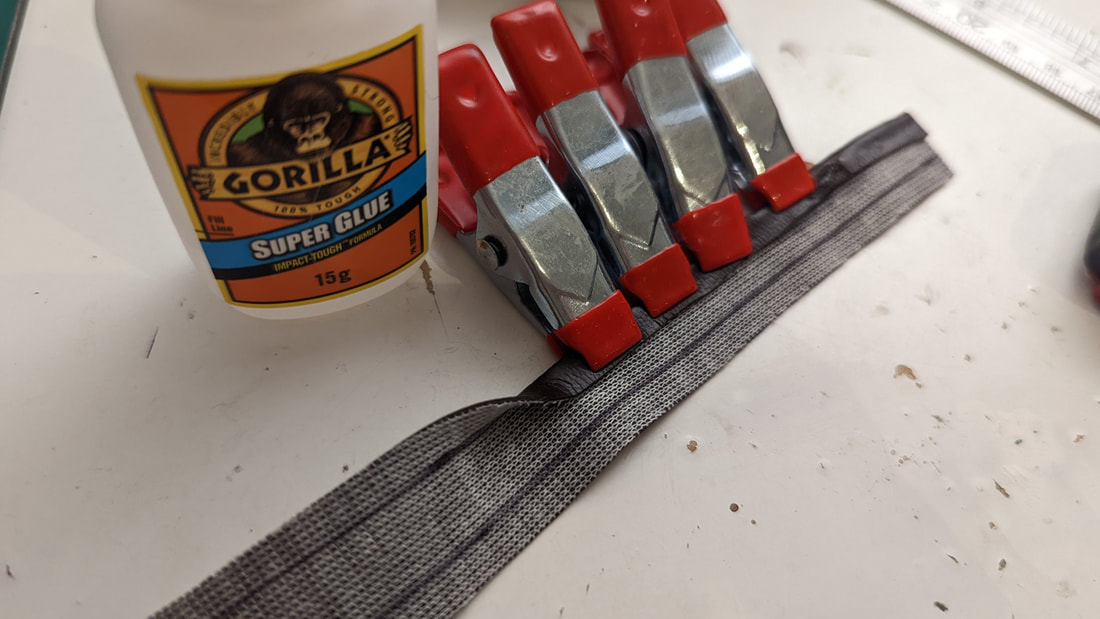
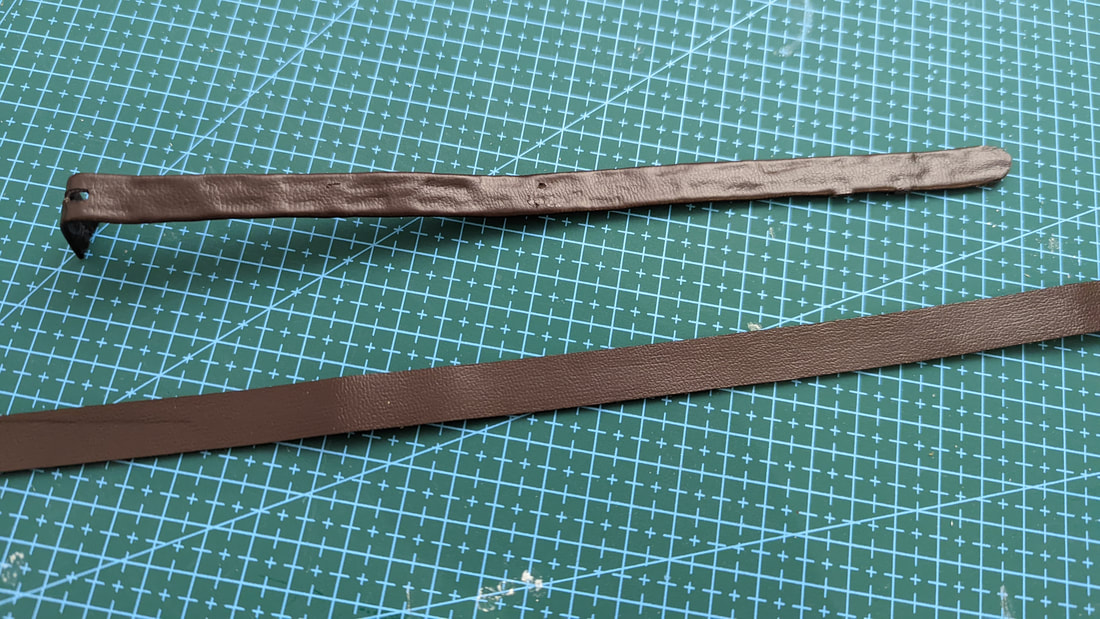
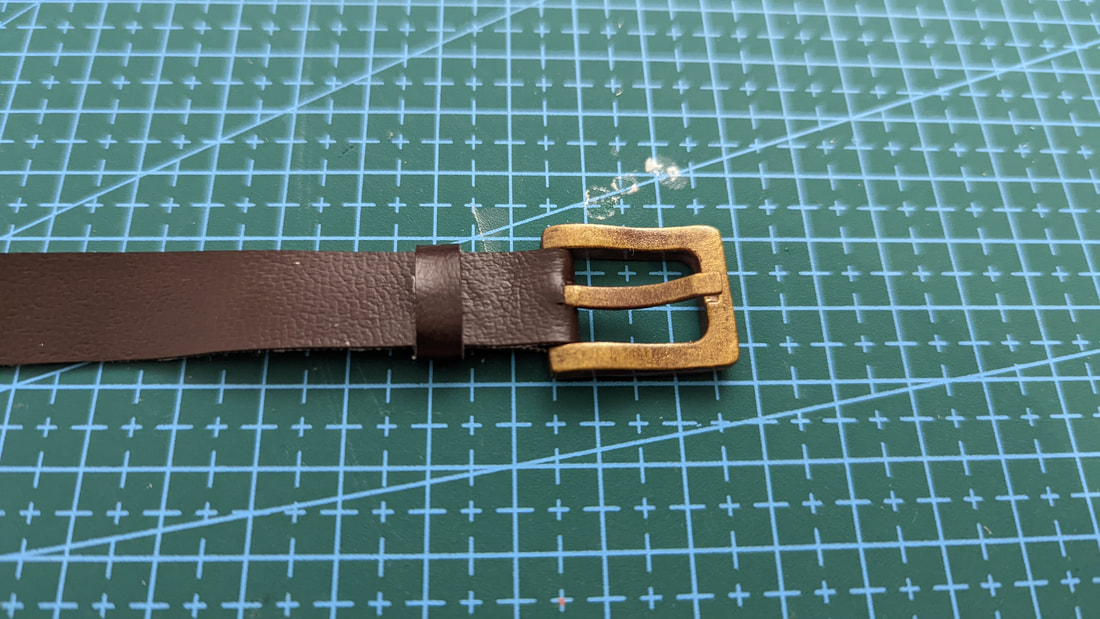
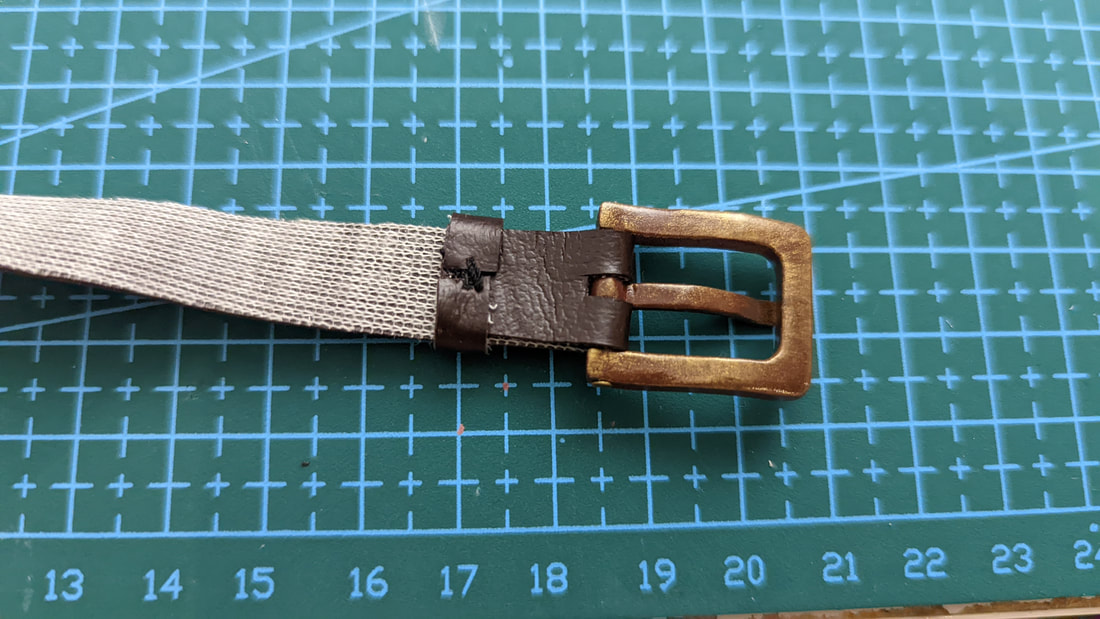
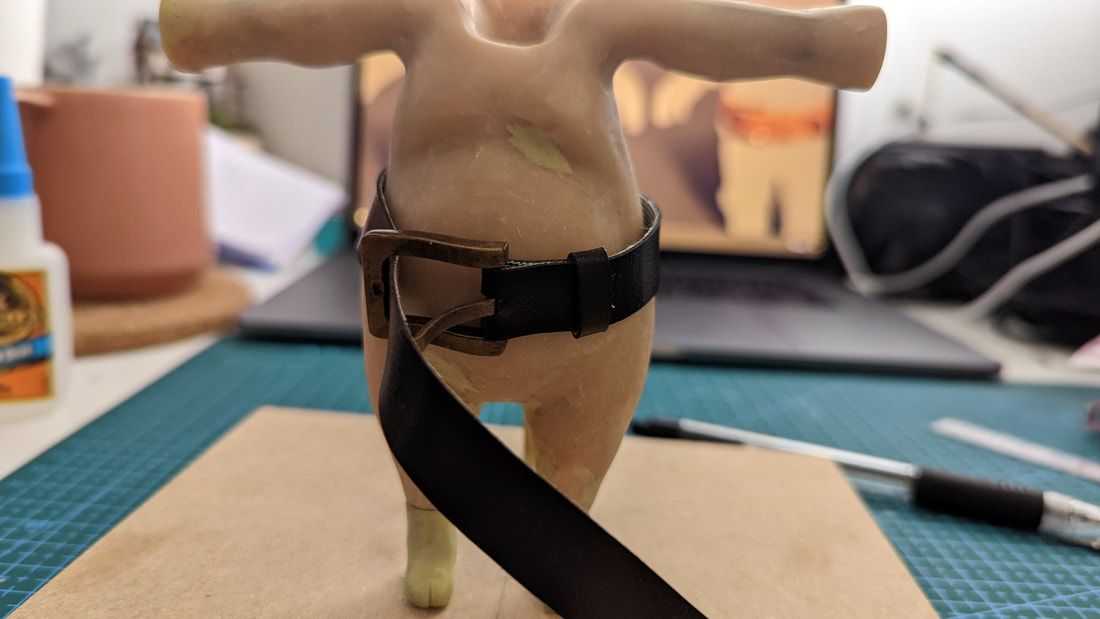
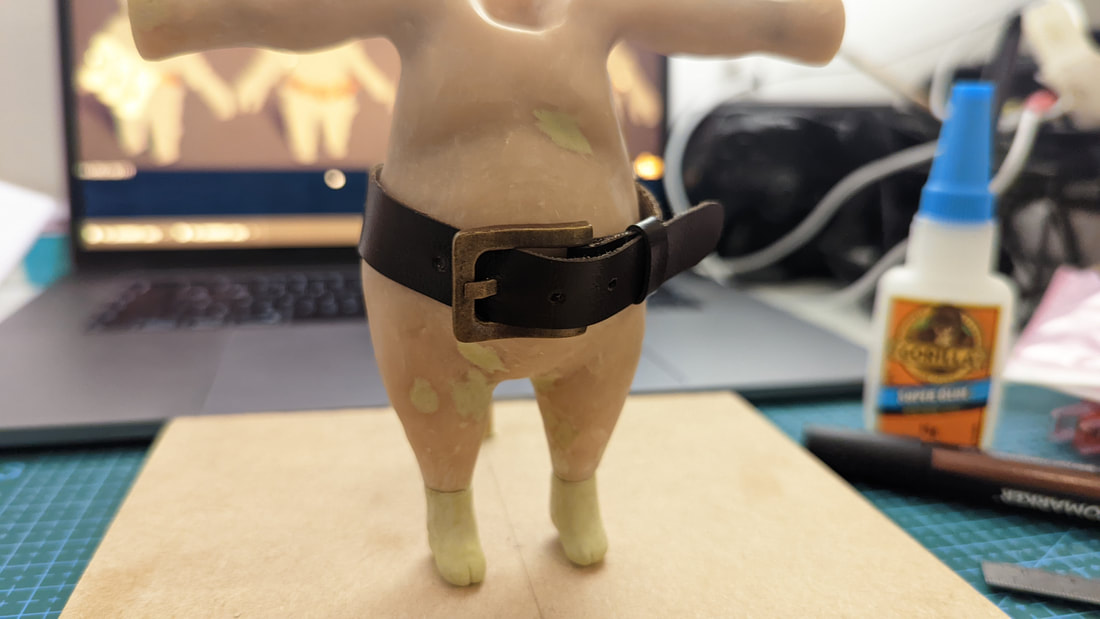
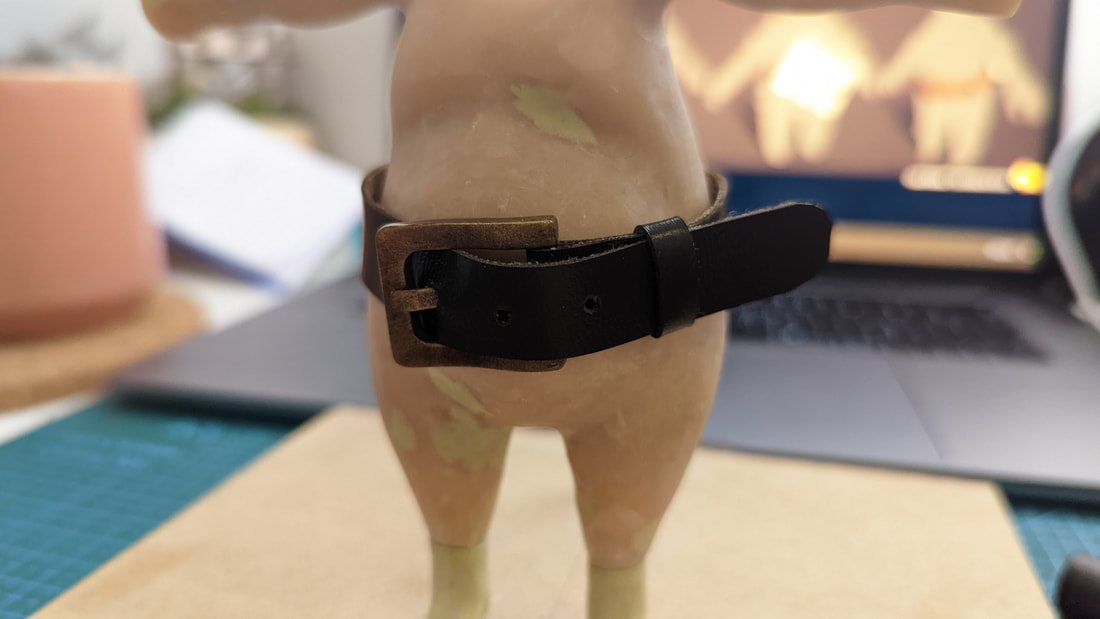
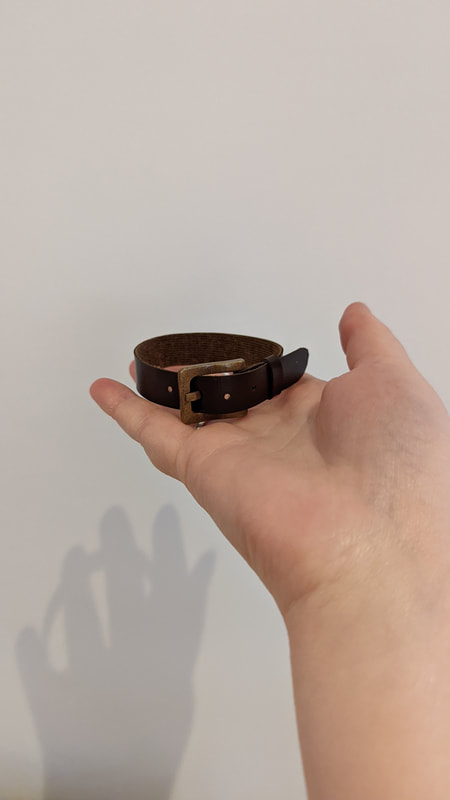
Creating the belt included designing the buckle on Fusion 360 and resin printing the model. The supports left a lot of scaring on this little model so it required filler and several layers of primer sanded back and reapplying. To hold the hinge in place I used a tiny tack. For the strap I determined the dimensions using the previously posted images and created this paper reference as a test of concept. It acted as a type of basic sewing pattern/proof of concept. The painting for the resin buckle was a case of a base spray coat of russet brown and finished with golden bronze paint dry brushed on. The dry brushing technique meant that the low areas remain darker brown giving the buckle a worn effect. The brown faux fabric I purchased was thick but able to go through my sewing machine: I tried the technique of sewing the seam inside out and turning the tube back on itself. The issue with this was the thickness as it wouldn’t turn inside out at this small size. Instead, I tried using fabric glue and clamps: the issue with this technique is the glue only stuck the two cut edges rather than the parts I was clamping. The result was a tube that looked nothing like the reference. I tested super glue and found that the fabric remains flexible. With this knowledge I used the same method to fold the sides over. Here is a side by side with the back of the super glued experiment vs the fabric cut neatly with a scalpel - the back of it is dyed with a brown marker to remove the white. I wasn’t happy with how messy the back of the superglued strap looked as it would be visible poking out the side after the buckle. The coloured in fabric was thiner which replicated the reference material more closely also, so I decided to use this method. The holes were punctured with a revolving hole punch to get clean cuts. I found that the super glue made a good adhesive here but was entirely unaffected when used on the dyed fabric. Glue and a few stitches kept the belt loop in place; once done I was able to go back in with the brown marker to dye it the correct colour. Below the belt is tested on the model work-in-progress.
0 Comments
Leave a Reply. |
Third Year
|

 RSS Feed
