
|
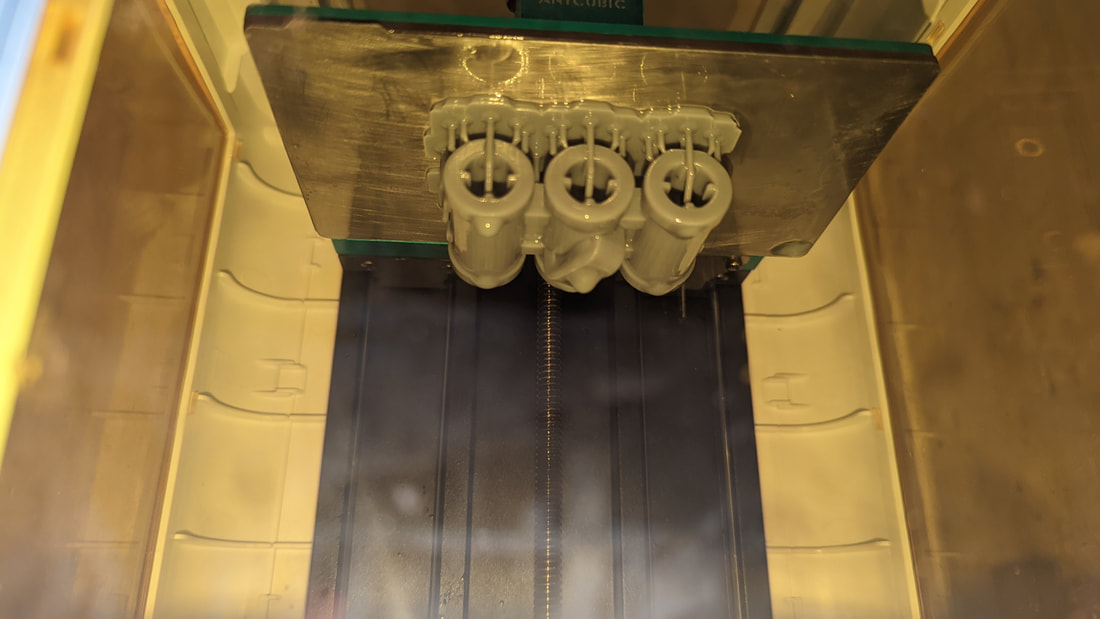
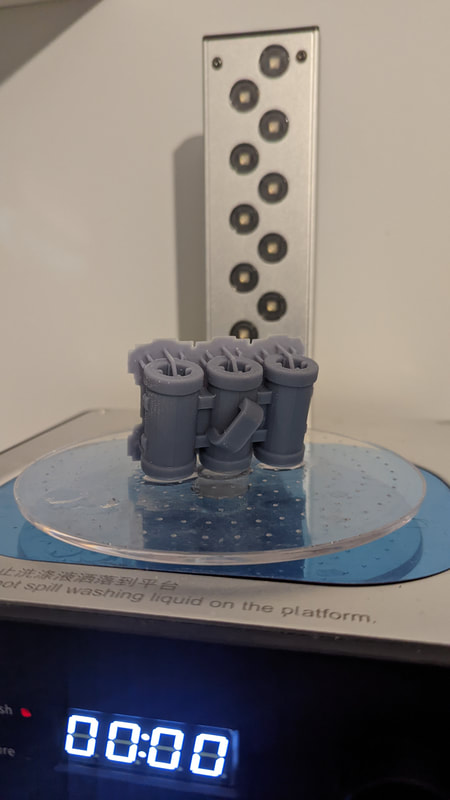
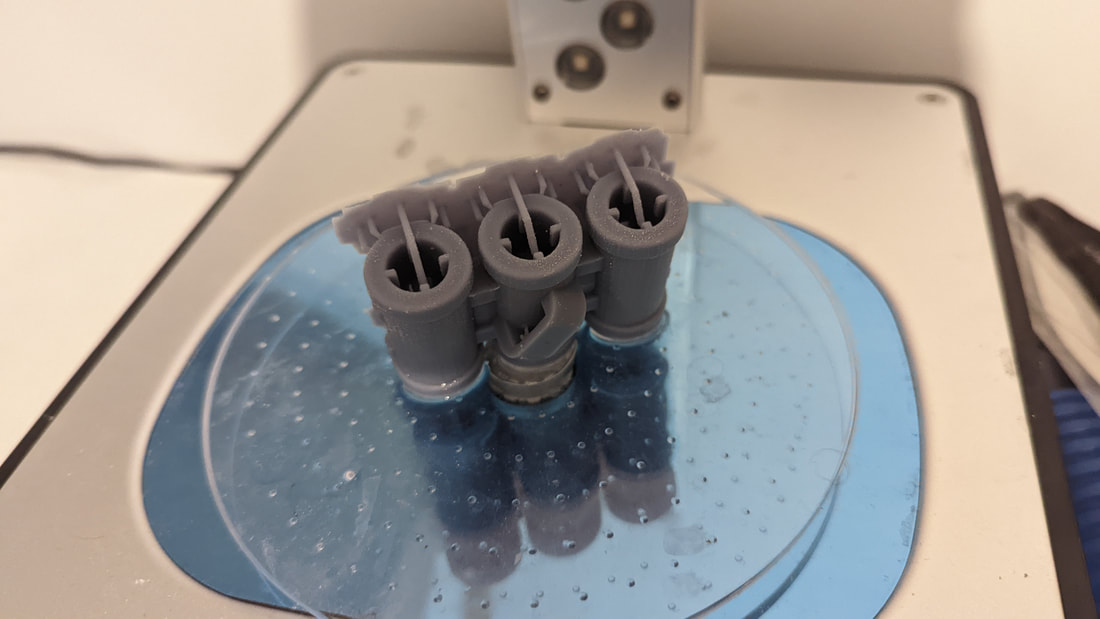
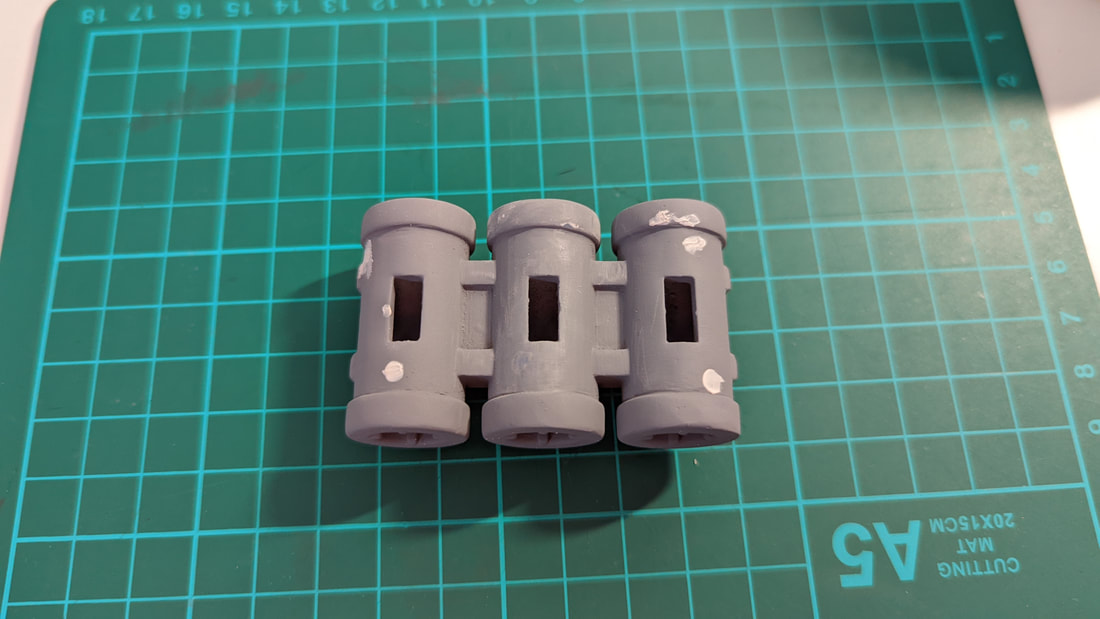
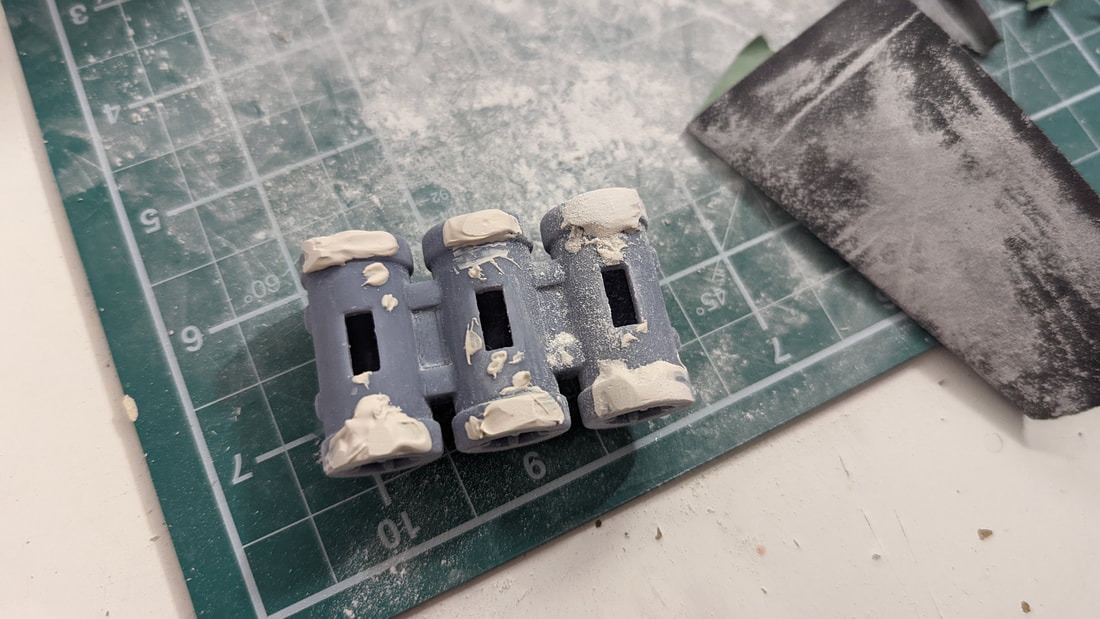
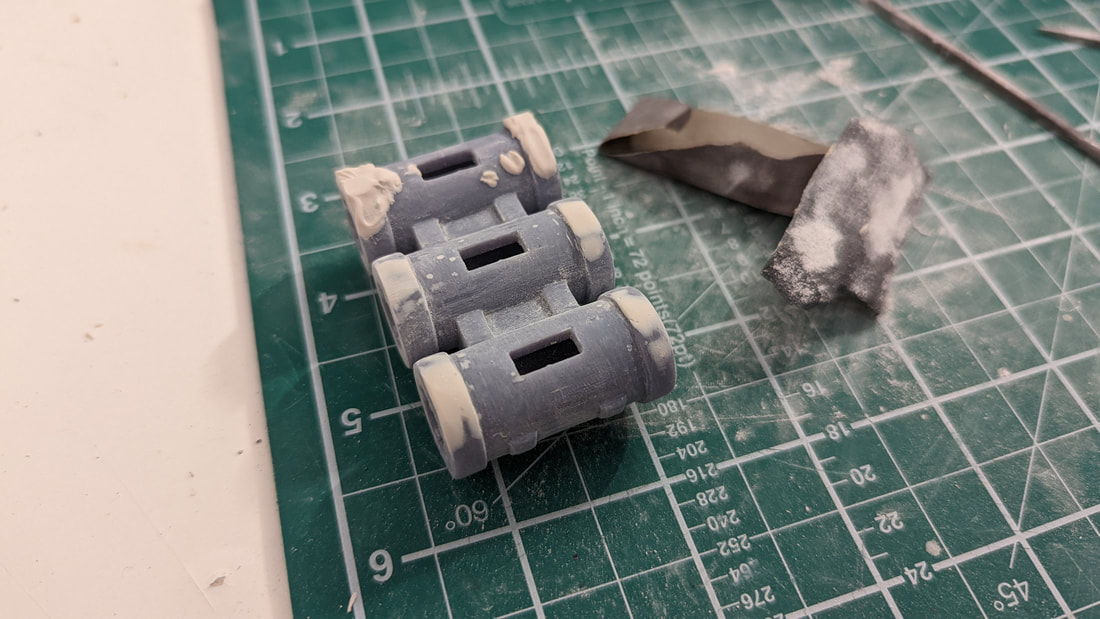
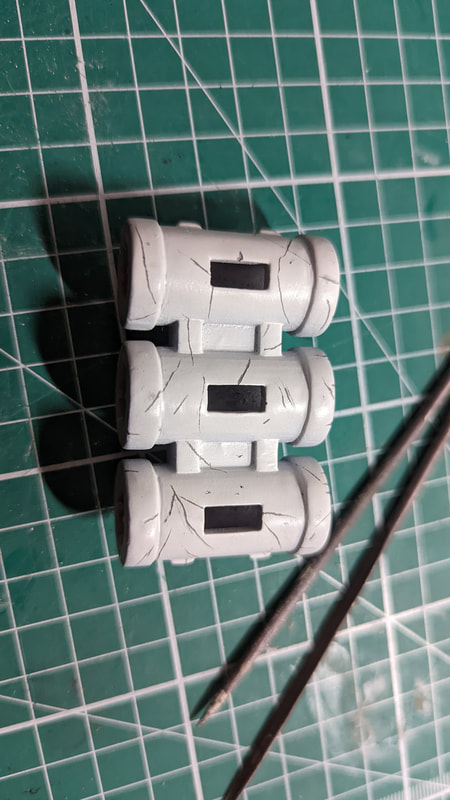
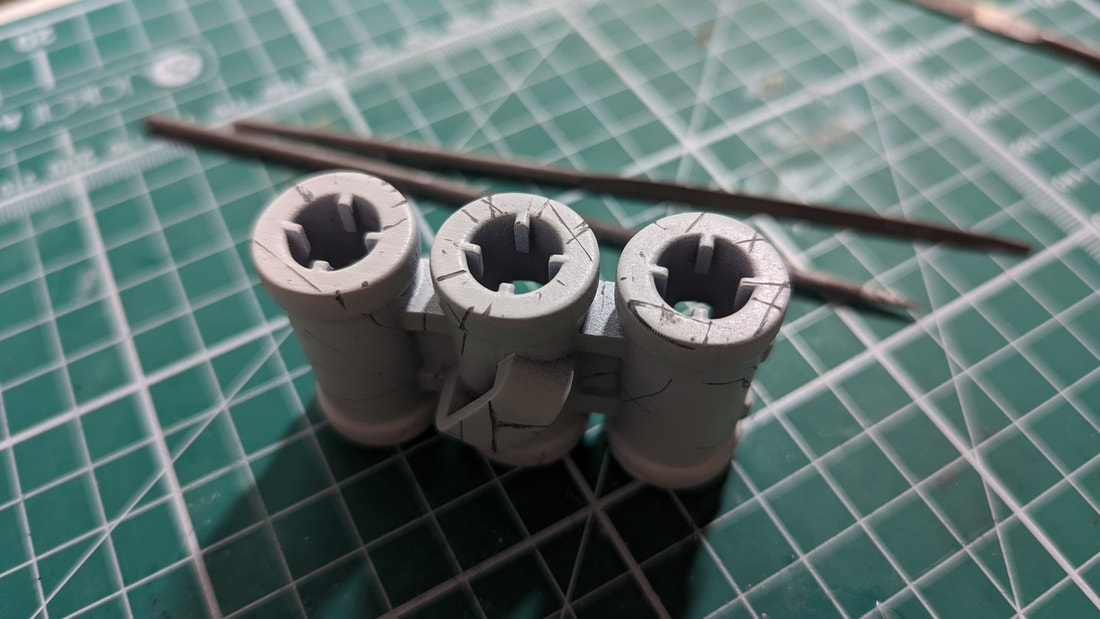
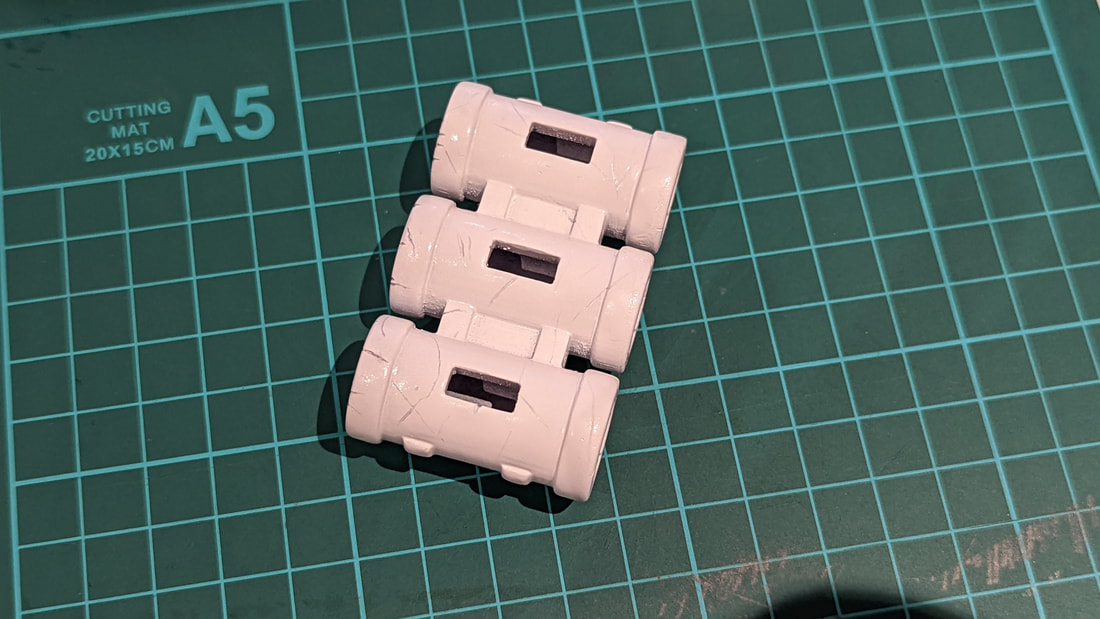
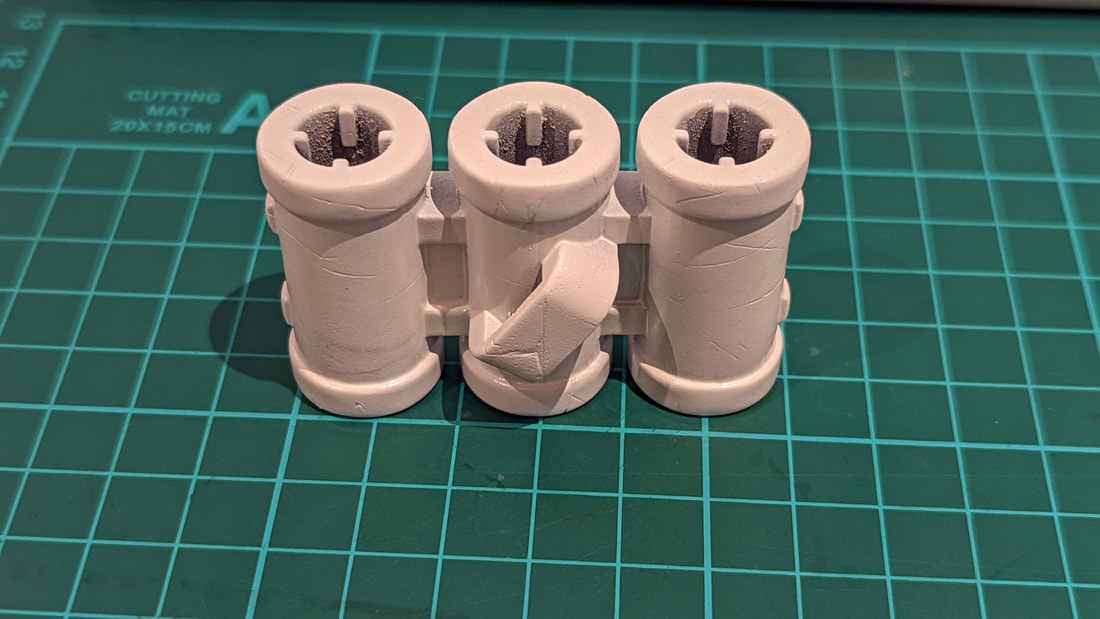
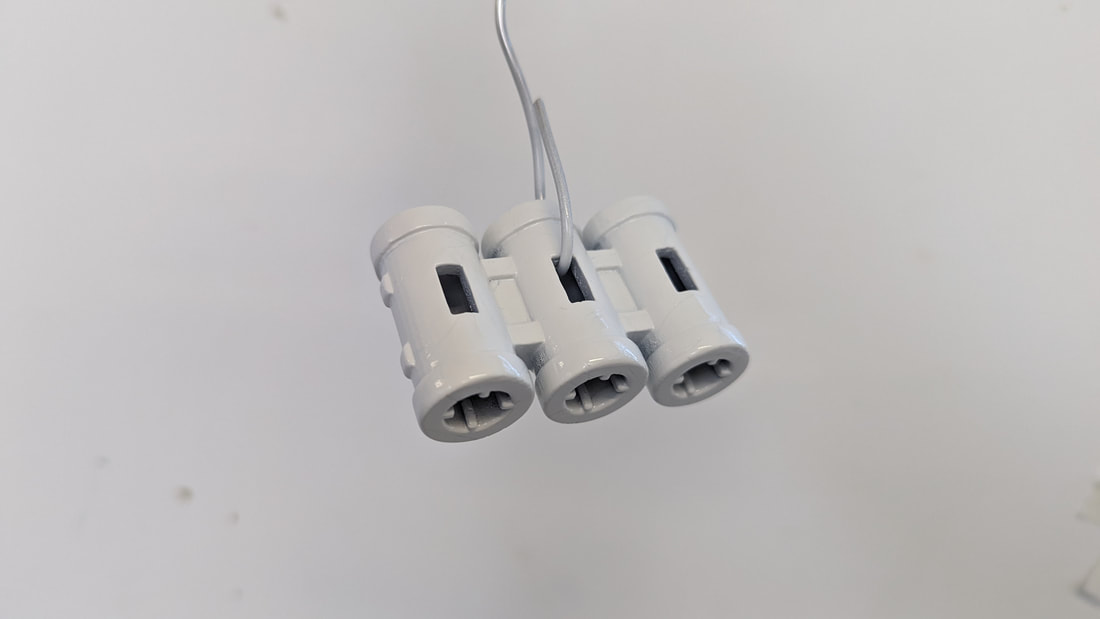
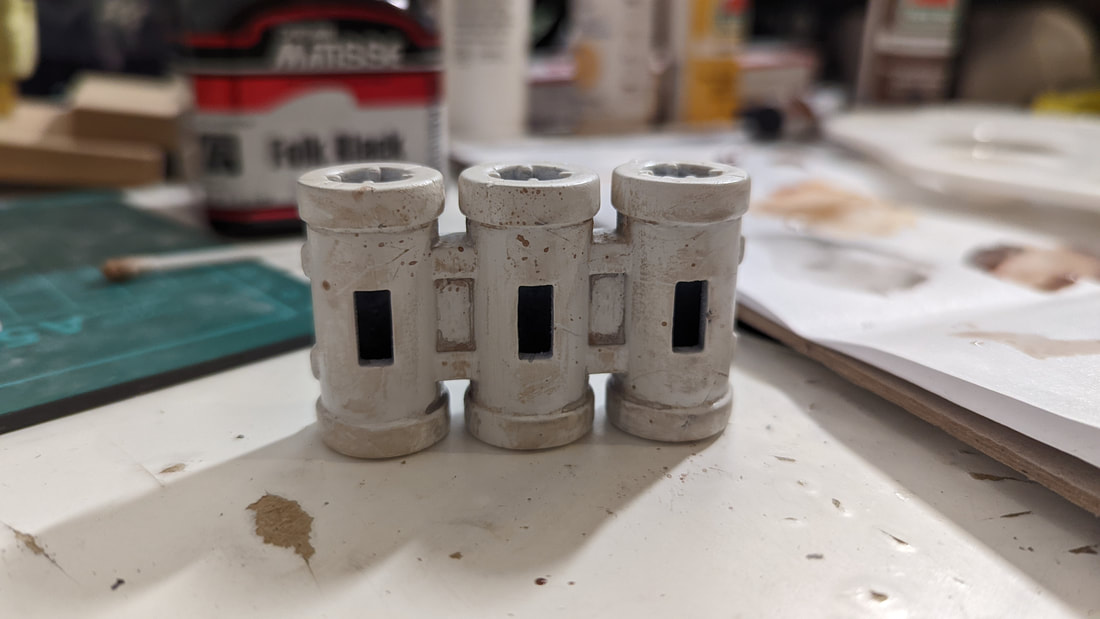
Here is the holster in the printer and on the was and cure machine with its supports still present. The scaring from the supports can be sanded away and any pitting made by them filled with filler. I was really pleased with the look of the model and the general print quality with one exception being the side that was closest to the bed was flattened slightly and therefore required some filler to correct the arc of the top and bottom rings. With the body fully sanded I moved on to priming and adding in the deliberate damage to match that of the game model. I added another layer of primer to seal the scratches. After the priming I used a slightly off white shade that gives the model a unified look; but it kept the scratch marks for my weathering paints to flow into and collect naturally. Spraying the model was tricky due to its shape but I found the hanging on wire technique particularly effective.
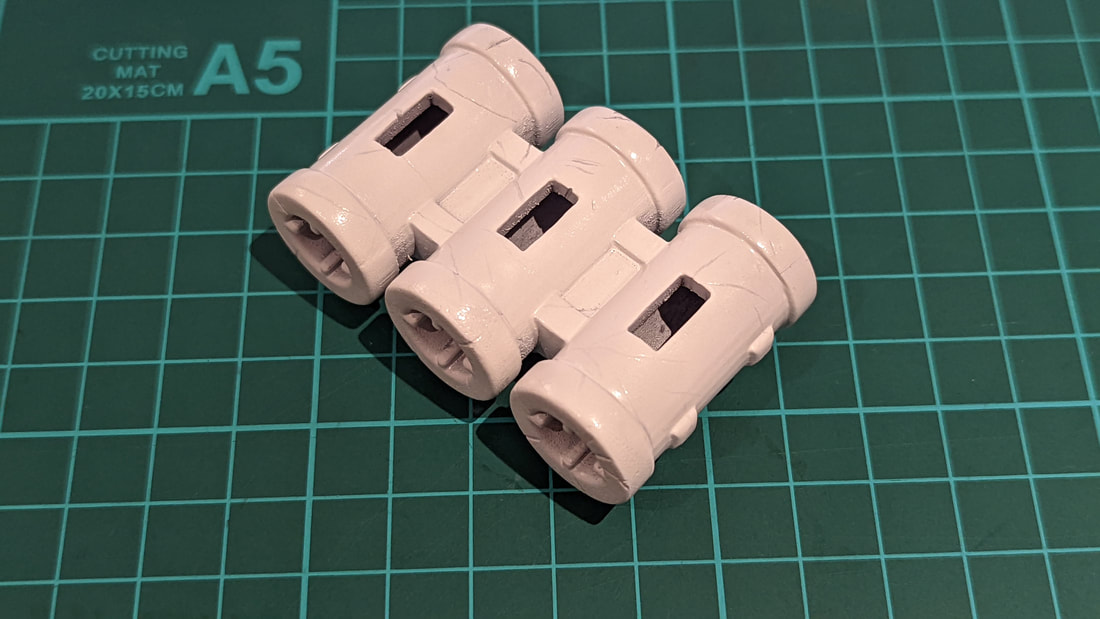
The next stage to finish the model was buff the clear satin finish sealant coat on the holster to allow acrylic paints to adhere. I used brown tones and watered them down to a wash which I brushed on and dabbed the excess away. I added a gel medium to some higher pigment brown paint and created splattering dots that stood embossed against the model. 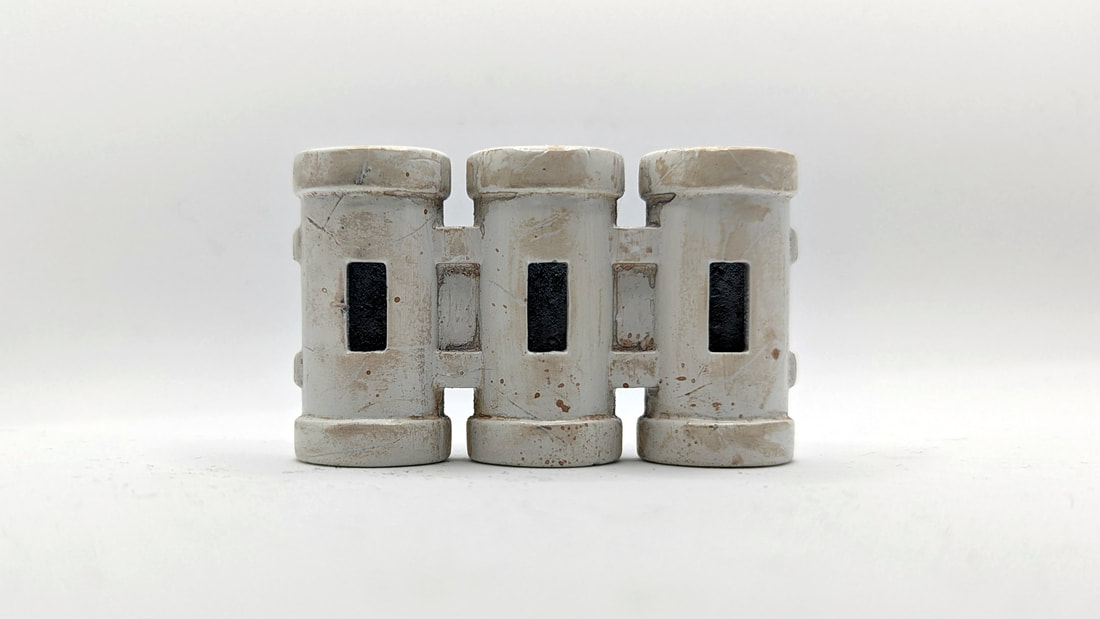
0 Comments
Leave a Reply. |
Third Year
|
 RSS Feed
